

Introduction: DIY Breadboard


A good breadboard / prototyping board can be quite expensive to buy (50$ or more). It is extremely easy and cheap to make it yourself however!
Furthermore, I prefer the binding post horizontal, so the wires don't get in the way. An even better excuse to make it ourselves; let's go!
Step 1: Parts

The parts list for this project is short and simple:
- (6) Binding posts (with hole)
- (4) Breadboards
- Plexiglass or wood
Tools: Saw or Lasercutter
Total price: 10$ or less
Step 2: Build It!


The first part of the build is cutting out the pieces of the frame. I used a lasercutter and plexiglass, but is perfectly possibly to use a saw and/or wood!
The next step is gluing the parts together with superglue or special plexiglass glue. In the case you are using wood, superglue or wood glue are options.
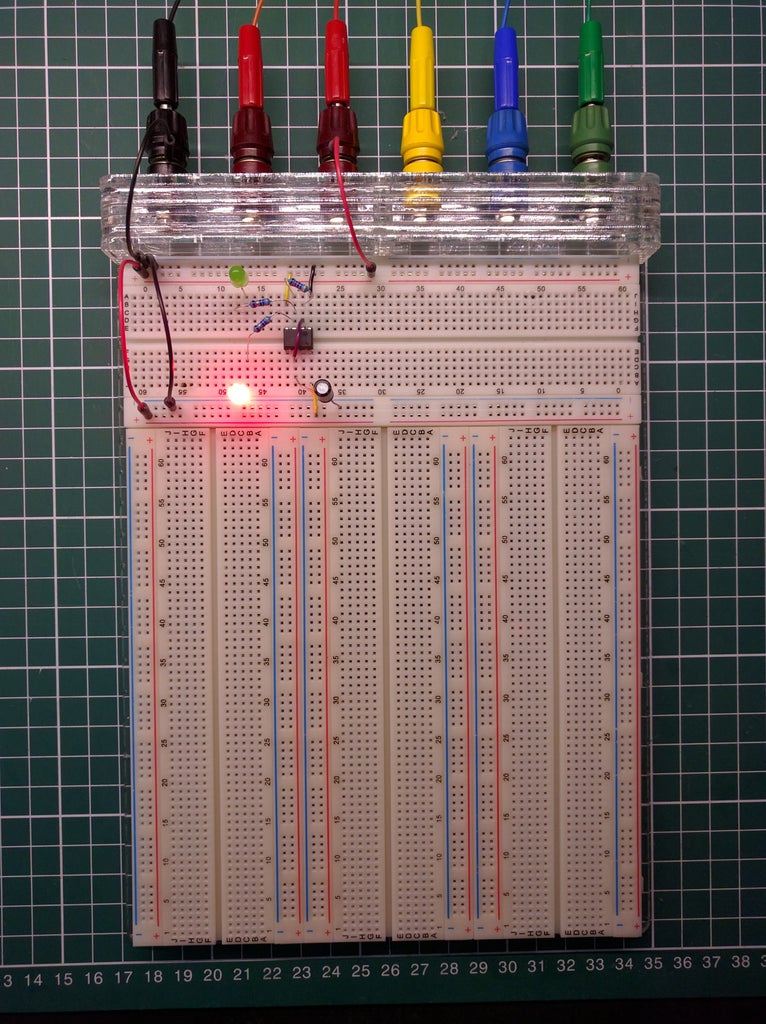
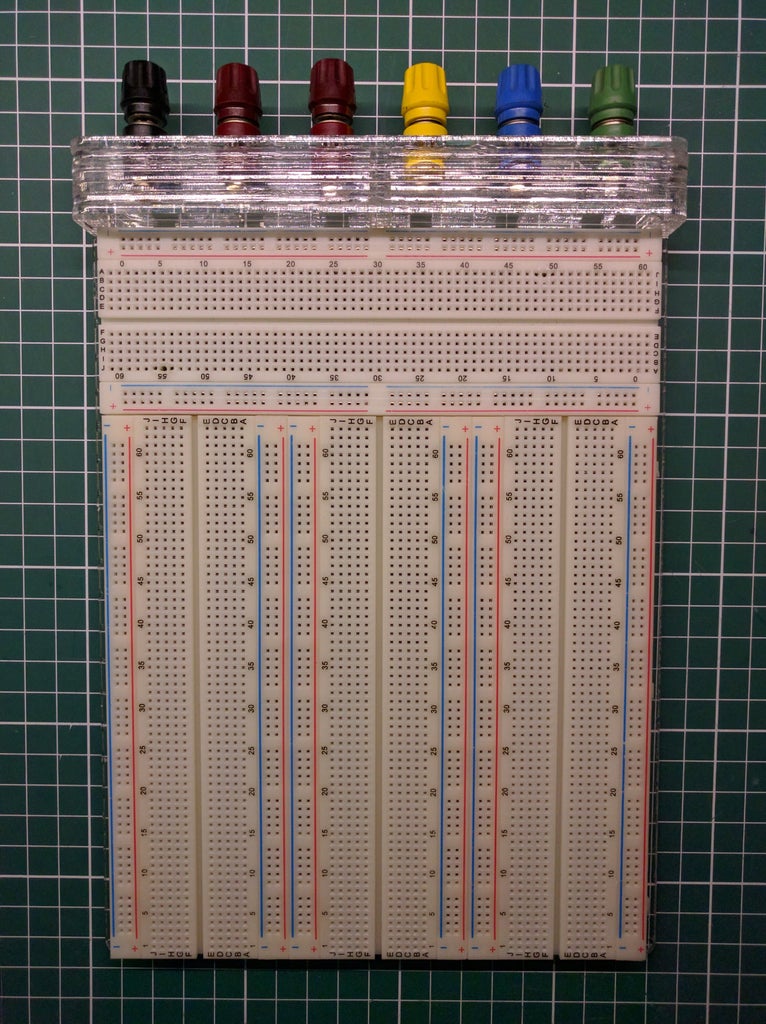
Glue the holder for the binding posts first, and insert them securely. Make sure they are screwed in tight, and the hole is facing upward. Now you can glue the holder to the base.
The last step is installing the breadboards. They have an adhesive backing, simply peel it off and stick them down; easy as that. I installed one horizontally and three vertically.
That's it; you just made a super useful tool for next to nothing!
If you liked it, make sure to check out my other projects :)


