

Introduction: DIY Motorized Bicycle


In this instructable I am going to show you how we can modify a stock bicycle into an electric one using a simple geared DC motor, a bunch of lithioum ion cells and a custom made speed controller.
The proect started as we found a geared DC motor that we have salvaged from scrap and later found out that its used to power automatic doors. The motor was very compact and have alot of torque and that kicked my mind to built an electric bike, the proect i was looking to work on for a while.
So let get into the built....
Step 1: Tools and Material


List of material for this project is:
- A bicycle
- 42V Brushed DC motor
- 18650 Lithium ion cells
- Speed Controller ESC
- Wires
- Connectors
- Angle iron
- Gears
List of tools used in this project is:
- Drill machine
- Drill bits
- Angle grinder
- Welding plant
- Soldering iron
And some kind of basic tools like pliers, cutters and wrenches etc.
Step 2: Making the Drive Mechanism


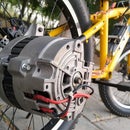
First of all we have decided to power our bicycle using a simple brushed DC motor, that we have find out from an old sliding door mechanism. After considering a lot of factors we have decided to make simplest and reliable drive mechanism and for that we have welded the 21 teeth gear along with 2" inch metal pipe spacer on the rear disc brake plate in order to rotate the wheel using geared dc motor.
Step 3: Attaching the Pinion Gear to the Motor


After making the drive mechanism its time to attach the pinion gear on the motor and for that we have used the 16 teeth one way pinion gear in order to rotate the wheel along with with motor. A metal washer is welded to the rear side of the pinion gear. Three holes are drilled across the washer and the pully on the motor to mount the pinion gear on the motor pully.
The reason behind using a one way pinion gear is to let the rear wheel spin freely even when the motor stops moving.
Step 4: Making the Motor Mount


In order to mount the motor on the bicycle frame we have made to card sheet templet in order to find the best position on the frame and then we made the mounting piece using 3 inch angle iron piece and then we drill the holes using hand drill for mounting the motor to motor mount.
Step 5: Mounting the Motor on Bicycle


After mounting the motor on the plate its time to mount the motor on the bicycle frame and attach it to the drive mechanism and for that we have decide to make the drive mechanism as compact as possible and then we use the 6mm L-key bolts in order to mount the motor on the frame.
Step 6: Battery Pack


To power our electric bike sufficiently we have used 18650 lithium ion cells that we have extracted from our old hoverboard batteries.
We have used two battery packs each of which contains 20 cells.We are goign to use two battery packs, so in total we are going to use 40 pcs of 18650 cells. Since the BMS(Battery Managment System) unit we salvaged from the hoverboard battery pack is capable of handling upto ten cells connected in series so we are going to form the battery pack in two parts. Each part contains two cells connected in paralled and ten of them in series. Now to have the required output of nearly 84v we are going toconnect both the packs in series using an external jumper cable.
Step 7: Enclosure for Battery Pack


In order to protect our battery pack from short circuit and to give it a nice look we have decided to built the enclosure for battery pack. We have used 5mm acrylic sheet cut it into exact dimension for the battery pack and glued all the piece pieces using super glue. The enclosure is then painted in matt black that gives it a pretty nice look.
The battery pack is the mounted inside the enclosure with a pair of XT-60 connectors popping out as the output of each battery pack which is latter going to be connected in series to have the required 84v output.
Step 8: Customized Speed Controller


Since the bicycle needs to be powered at 84v so to regulate the speed of the bike we need a PWM controller. But the problem is that most of the controllers avliable online are unable to handle that high voltage.
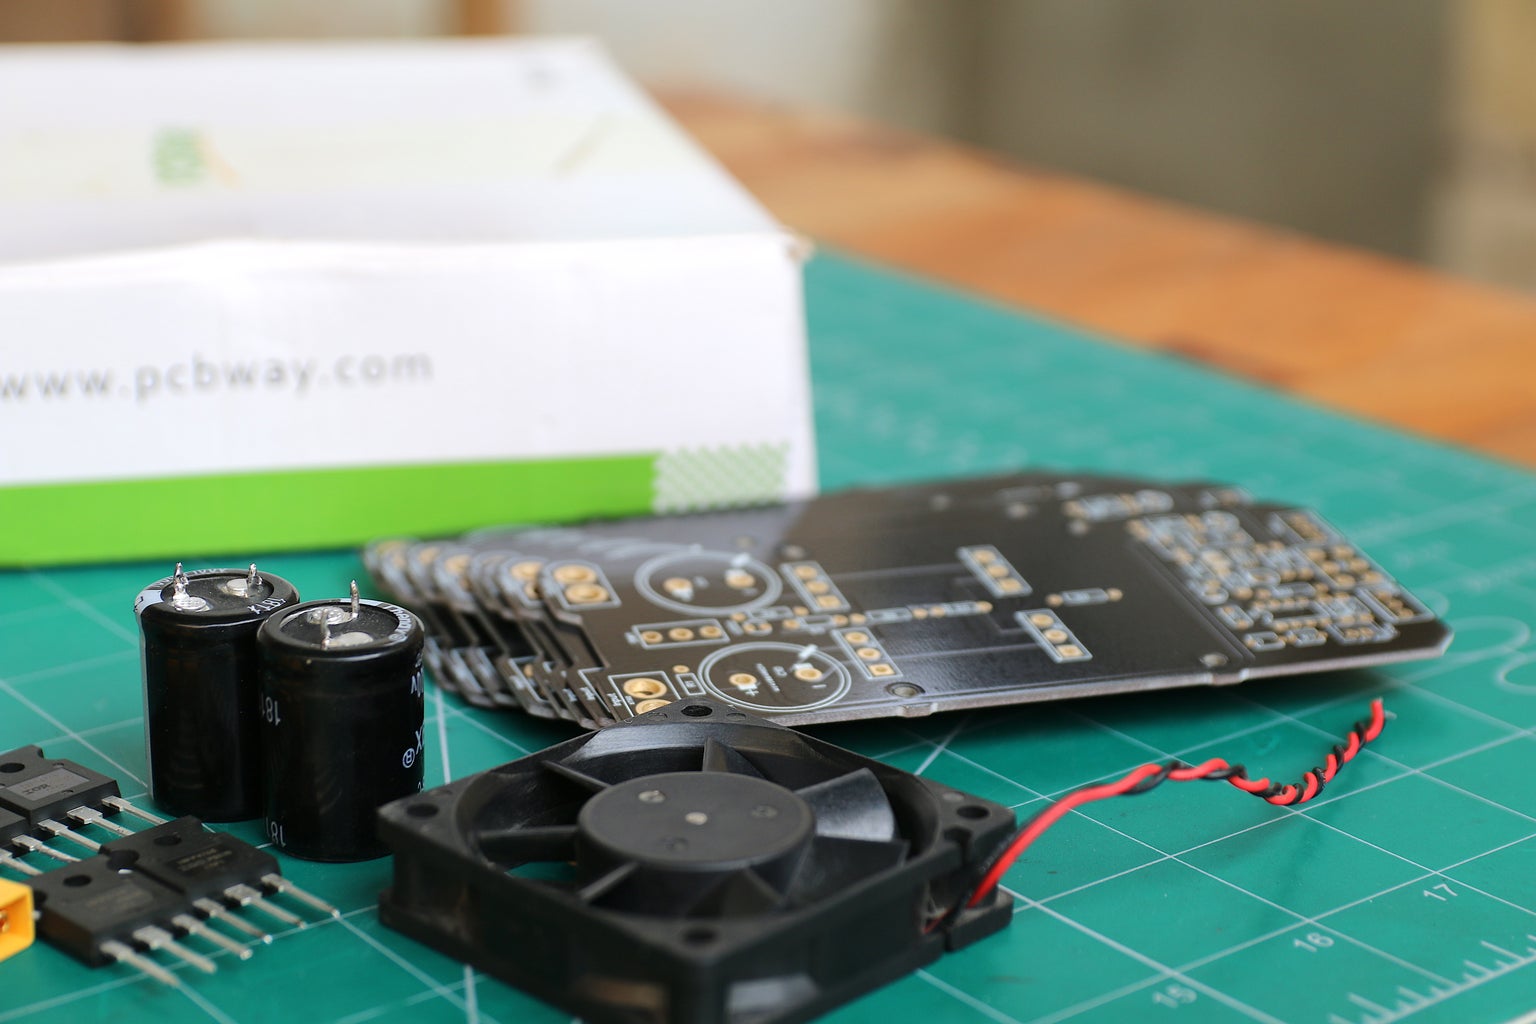
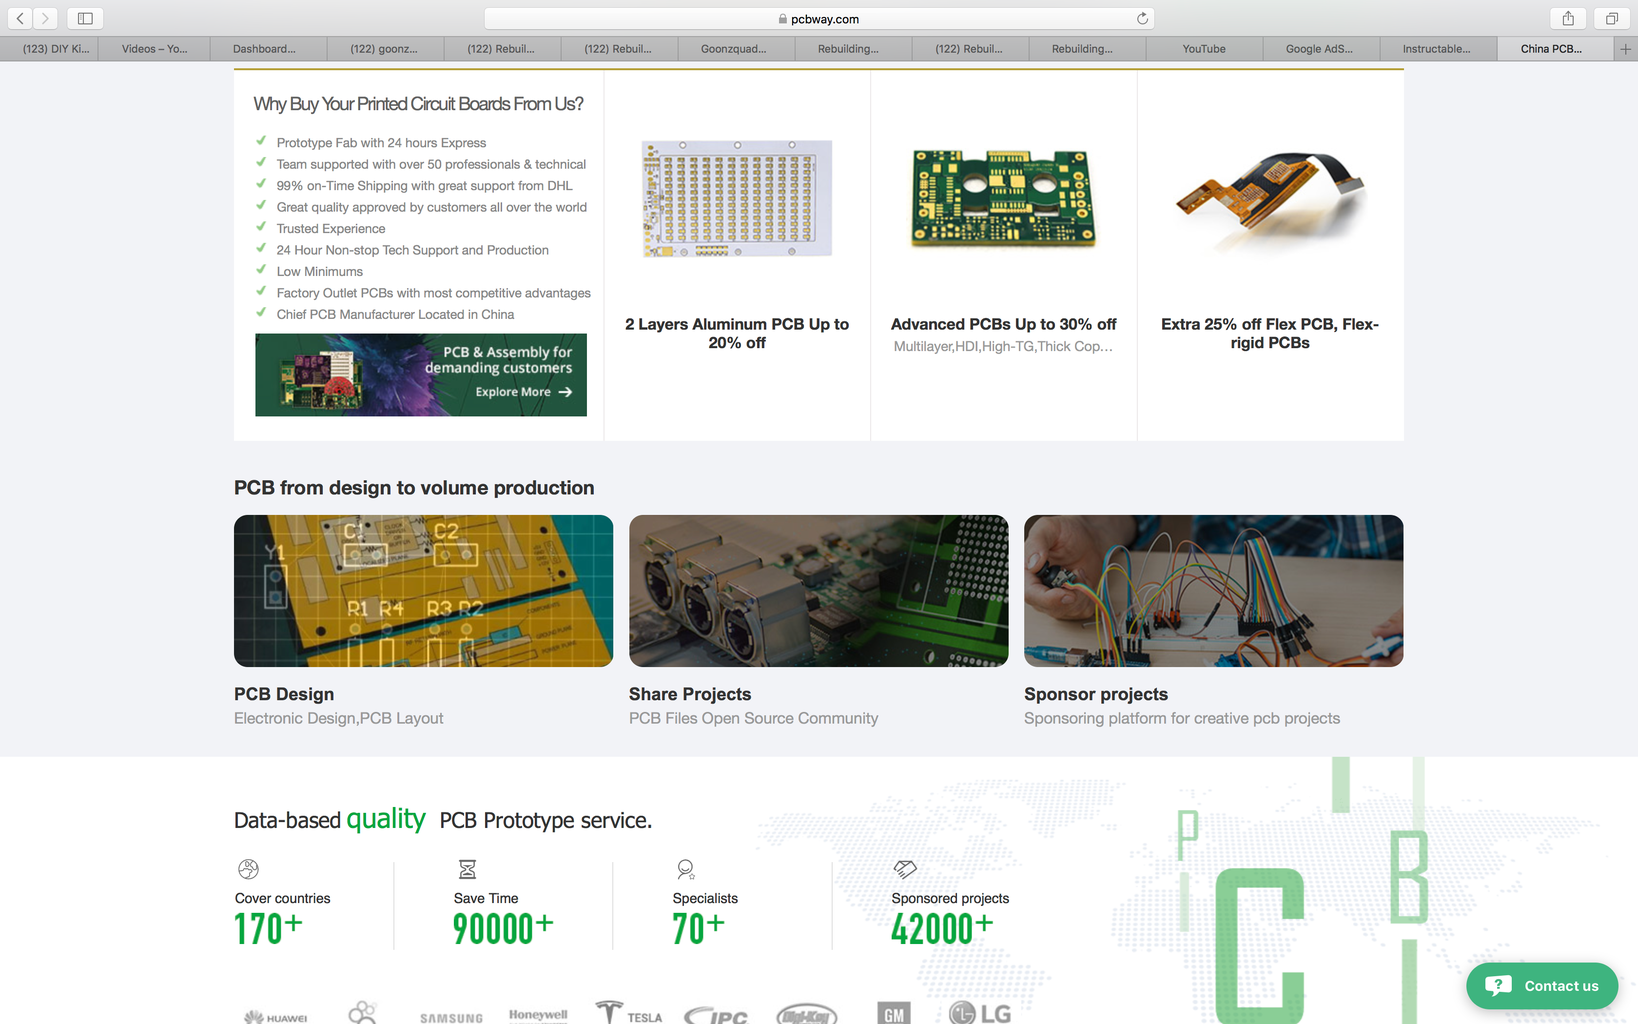
Here I would like to thank PCBWAY as with their help we were able to design a customized speed controller thats capable of handling upto 90vDC and nearly 2000 watts of power. After finilizing the schematic and the PCB designs, the guys at PCBWAY did a great to provide us customized PCBs to built the controller. So guys be sure to have a look at their webiste for great quality products.
Step 9: Attaching the Speed Controller (ESC)

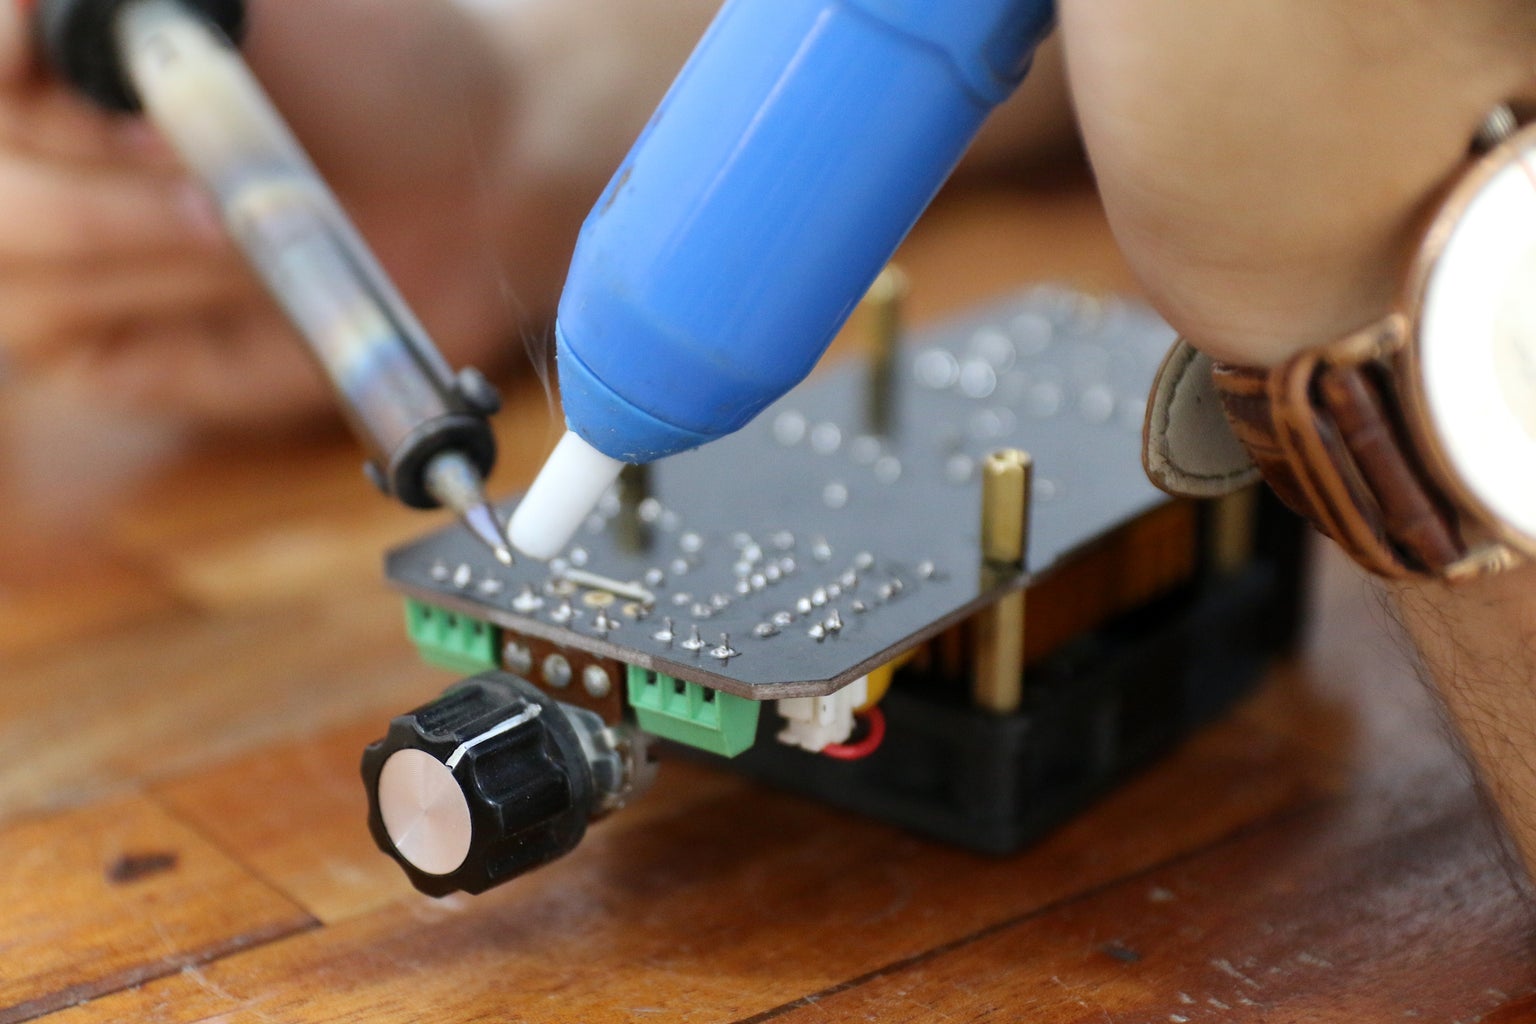


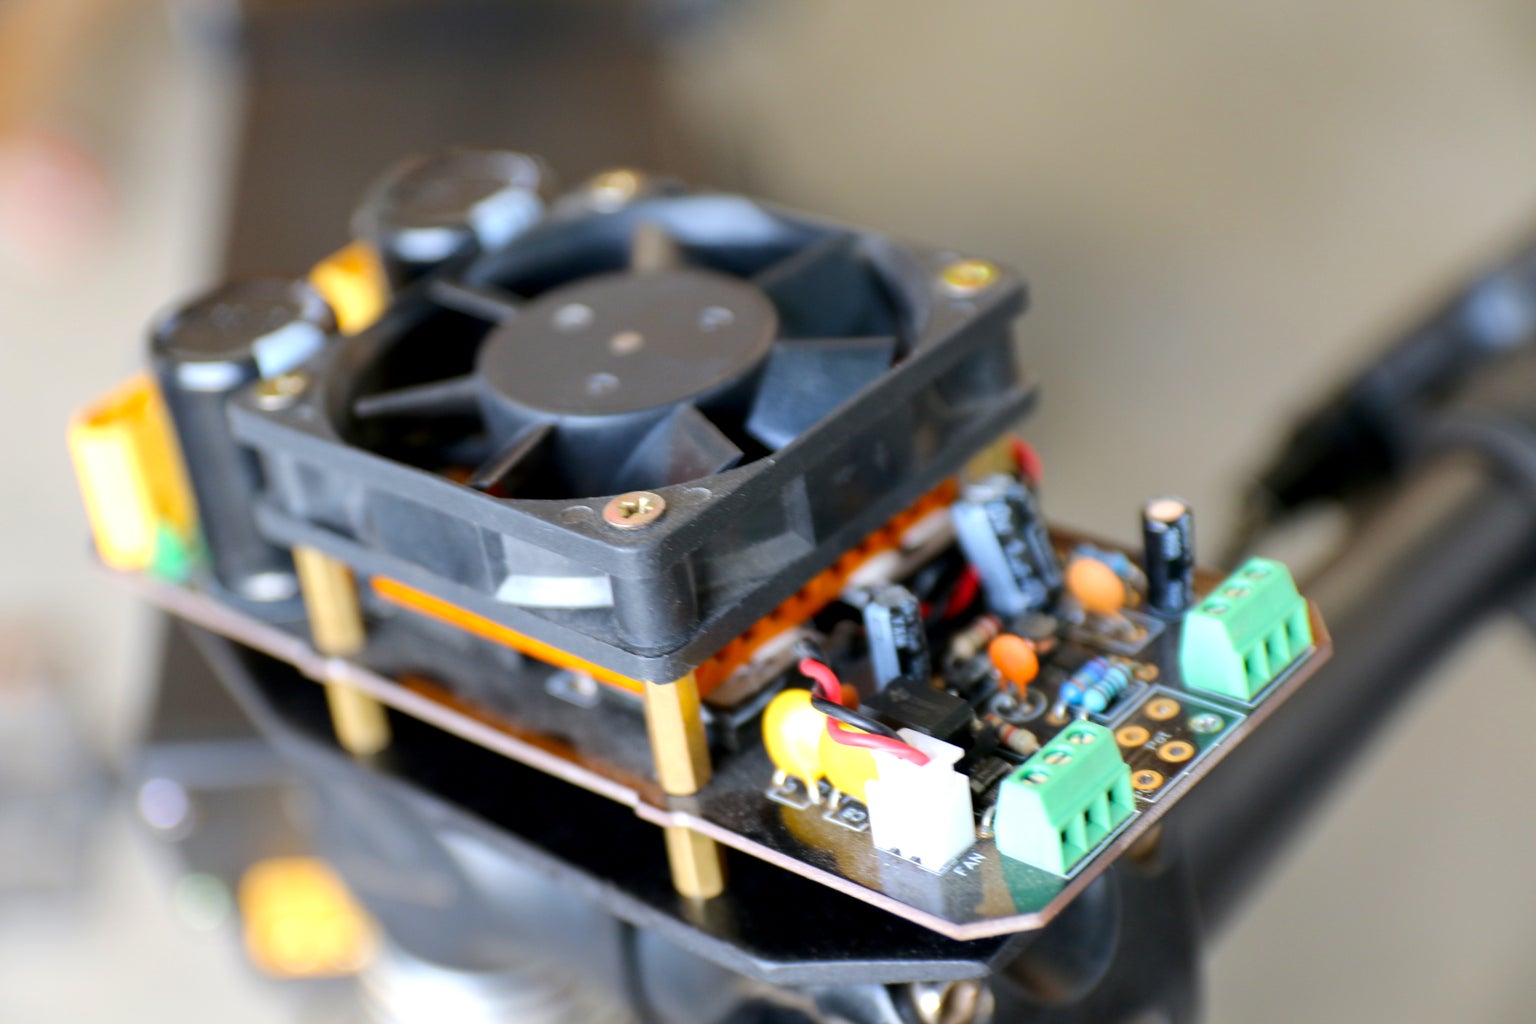


In order to control the speed of our electric bike we have decided to use PWM speed controller that can handle higher amount of current so we use 5V-84V DC motor speed controller that we have made in our previous instructables projects and that speed controller is capable of handling load upto 2000 watt.
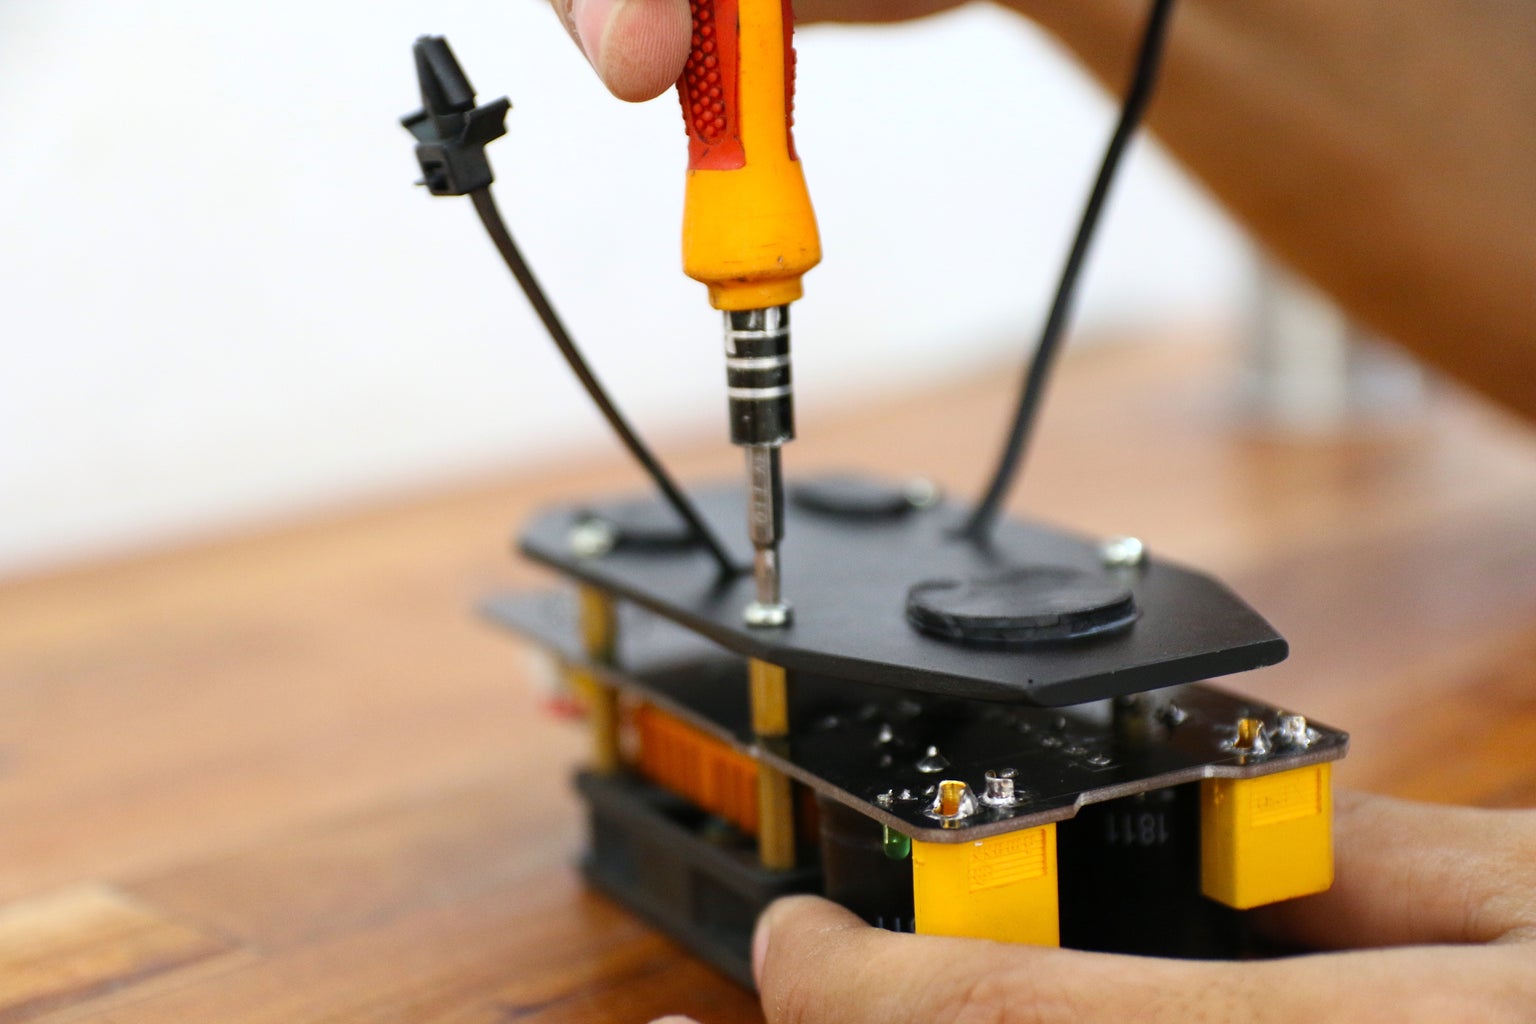
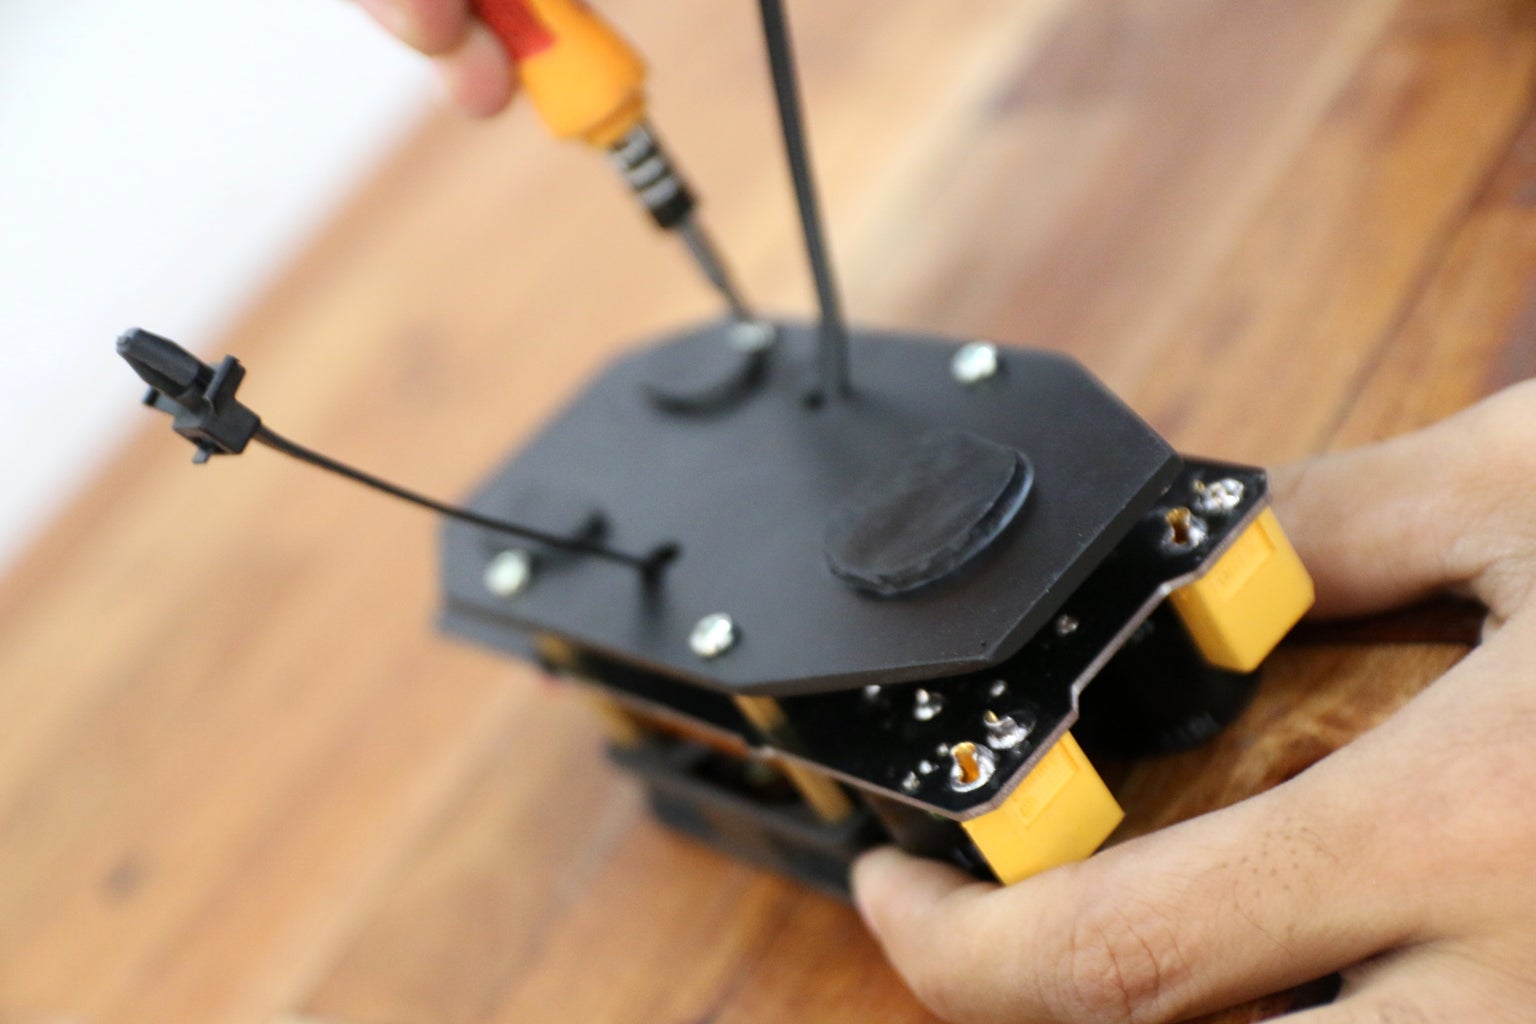
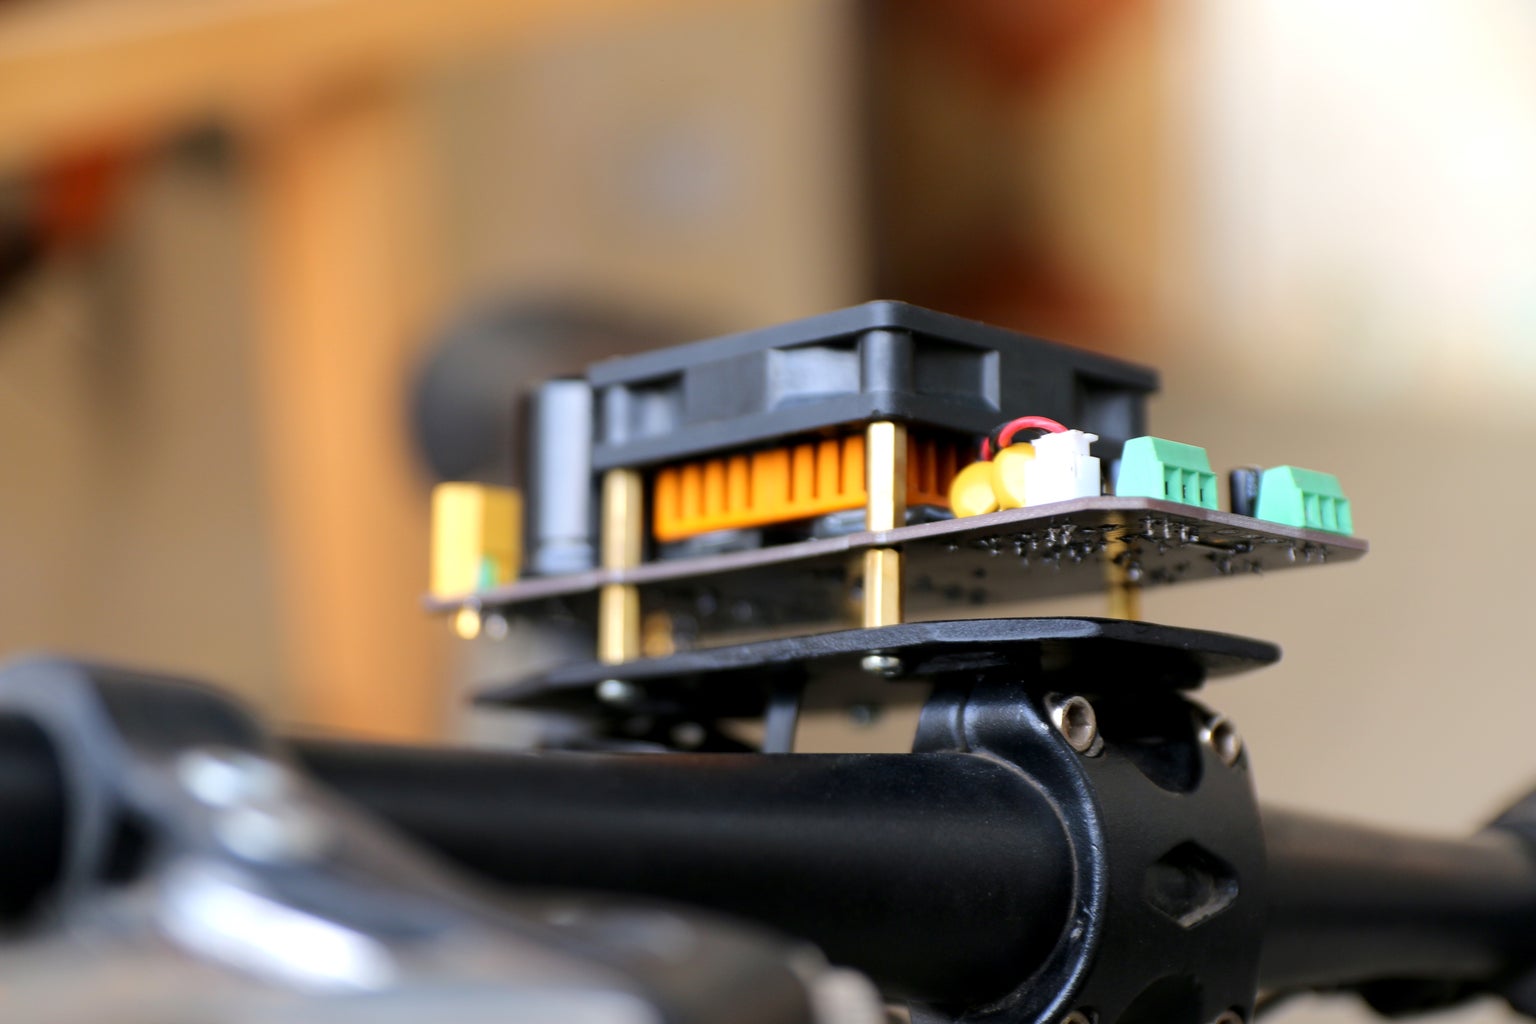
So we have mounted the ESC using tie clip on the top of the handle bar and we extended the wire for power button and for the twist grip throttle as well.
After that we have secure the input (84V DC) and output (motor) connection for the speed controller.
For more detail about DC motor speed controller links are as under:
YouTube Link:
Instructables:
https://www.instructables.com/id/DIY-PWM-SPEED-CON...
Schematic,Gerber files and Components list:
Schematic,Gerber files and Components list:
https://www.pcbway.com/project/shareproject/How_to...
Step 10: Final Result


The conversion was for sure a sucess. The bicycle seems to run smoothly and we are able to achieve a moderate millage on a single charge though we are unable to measure the millage per charge as the battery pack seems to hold up preety long. Besides that the max speed we hit was nealry 30Km/h which was half of the speed that we can get from this bicycle. The reason behind that is relatively large current draw at full speed which is hopefully due to the inefficient brushed motor.
We are lookinbg forward to improvise the performance by using a brushless motor in one of our upcoming project so stay tuned for that and dont forget to drop your suggestion bewloz, would love to go through them.
Regards.
DIY King


