

Introduction: Design Your Bobblehead


The following information is a single lesson in a larger Tinkercad project. Check out this and more projects on Tinkercad.
Return to Previous Lesson: Research Your Favorite Bobblehead
Lesson Overview:
Now we're going to make the actual bobble!
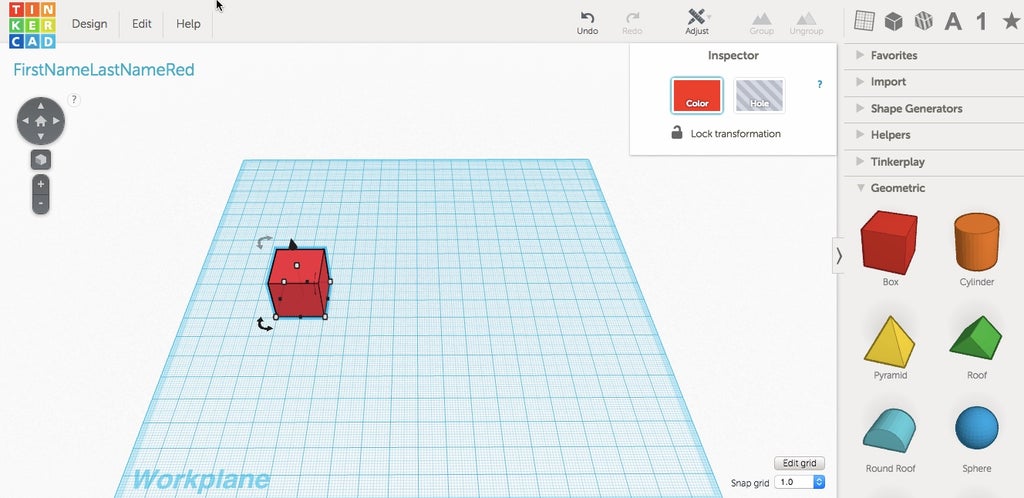
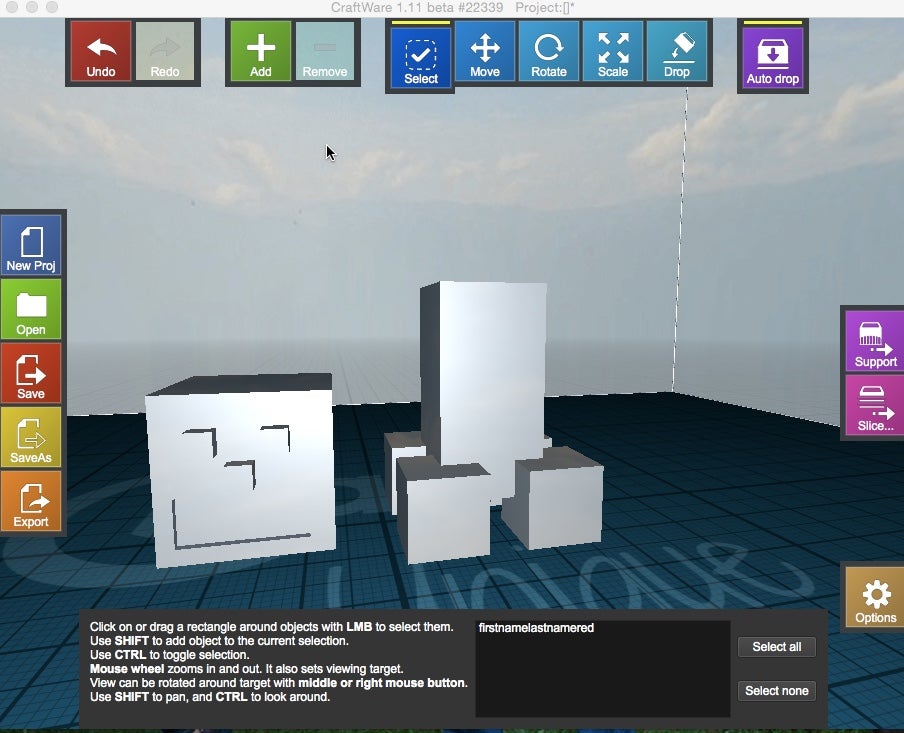
Step 1: Designing the Head


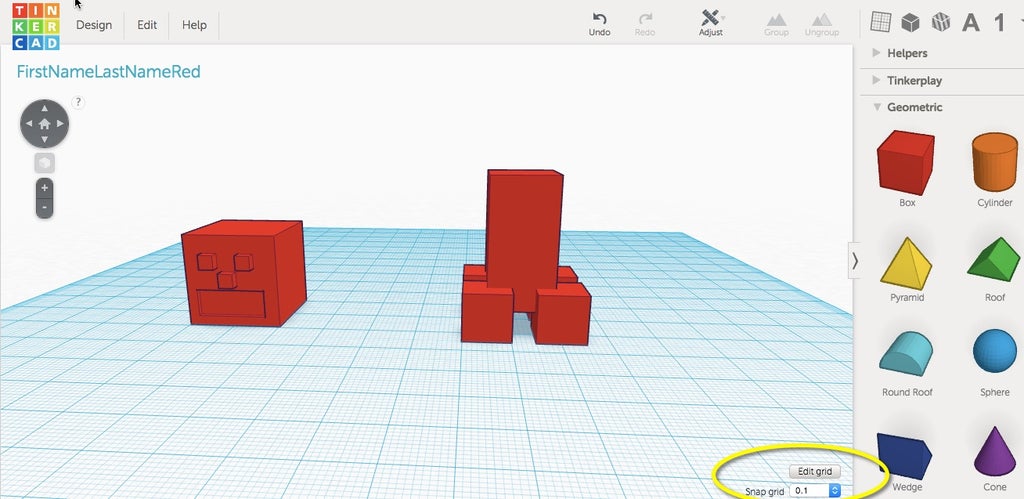
Using your picture from the Internet of your favorite Minecraft Character start to design the head of your character.
If you are not familiar with how to use Tinkercad shapes please see an introduction lesson to practice these skills.
Instructions
- Drag a shape for your head from the Geometric shape area.
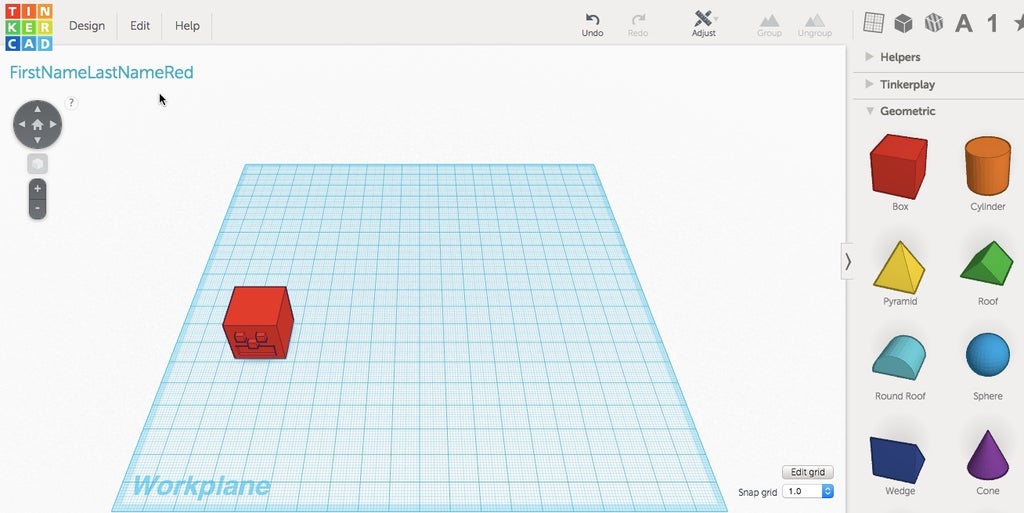
- Add the features you want to the head and group shapes together.
- Click on the home button to return to your default Home view.

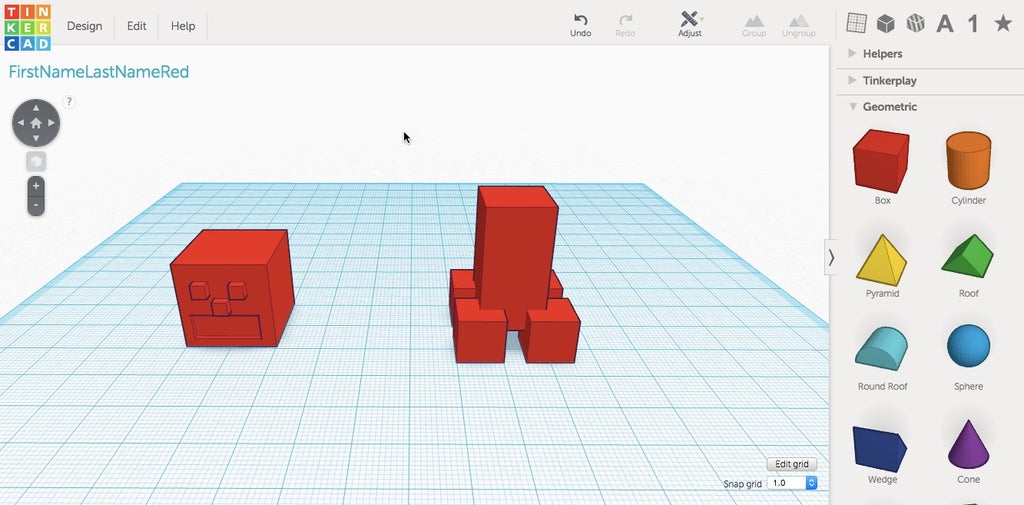
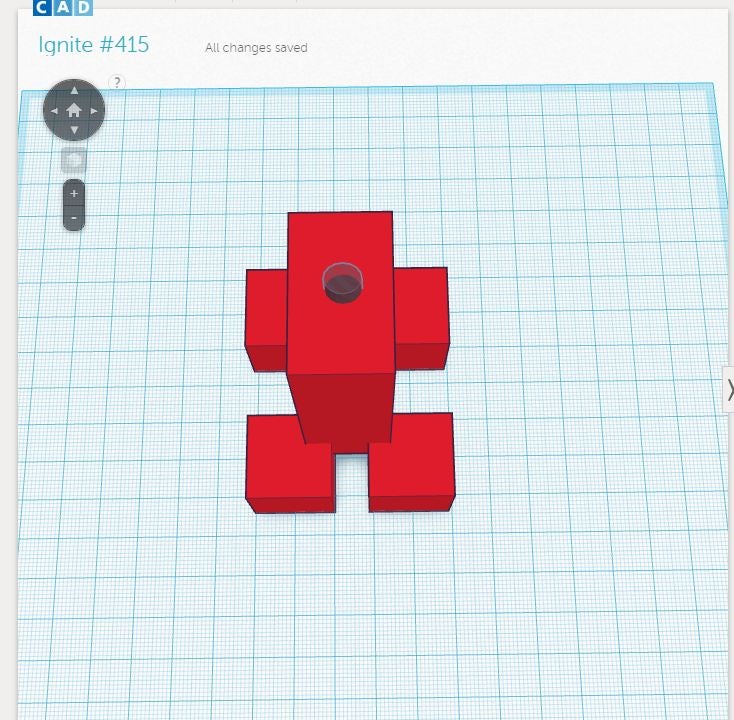
Step 2: Design the Body


Now you get to design the body of your character. As you move forward consider the positive and negative shapes that will make up the character. It may be helpful to sketch out the shapes on a piece of paper before you start.
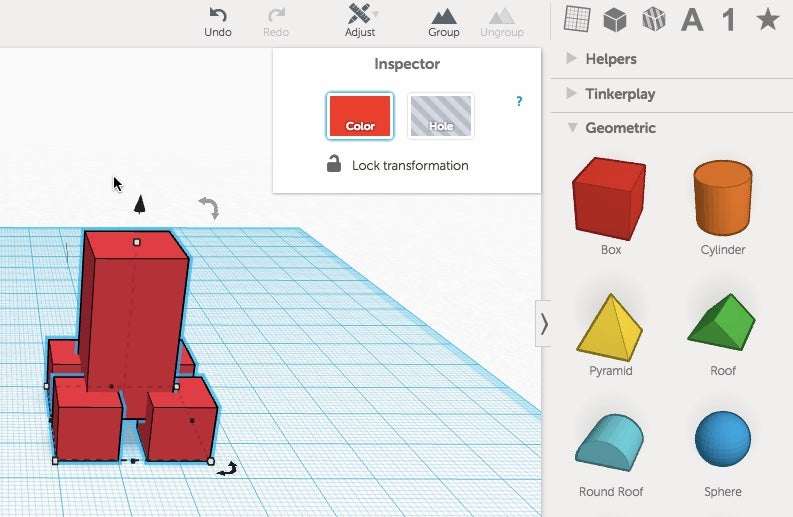
Remember, if you plan to 3D print your character, all shapes must be touching one another, so the parts will stay connected after printing.
Instructions
- Design the body of your character using the shapes found on the right side of the screen.
- Once your body design is complete, make sure you group all the shapes together.
Step 3: Add Spring Holes


You have now completed the bobble head and bobble body, now you need to connect the two. We will do this by creating a hole for a small spring on each part, so we can connect the two together and make the head actually bobble.
Instructions
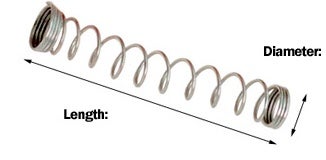
- Find a spring you would like to use. Spring selection is important because a spring that is too weak will not hold the head up and a spring that is too strong will prevent the head from bobbling. I have found pen springs work great for this project as long as the head is not to big.
- To make this small change you will need to change the size of the snap grid from the default value of 1mm to .1mm. Remember after making this change you may want to reset the snap grid back to 1mm for other edits. You can change the snap grid at any time during the design process.
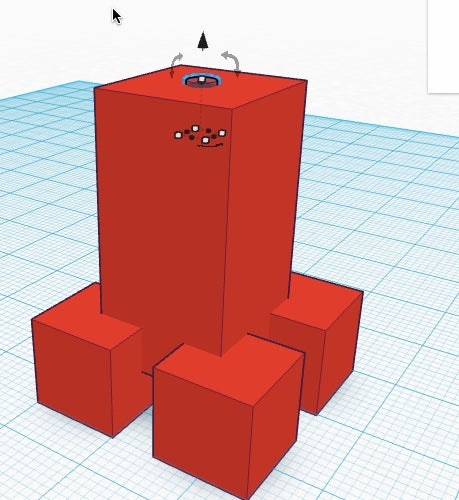
- Make a hole the size of your spring. The example we are using has a dimension of 5 cm. We will use a hole with a size of 5.03. This will allow the spring to fit when printed. If it is too snug then use file to smooth hole or pliers to adjust spring. The length of the hole should be 7 cm. Group this together when it is set correctly for the character.
- Now you need to repeat the steps you just completed for the body, but this time on the head shape. Remember: you want the spring hole on the top of the body and the bottom of the head, so they connect properly.
Step 4: Prepare for 3D Printing


Before downloading the file for 3D printing there are a few items to review to make sure everything will print correctly.
Instructions
- Make sure the head and body are both sitting flat on the workplane. To do this, select the head and press D on the keyboard then select the body and press D on the keyboard. Pressing D while a shape is selected will place it flat of the Workplane.If either shape is even 1mm off the Workplane it will could cause problem when printing.
- Does each shape have a good support base for the printer. If not then you must use support or raft to help with printing.
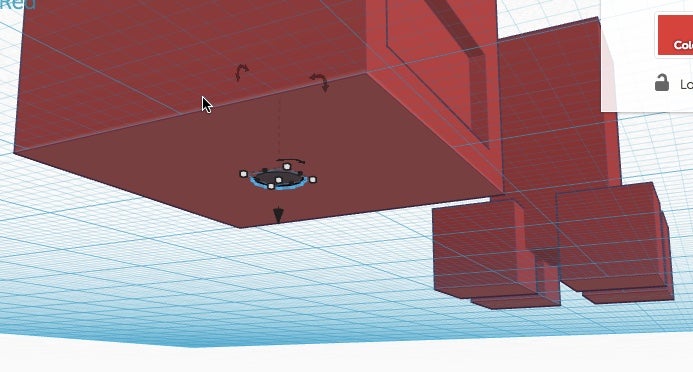
- Instruction image When grouped can you see a hole in the head and body for the spring. If not then ungroup and make adjustments to the hole.
Step 5: Download, 3D Print and Assemble


Bring your creation to life!
Instructions
- To download for 3D printing go to Design then Download for 3D printing
- Add your file your 3D printer software file and then print!
- Fit spring in body and then add to head!
- Stuck?

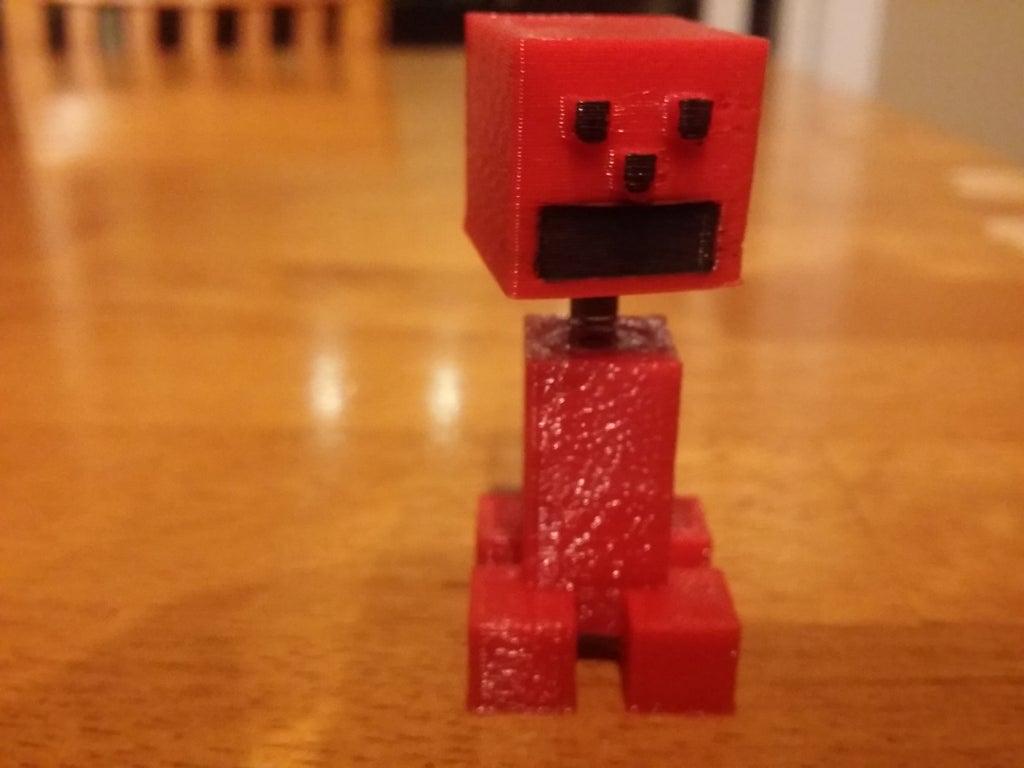
HINT:
Use pliers and a file to smooth edges to make a perfect fit for the spring. Enjoy your creation!
Congratulations, you have completed this project!
Check out other great projects on Tinkercad.


