

Introduction: FIX a SPLIT POLY PIPE


A split in a major poly water pipe is a big problem. There are three choices to my mind:
- Drag the pipe up and cut the split out then rejoin;
- Cut out a large section and insert a very expensive expanding joiner; or
- Weld the split and reinforce the pipe.
I could not drag up the pipe and the shops were shut. Bring on option three.
You will need a soldering iron and a piece of black poly or PVC bottle.
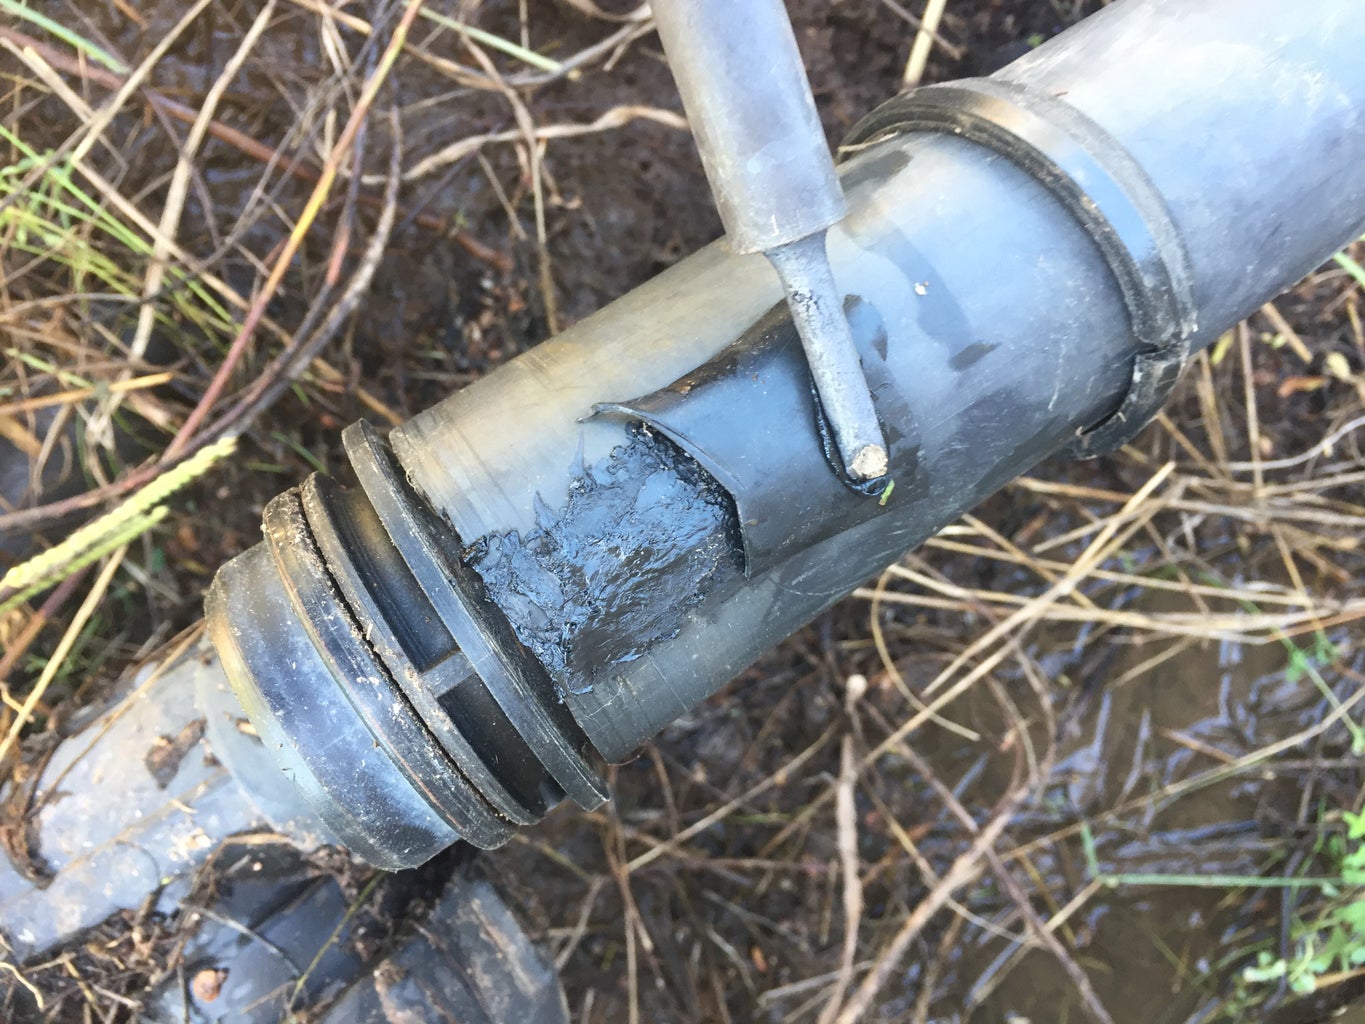
Step 1: Heat Up Soldering Iron and Clean Out Split


First and most important is to have a hot soldering iron to work with. Heat torches and flame based irons will melt the underlying pipe causing distortion so should not be used. If it is very cold, use a space heater to keep area warm.
The split should be cleaned and if there is a lot of dirt or debris, flush with clean water and if necessary trim edges of split to ensure good adhesion between graft patch and pipe. A dry edge is a must for a successful finish.
Take your time with this step. If necessary go and get a cuppa to ensure that the surface is thoroughly dry. Steam can boil the patch up or off.
Step 2: Cut First Patch


The first patch is an arrow shape and is placed into the split to lock under the end of it to hold fast while melting the rest of the patch.
Step 3: Insert and Fix First Patch


Fully insert first patch and check it is secure.
heat patch at the end where the patch dips under the split edge.. I usually use the tip of the iron to create a small stress relief hole at this end of the split. Make sure that iron does not go completely through the pipe. Run the soldering iron back and forth to ensure patch is well melted and edges are fixed. If necessary to ensure a seal run iron tip in the same direction as split to create a furrow.
Step 4: Second and Third Patch
I worked with a person for whom I have great respect. He had a rule of 3. This rule has served me well so three patches............. Ensure that each patch is well seated before putting on the next. Run the iron back and forth until the patches are well homogenised. To ensure edges are stuck, drag iron just off the patches onto the poly and smooth out lumps. Be careful not to move too far off patched to prevent warping.
Step 5: All Fixed


Though not necessary, I wrapped an a self adhesive tape around the repair for sun and cold protection.
25 minutes work and zero dollars expended. I have solar power (LOL) :-)
This process can also be used for fixing poly water tanks, mower tanks and other poly type tanks, Just find a PET plastic bottle of the same or similar colour to hide repair.
CAUTION: if repairing a tank that could have or does contain a volatile liquid such as petrol, drain the tank and thoroughly rinse with detergent and water then leave to air dry. Repeat if necessary. Remember the 3 rule. If you are not sure the tank is free of vapours DO NOT attempt to repair it.

Participated in the
Trash to Treasure Contest 2017


