

Introduction: Humidity Sensor Basics


This is a basic tutorial on how to use the DHT 11 sensor module with an Arduino board.
Supplies
- DHT11 module
- Arduino Uno/nano/etc...
- Jumper wires
- Bread board
Step 1: Make the Connections

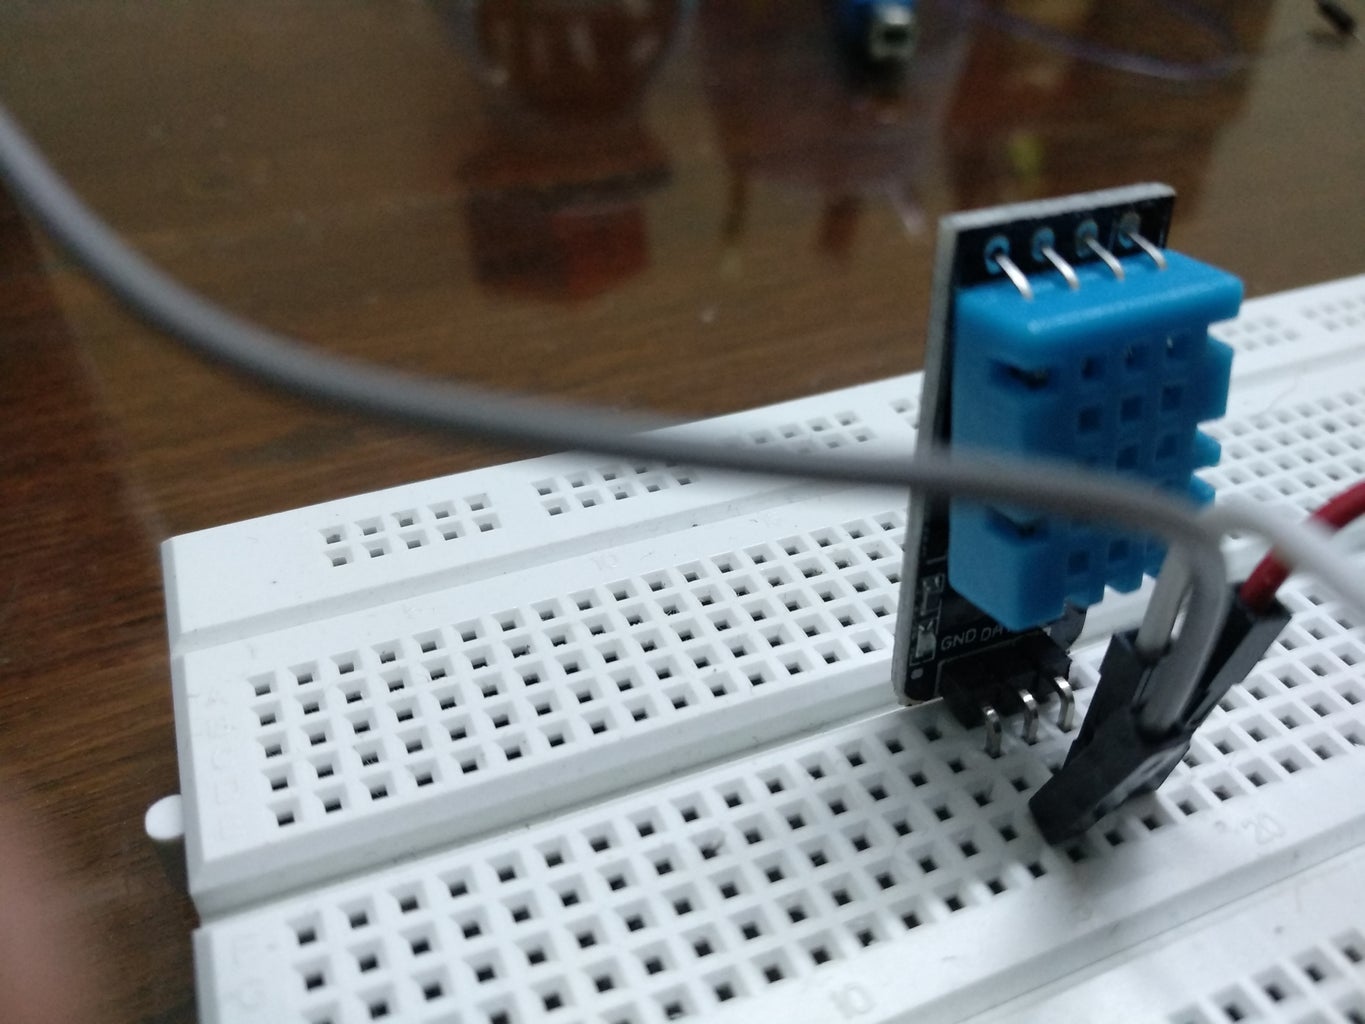
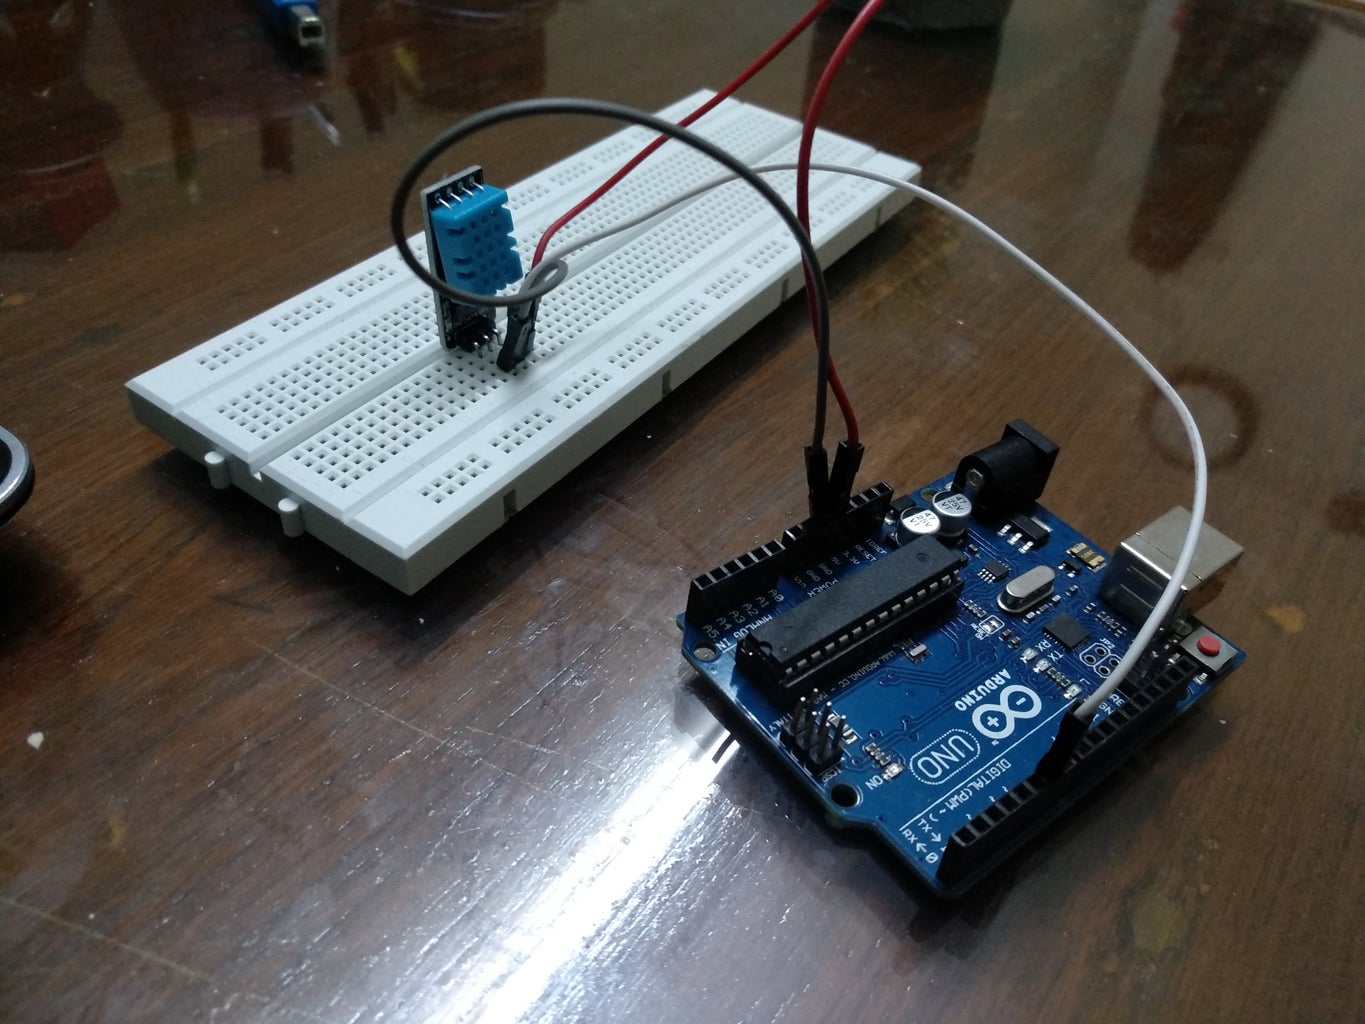

VCC goes into the 5V port of the arduino
GND goes into one of the Ground(GND) of the arduino
and finally we have the Data pin(the middle pin) which goes into any one of the digital pins(D2-D13)
Step 2: Code It
#include<dht.h><br>
dht DHT;
//Set the pin for the DHT sensor
#define DHT11_PIN 6
void setup()
{
  Serial.begin(115200);
  Serial.println("DHT TEST PROGRAM ");
  Serial.print("LIBRARY VERSION: ");
  Serial.println(DHT_LIB_VERSION);
  Serial.println();
  Serial.println("Type,\tstatus,\tHumidity (%),\tTemperature (C)");
}
void loop()
{
// DISPLAY DATA
Serial.print(DHT.humidity, 1);
Serial.print(",\t");
Serial.println(DHT.temperature, 1);delay(2000); } // // END OF FILE //
Using the Library DHT.h the coding becomes very easy, and extracting temperature and humidity is a piece of cake
The humidity value is stored in DHT.humidity and temperature in DHT.Temperature. All you have got to do is set the DHT11_PIN to the pin number you have plugged the sensor into
If you need help with including libaries use the above tutorial,hopefully it is helpful.


