

Introduction: IT STUDENT BASIC Computer Build
Let's get to computer building! But let's not get too ahead of ourselves (to be honest, I'm a very terrible teacher, but this is a school assignment, and my class has very basic supplies.) we'll take this at a comfortable speed (I think) and keep it as easily understandable as I can. FIRST! Why should you build your own computer? The simple answer is you can customize your computer to your specific needs so it can work to the ability of your needs.
Here is a list of all the components used (and were available to my class): Components List
And don't forget to get an anti-static mat and clip it to your case so it's ground and set all your components on it.
Now we can get started!
Step 1: Putting the CPU and Heat Sink in the Motherboard


Here is where we can first put in the CPU and the Heatsink.
First, we have the CPU.
When doing this it's important to not put excessive force on the CPU as to not damage it. You'll want to pull up the small lever to the side of the CPU slot so it will allow the CPU to slip into place without it being damaged. To do this there is a small triangle on one of the corners of the CPU on the side with all the pins. This small triangle aligns with an indentation on the CPU slot that it can fit in, line up the CPU pins and that triangle to ensure you have the CPU in the right place (No excessive force is needed to put the CPU in, if there is resistance it's probably not in right so pull it out and have a look to see if the triangle lines up).
Next, we have the Heatsink!
Now before placing the Heatsink in there might be some gray paste on your CPU and Heatsink (if your parts were previously used such as these), you need to clean off the paste which is called Thermal Paste. To remove this it's best to use Isopropyl Alcohol and anything that won't leave a residue such as a coffee filter if you can't buy or don't have Isopropyl Alcohol wipes. When removing the Thermal Paste rub the alcohol wipe until all the paste is gone on both the CPU and the Heatsink. Once this is done you can then place in the Heatsink, to do this there are latches on the sides of the Heatsink these align with hooks that are to the sides of the CPU. Set the Heatsink atop of the CPU and hook up the latches of the Heatsink to then latch it in.
Now on the next step!
Step 2: Adding a Video Card, Along With Ram, Placing the Standoffs, I/O Plate in the Case and Securing the Motherboard in the Case


Alright now the next part is best done if you set the Motherboard on top of a box so when placing the Video card so the part of it that comes down can hang off the edge of the box. To install the Video card align the card into a PCIe slot in this case specifical the x16 slot and apply slight force until you hear it click into place. Next find your RAM and locate the slots for it, to know if the RAM is properly lined up make sure the notches in the RAM line up with those of the slots.
Once this is done open up your case by locating the screws that are holding it closed and use a Phillips head to take them out of the case and open it up. (Be sure to keep all the screws that are being taken out separate as using the incorrect screw can cause damage to the case.) When your case is open, there should be small little holes in which you can put in the standoffs. The Standoffs keep the Motherboard from coming into contact with the metal of the case. After you've screwed in the Standoffs, you can then can find the I/O plate to lock into place in the area of the case that has a big rectangular hole by the area that the Motherboard will be placed on top of the Standoffs.
Gently align the Video Card in its place in the case while keeping the Motherboard on the Standoffs, when doing so, you can align the Input/Outputs with the I.O plate. Next get four screws to help secure the Motherboard to the case, to do this line up four holes located on the Motherboard and match them up with Standoff. Take each of the screws and hand screw them in before taking the Phillips head and firmly securing the Motherboard in place. There's also a small speaker that you can plug in near the front panel slots.
Step 3: Plugging in the Power Supply, Hard Drive, and Fan


Now you'll want to find your Power Supply and place it into the case, so it's easy to plug in all of the connectors that are necessary. While using a Modular Power Supply would be ideal for this to keep the cords from becoming a clutter as it allows you to use only the connectors that are needed; the one provided to my class were not Modular. To help keep everything neat and tidy using velcro ties to keep the unused cords out of the way is best. First, you'll want to plug in the 24-pin connector and locate its slot. Afterwards, plug in all other necessary cords (and realize this is the moment you're going to get a terrible grade on this assignment) You can secure the Power Supply by hand screwing the screws first so that they are easier to secure with the Phillips head. Also, make sure that the Power Supply voltage switch is on the voltage of your area. Once this is done you can grab your hard drive and insert it into the slot that it fits in (If it's too loose or doesn't go in it's probably not the right one) and secure it, after this you may notice that there are two cords that can be plugged into the hard drive, find them and plug them in.
This is where you can then secure the fan in it's spot near the Motherboard and connect it to the Motherboard as well. Just like the power supply you'll need to hand screw the screws first to make it easier with the Phillips head.
Step 4: Plugging in the Front Panel Connectors, Closing the Case and Starting Up the Computer


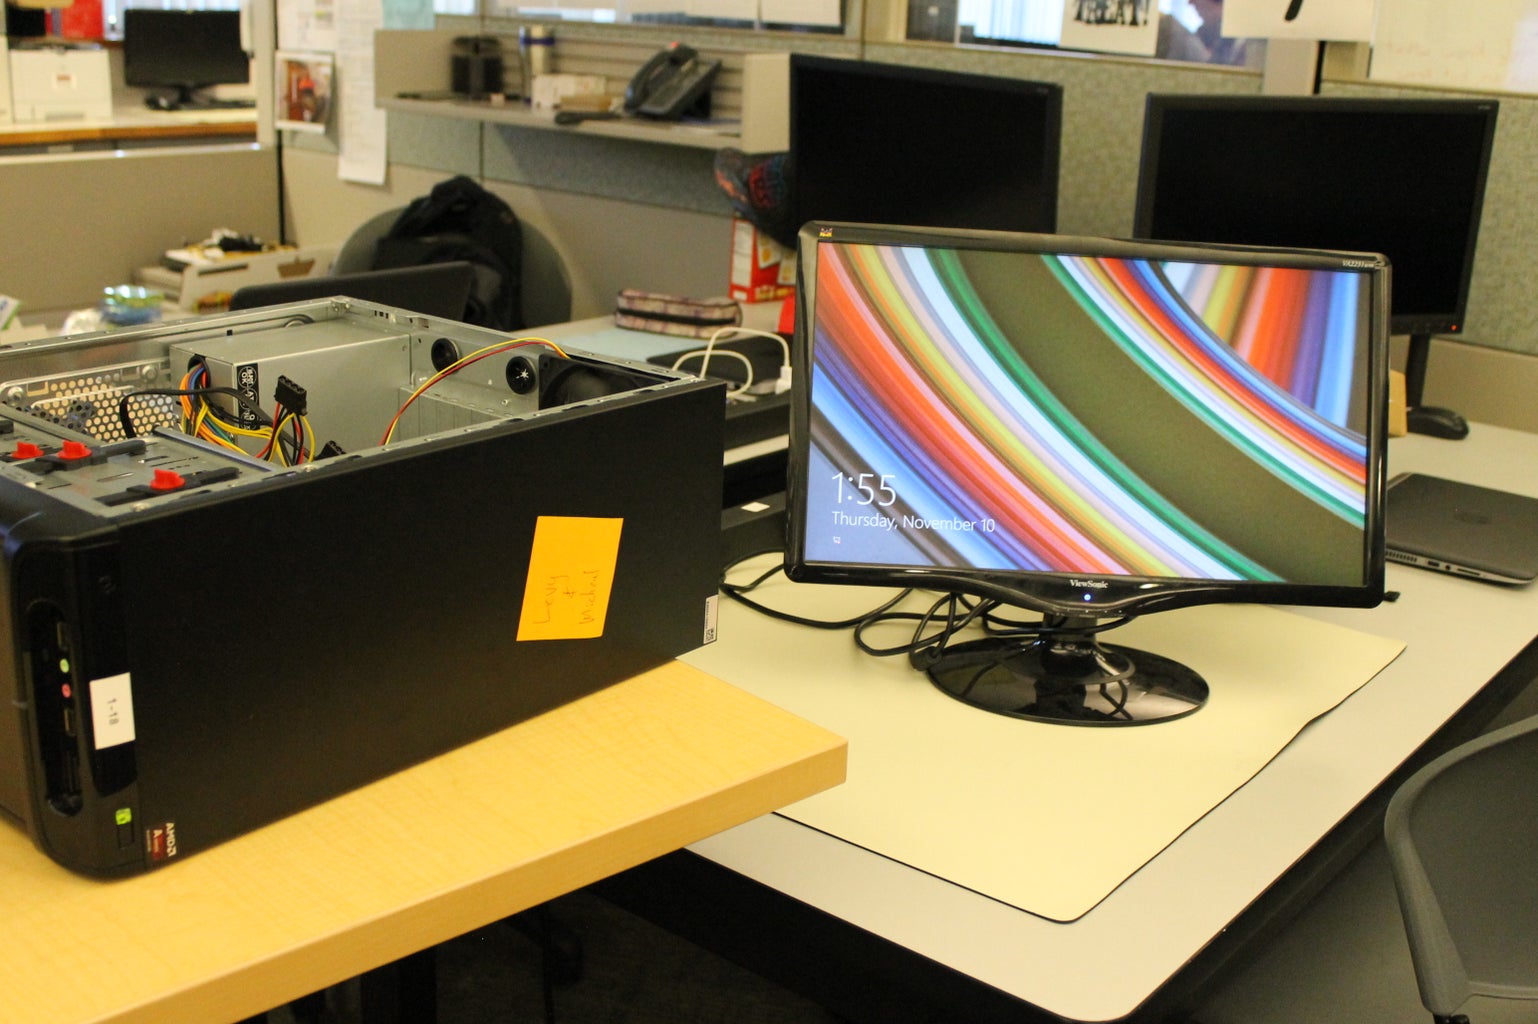
When you look at the motherboard there should be a small group of pins that have a tiny weeny table underneath them, this is where you would plug in the front panel connectors. Each of the connectors has a label that corresponds with the labels on the table, match theses up and then until you get to the one labeled Power SW. Pick up a flat head screwdriver and turn on the power supply then gently touch the two pins that are in the labeled area of the Power SW. The fan should start up and that will indicate that the power supply is working, you can then turn the power supply off and plug in the Power SW connector. You can then close your case by doing the reverse of what you did to take it off, which in this case (not to be taken as a pun) you'll slip the cover back into place and then secure it back to the case.

![Tim's Mechanical Spider Leg [LU9685-20CU]](https://content.instructables.com/FFB/5R4I/LVKZ6G6R/FFB5R4ILVKZ6G6R.png?auto=webp&crop=1.2%3A1&frame=1&width=306)


