

Introduction: Interfacing Buzzer to Arduino
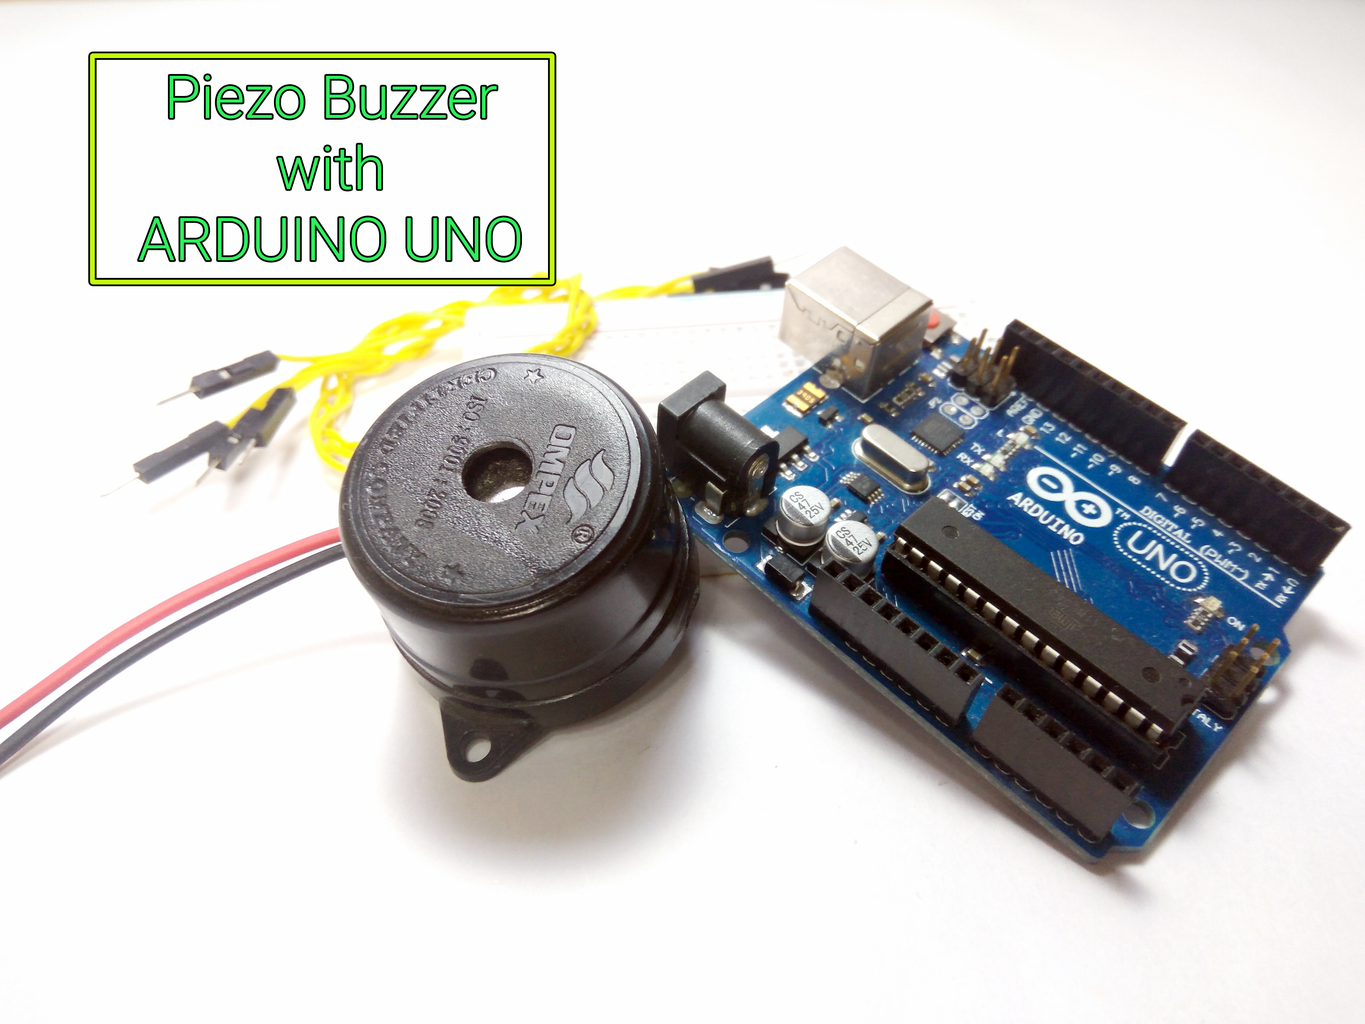


Piezo buzzers are used for making beeps alarms and tones. They can be used in alarm systems, for keypad feedback, or some games. Light weight, simple construction and low price make it usable in various applications like car/truck reversing indicator, computers, call bells etc. Also they are fun to play around with.
In this Instructable, I'll show you how to interface a piezo buzzer to an Arduino.
So lets get started !!
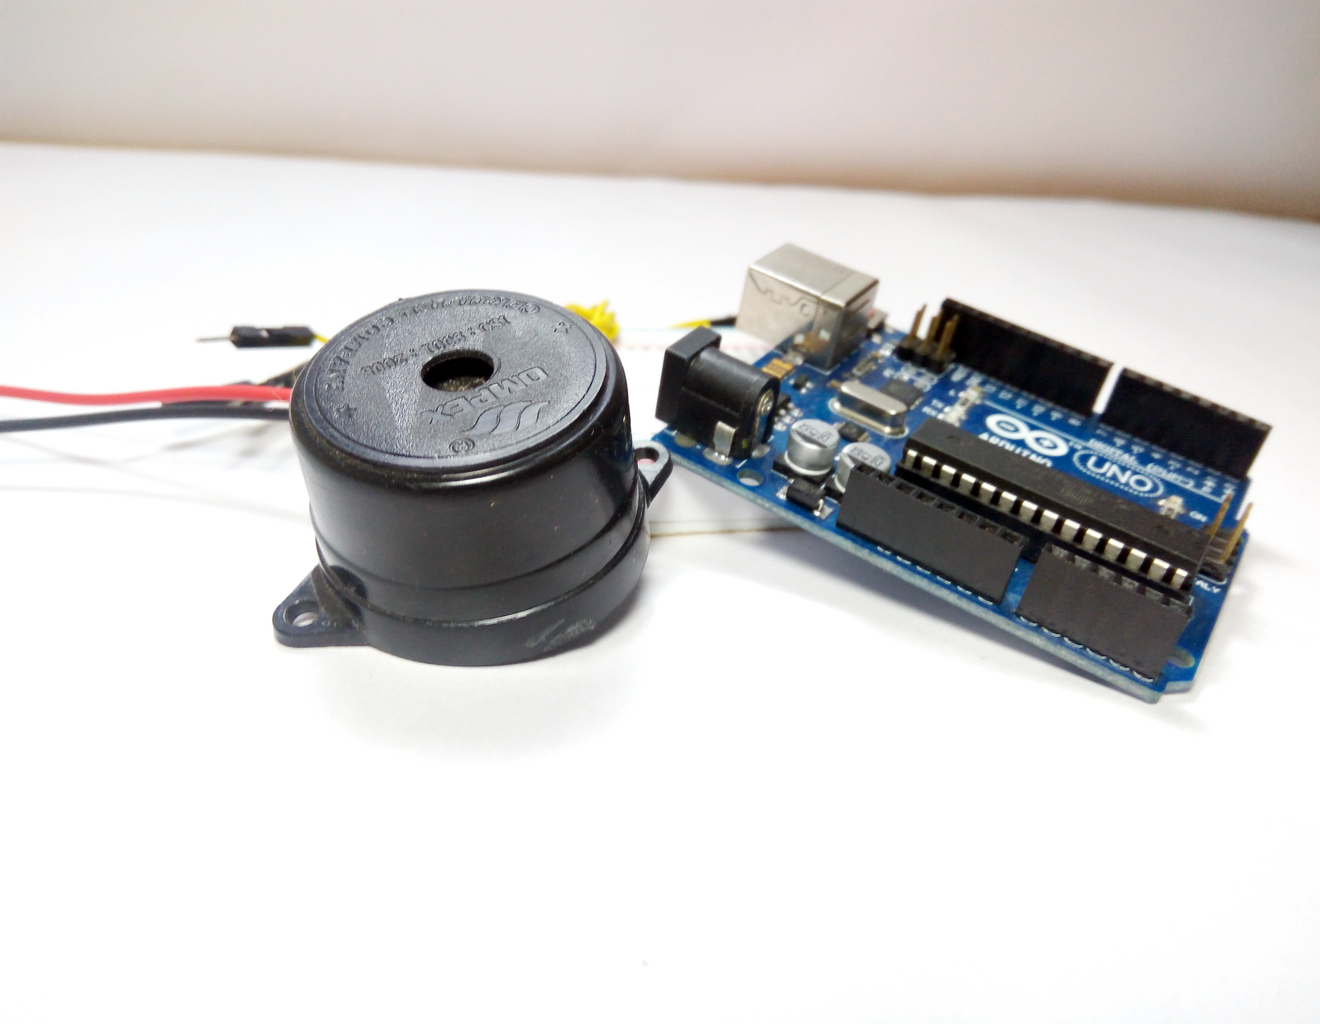
Step 1: All That You Need

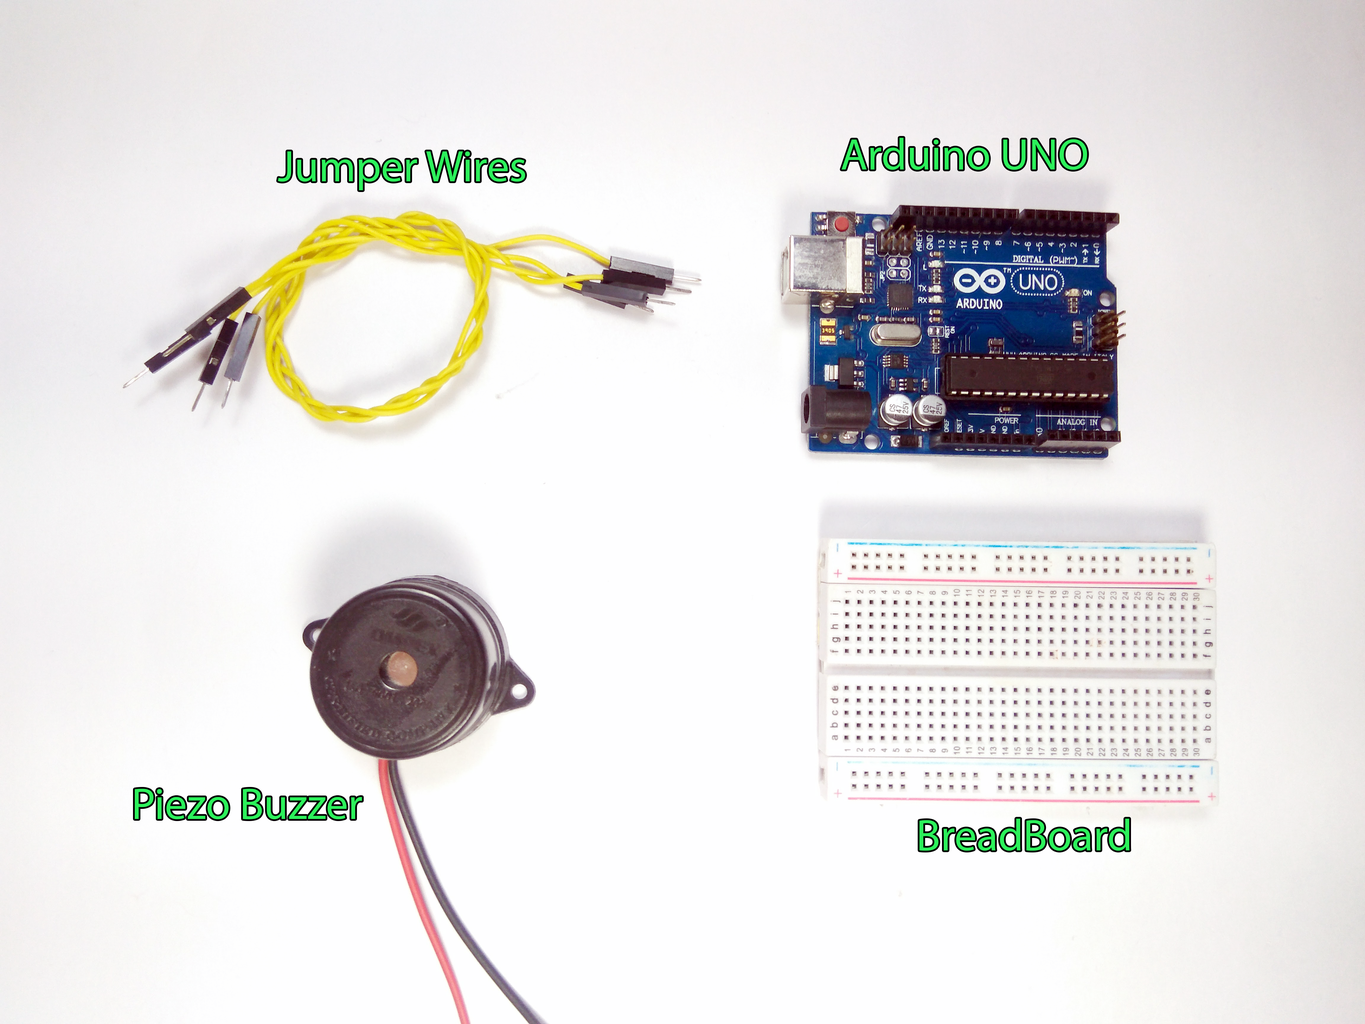

For this simple interfacing you will need:
- A Piezo Buzzer.
- Arduino Uno.
- Resistor 100ohm.
- Jumper Wires.
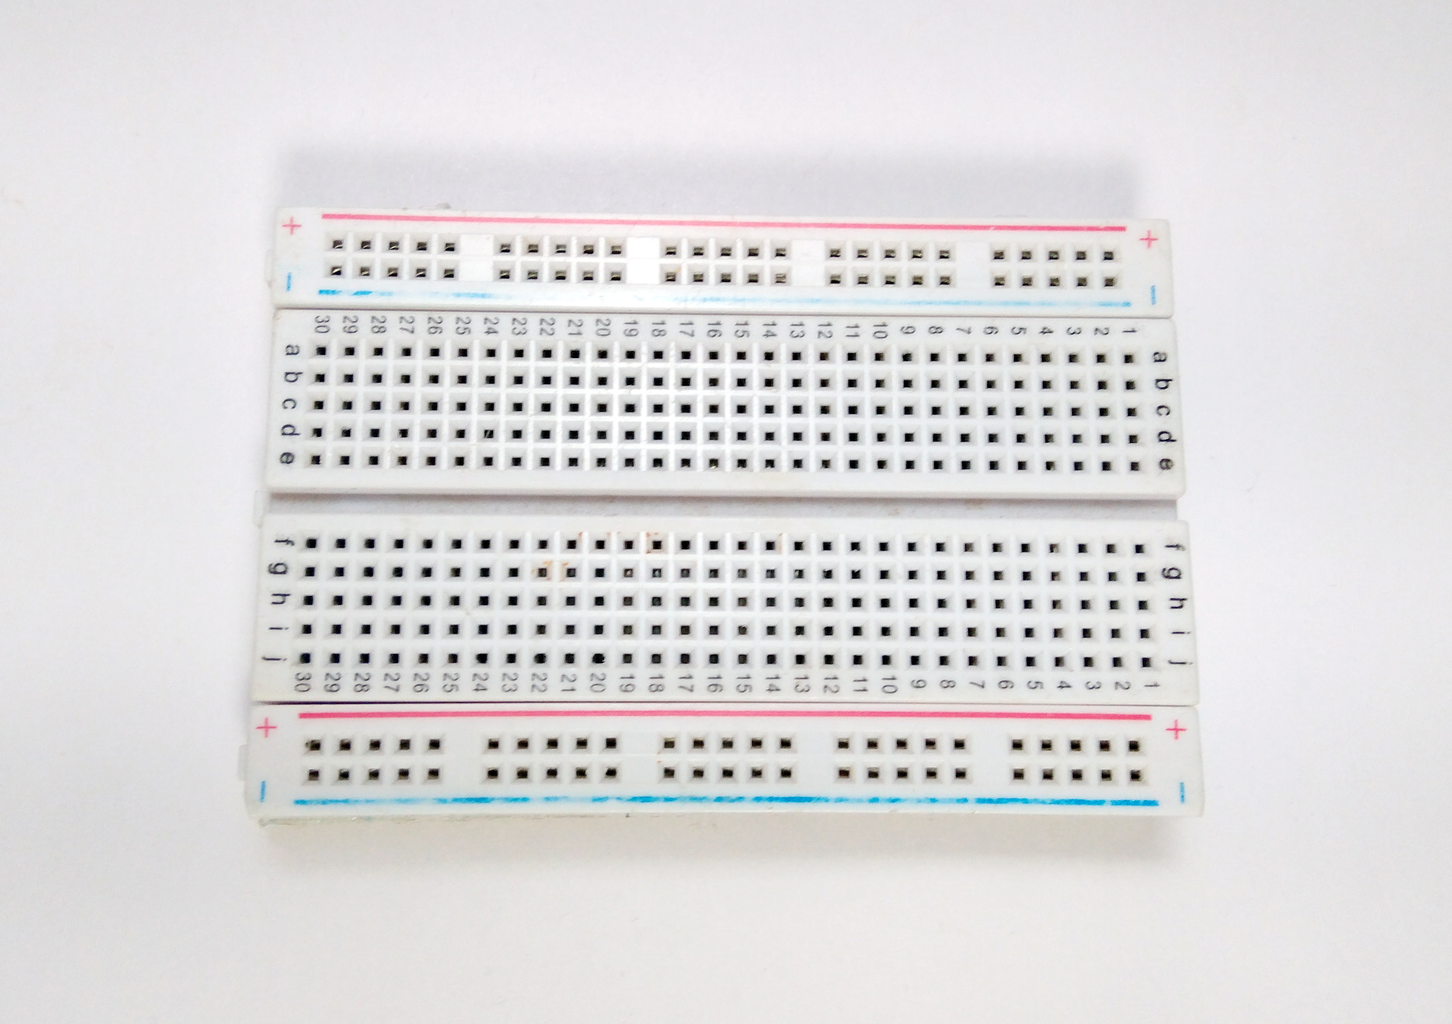
- BreadBoard.
Note: You can connect the Buzzer directly to the Arduino if you wanted to.
Step 2: About the Buzzer
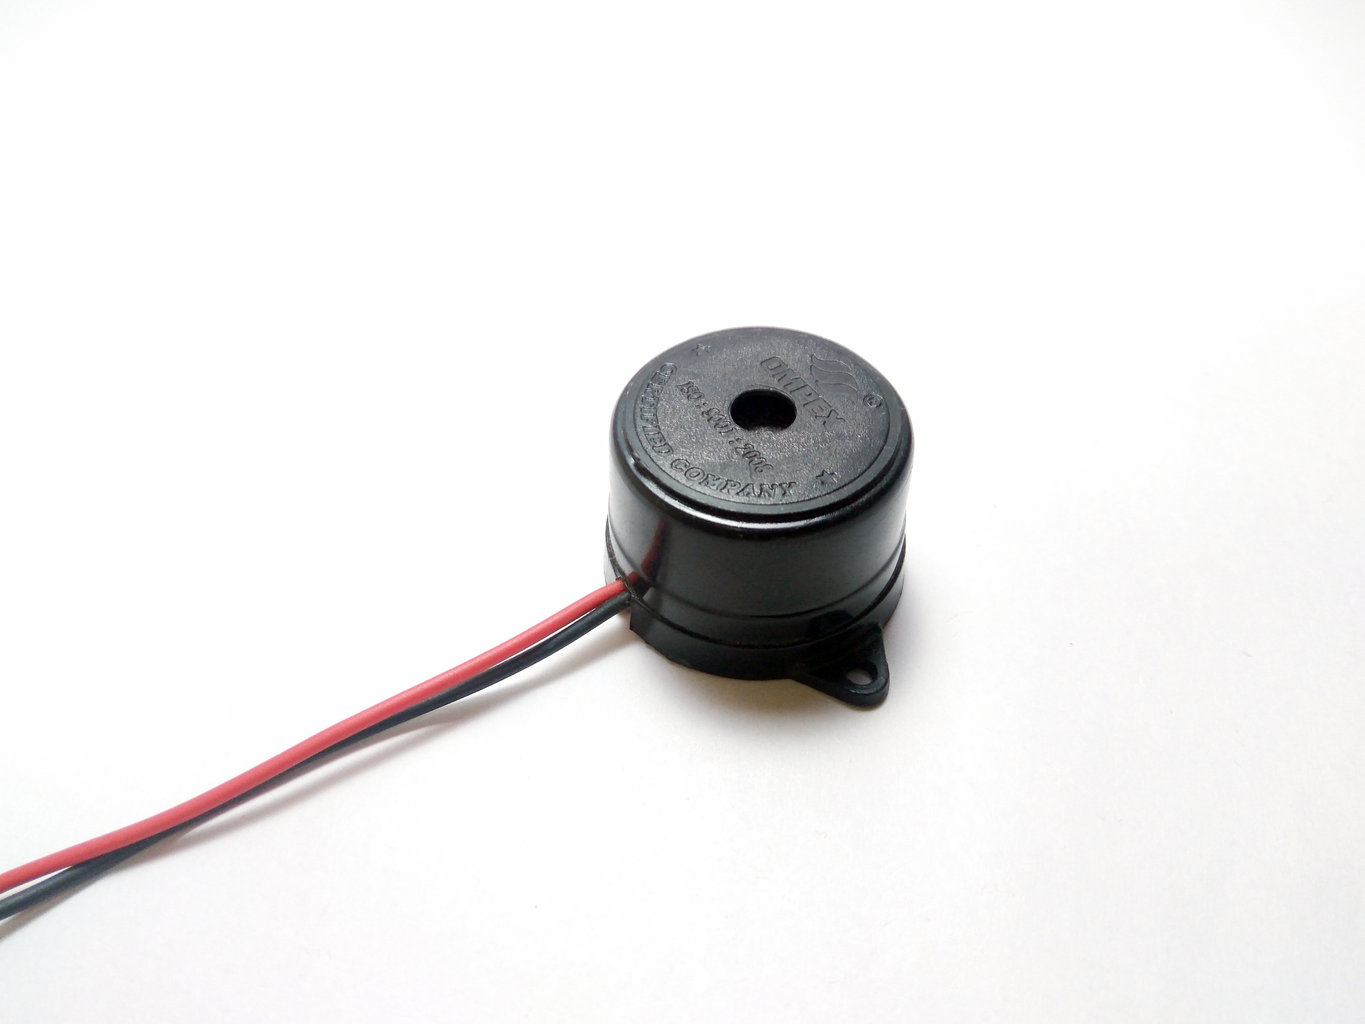
Piezo buzzer is an electronic device commonly used to produce sound.
Piezo buzzer is based on the inverse principle of piezo electricity discovered in 1880 by Jacques and Pierre Curie. It is the phenomena of generating electricity when mechanical pressure is applied to certain materials and the vice versa is also true. Such materials are called piezo electric materials.
Piezo electric materials are either naturally available or manmade. Piezoceramic is class of manmade material, which poses piezo electric effect and is widely used to make disc, the heart of piezo buzzer. When subjected to an alternating electric field they stretch or compress, in accordance with the frequency of the signal thereby producing sound.
Step 3: The Connections
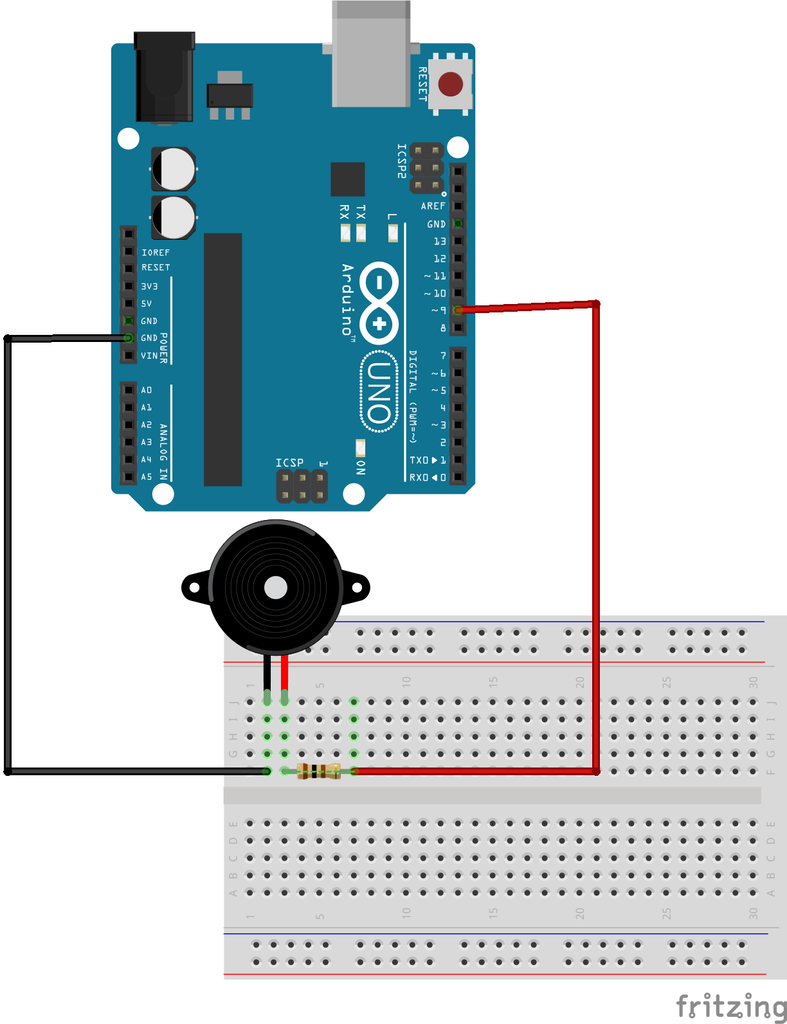
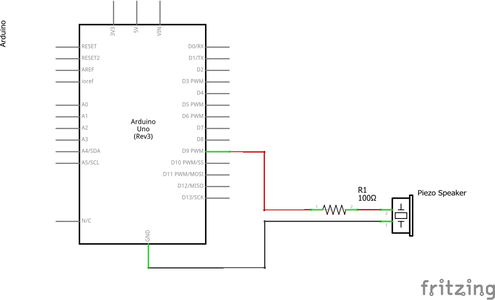
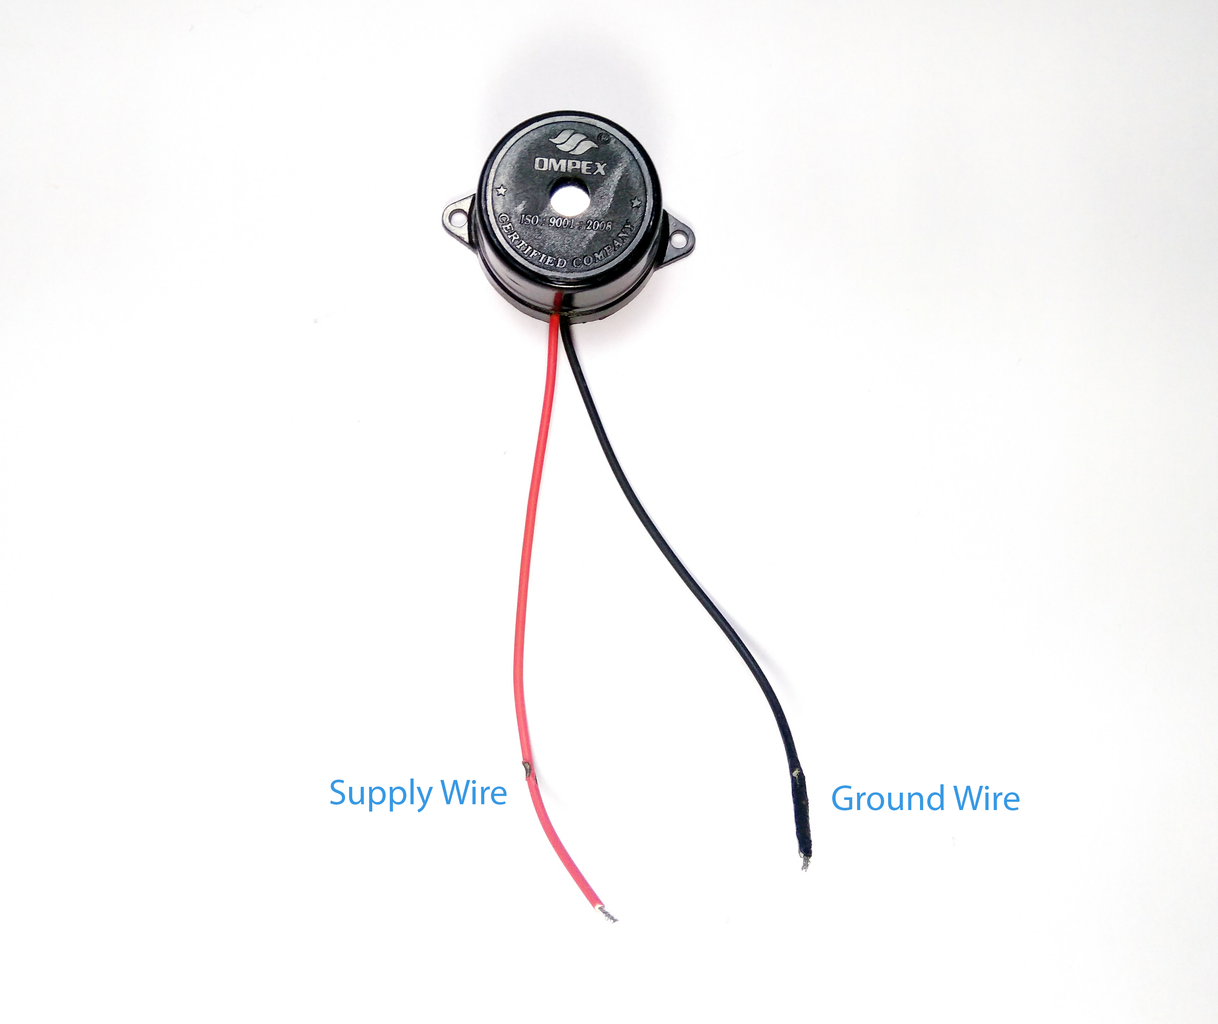
The Connections are pretty simple:
- Connect the Supply wire (RED) of the buzzer to the Digital Pin 9 of the Arduino through a 100 ohm resistor.
- Connect the Ground wire (BLACK) of the buzzer to any Ground Pin on the Arduino.
- That's all of it. Time to Code.
Note: The resistor is used in order to protect the board/micro-controller from any damage due to the audio output device.
Step 4: The Code
Use the following code to generate an alarm type of sound. The tone is an Arduino Library to produce square-wave of the specified frequency (and 50% duty cycle) on any Arduino pin.
<p>const int buzzerPin = 9; // declaring the PWM pin</p><p>void setup() {

Serial.begin(8600);
pinMode(buzzerPin, OUTPUT); //addigning pin to Output mode</p><p>}</p><p>void loop() {
  tone(buzzerPin, 50);
  delay(50);
  noTone(buzzerPin);
  delay(100);
}</p>
Here's a bonus code, The Super Mario Theme :)
Attachments

Step 5: The Output
This is the output you get from the above project. This sound might bug you, but you have the power to write a code to generate a music out of it. Keep Innovating.
That's All Folks !! Stay tuned for More!!
Keep DIY-ing!!
