

Introduction: Large Off Camera Ring Light


After seeing images from people such as Dani Diamond and Jay Russell (aka the Photo Fiend) I decided to make my own large ring light.
The off camera ring light allows for a fantastic soft continuous even light source allowing wide apertures and creates a fantastic catch light in the eyes of the subject.
My motivation was to create something on a cheap budget that was versatile enough to be used in a studio or in a normal room.
As a safety warning I have to say that you will be dealing electricity. If you wire something wrong or miss something whilst wiring the ring light up you could electricute yourself or do serious harm to others. If you are unsure about anything I recommend getting someone with a bit of electrical know how to help you.
Its better to be safe and alive than dead with a shocking picture!
This whole build cost me around £70 but can be done cheaper if you have the time and patience for eBay.
Step 1: Materials
3.5ft by 3.5ft MDF board
Black paint
10 meters of two core 0.5mm cable
20 x 25w Bulbs
20 x Socket holders
1 x plug
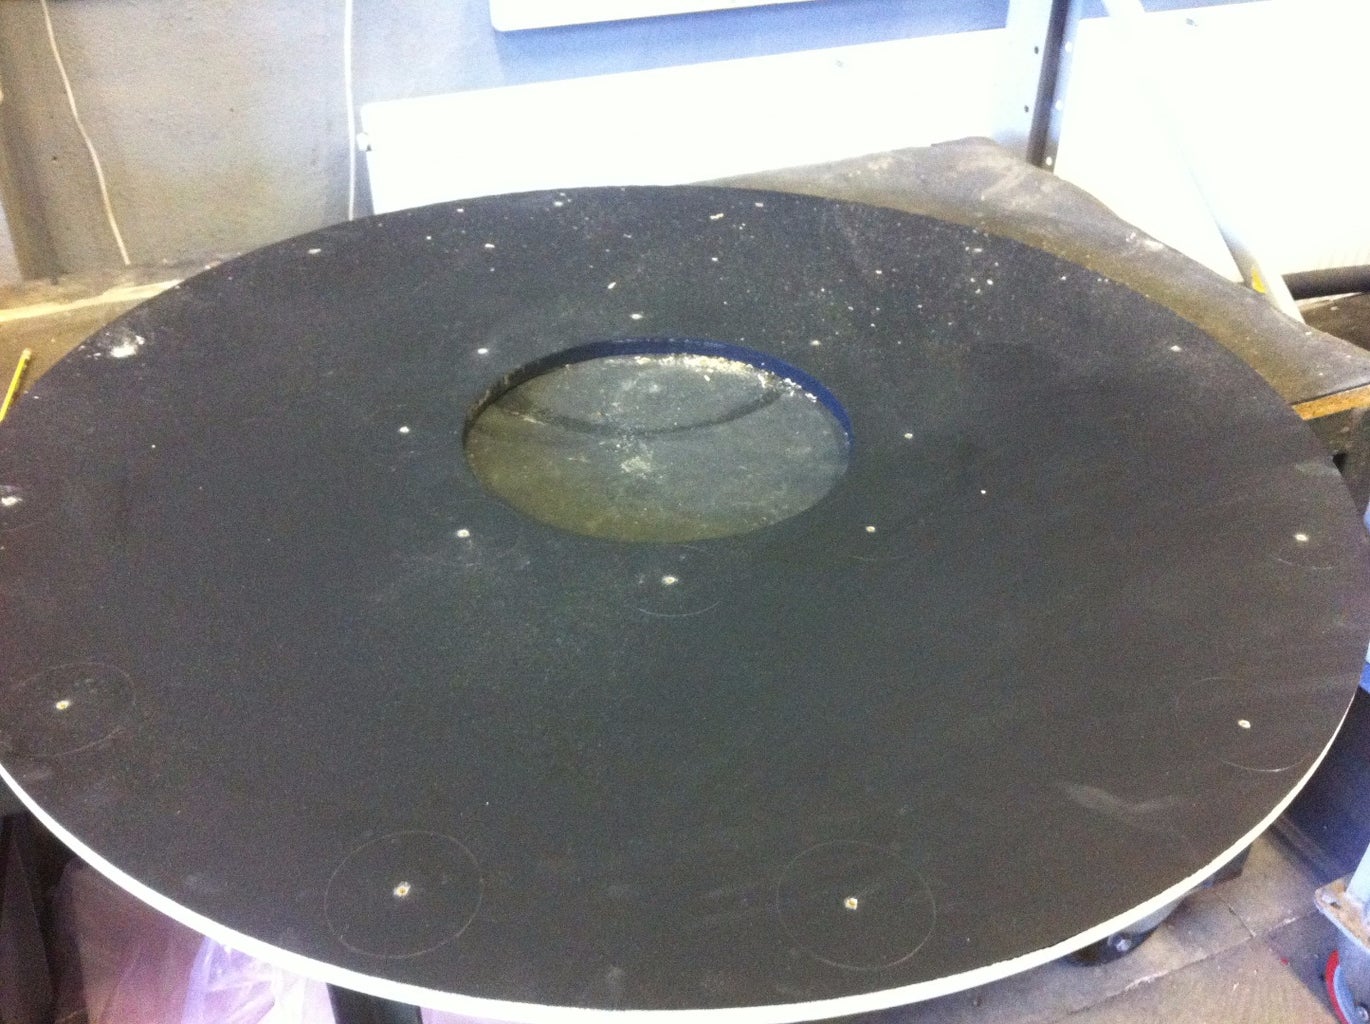
Step 2: Step 1: Cut MDF Board & Paint


First thing I did was mark my MDF board up with a 3.5 ft by 3.5 ft circle with a 1 ft by 1 ft inner circle. Once this was marked up I used a jigsaw to cut the outer and inner circles out.
Next I painted the circle black as this will help absorb any excess light from the bulbs.
Step 3: Step 2: Make Up Bulb Holders and Drill


Placing the bulb holders on the board in the positions you want them to be on the finished ring light make around them with pencil.
I placed my outer ring on the hour positions like a clock and the inner ring I spread evenly between.
Next drill a hole in the centre of each circle you've drawn on your ring light as this will be where you thread your wires through. Make them large enough to fit two sets of wire through.
Step 4: Step 3: Wire It Up and Secure the Holders

Once again I need to warn you if you're unsure what you are doing with wiring ask someone who does as this is going to be plugged into the wall and can be dangerous if the wiring is done badly.
Anyway with that safety bit out the way wire each socket holder up. I did mine in parallel with the outer and inner rings on separate runs. Make sure you don't mix up the polarities as it can be a nightmare going over each socket holder one by one checking which one is wired wrong.
Take your time and you shouldn't have any issues.
Once they're all wired together you will have two sets of positive and negative wires (if done like mine in two runs, one if done all in one run). Wire these to the plug and put to one side.
Screw down the socket holders onto the MDF and secure any loose cable behind the board (so it doesn't look as messy as mine did).
Step 5: Step 4: Plug It in and Go


If everything has been done right screw in your bulbs and plug it in. Turn the power on and hopefully you won't have anything go bang.
Place a willing subject in front of it and set your camera up behind on a tripod. This is personal preference but I find it easier to get a good sharp image this way as you'll be dealing with low apertures (depending on your bulb wattage) and manual focusing with the live view zoomed in will assist in nailing the focus on the eyes.
Normally my settings are around ISO 400-800, f2.8 - f4 and shutter speed 1/90 sec to 1/180 sec. This all depends on how close my subject is to the ring, wattage of bulb and the sort. Experiment and you'll soon find your optimal settings.
Remember to grey card your first shot unless you are using daylight bulbs you will have a colour cast. I use cheap bulbs and get a really nice soft light from them and colour correct in post.

Participated in the
Lamps and Lighting Contest 2016


