

Introduction: Linear Clock Using Arduino + DS1307 + Neopixel: Re-using Some Hardware.


From previous projects I had an Arduino UNO and a Neopixel LED strip left, and wanted to make something different. Because Neopixel strip has 60 LED lights, thought to use it as a big clock.
To indicate the Hours, a red 5-LED segment is used (60 LED / 12 segments = 5 LED). The Minutes are shown with a single green LED, and the seconds using one blue LED.
I added a DS1307 Real Time Clock board in order to keep the time when the Arduino is not powered.
This is the Neopixel 60 LED strip used: https://www.adafruit.com/product/1138 and this the DS1307 board: https://www.adafruit.com/products/264
Initially the LED strip was planned to be hanging on the dinning room wall, but my daughters told me to attach it to a piece of wood from a pallet, so they drew the numbers and glued to the wood.
Step 1: Prototype Board.


Here you have the circuit to be implemented, and the BOM.
If you don't use the DS1307 RTC board, it will not work. The Hour and Minute will be reset when the Arduino is not powered because this board does not have an internal RTC.
The prototype board helps keeping the RTC DS1307, a couple of resistors and buttons in place.
Some soldering and cabling is needed.
The "H" button increases the hour when pushed. The "M" button increases the minute. The seconds are reset when any button is pressed.
After 6 month of continuous operation, there has been a 2 minutes delay (fairly good, in my opinion).
Step 2: Arduino UNO
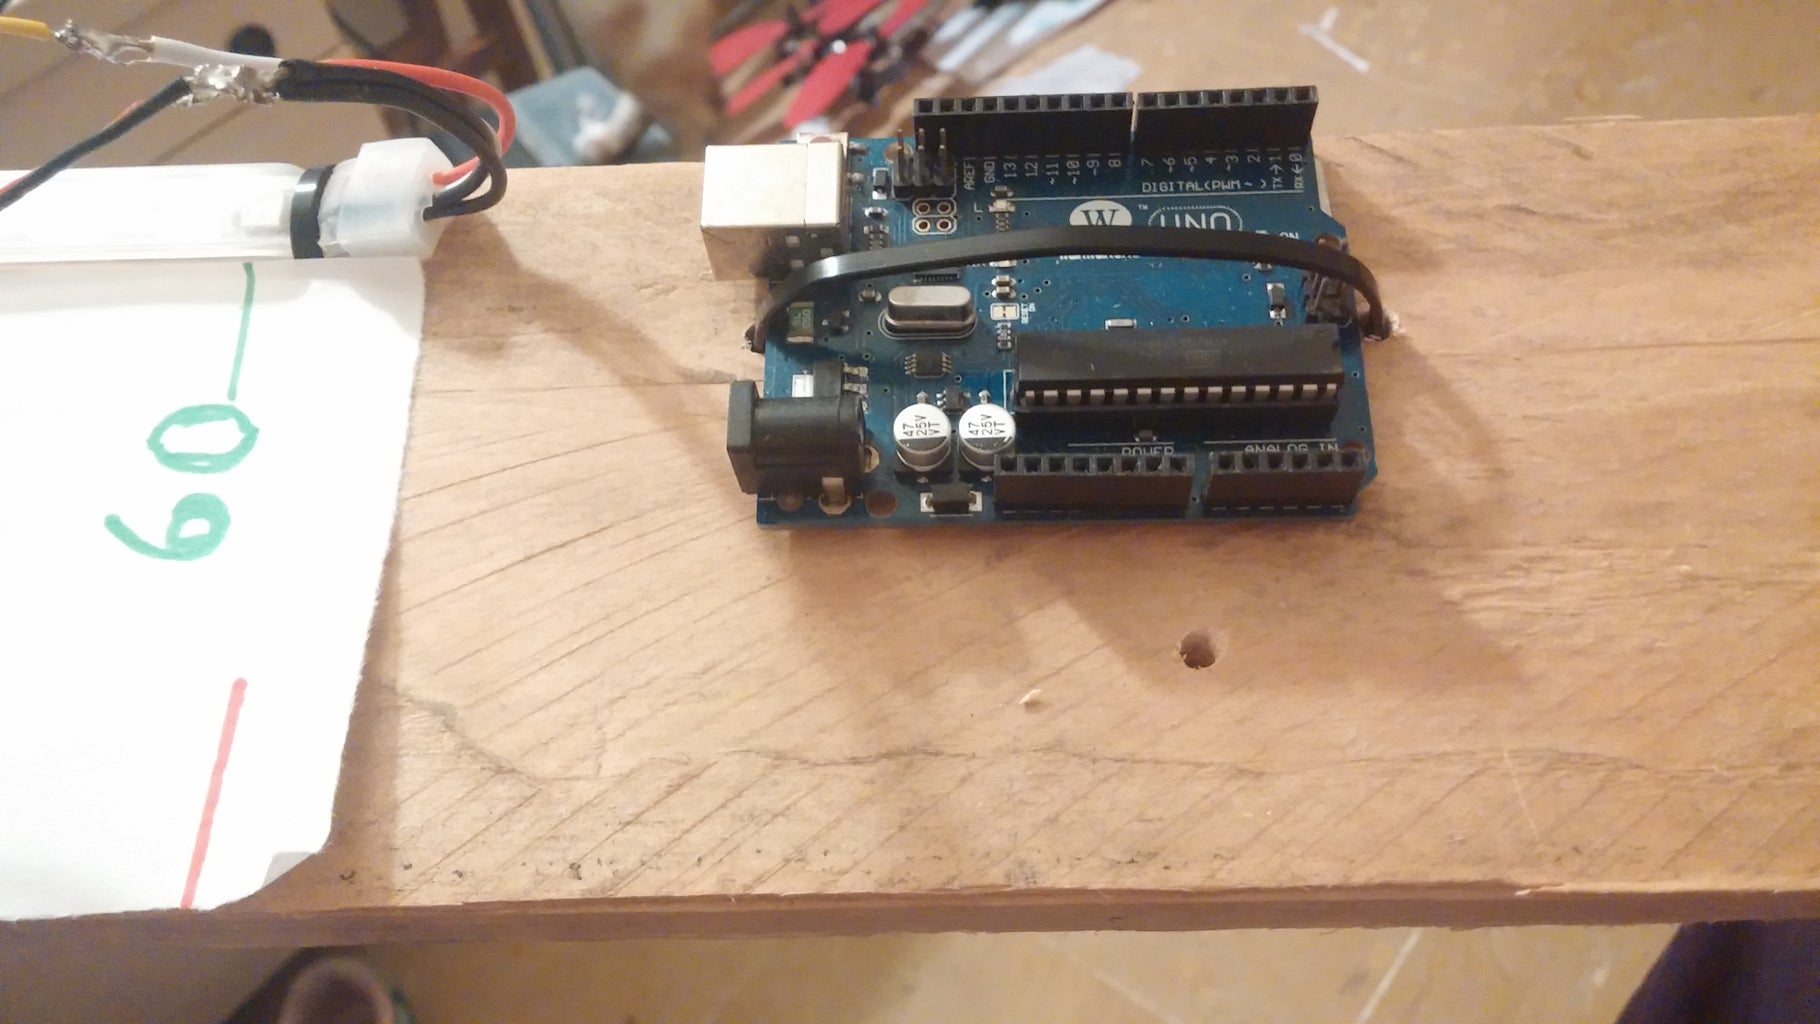


I used an old Arduino clone, and some pins to connect the prototype board.
You can find the Arduino code at:
https://github.com/Giroair/Linear-Clock-Arduino/bl...
Attached the Arduino to the piece of wood using a plastic tie.
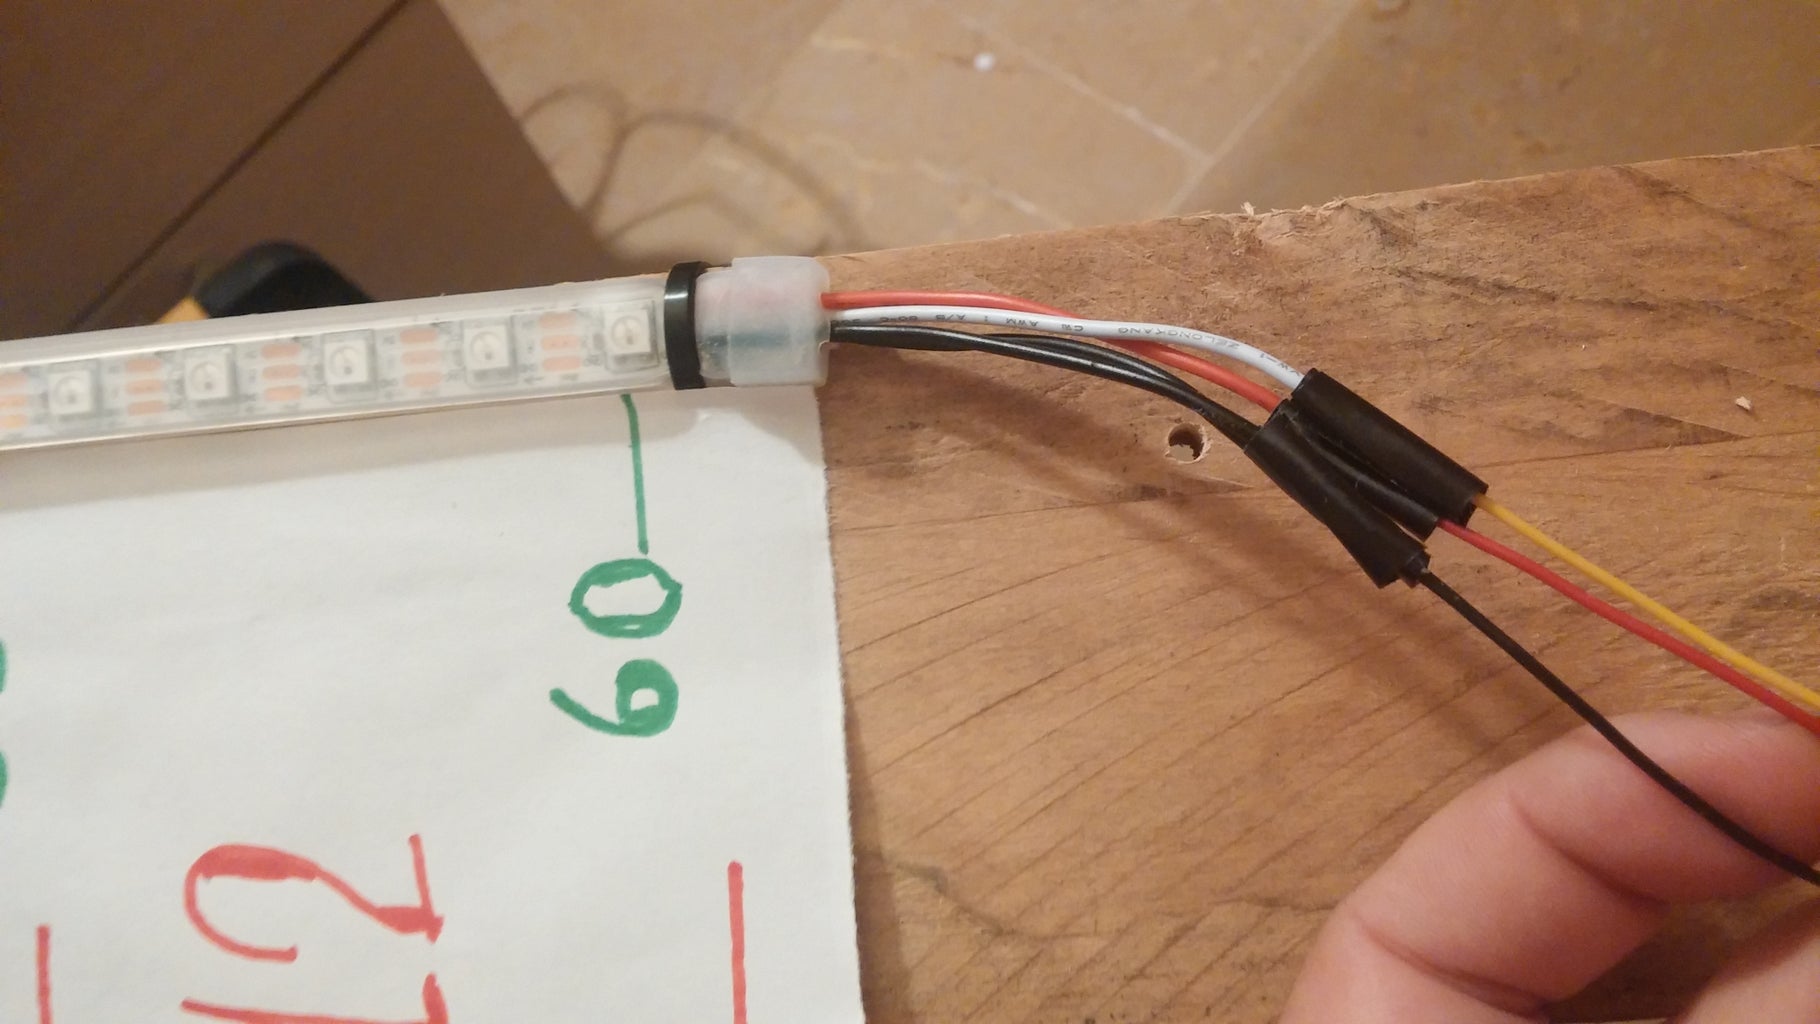
Soldered 3 cables to the Neopixel strip (caution: use some isolation tape or connector).
In this project the Arduino is powered by a standard 5V 1A USB charger.
Info for developers: the Neopixel is powered from 5V pin of the Arduino UNO because only 7 LED are On simultaneously. If you plan to turn On more LEDs (which will be perfect for more attractive displays) consider powering the Neopixel from an external 5V source. In that case, connect source GND to GND pin of the Arduino board.
Powering the Arduino connecting external and reliable power source to 5V pin is also an option.
Attachments

Step 3: Attaching LED Strip to Wood.


Used 3 plastic ties to hold the strip in place. Be careful not to cover any LED.
Some sheets were glued to the wood, and painted the numbers.
Red numbers indicate the Hour. Lines are drawn every 5 LED.
Green numbers indicate the Minute. Note that the first LED indicates the first minute, and the last indicates the 60th minute.
Step 4: Future Development.

Some ideas from this project:
1.- Carve the numbers in the wood using a chisel, and paint and varnish it.
2.- Draw the Hours numbers in one side, and the Minutes numbers on the other.
3.- Use 2 LED strips back to back: one facing left for the Hours, and one facing right for the minutes.
4.- Experiment with different segments and colors: imagination is the limit (you are advised to use an external 5V power to the Neopixel strip).
5.- Show Hour and Minutes alternatively.
6.- Divide LED strip into segments and make an 7x8 LED matrix to show digital numbers & characters.
7.- Dim the light: use a LDR or photodiode to automatically dim the light.
8.- Connect to the cloud to get the time from a server.
9.- Enable an Alarm: the strip flashes when phone calls or tweets are received, or a time alarm is set.
10.-.... just let me know!
Step 5: Post-Script: 2 Strips.
I left the file "neopixel_invers_2_strips.ino" in https://github.com/Giroair/Linear-Clock-Arduino
It is intended to control one strip to indicate hours connected to pin #6, and a second strip to indicate minutes/seconds connected to pin #7.
Both 5V DC and Ground of the strips are connected to the same source.
DISCLAIMER: couldn't test it as long as don't have 2 strips. If you test it, be kind to report bugs or confirm it works well.
Thank you.


