

Introduction: NodeMCU Smart Room | ESP8266 | Arduino


I have been creating a youtube series of "How to automate your room with arduino?" and as a part of this production i bring to you one of my newest upgrades.
I decided to use the ESP8266 nodemcu WiFi module because it could be programmed as an arduino, with the same language and IDE and it is a lot more powerful than the arduino by itself, because it has WiFi, a lot more storage memory, is way faster (80Mhz) and friendly.
I'll show you in few steps how i made it, lending you the schematics, code, materials and a demo video.
Step 1: Demo Video:
Step 2: Materials You Will Need:
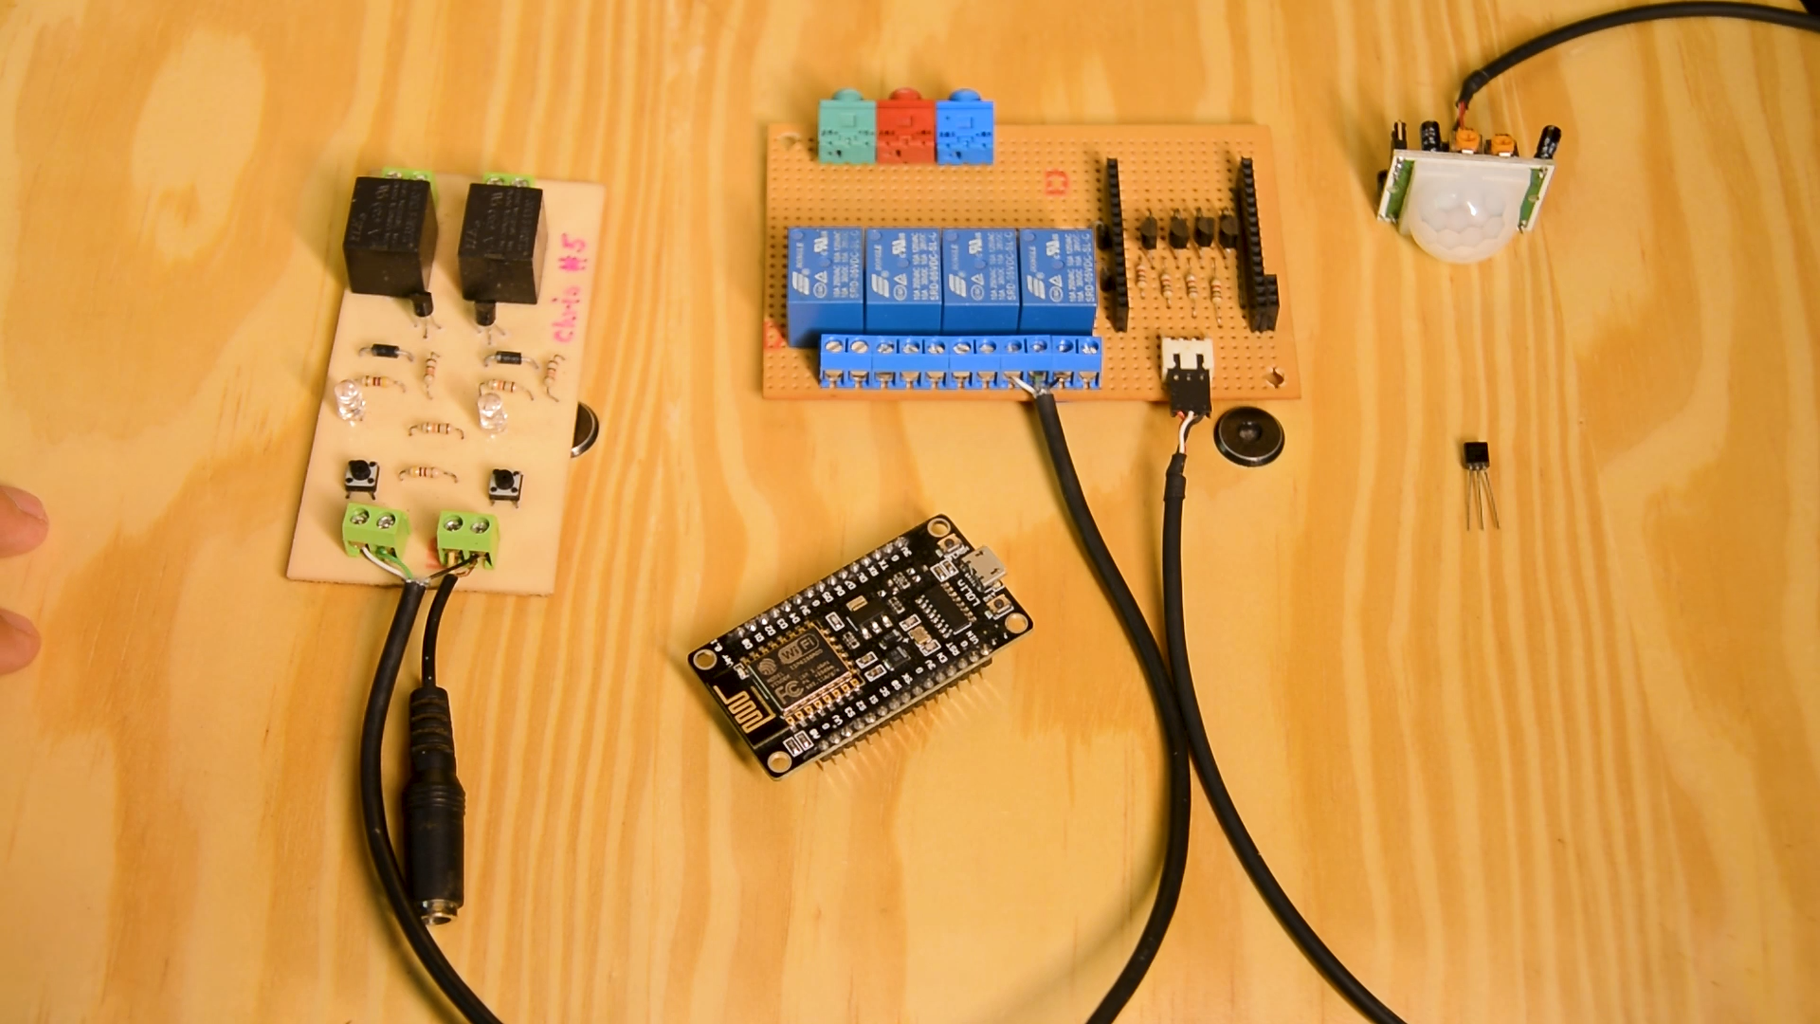
1-NodeMCU ESP8266 board
1-PIR sensor
1-LM35 temperature sensor
6- 3904 NPN transistors
4-1n4001 diodes.
8-1k ohm resistors
4-5v relays
2-12v relays (can be replaced by 5v ones).
8-Terminal blocks
Some wiring to connect everything and that's it.
Step 3: Code and Schematic:


Here i give you the code and the schematics designed by me.

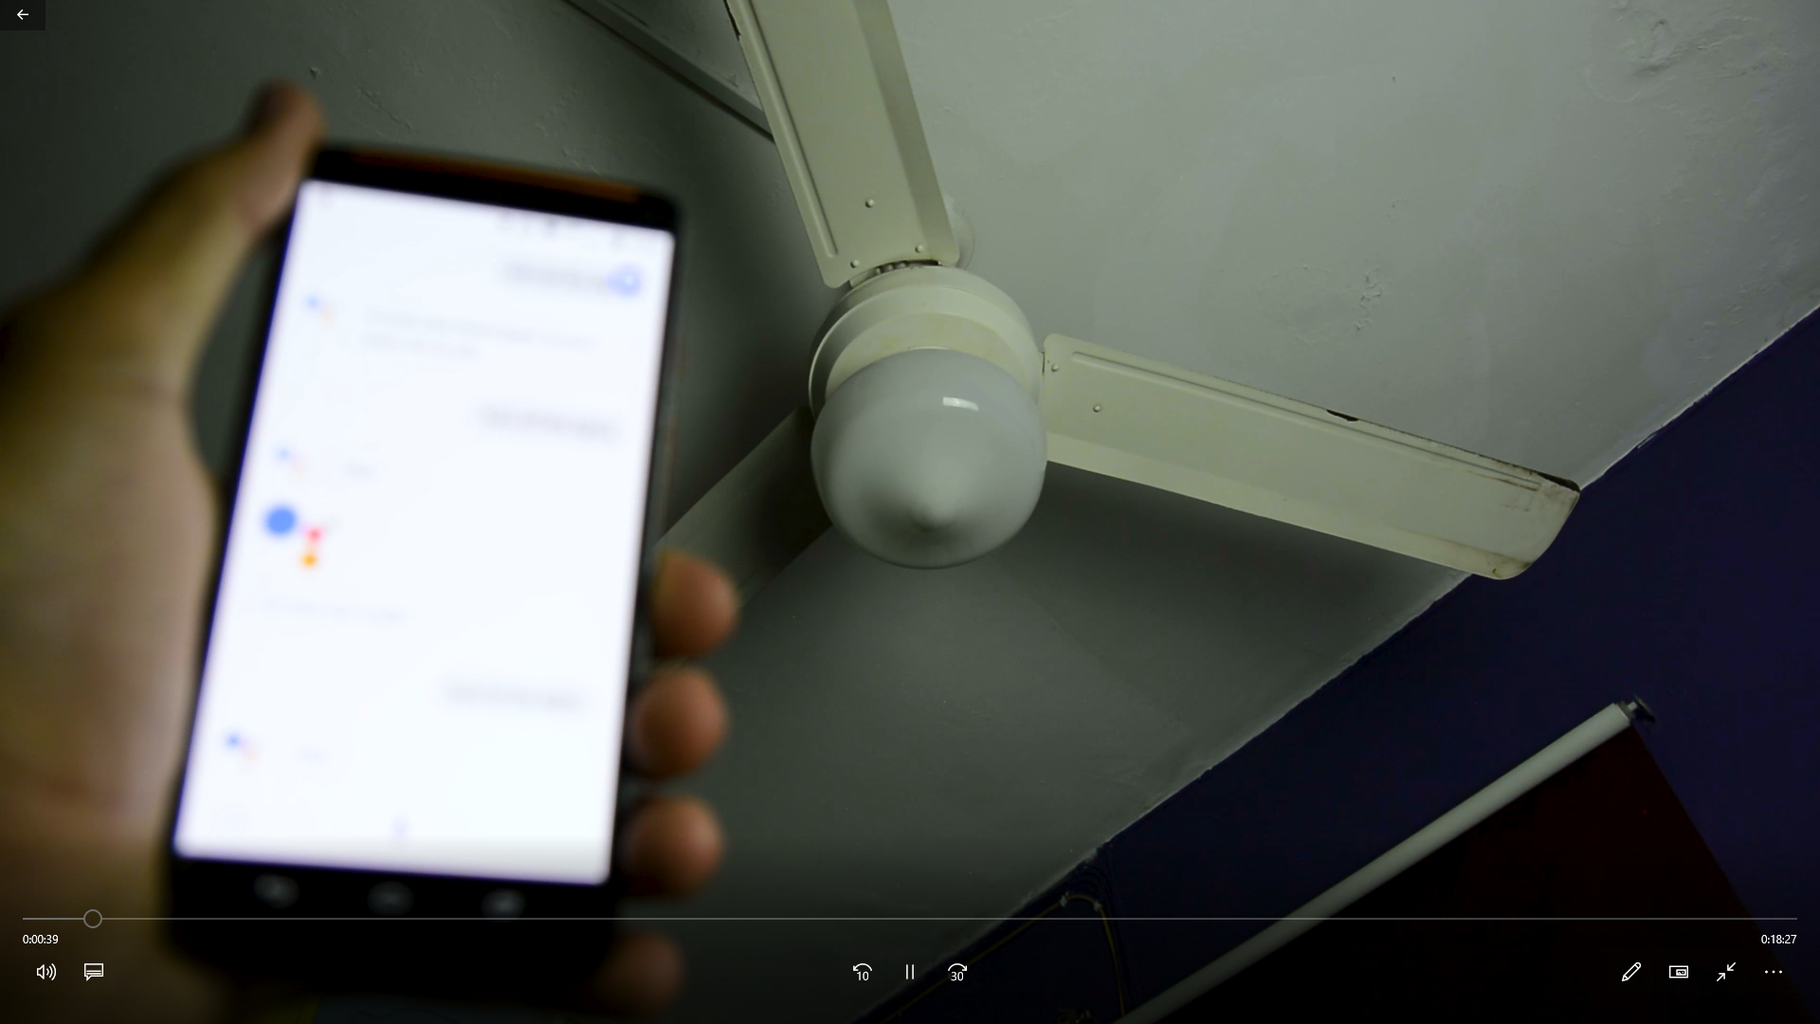
Step 4: Voice Control With Google Assistant Setup:
As you can noticed on this video i didn't use the same module, but is the same way to program it and to set the ifttt account with the adafruit one.
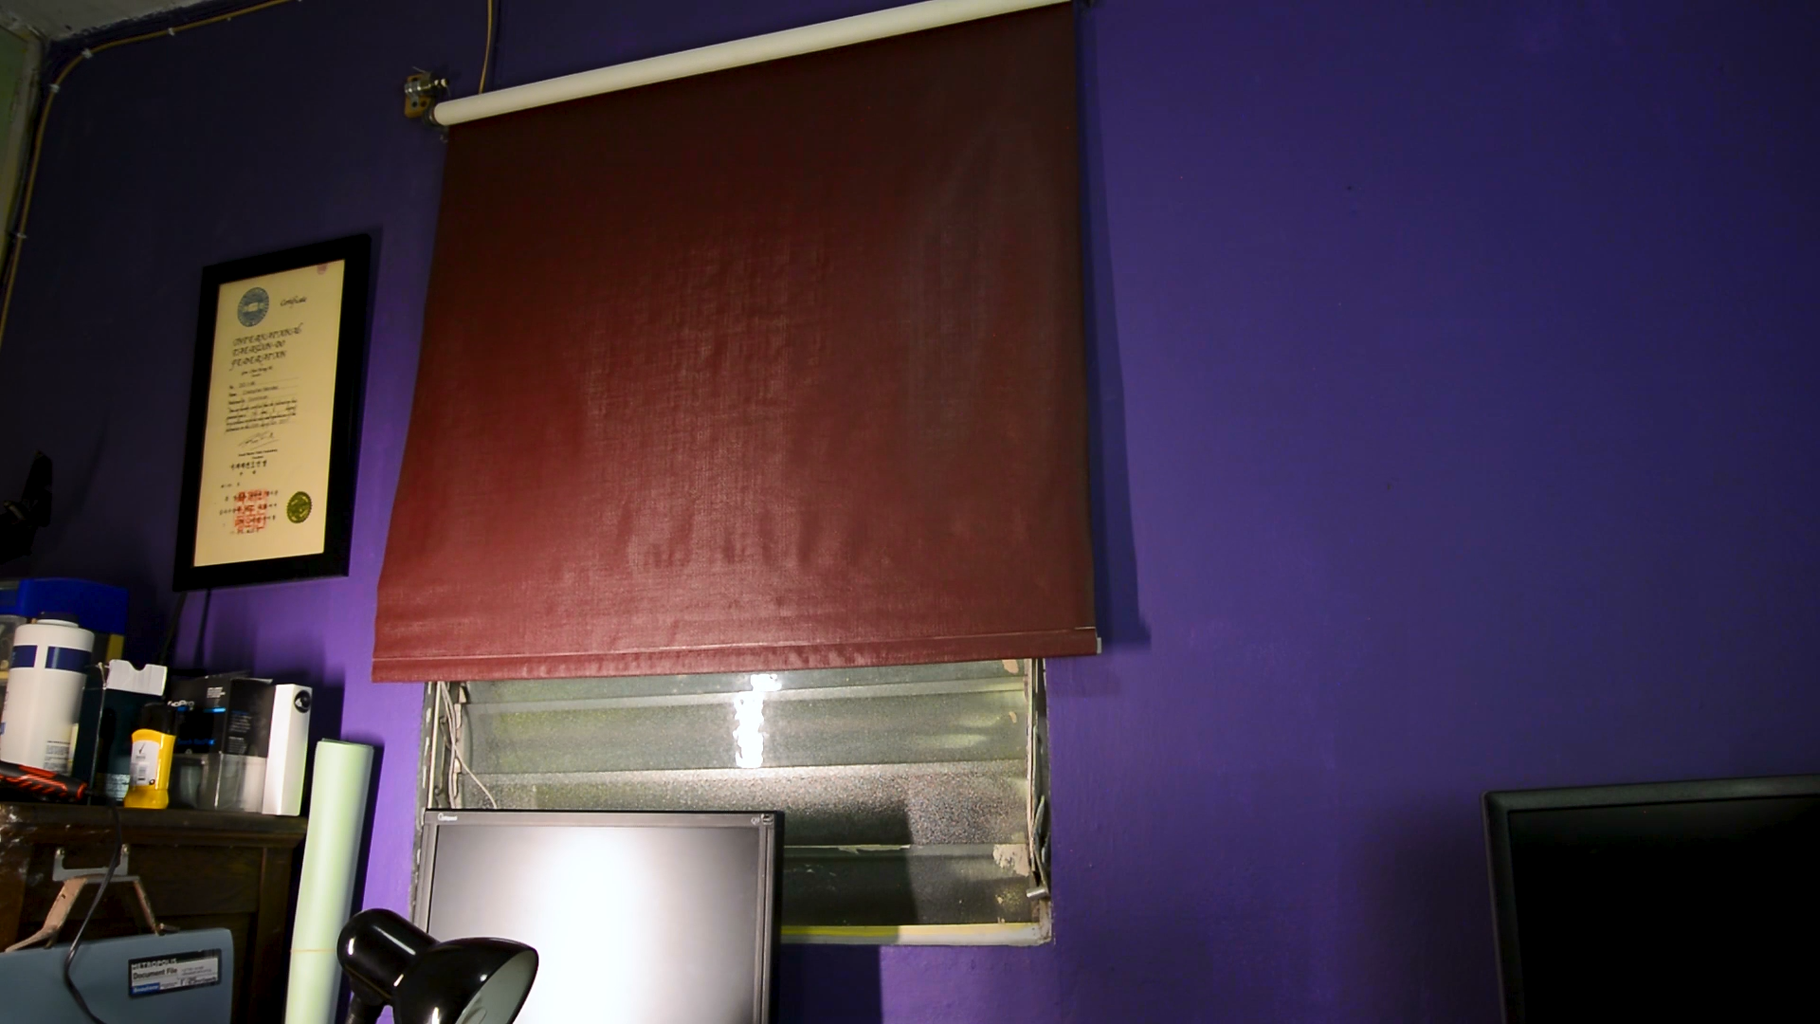
Step 5: Assembly:


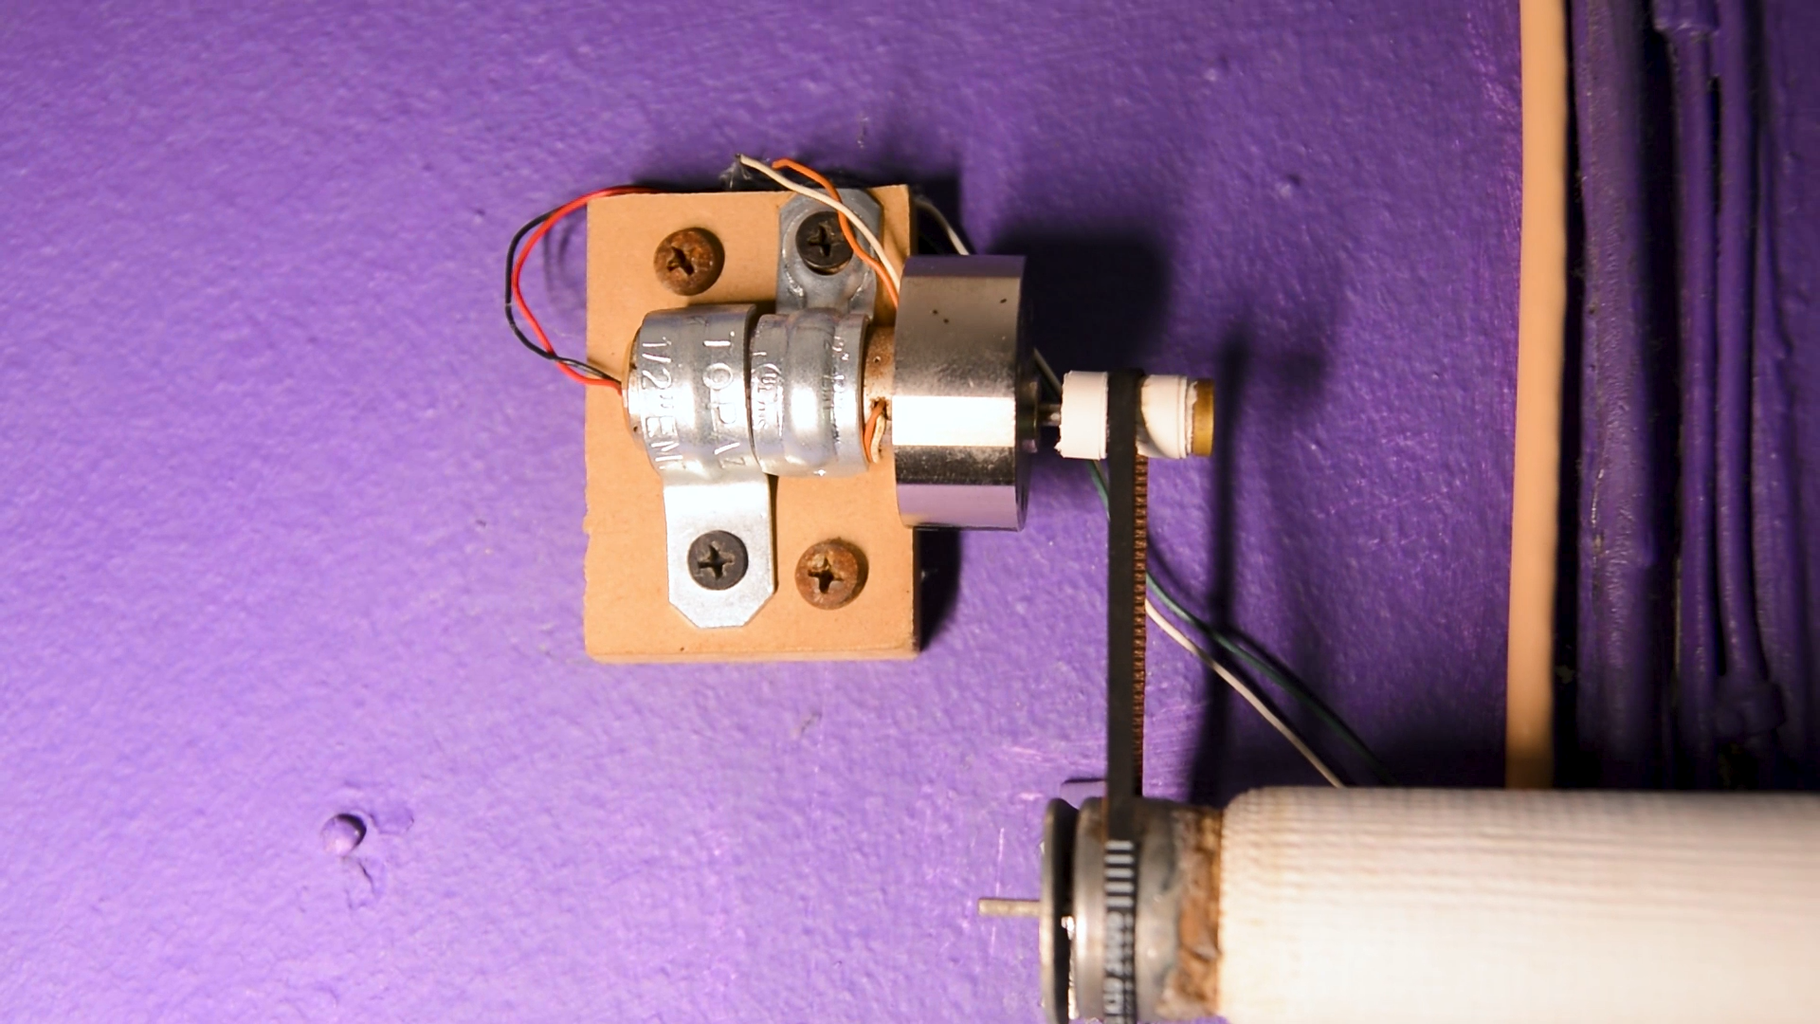
Be sure that the module is correctly connected, and the AC wiring, as i show you in the schematics.
Step 6: Testing It:
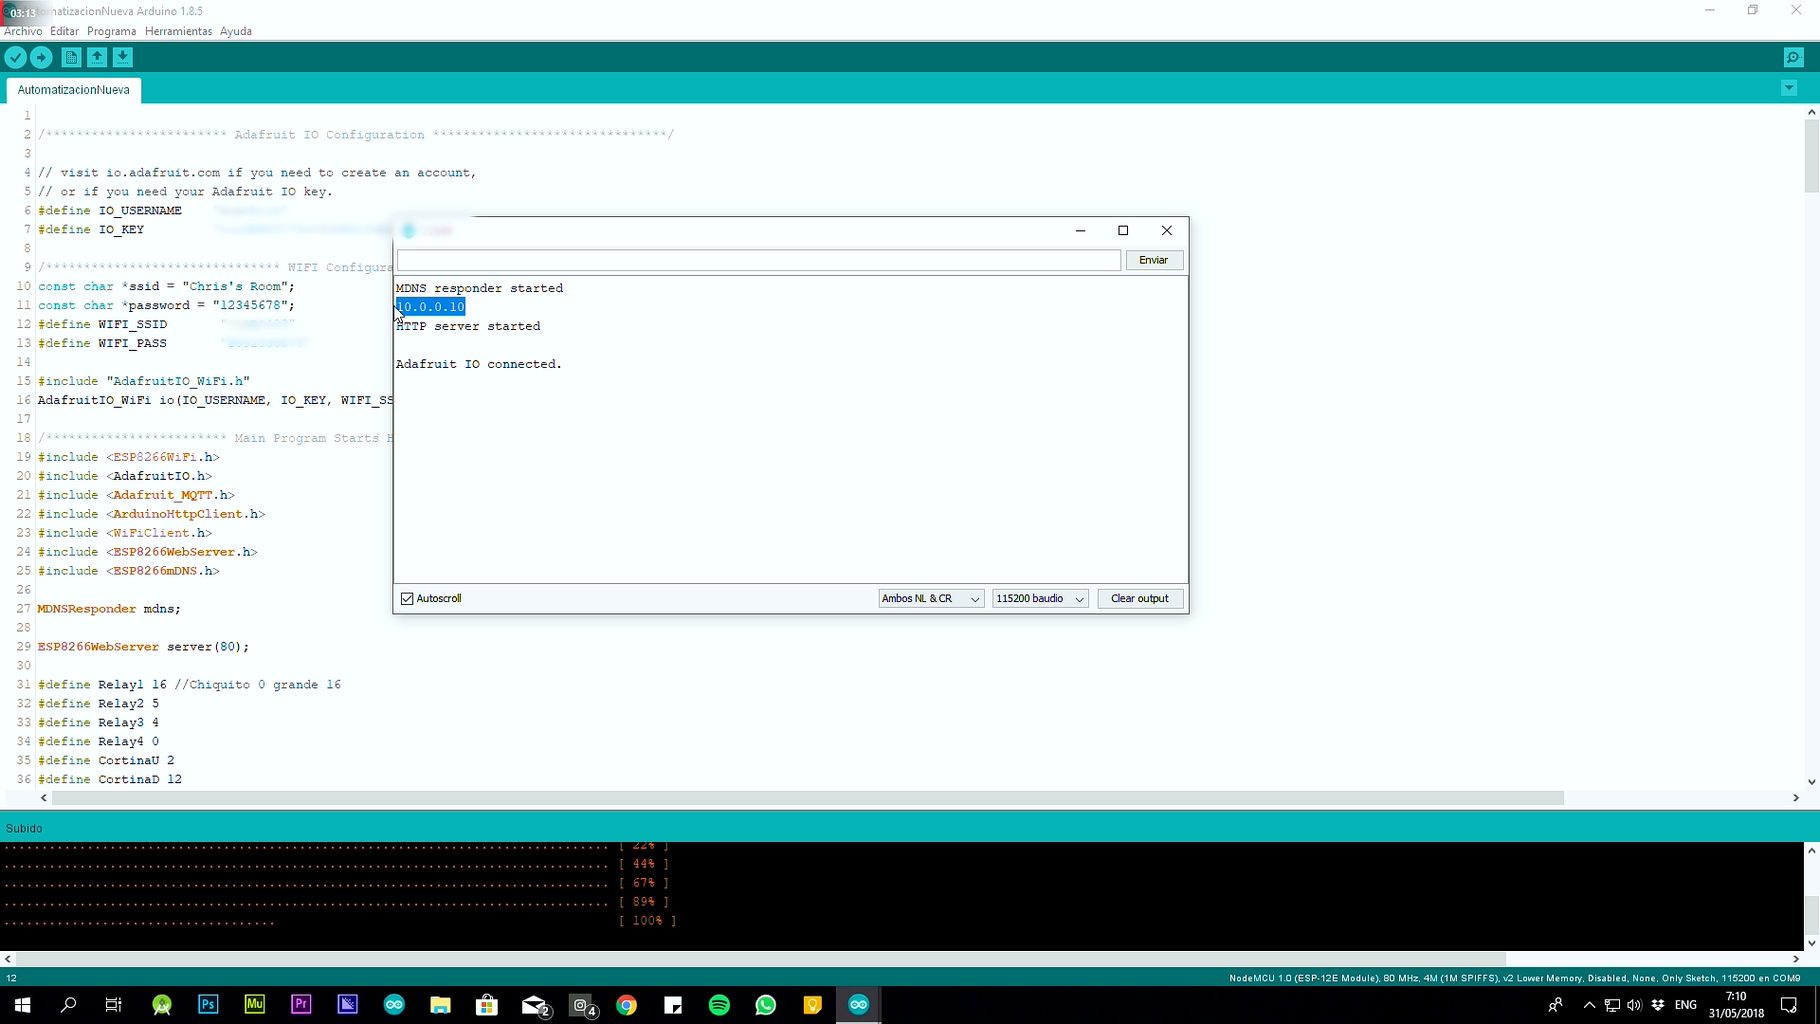


In the arduino serial monitor the module print the IP where it is connected, then write it up to your favorite navigator and enjoy the project.
