

Introduction: Raspberry Pi Zero Cluster Case


So, you were lucky enough to get your hands on 8 Raspberry Pi Zeros. What to do? Well, you could make 8 robots. Or, for a little more than the cost of a single 4-core 1gb Raspi Model 2B, you could make an 8-core 4gb Supercomputer! We'll be recreating the first picture, only on a smaller scale, in the second picture!
You don't need to be a computer scientist to be able to learn today's technology, but will will be, if you stay curious enough.
Caveat: This is a work in progress, so expect changes as I get further along. You can also follow along on Thingiverse at http://www.thingiverse.com/thing:1350845
and Hackaday at https://hackaday.io/project/9576-8-leaf-pi-zero-b...
My Hackaday entry is more of a log than anything else, if you would like to see some of my rants.
And please don't forget to add a vote for my entry in the Raspberry Pi or Digital Life 101 Contest!
Step 1: Decide on a Form Factor


There are many types of cluster designs, from a impromptu series of connections to some really beautiful geometric shapes. I've always been partial to the last image, only much MUCH smaller.
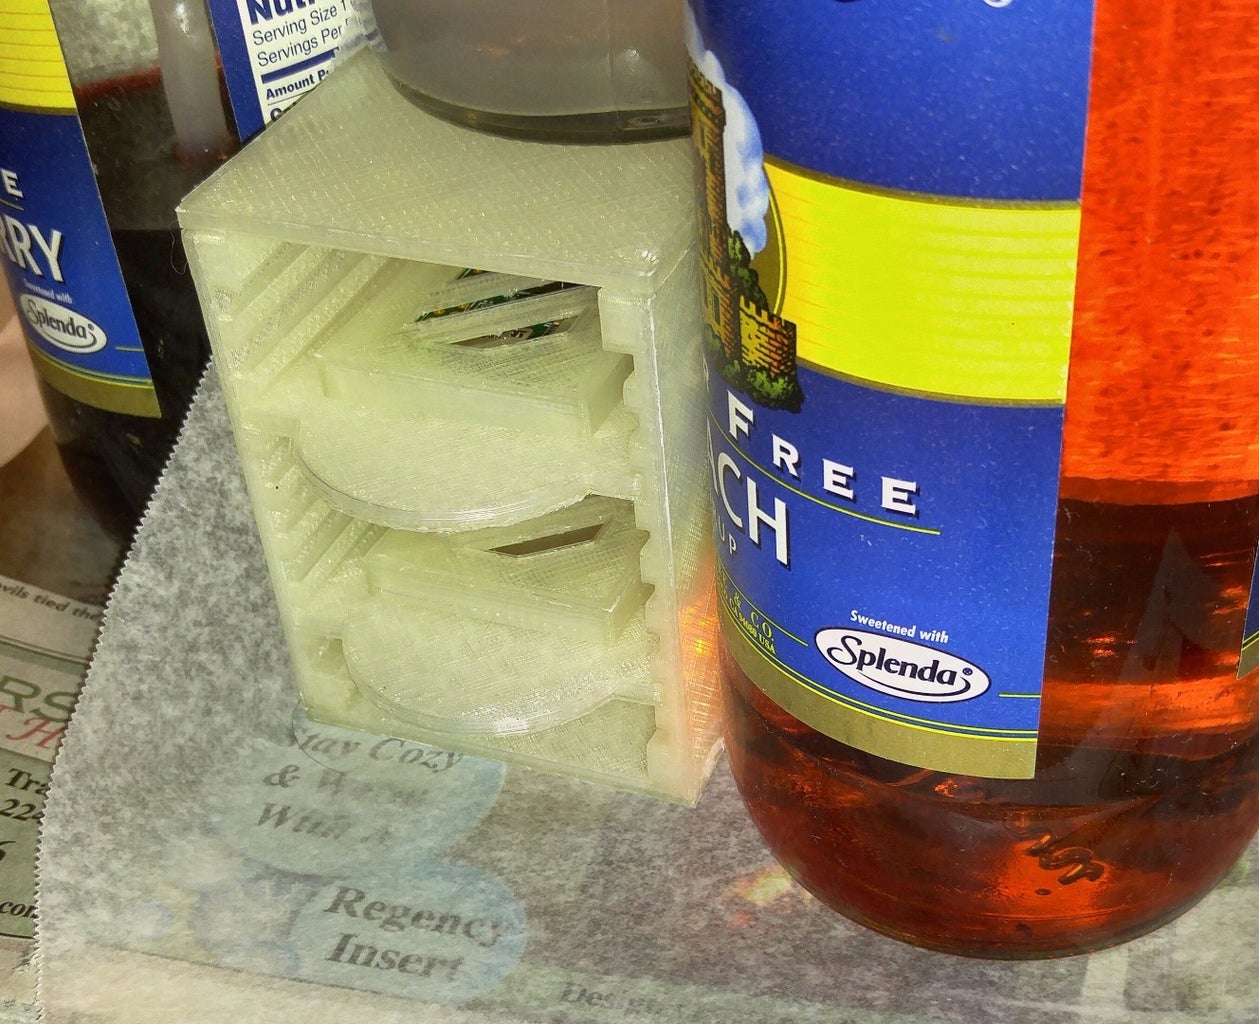
Step 2: Design Around the Components


This is how I wanted to end up. So, I took measurements of my Zero, laid out what I thought would be the least complex with regard to hardware and wound up with many iterations till I came up with the pictures you see now.
I used Google Sketchup for the whole design process.
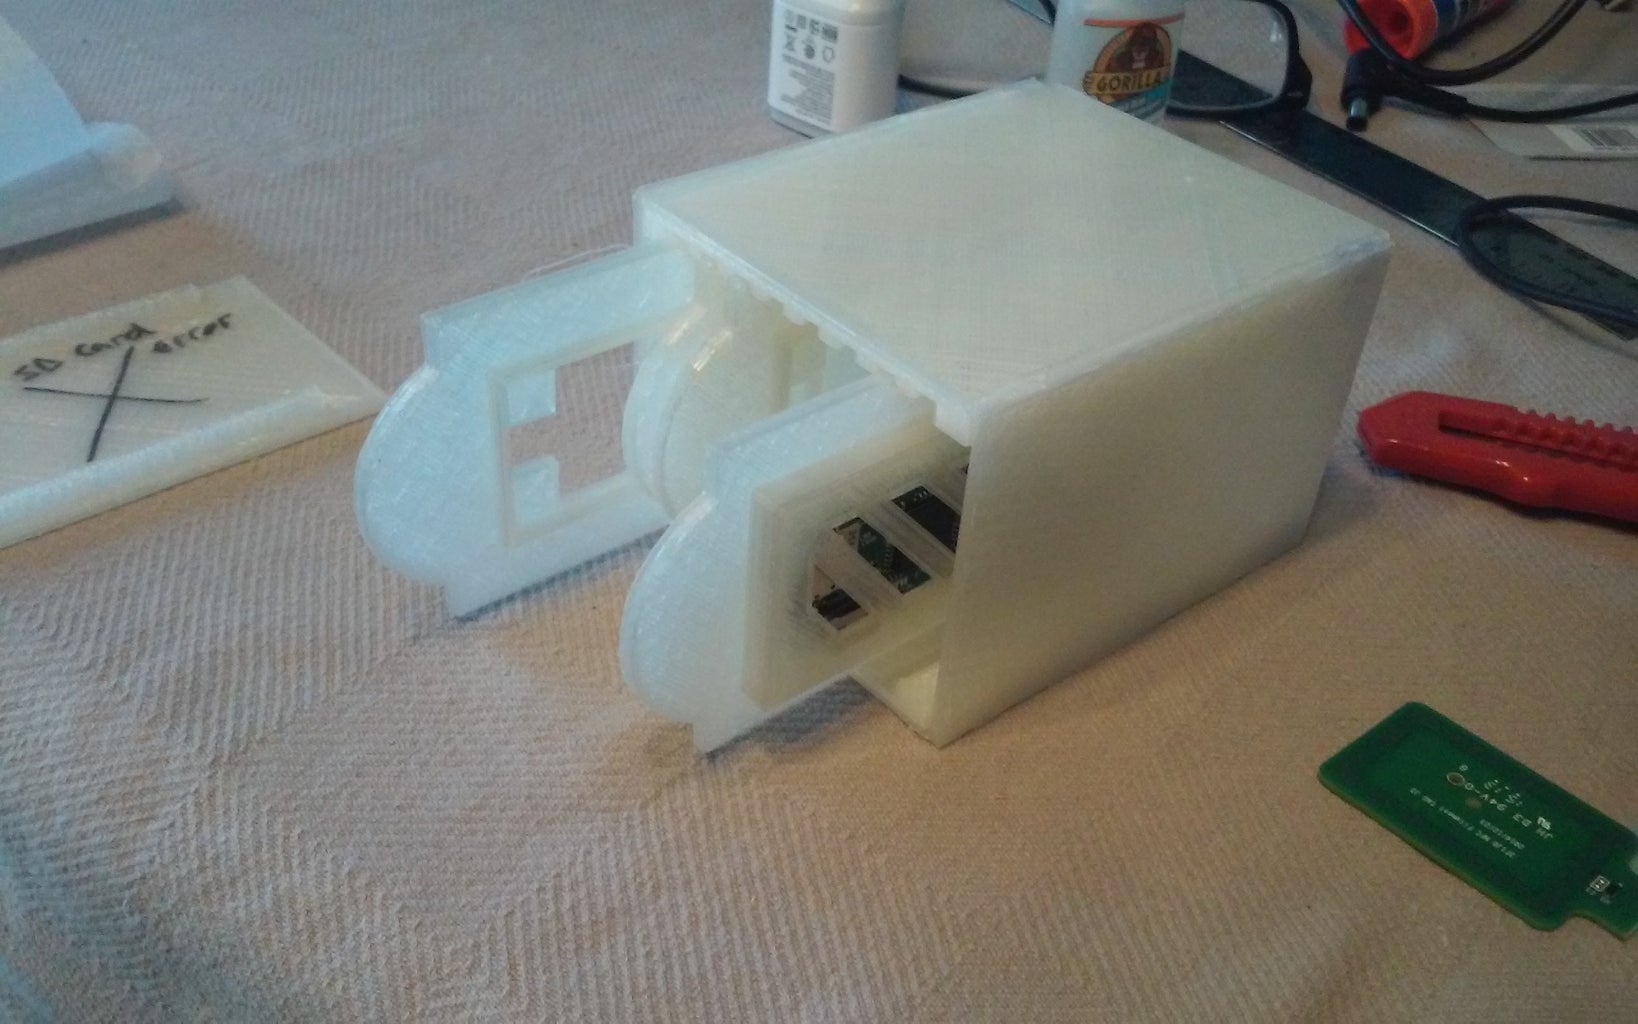
Step 3: Build the Case Around the Components


Once I had a design I liked for the CPUs, I then moved on to building a case. I stuck with the slidey-railey thingy, and once again, Sketchup to the rescue...
By the way, I designed the back to allow for development of a combination backplane/Power-connecting unit.
Step 4: Build Your Prototype

I'm lucky enough to have gotten a 3D Printer for Christmas. At the same time, I had heard that a new $5 computer was out from RaspberryPi.org. having always been fascinated with clustering, I KNEW there was no way my wife could argue against finally building a cluster. 5 bones a node, plus networking!
Step 5: Revel in the Glory of Clustering

Hook up power and networking and you are on your way to uber-geek status!
Step 6: Build Your OSes
Here, you build a single node and then make copies to put into each node.
On another computer use the usual method from RaspberryPi.org to acquire an image like Jessie or Jessie Lite and move the image to a lower sized SD card.
Once it's on the card and you've run through raspi-config, allowing SSH and allocating 16mb to the GPU, expand the image to the whole card. NOTE: If the head CPU is to have a larger card, just expand the filesystem again as a last step in this whole process: for instance, I specifically purchased 4 SD cards at 16gb and a single 32gb card. the 32 gb is for the Head.
using an existing Pi (I have an older Model B with the same CPU, not like the 2B), download all the latest software updates and then do the following:
apt-get install mpich2
This is the clustering software.
Step 7: Setup Networking
next setup your networking (this will vary depending on the network interface) for static IPs
Make sure /etc/hosts has the machine name and IP of every node.
Make sure the Pi you use for the Head is serving a unique subnet to the nodes in order to keep outsiders from easily seeing the nodes. If you have a fast network, it's okay to use it, just know how to distinguish between nodes.
Step 8: Create a User
Step 9: Setup Secure Communications
generate the necessary keys.
Step 10: Copy the Settings
dd if=/dev/sdd of=/[base location]/[image name].iso
When pushing the image to another card, just swap the if and of values and add a block setting:
dd if=/[base location]/[image name].iso of=/dev/sdd bs=4096
Step 11: Make Node by Node Changes
Now, if you did all your nodes at once, there could be many packet collisions, because we haven't made the nuanced changes yet.
you have to change the IP and hostname, and then generate the ssh-keys
Step 12: Time to Geek Out!

