Introduction: 1500W Electric MTB Bicycle Build (65 Km/h)
Hi! Thanks for checking out one more project of mine. Hope you will like this one as much as I did.
I've been planning this project for quite some time and now that I have it finally finished I am stoked to be able to share the details of how I built it and how it performs.
Before we dive in to the details, make sure you watch my video above where I show the complete process of the electric bicycle (e-bike) build, which includes upgrading my DIY spot welder, building the battery and installing the e-bike kit components.
As always I make sure to place active links for parts and tools for making this awesome project complete which you will find in the next step.
I also want to point out that you should feel free to ask me any questions regarding the build, I will be more than happy to help anytime.
Let's dive in to the build!
Step 1: Design, Parts and Tools
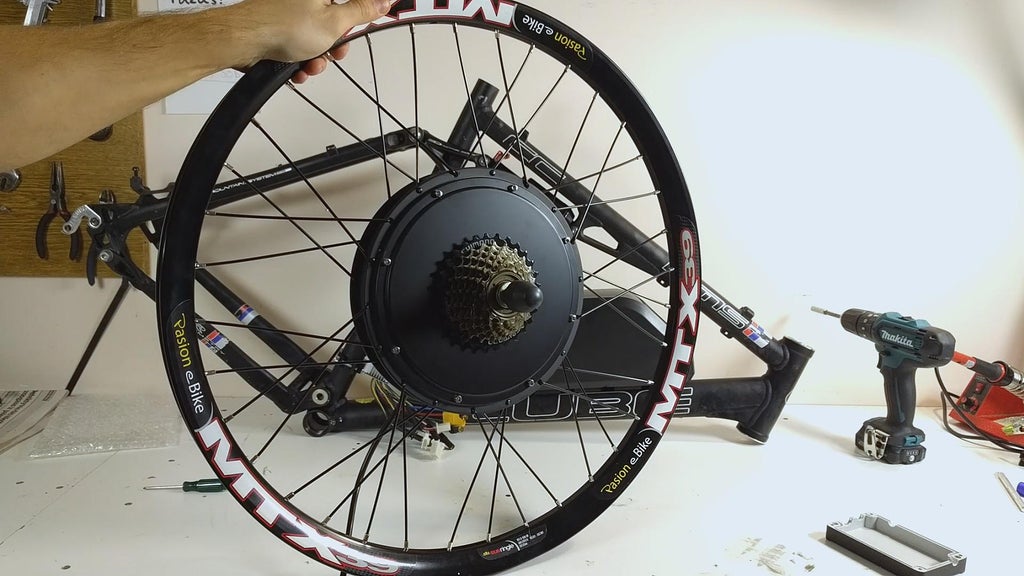
To build convert your bicycle to a powerful e-bike like this one, you'll definitely need to get the 1500W electric bicycle conversion kit. More on it later. The kit uses a 7-speed cassette, so if you are running 9 gears on your bicycle or more, you will need to 'downgrade' to a 7-speed system. For that you'll need a rear derailleur and a matching shifter. The front derailleur won't be needed if you are planning to mostly use it on flat roads, though it handles slopes with ease.
While trying to figure out the proper design for this e-bike conversion project, the main struggle I faced was sourcing a size Large full suspension mountain bike. Of course I was looking for a second-hand one to maintain the low budget of the build, yet keeping the completed e-bike comfortable and nice to ride. Finding a decent second-hand full suspension bicycle actually took me the longest - almost half a year. In that time I could only find a handful of offers where I live.
I was lucky enough to purchase this quite old Cube AMS Pro CC with 26" wheels which was in great shape, actually. It was ridden mostly by the beach area, so lots of sand had to be cleaned off beforehand. What I also loved about this bike is that it has a lot of space in the frame to accommodate the large battery pack I built. Of course it would have been much simpler if I just used a hardtail, but full suspension bikes (even old as this one) ride much softer, especially with a massive hub motor at the rear.
Probably the most expensive piece of this build is the battery. Since it is the power unit of the whole bike, it needs to output enough current for the powerful hub motor in the rear. I decided to build the battery myself and place it in a plastic case to be able to remove the battery from the bike when needed. To my eye it looks more professional and neat when the battery is mounted onto a frame in a plastic case. More on the battery build in step 3.
To build my own battery I needed to upgrade my current spot welder for better weld quality. In depth instructions on building (upgrading) one in step 2.
Below I have placed the links for every part (pretty much) that has been used for the build. The main star of the show being the 1500W E-bike conversion kit, which is one of the best purchases I have made in a long time. I chose the 26" model but there are plenty of wheel sizes for you to choose from. For now, I could not source a better deal than this one. (Below is the price shown at the time of making this Instructable)
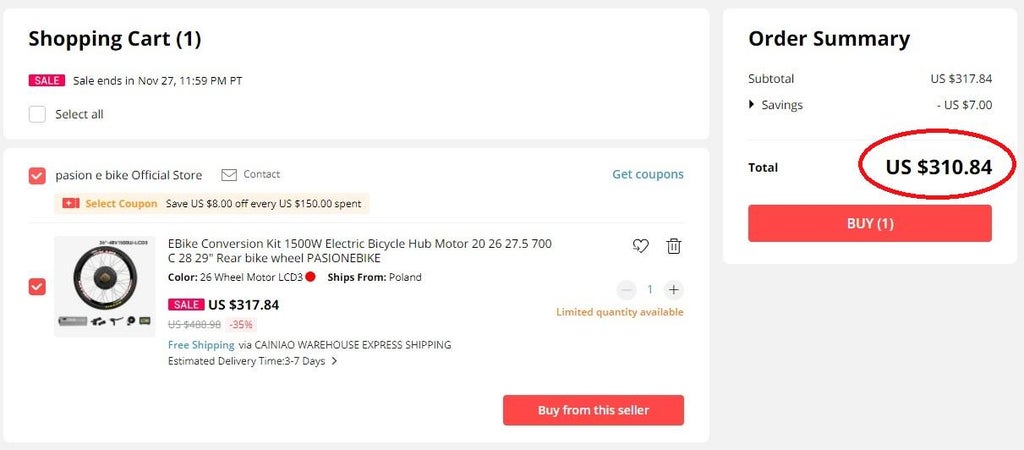
The kit arrives with loads of parts, including the following:
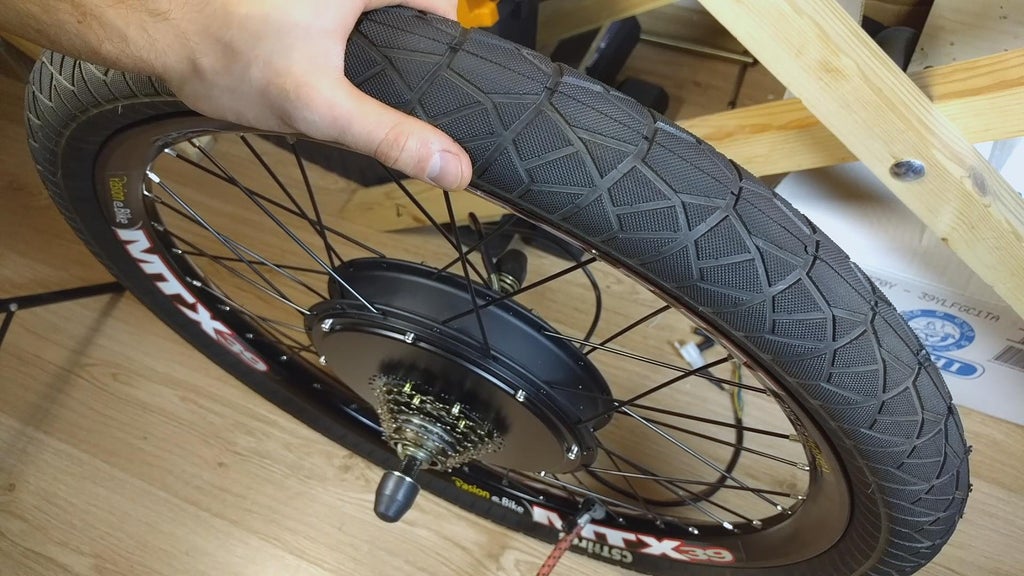
- Powerful 1500W rear hub motor laced on to a heavy-duty MTX39 rim
- 18 Mosfet square wave controller
- LCD display
- Throttle with lock and key
- Brake levers with power cut-off switches
- Pedal assist sensor
- Maxxis tyre
- 160 mm brake disc rotor
- Ergonomic grips
- Controller mounts, cables, zip ties, etc.
✅ 1500W E-Bike conversion kit - https://bit.ly/3YYpIrv / https://geni.us/sbJml
Other kits 👇🏻
Upgrades done to this E-bike 👉🏻 https://youtu.be/yk_qO1-q0QU
Parts for E-bike:
Assembled battery pack (52V):
- 58.8V 5A charger with XLR plug - https://bit.ly/3VDumrV / https://geni.us/89j3jh
- M5 rivnuts - https://bit.ly/3jJWpJa / https://geni.us/prIz
- M5 bolts (30mm) - https://bit.ly/3WcfK3z / https://geni.us/WBflBf
- Waterproof case (158x90x60) - https://bit.ly/3GtgrAf / https://geni.us/tHoUWH
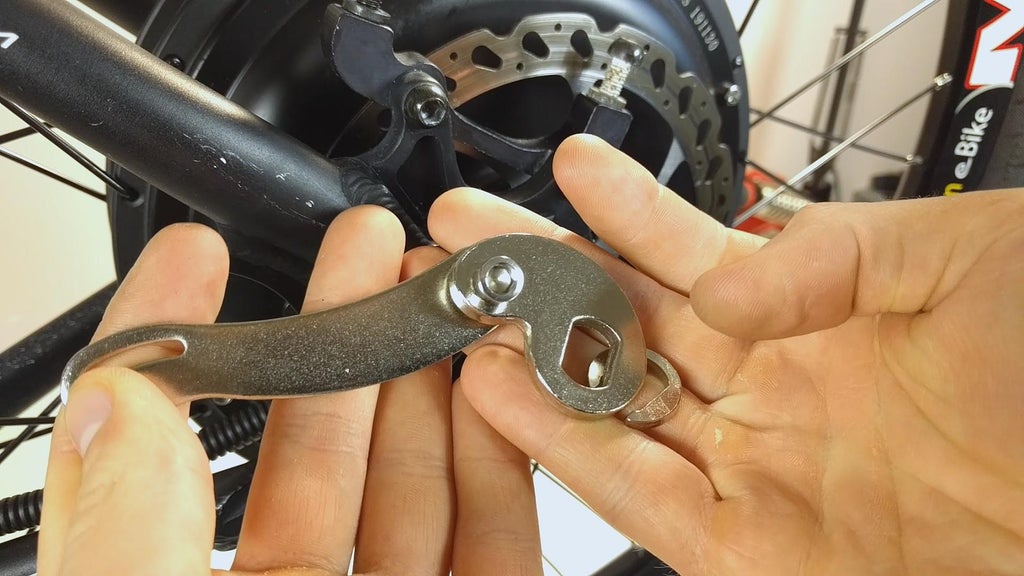
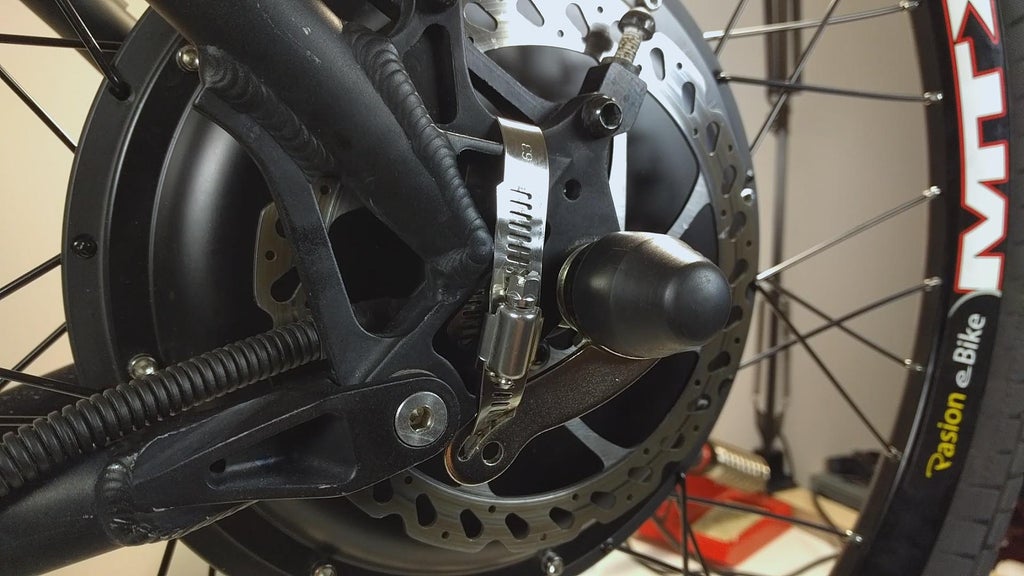
- Torque arm - https://bit.ly/3WFBhSL / https://geni.us/tZc4
- Crankset - https://bit.ly/3vs0CDL / https://geni.us/s11M
- Chainring - https://bit.ly/3vpNYFg / https://geni.us/0JEfQB
- Hydraulic brakes - https://bit.ly/3WilE3p / https://geni.us/rTaYuqw
- 7 speed chain - https://bit.ly/3QbMIzl / https://geni.us/v1kmk
- Chain link - https://bit.ly/3icaajh / https://geni.us/pR7H
- Handlebar extension - https://bit.ly/3VEk5vK / https://geni.us/irlRjgu
- Phone holder - https://bit.ly/3WDw9P2 / https://geni.us/YD5SL
- 7 speed rear derailleur - https://bit.ly/3WDxC80 / https://geni.us/3BgvgeQ
- Shifter (7 speed) - https://bit.ly/3GblBjc / https://geni.us/xubWbB
- Pedals - https://bit.ly/3Z0Yi41 / https://geni.us/lFqq79
Parts for battery pack:
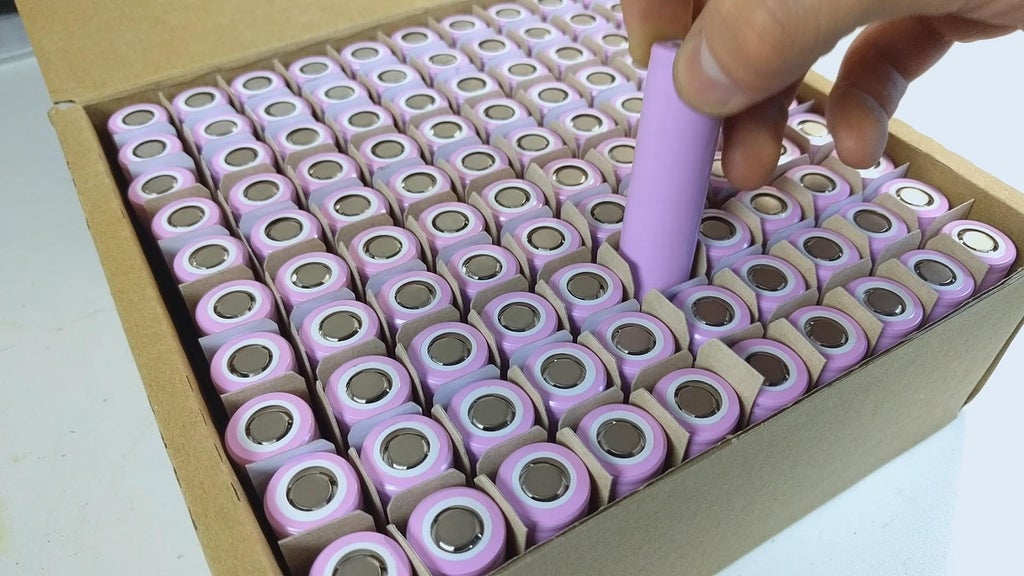
Li-Ion batteries (84 pcs) :
- Smart BMS (14S 40A + BT module) - https://bit.ly/3WV8dGF / https://geni.us/8vxv2Yp (not smart)
✅ Download the free battery app here - https://bit.ly/3gCQAZj
- Battery case (52V) - https://bit.ly/3jA5XGv / https://geni.us/AfzVa
- Pure nickel strip (10m 0.1X8mm) - https://bit.ly/3Yfq24A / https://geni.us/eGhsS2
- Kapton tape - https://bit.ly/3VOhzUj / https://geni.us/VOVm
- Insulation rings - https://bit.ly/3uBs81g / https://geni.us/rUjb
- Adhesive foam - https://bit.ly/3MDipPG / https://geni.us/Dei0u
- Silicone wire (10AWG) - https://bit.ly/3FDNL7p / https://geni.us/doeS
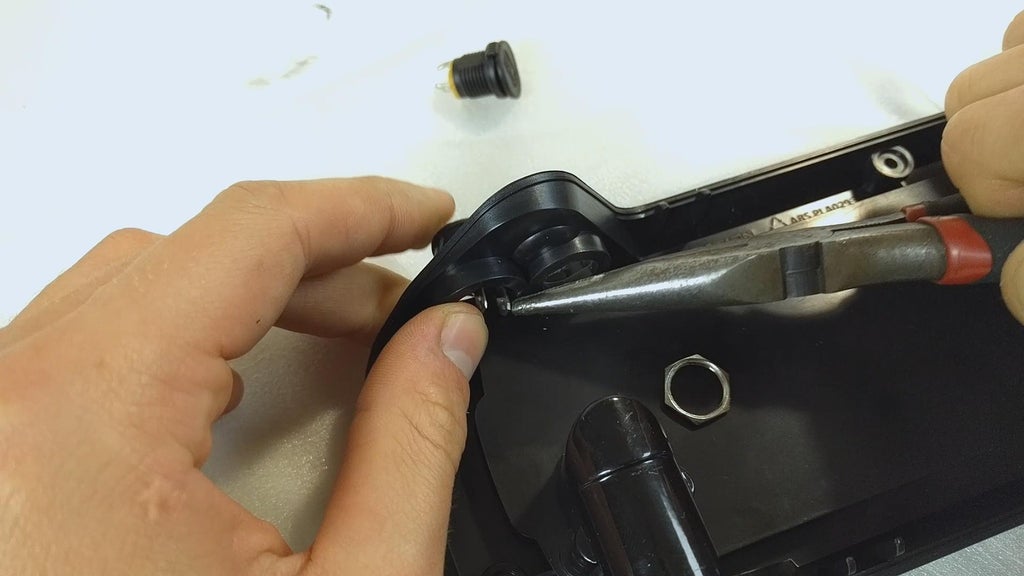
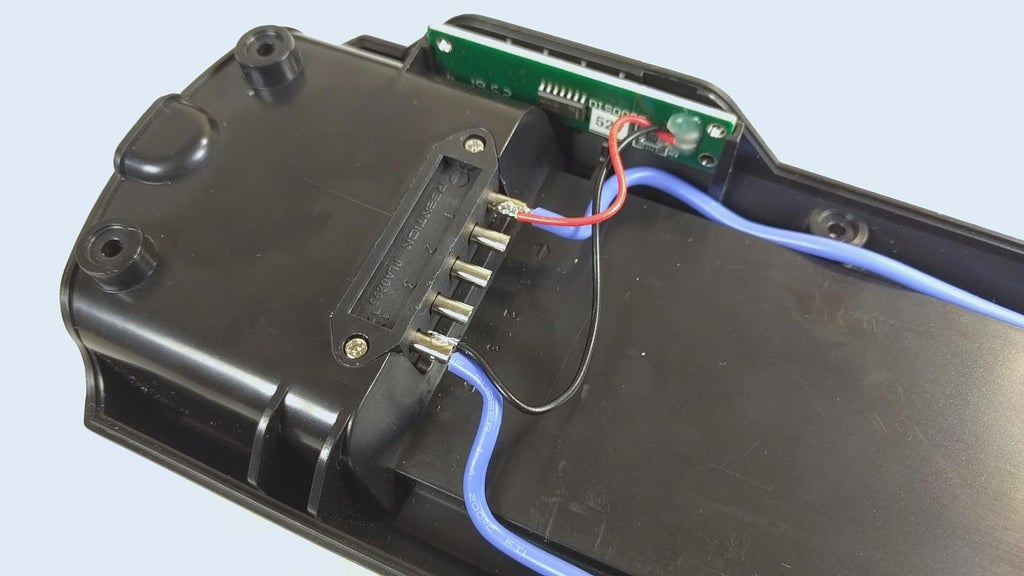
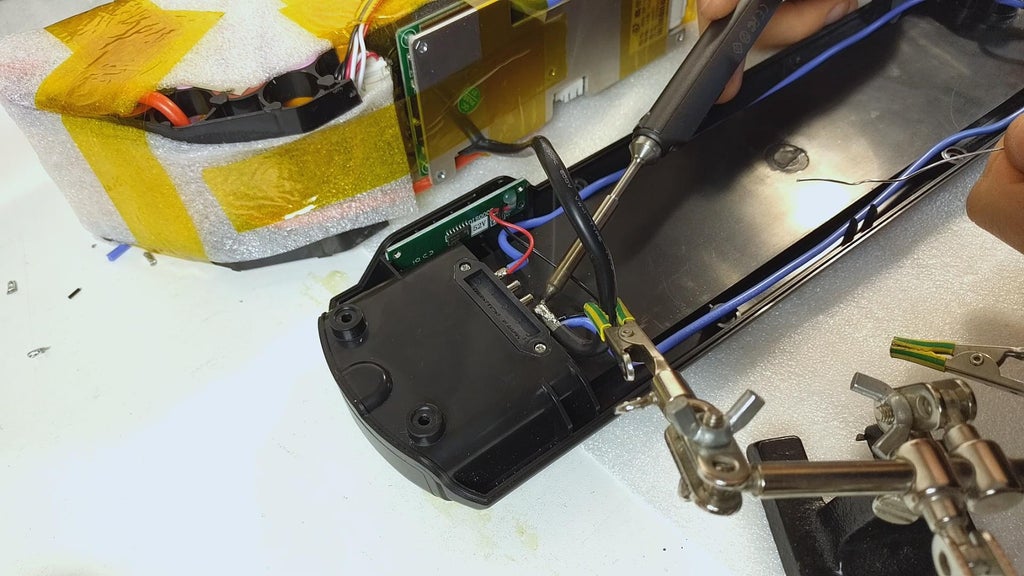
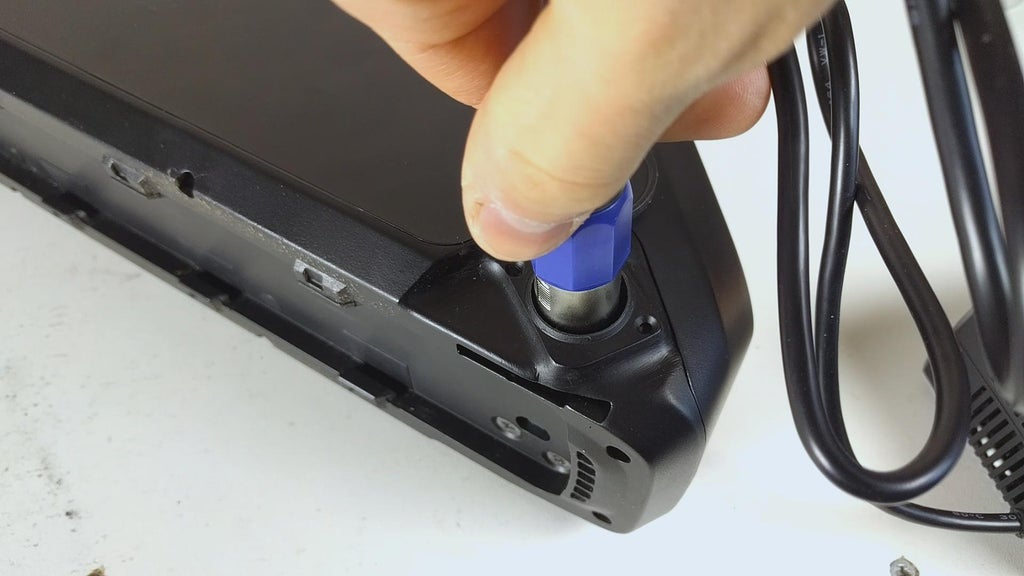
- XLR socket - https://bit.ly/3GwHF9g / https://geni.us/rsn6swQ
Tools:
- TS101 soldering iron - https://bit.ly/3hQm4PP / https://geni.us/owyDm5G
- Multimeter - https://bit.ly/3VOFjYv / https://geni.us/UmrhyYk
- Wire stripper - https://bit.ly/3YabMtX / https://geni.us/6epIs
- Torque wrench (1/2") - https://bit.ly/3WZVdQ9 / https://geni.us/FwBohaf
- Drill bit set - https://bit.ly/3S3i6zC / https://geni.us/ktAK1M
- Step drill bits - https://bit.ly/3eM5GtB / https://geni.us/xYRx7J
- Center punch - https://bit.ly/3xslc8u / https://geni.us/o5WBEwB
- Heat gun - https://bit.ly/3VL3A1z / https://geni.us/spT5M
- Bike repair stand - https://bit.ly/3iHJpmA / https://geni.us/LzOB11
- Chain pliers - https://bit.ly/3PhV2gb / https://geni.us/wySC
- Mechanics tool set - https://bit.ly/3PgpVle / https://geni.us/peCCa
- Cordless drill - https://bit.ly/2UiMSbL / https://geni.us/A5AZi
- Helping hand - https://bit.ly/3B9mIgt / https://geni.us/Yyqyte
- Allen keys - https://bit.ly/3i55BqY / https://geni.us/ALNB2
- Bottom bracket wrench - https://bit.ly/3vunJNT / https://geni.us/l4PcO2
Step 2: Building (upgrading) the Spot Welder
Making a spot welder yourself is actually a real easy job to do. But you have to do this at your own risk. Basic knowledge of electronics and the dangers of it are most important.
✅ Click to see how to build this upgraded DIY spot welder - https://youtu.be/y3zuP3vGXLk
Sequre SQ-SW1 Spot Welder - https://bit.ly/3Fhvhbs (3% OFF with coupon code DONNYTEREK)
List to the parts needed for the spot welder can be found above.
I have made a video on how I built my spot welder, but I'm actually not too proud of it. It definitely needs an upgrade - higher current output for better welds and higher quality welding handles.
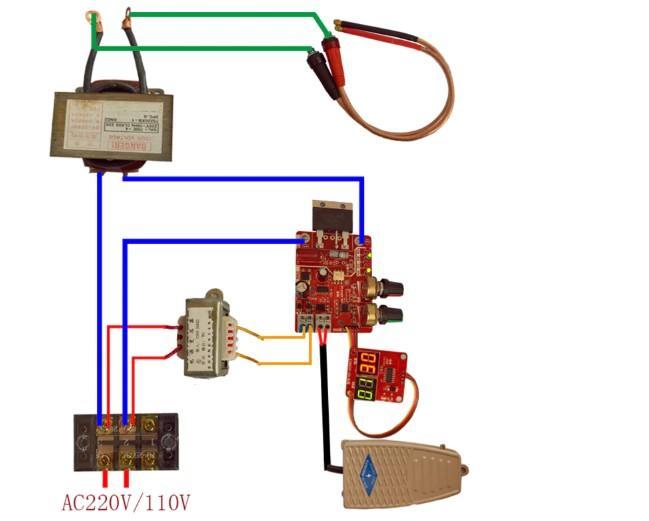
There is definitely many sources and tutorials online on how you can make a spot welder yourself for cheap so I highly encourage you to check those out for ideas. The design is real simple and all you basically need is some thick cable, a transformer from a microwave and a controller, following with a few bits and pieces to complete the build. Refer to the wiring diagram shown below. Instead of the foot switch shown on the bottom right corner, we will wire up a DC jack connector which will connect to the spot welding pen, which has a switch mounted inside.
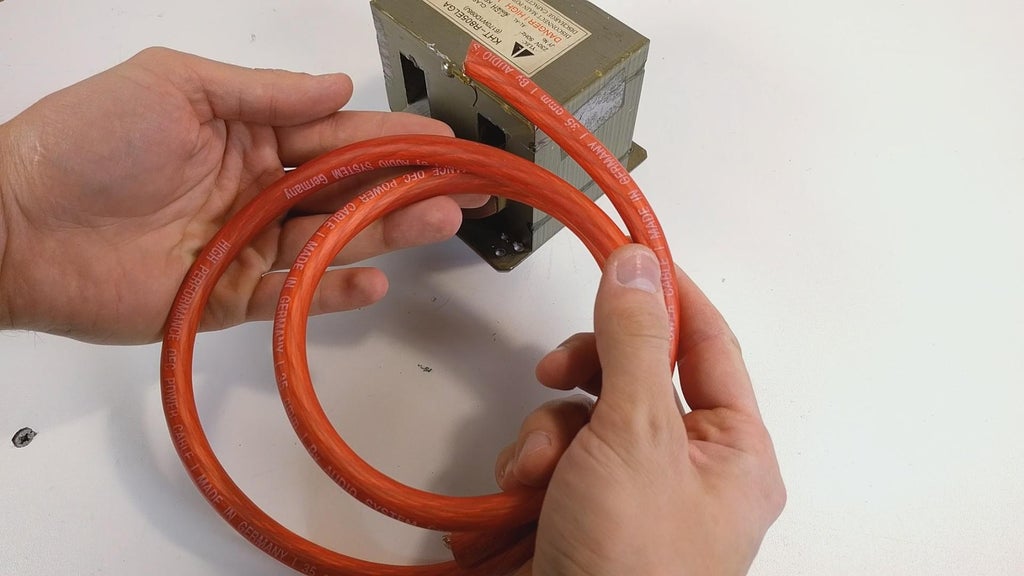
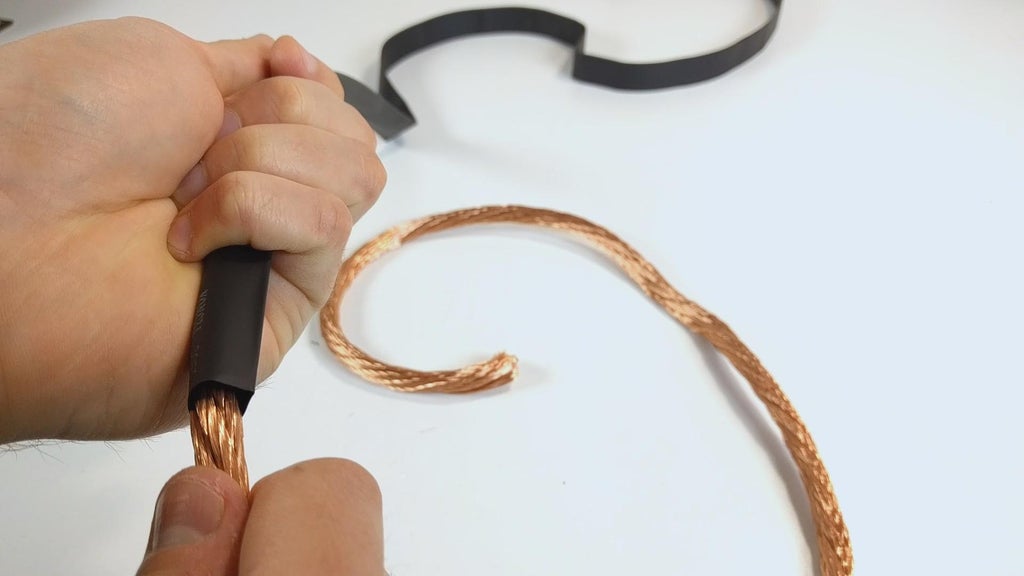
To upgrade my spot welder I got myself 2 meters of high quality 35 square millimeter copper cable and stripped off its insulation.
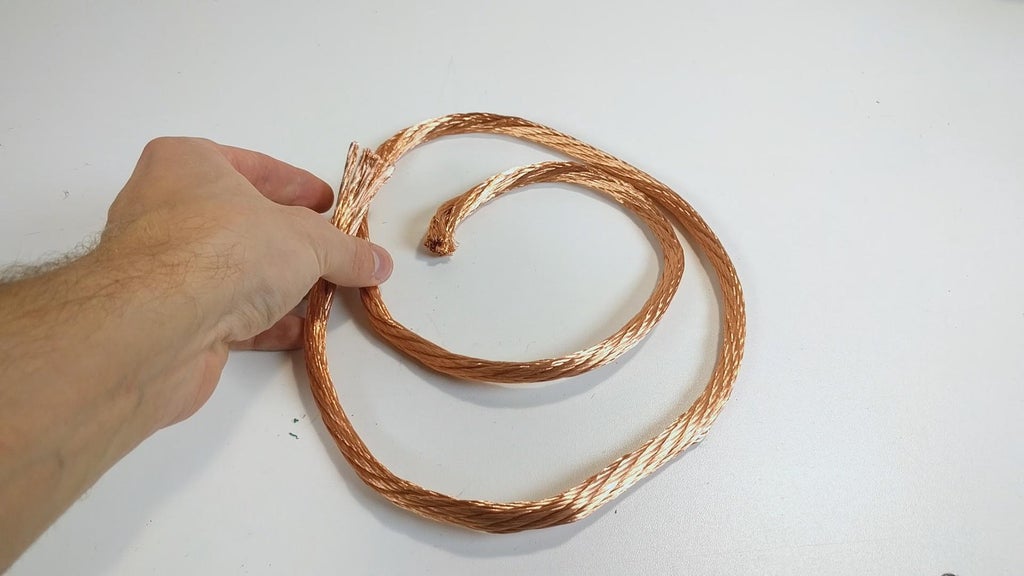
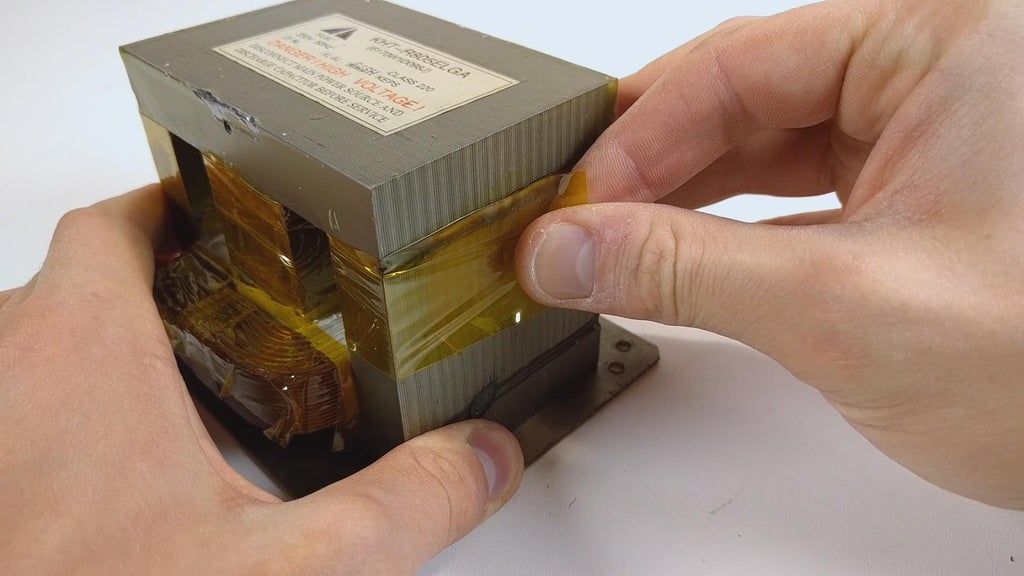
I then cut some heat shrink tubing the length of the cable and used it as a thin insulation on the cable to make it easier to wind it inside the transformer. Before winding the transformer with the newly insulated cable, I protected it with some Kapton tape. Getting 4 windings inside the transfomer is necessary but may be a bit tough to do. You can flatten the cable with a few taps of a hammer beforehand to make it easier.
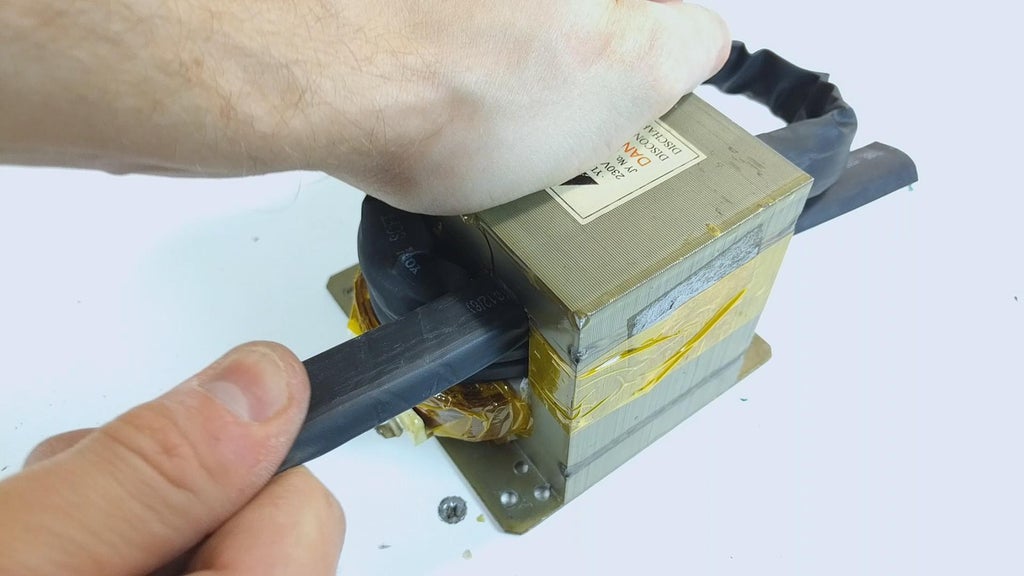
Now that I have the cable winded inside the transformer, I cut off a bit of the heat shrink off the ends of the cables and use zip ties to compress the cable and make it easier to slide a lug connector on. I bent the lug connectors at an angle for bolting it to the panel later. Once they are fitted on, I applied some solder using a small blowtorch flame.
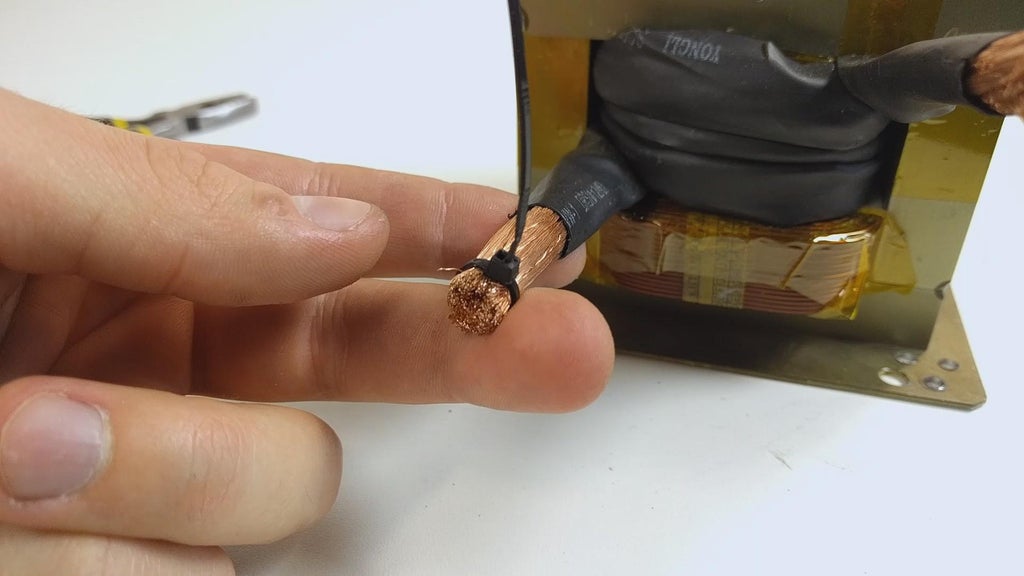
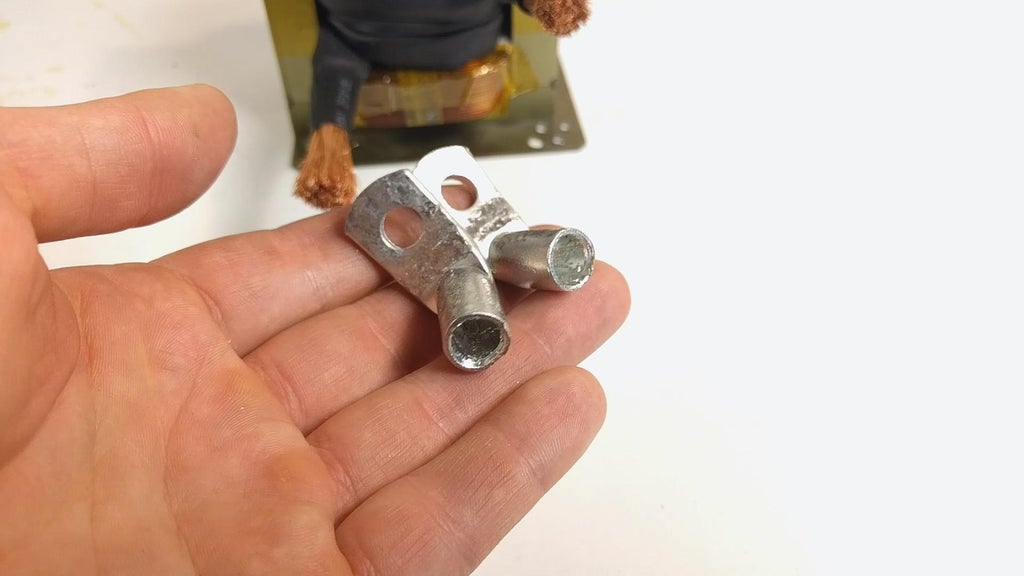

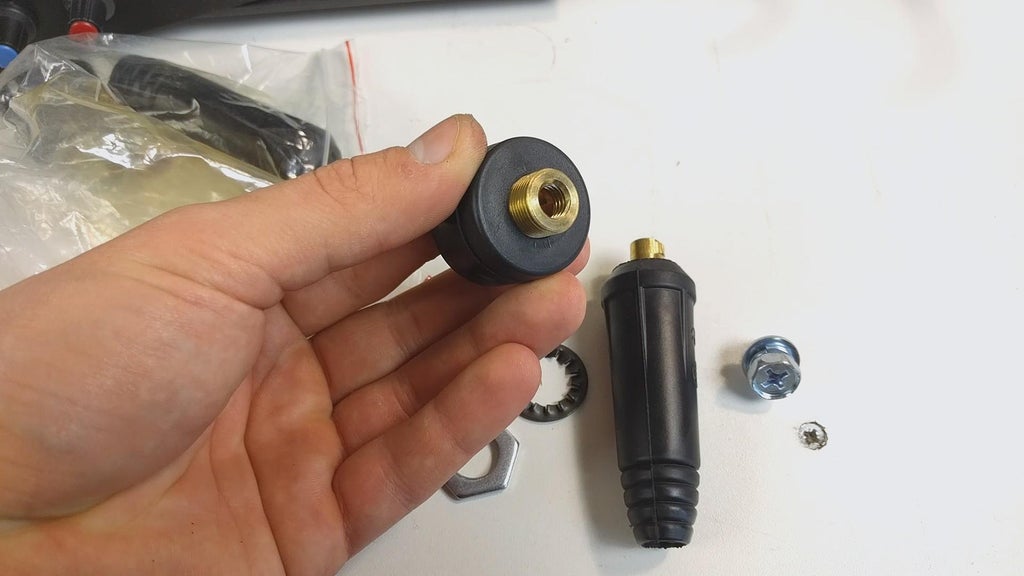
Now that I have the lug nuts on the cable ends, I enlarged the previously made holes in the front panel of the spot welder with a step drill bit to a 14 mm hole. I then mounted the quick connectors to the panel and placed the transformer back in the box. Once the cable lugs are bolted to the quick connectors, I made two cables for the welding pen to connect to. I recommend you use at least a meter of cable for each. To those cables I connected the spot welding pen using the provided bolts.
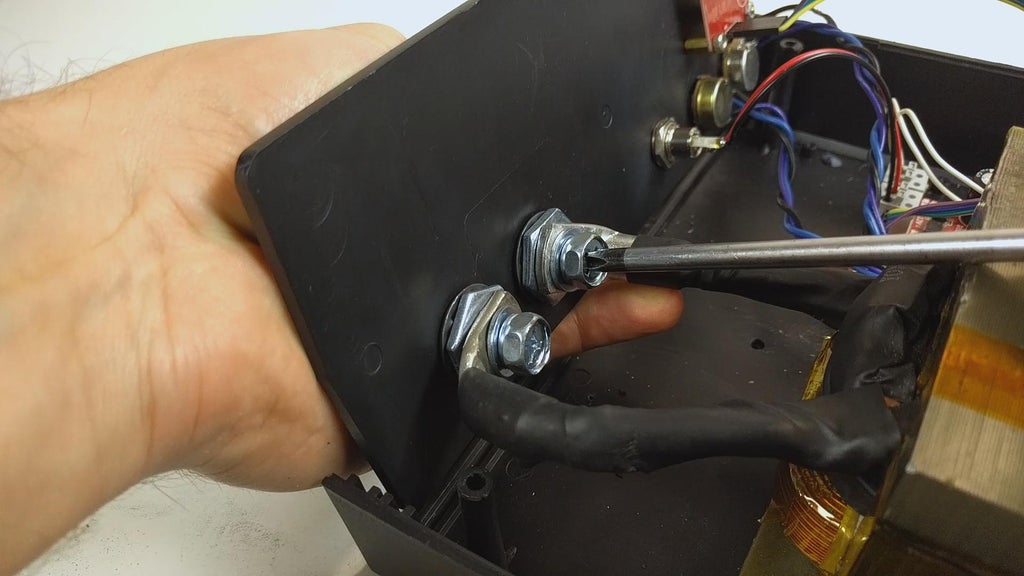
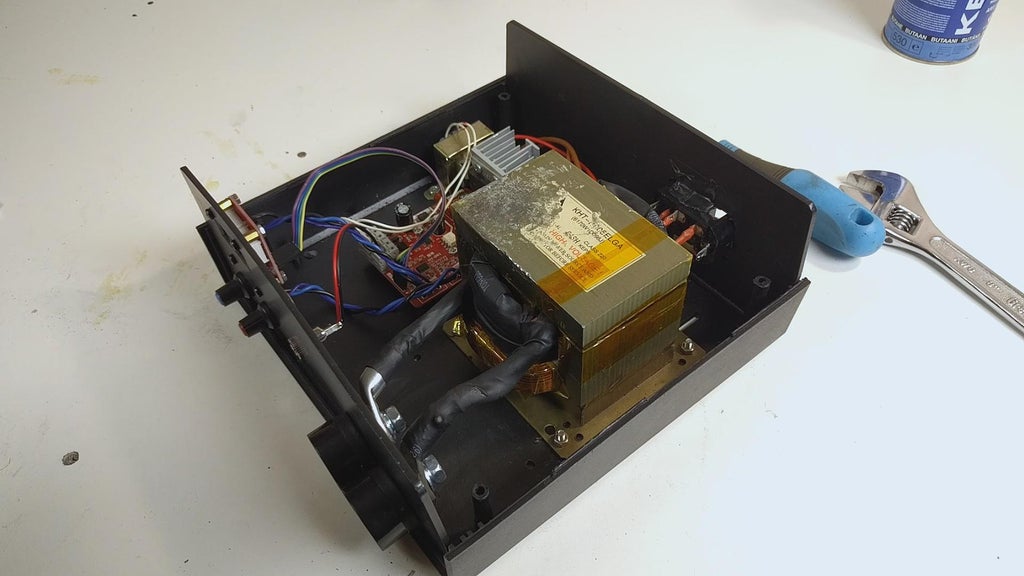
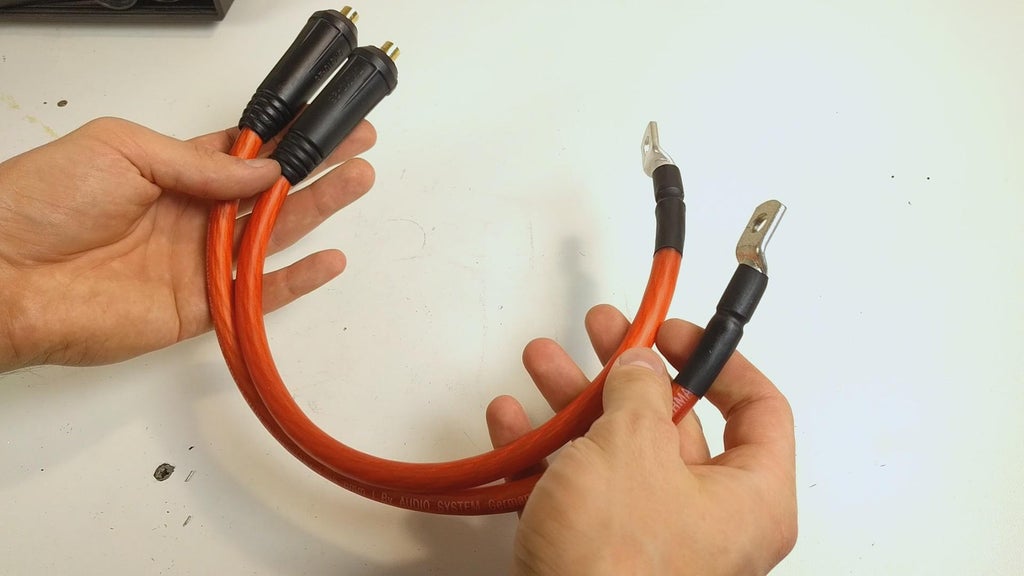
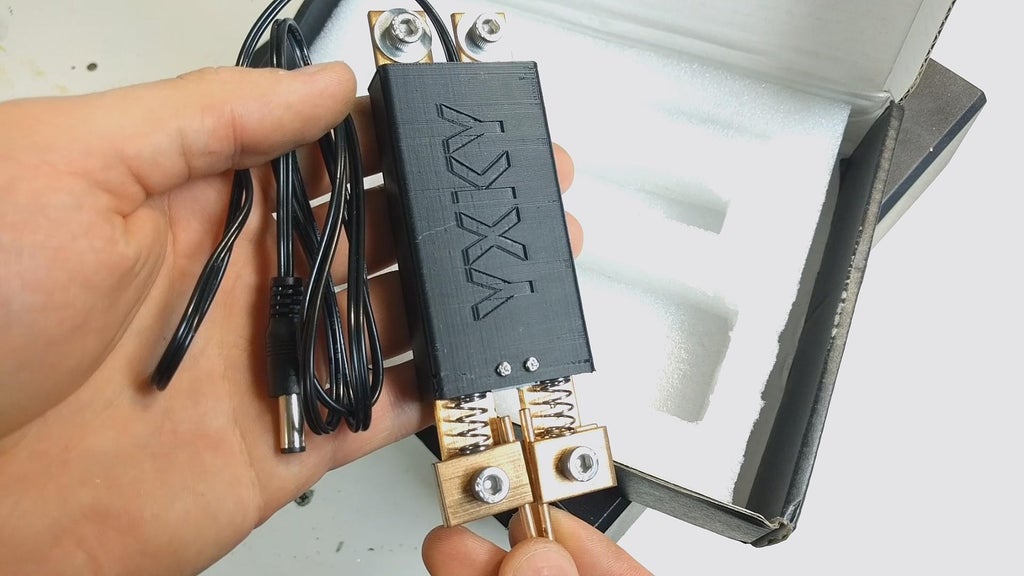
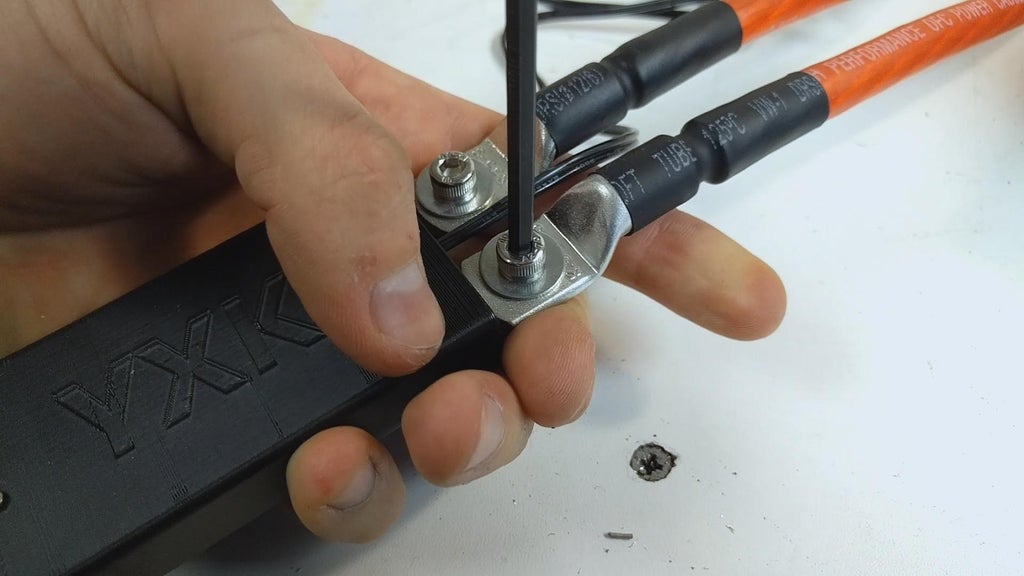
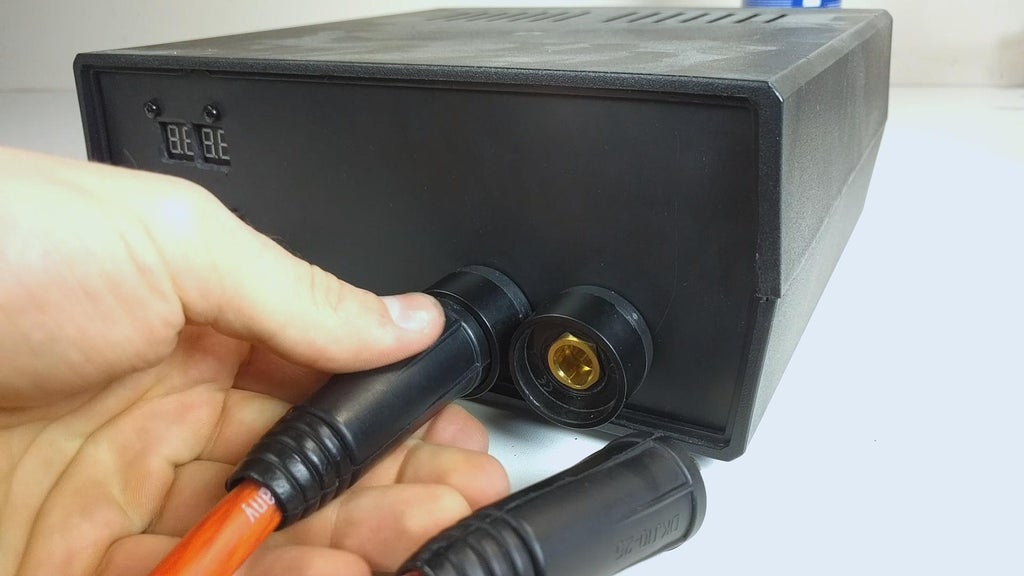
With that done, the spot welder is completed (upgraded) and we can move on to the battery build.
Step 3: Building the Battery
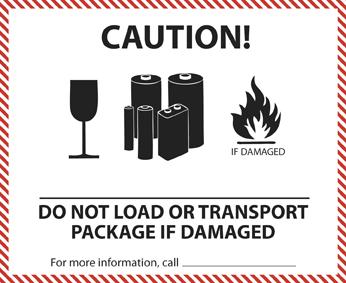
Disclosure: since there is more info online about building lithium-ion batteries than you could ever read, I won't be going to the basics of building batteries. If you doubt your knowledge about building lithium-ion battery packs, I highly suggest you take a good read online or watch plenty of videos on YouTube. The key here is building a battery pack safely, because you should never underestimate the potential power of a lithium ion cell. Therefore you should know how to build a battery pack safely and hopefully you don't have to see yourself how it erupts and catches on fire (ask me how I know).
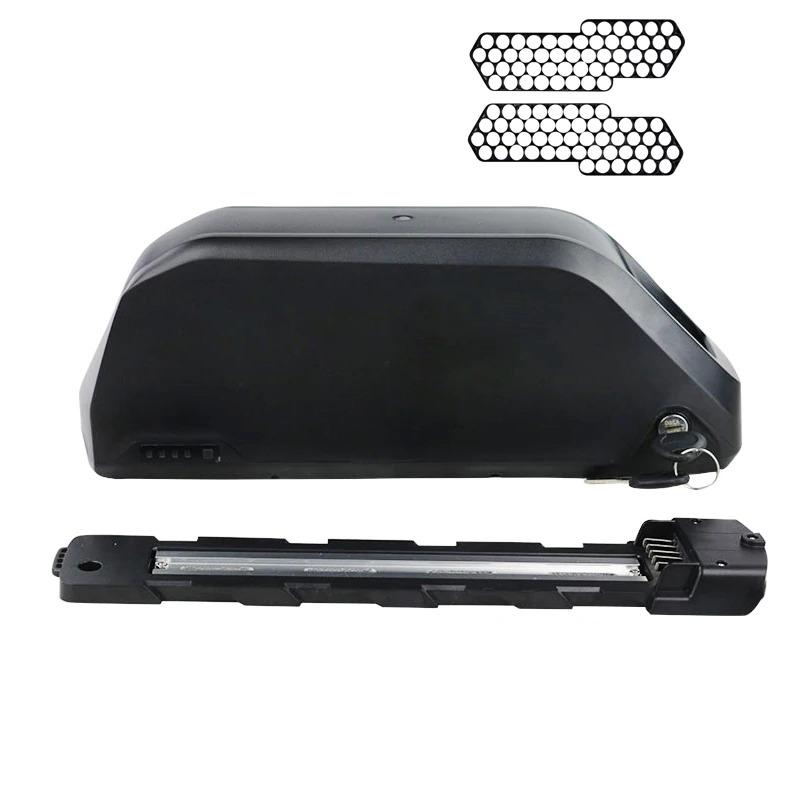
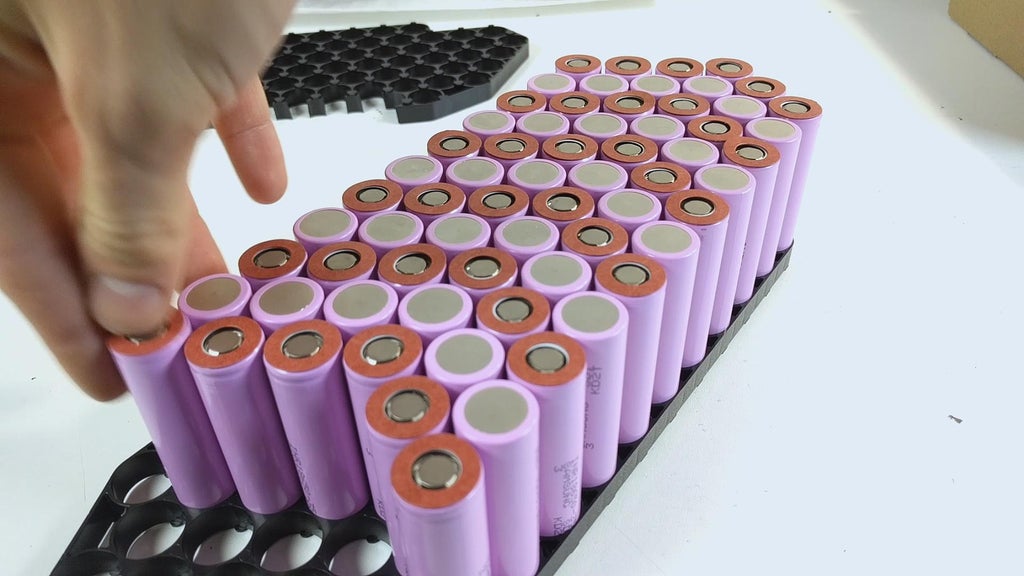
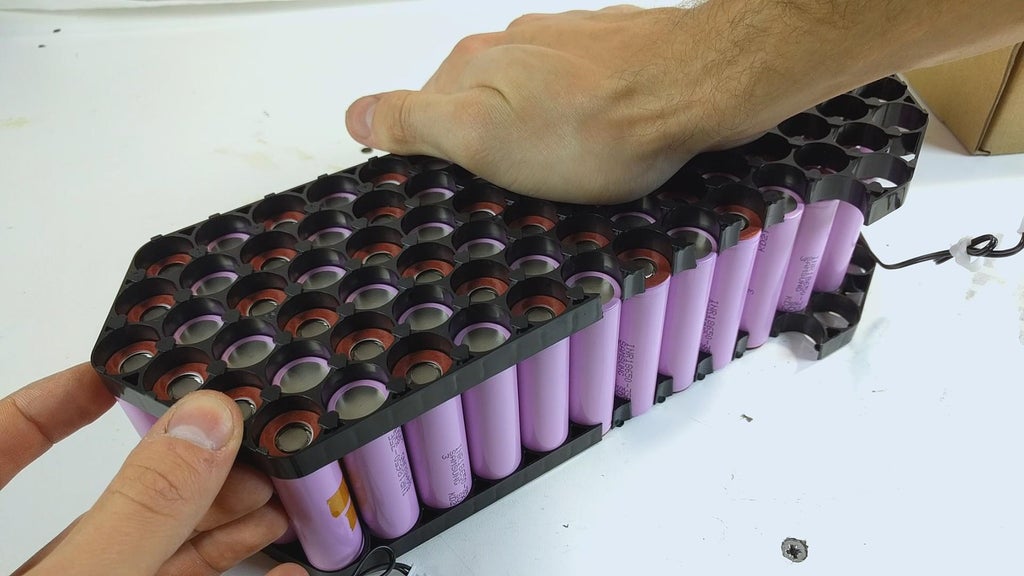
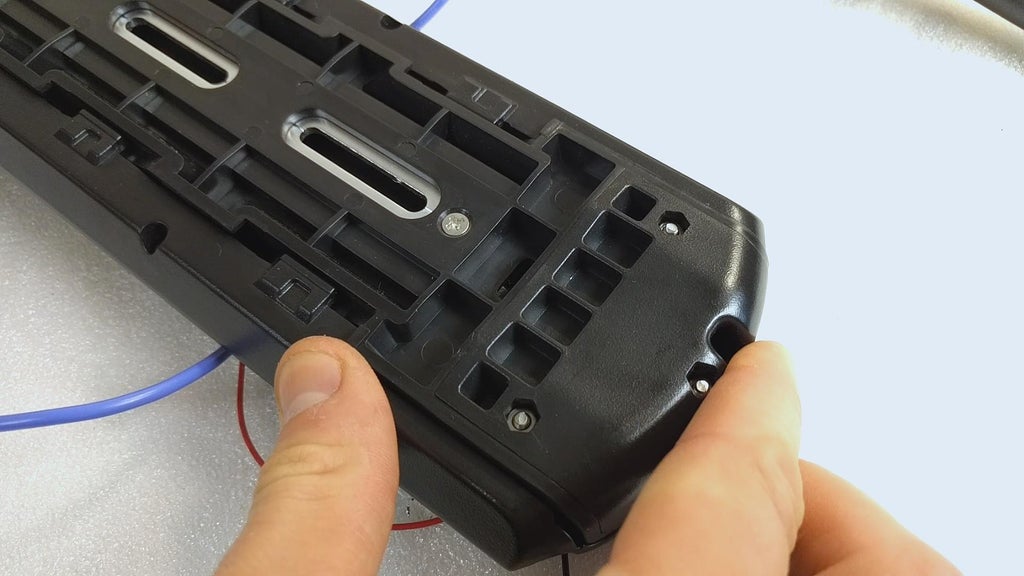
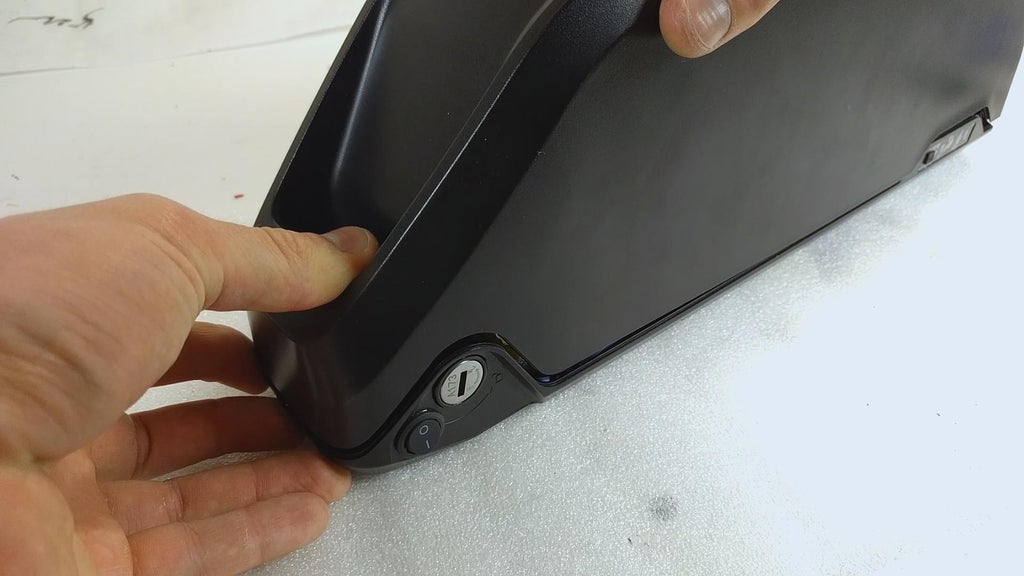
As I said before, my main objective was to have a sleek looking ebike that would perform just as well. Therefore I chose to build a battery inside a case that I found online. My full suspension frame had plenty of space to fit the battery so I went with a pretty large case, that can actually fit 91 cells. The case is actually of really nice quality, and can be mounted to the bicycle frame nicely and secure.
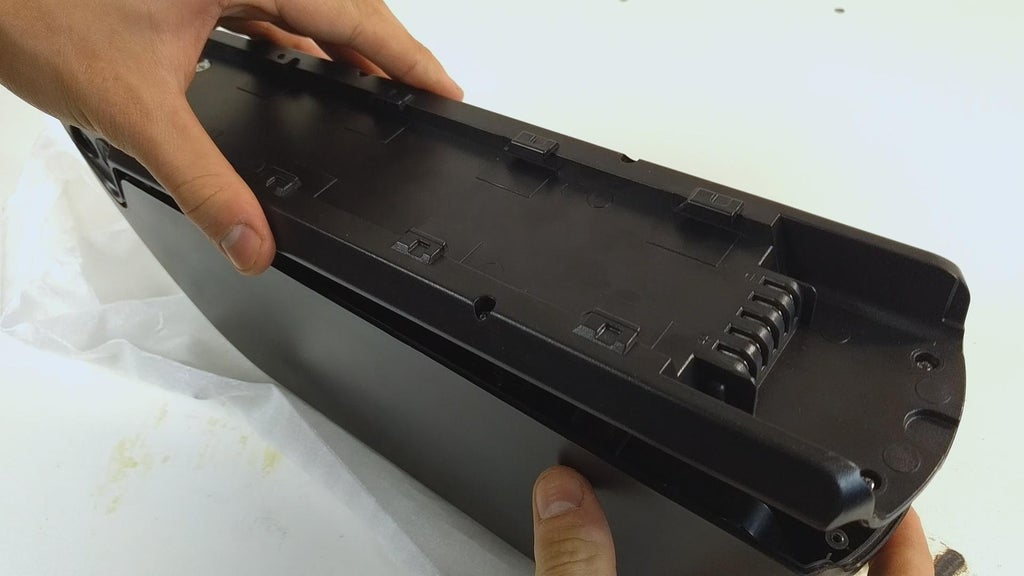
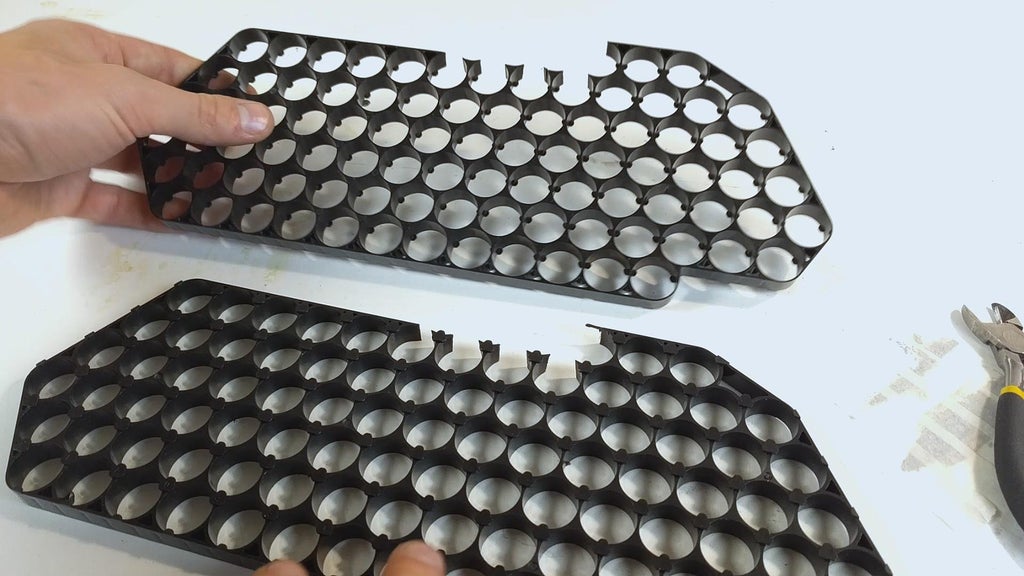
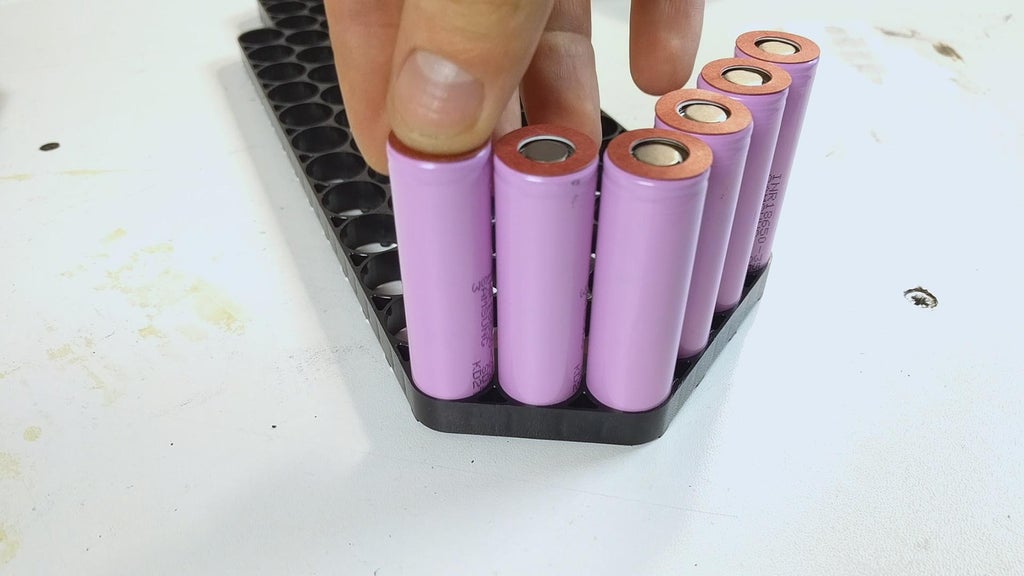
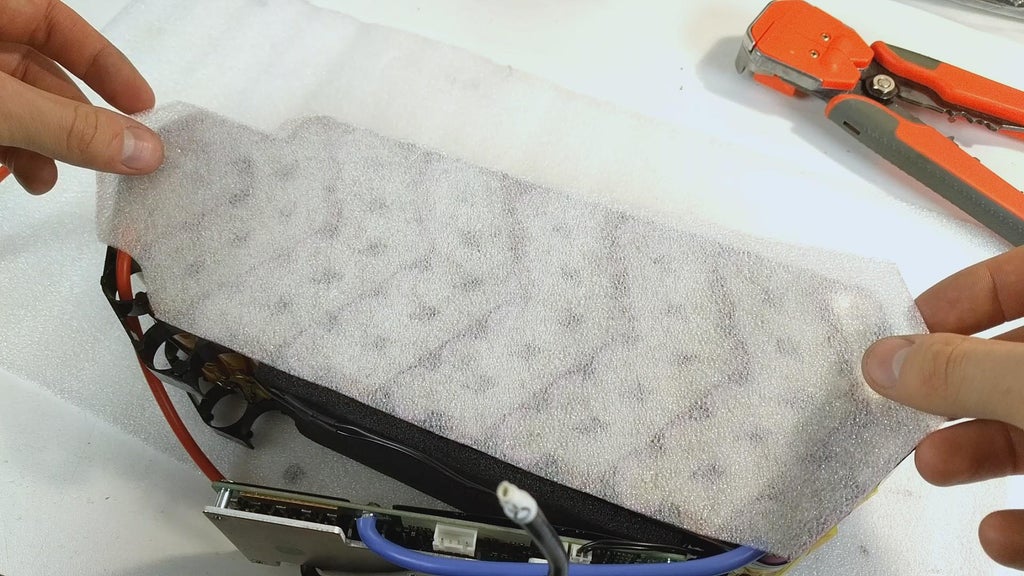
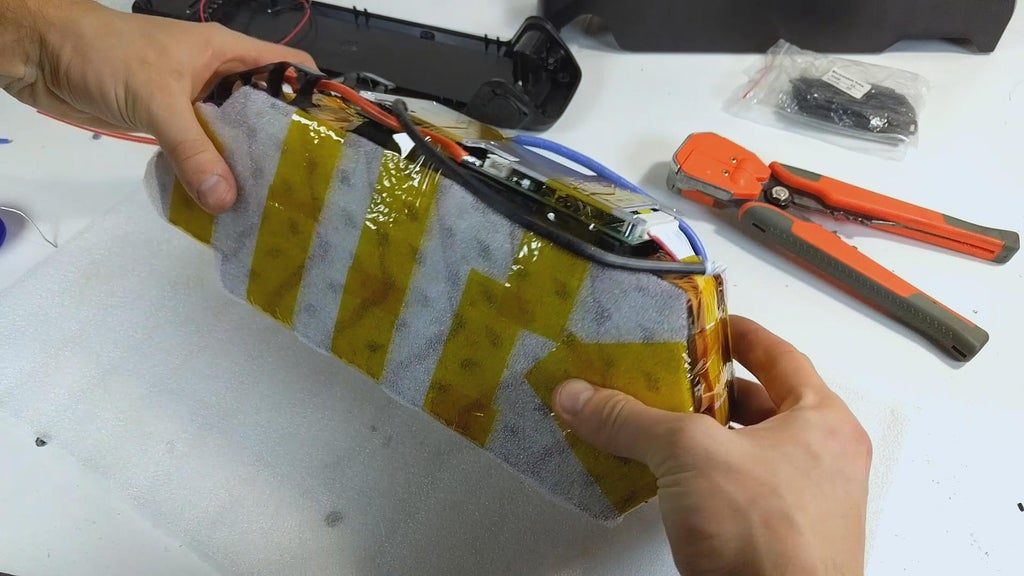
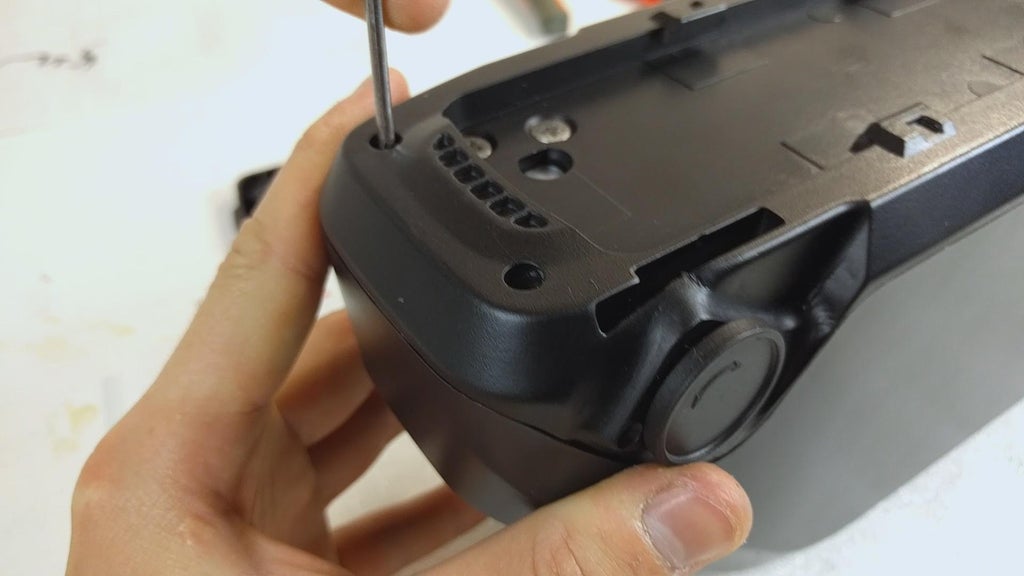
To start off, I removed the bottom of the battery case and cut off a few pieces off the holders to make some space for the smart BMS board we will be adding later. Since I am building a 52V 14S6P battery, I will have 7 unused holders therefore I can cut them off.
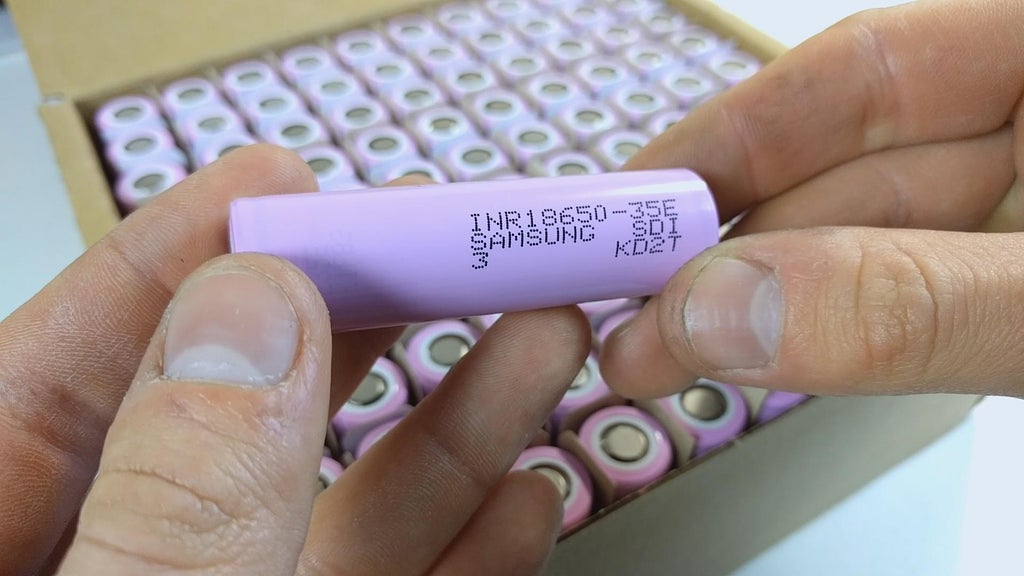
For the lithium-ion batteries I chose to go with original Samsung INR18650-35E cells that I got from nkon.nl for a great price. They have a capacity of 3450mAh and a discharge current of 8A, which is perfect for powering the 1500W kit. I also found a good source of cells with high capacity for cheap on Aliexpress, the link is in the first step.
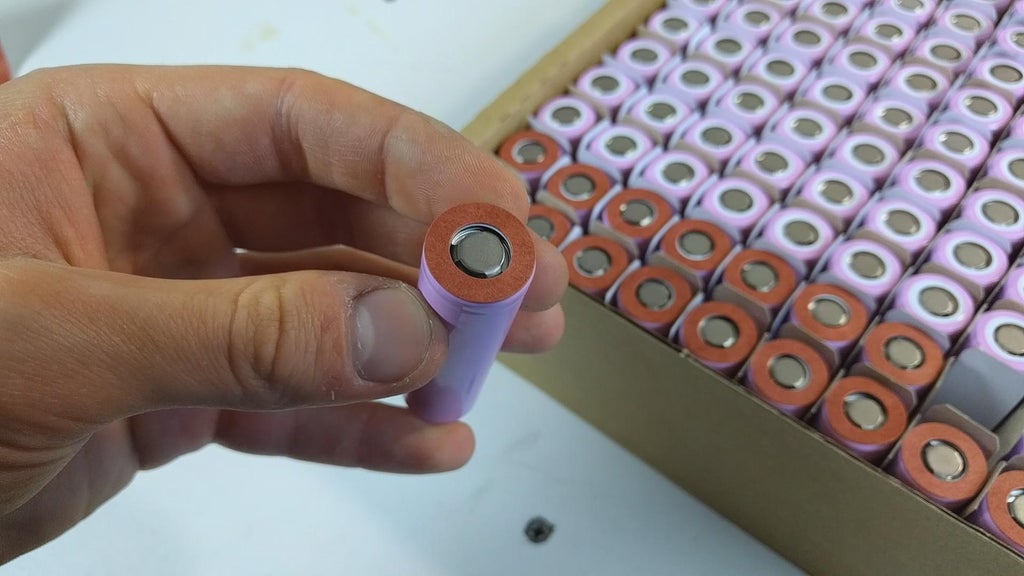
Before we start assembling the battery pack, we need to protect the positive sides of the batteries of any short circuit possibility. For that I will be using these adhesive ring insulators.
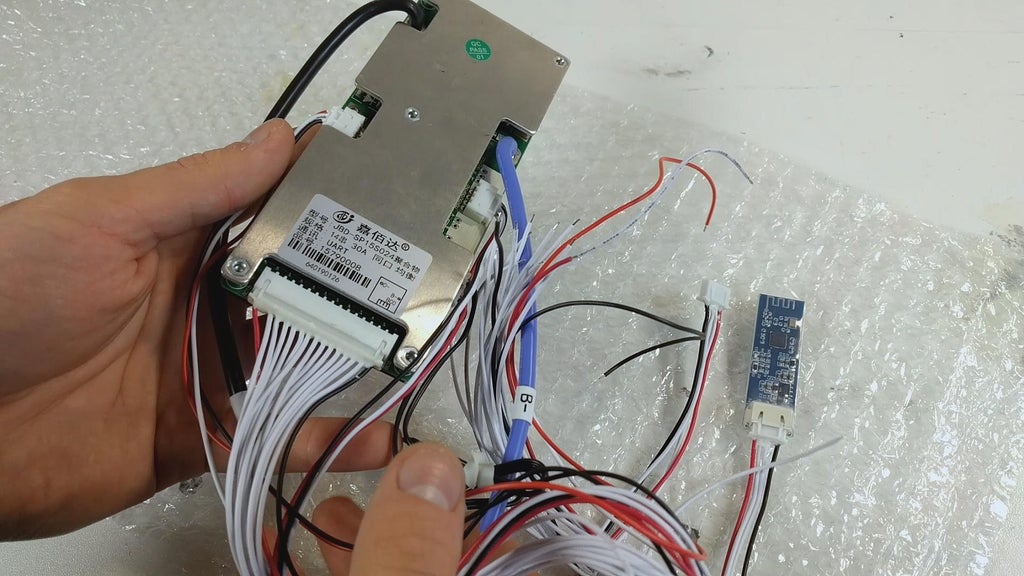
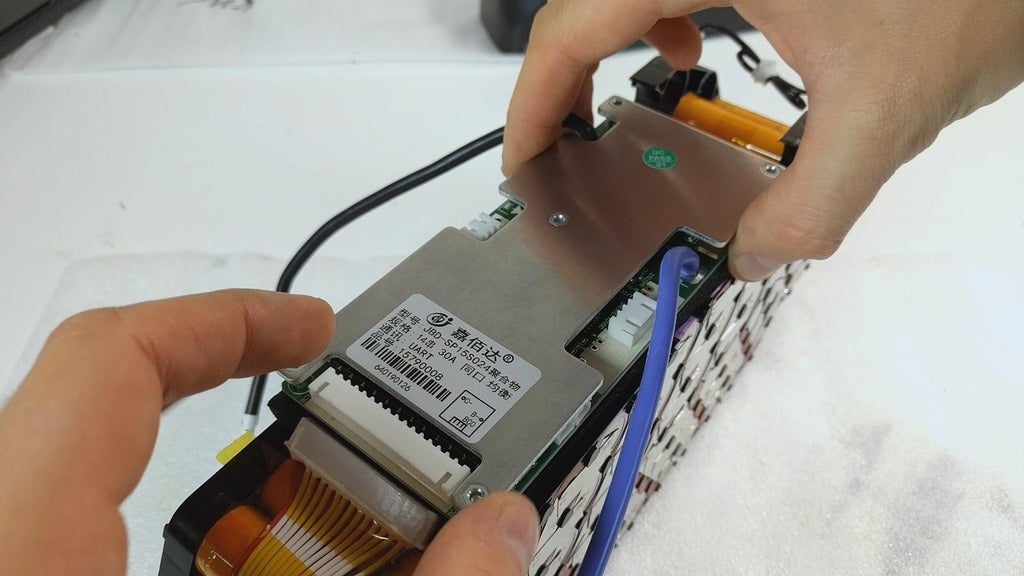
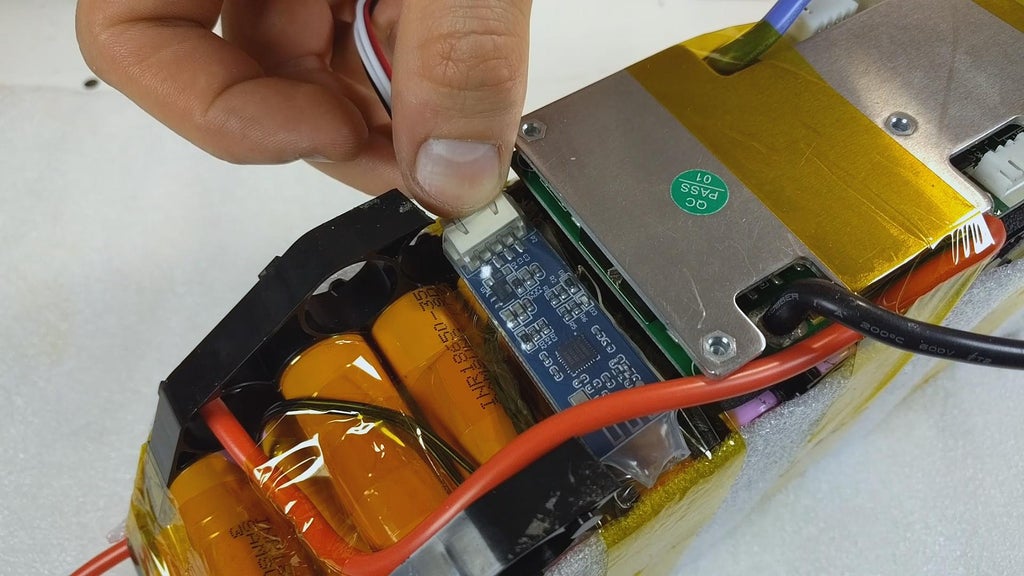
I highly recommend you use a smart BMS like the one I linked in the parts list. Make sure it comes with a Bluetooth adapter. This is a game changer in monitoring your battery parameters including the power ouptut/input (when charging), accurate temperature, speed, current and voltage parameters.
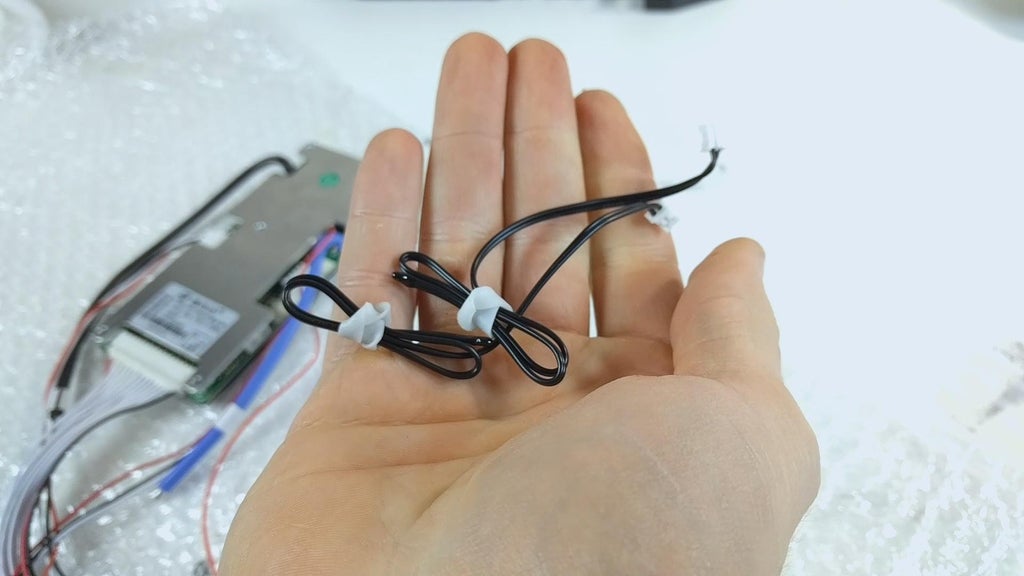
Before we start assembling the battery pack, we need to disconnect the provided temperature sensors from the smart BMS board. You may have one temperature sensor instead of two, depending on the model of your BMS.
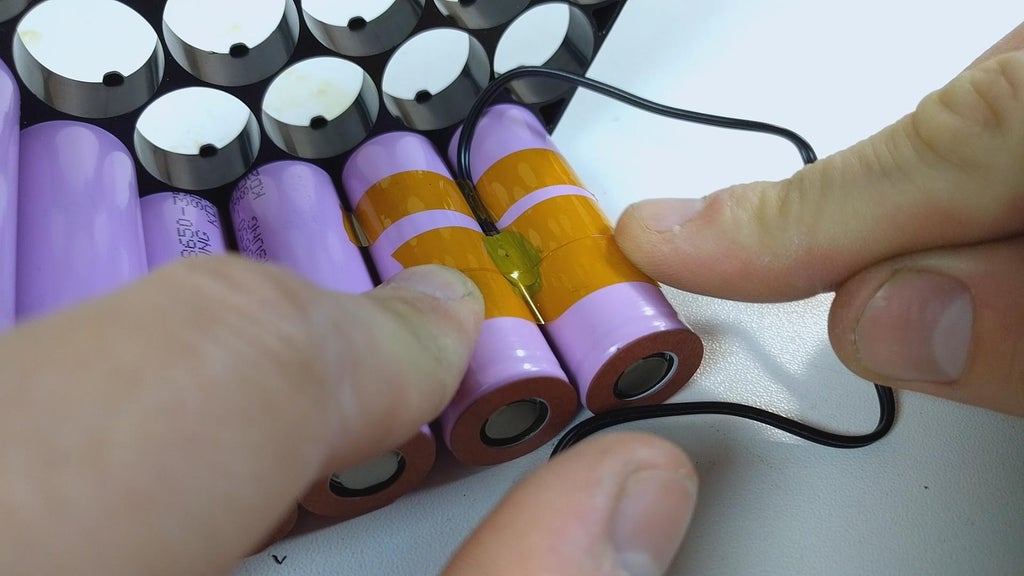
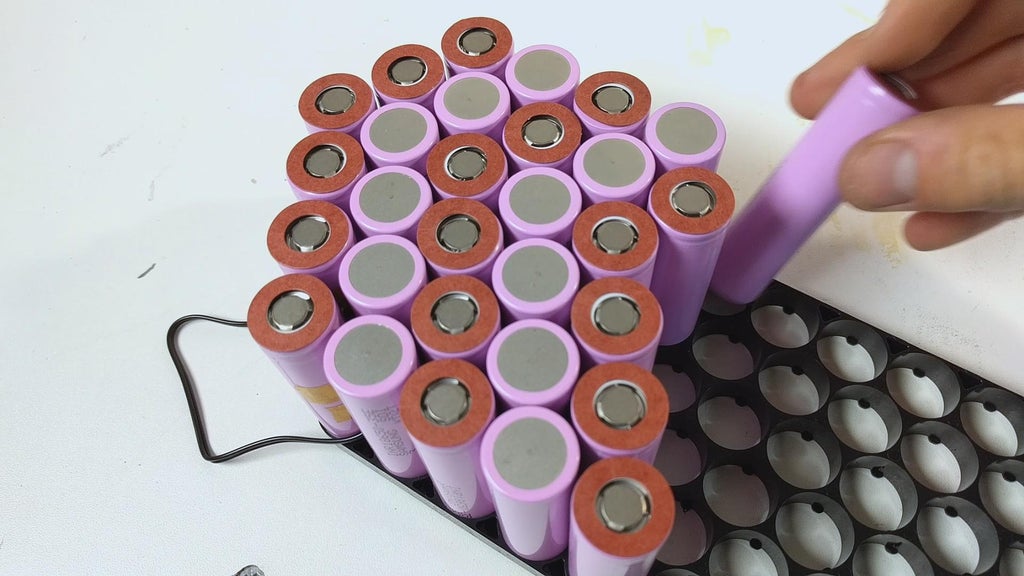
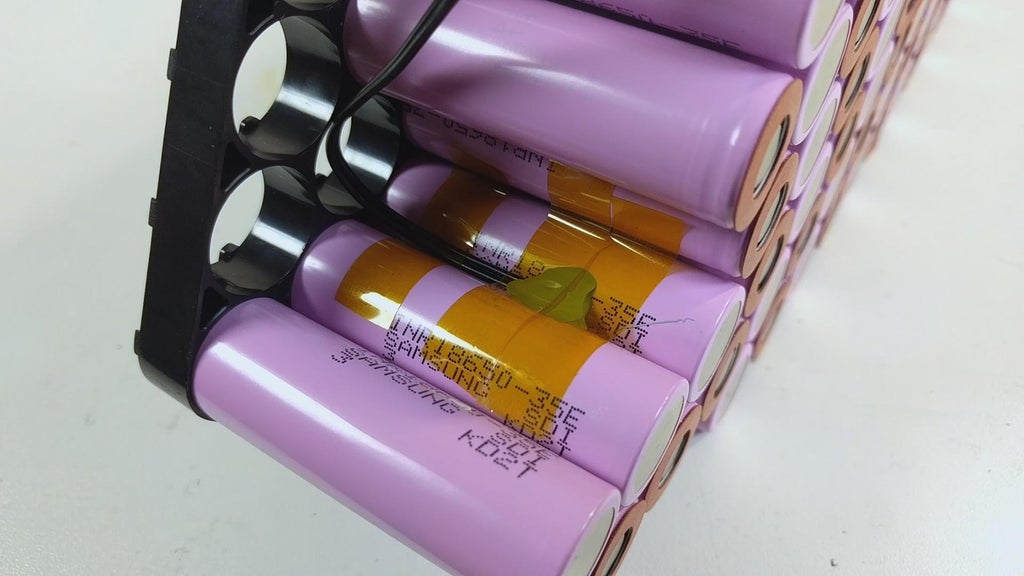
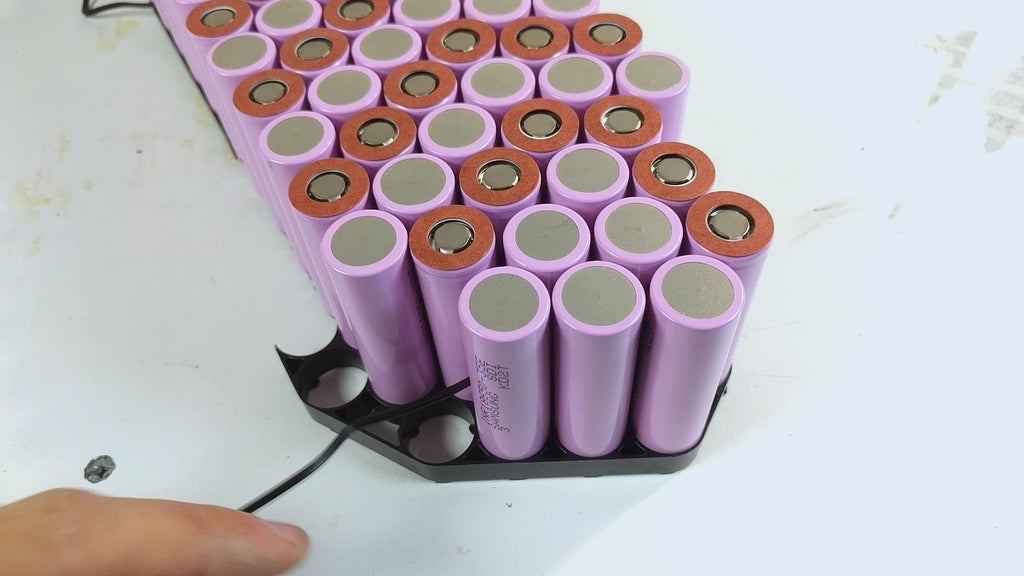
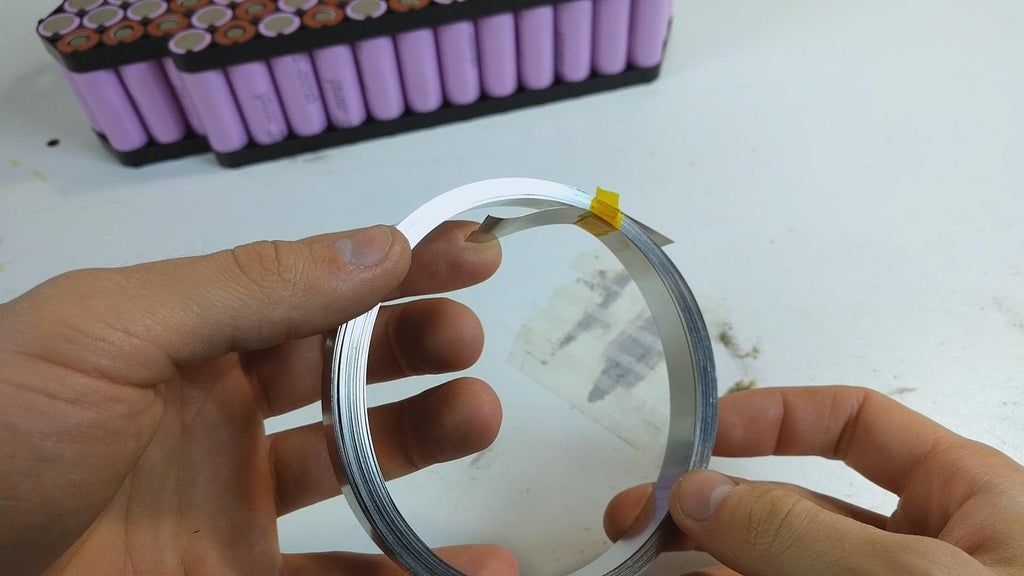
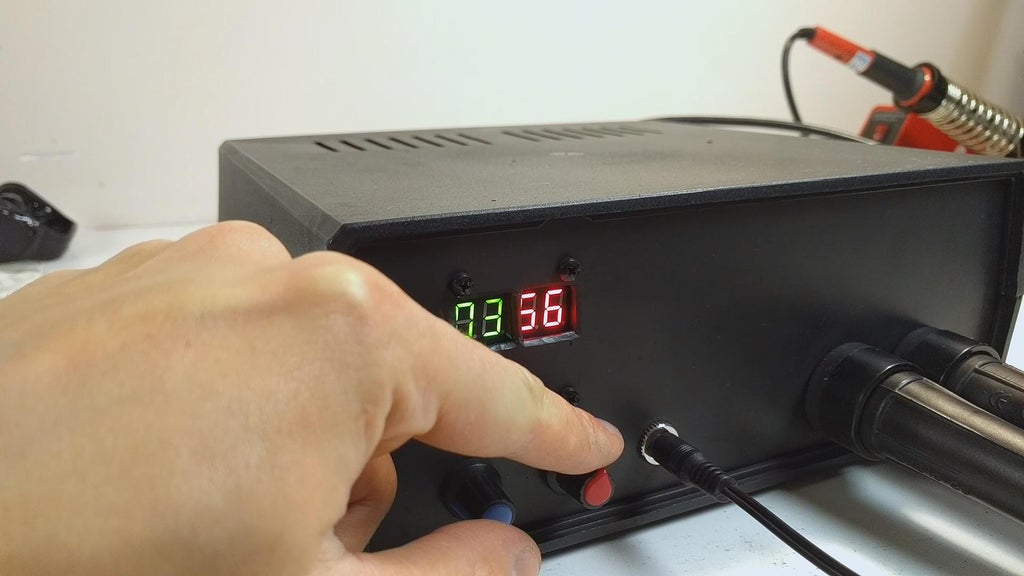
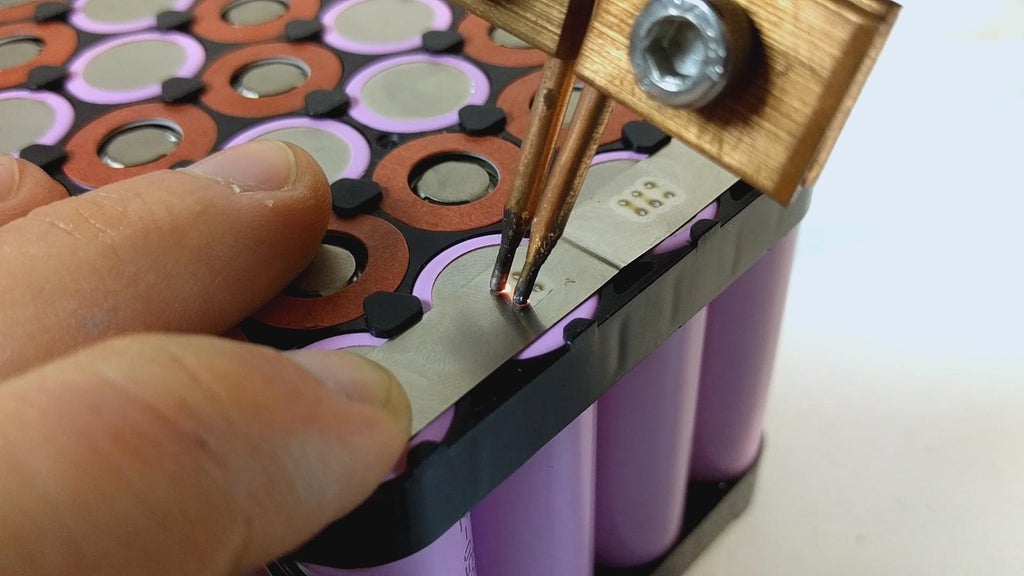
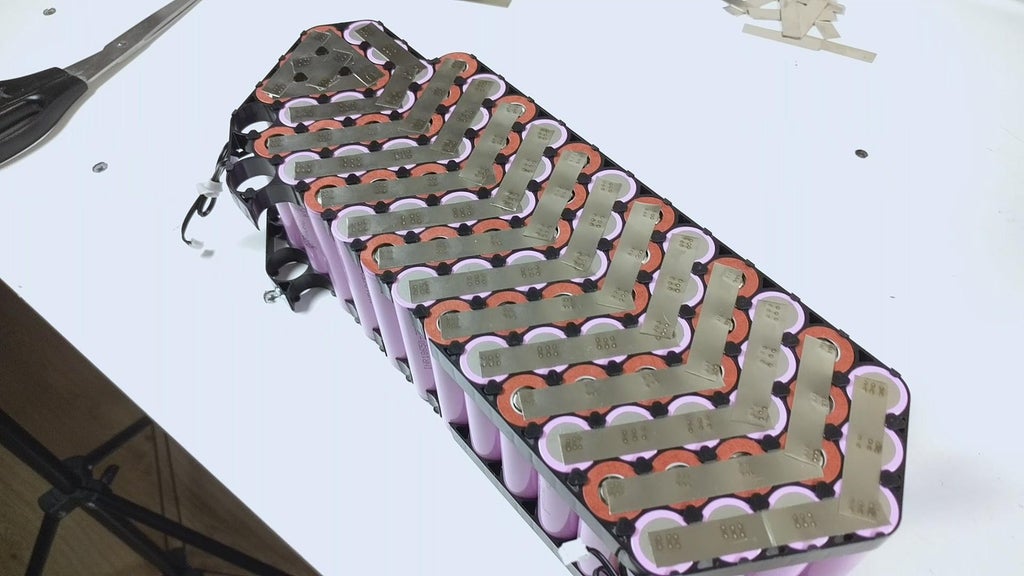
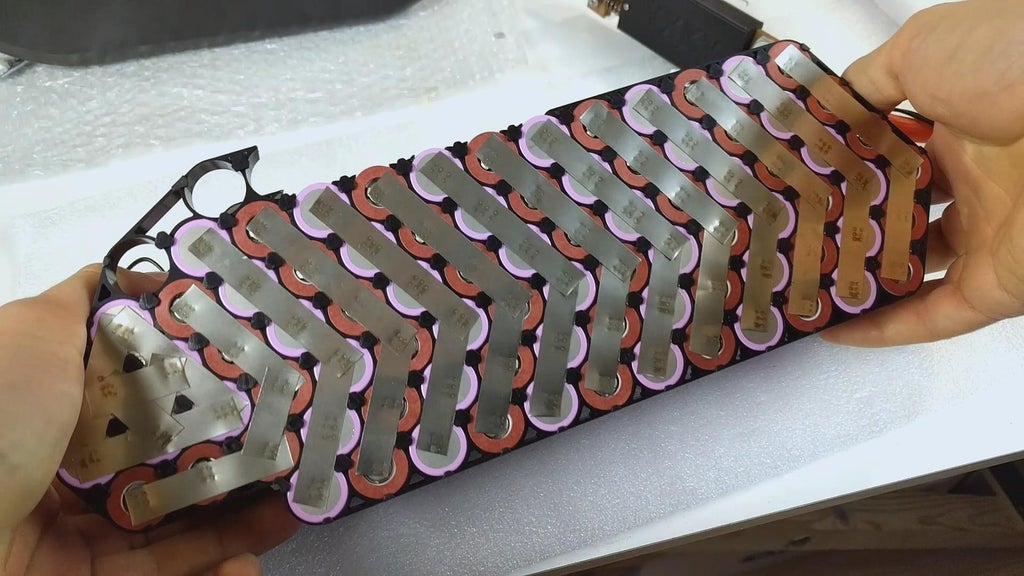
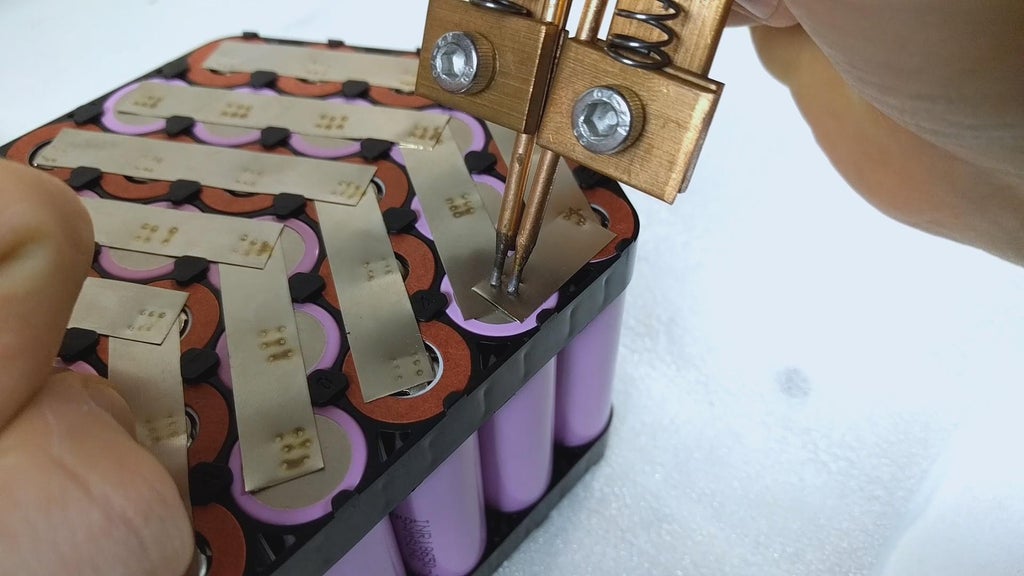
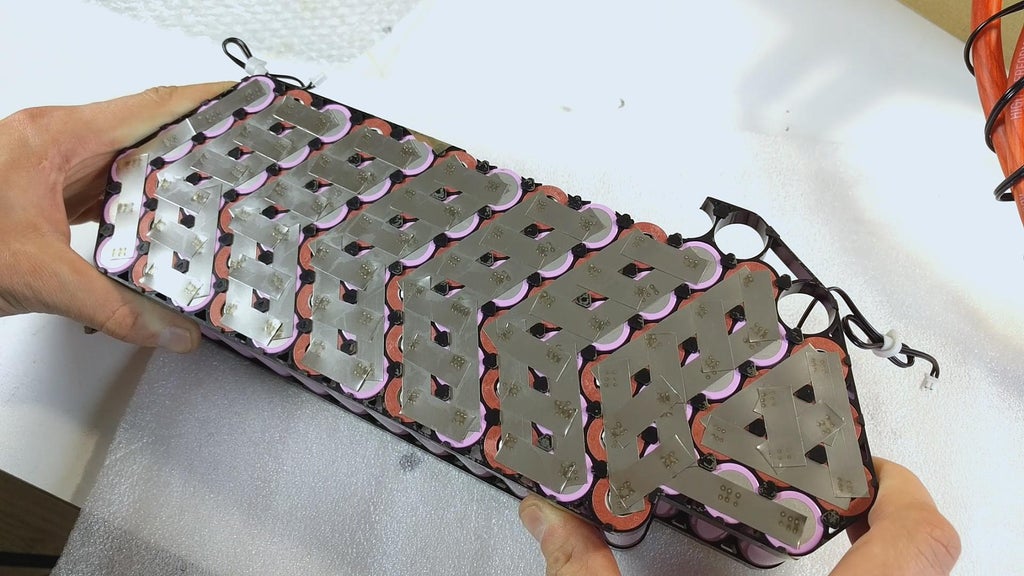
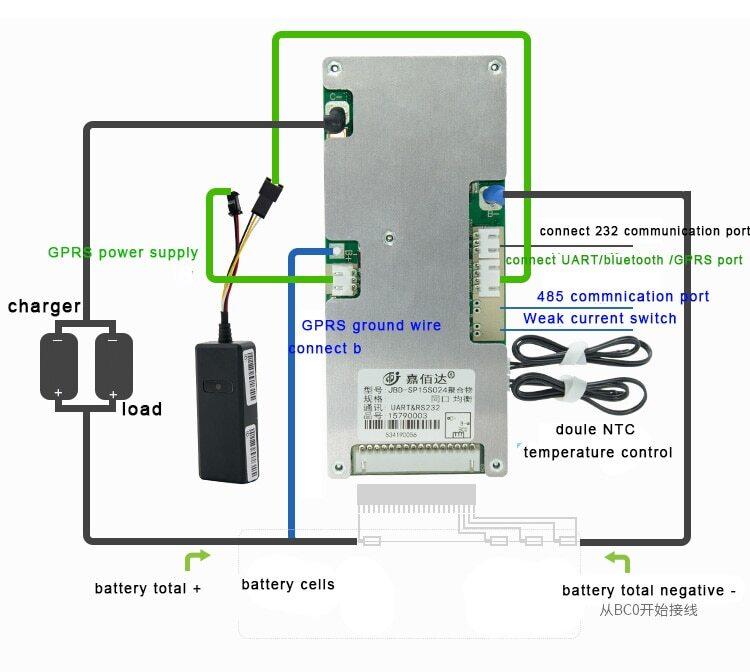
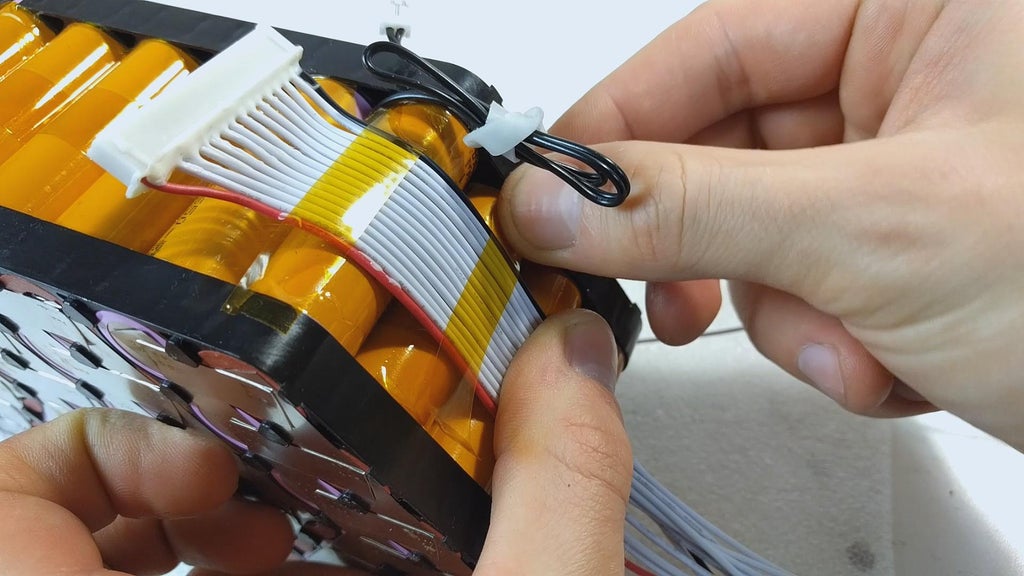
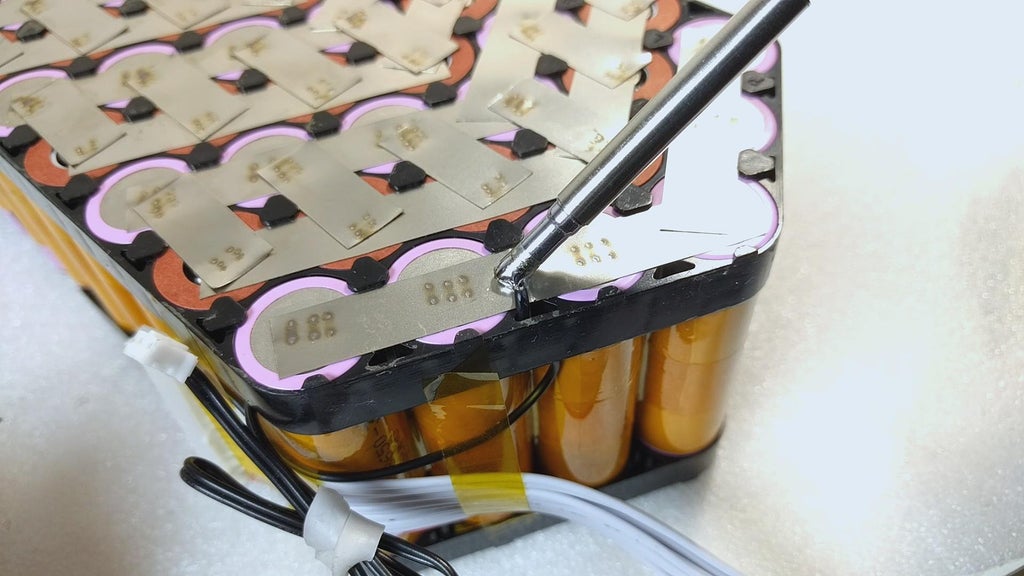
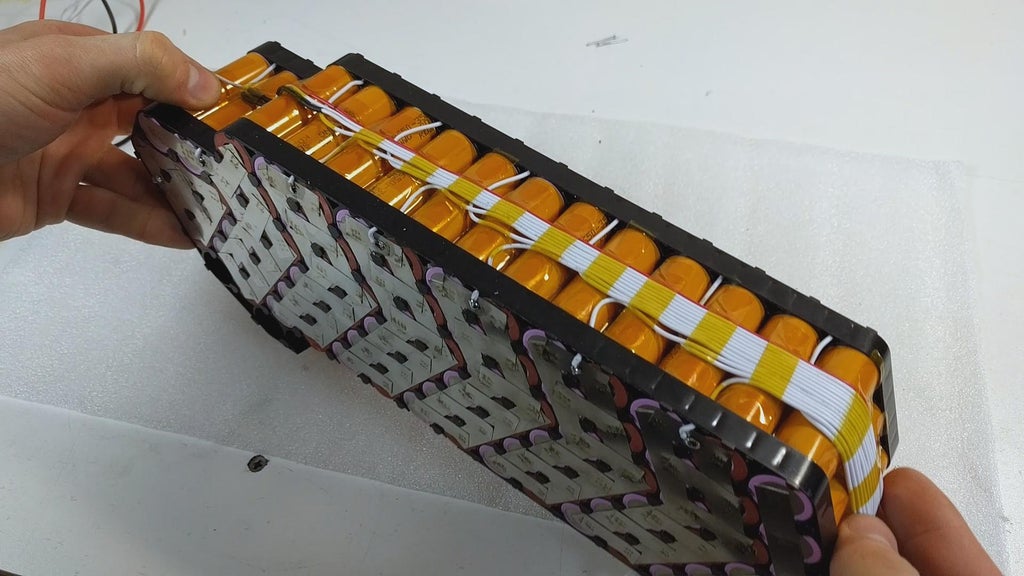
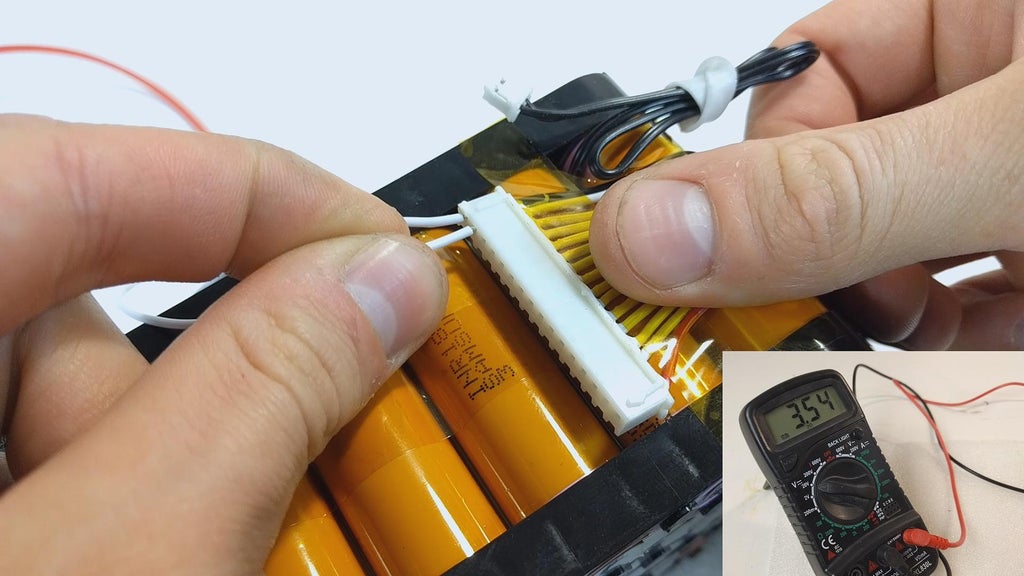
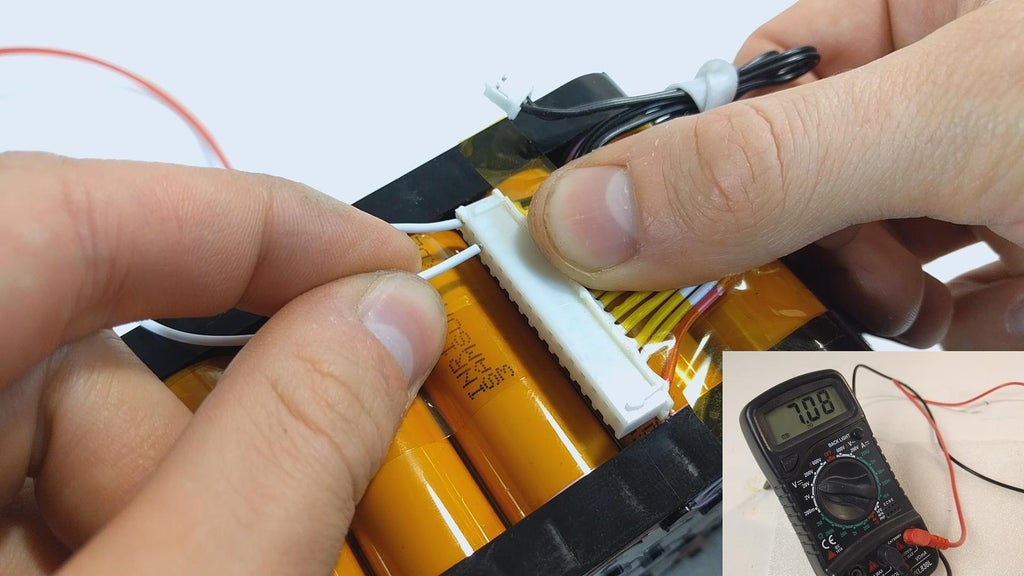
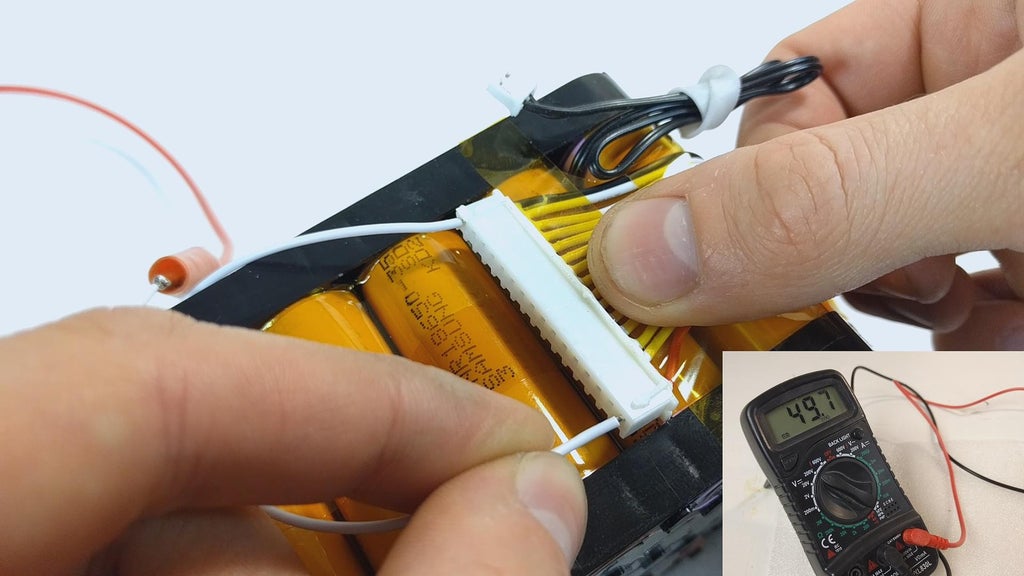
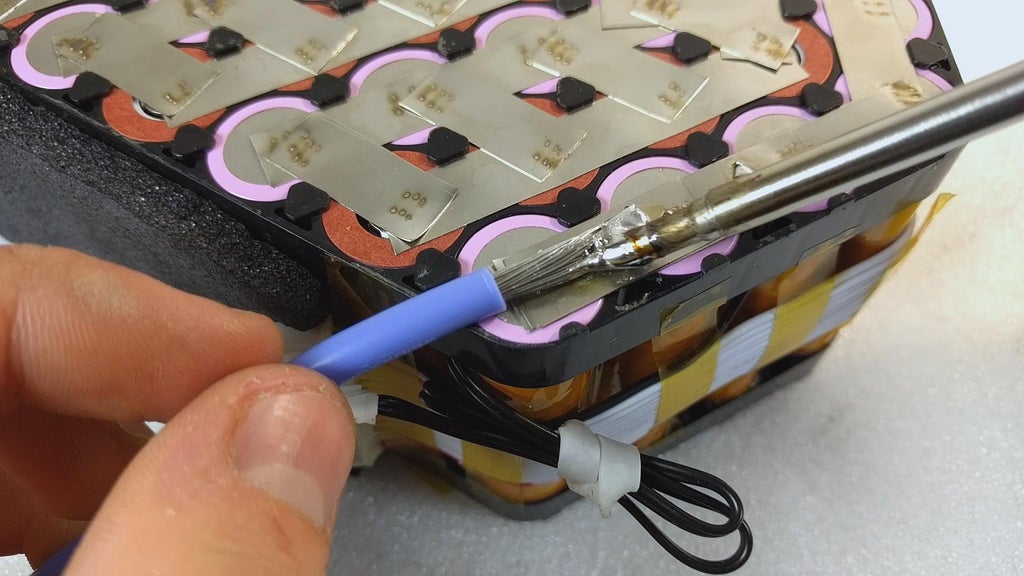
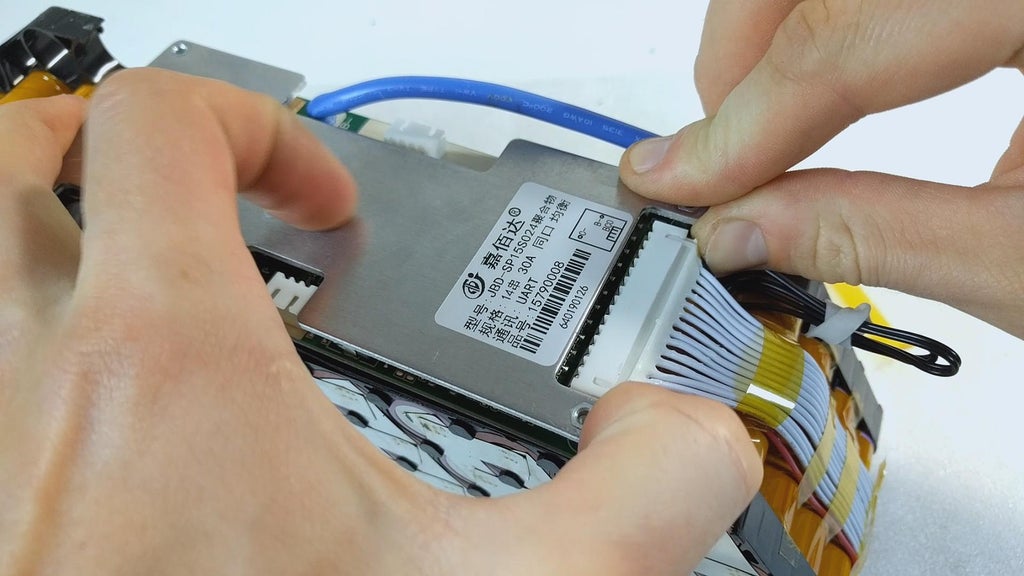
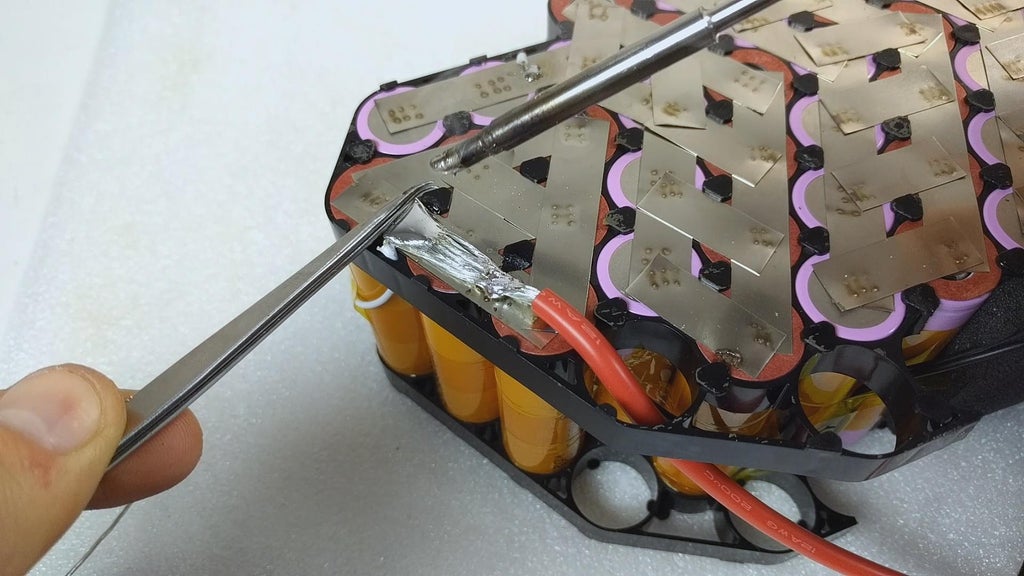
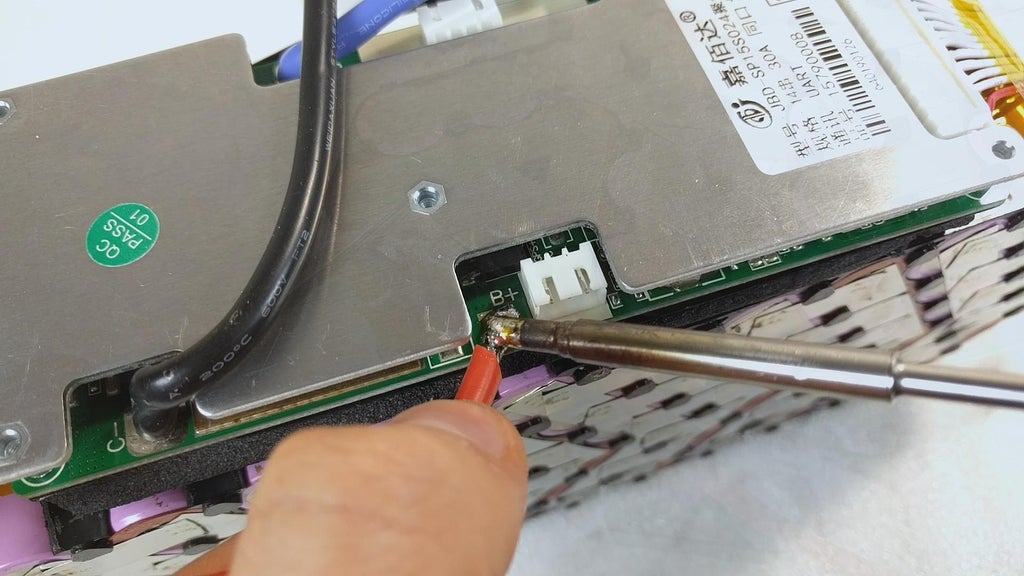
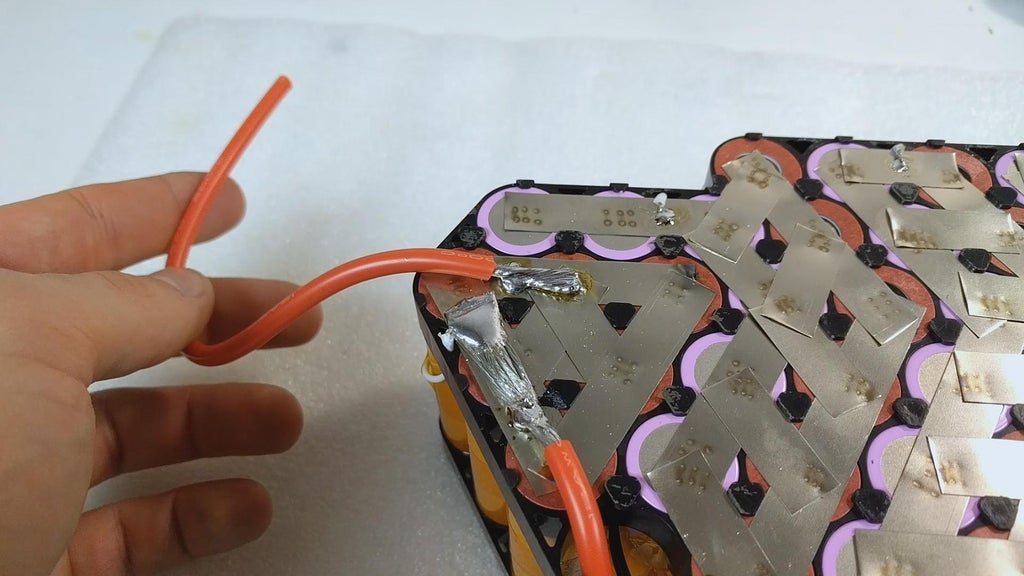
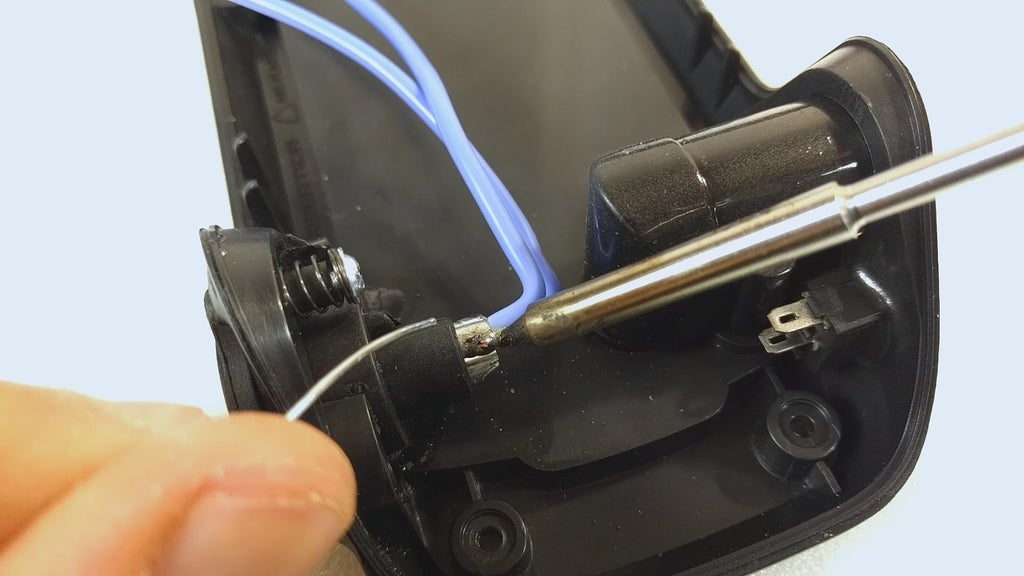
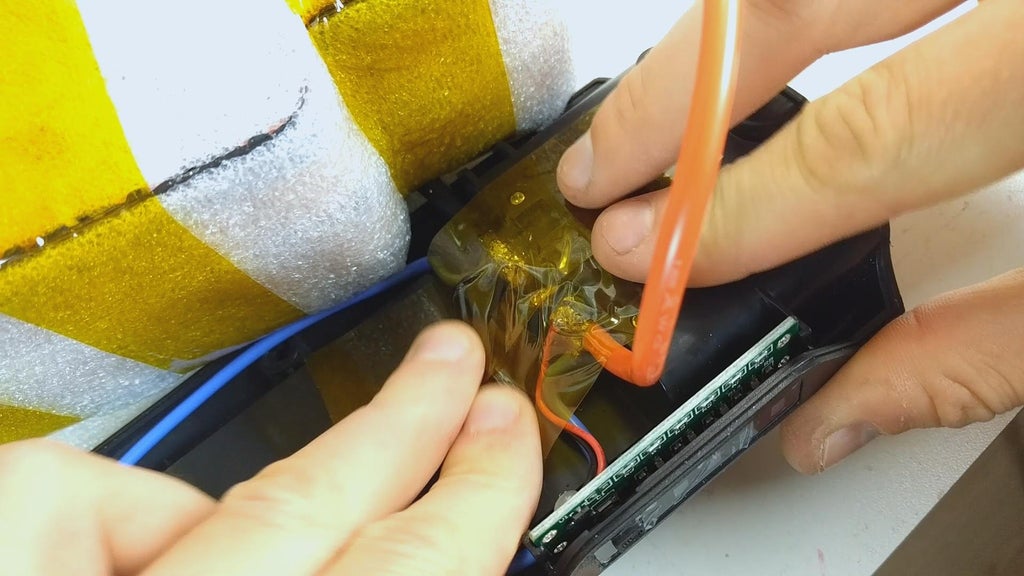
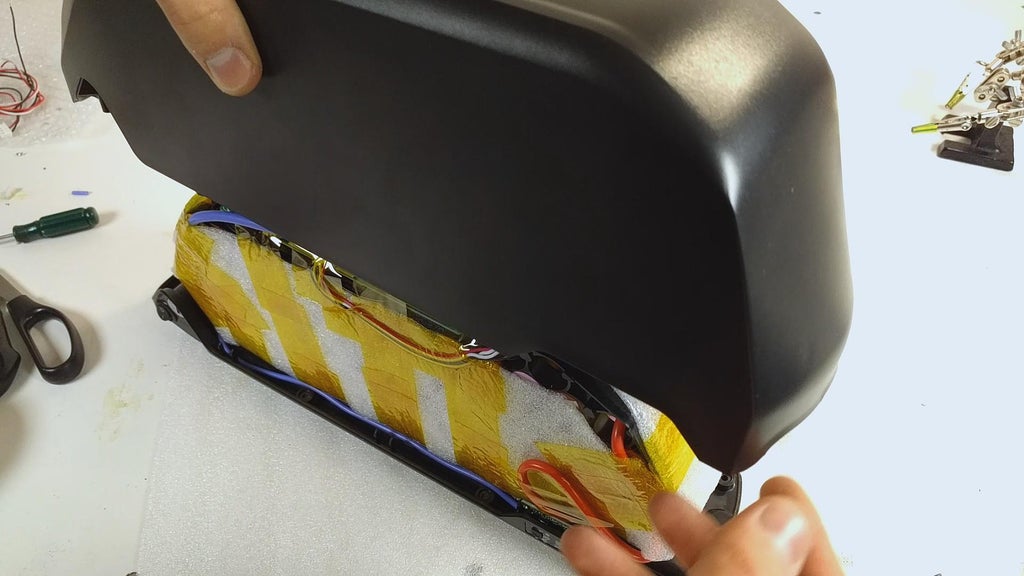
Once the series connections are welded on, we can start soldering the balancing wires to the battery pack. Make sure it is removed from the BMS to begin with. The negative black wire of the balancing connector is soldered to the negative side of the battery and every other wire is soldered to the series connection on the battery pack, with the last red wire being soldered to the positive side of the battery. Click the link to download the Xiaoxiang BMS app. Refer to the diagram shown below for wiring the BMS board (GPRS module is optional):
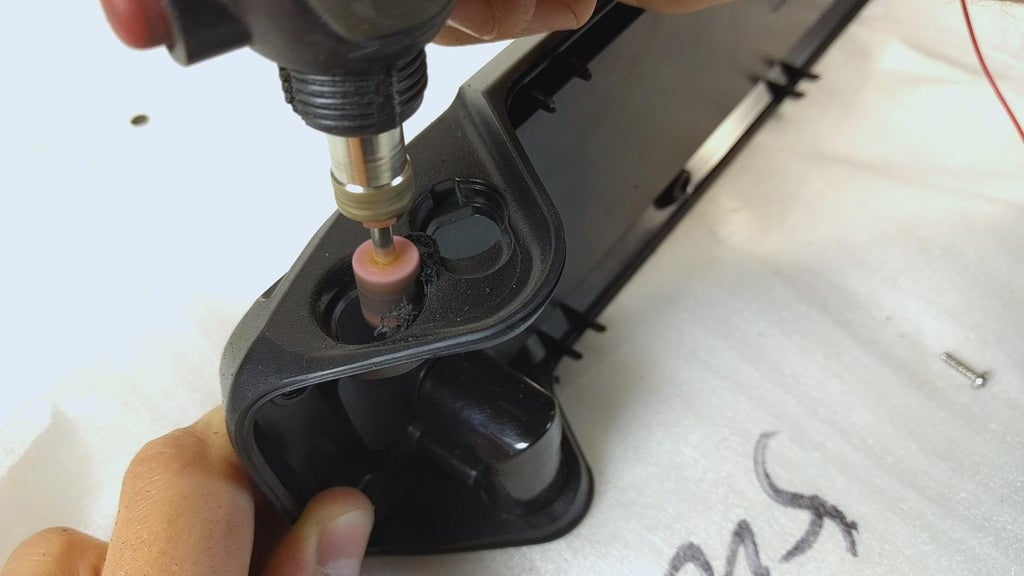
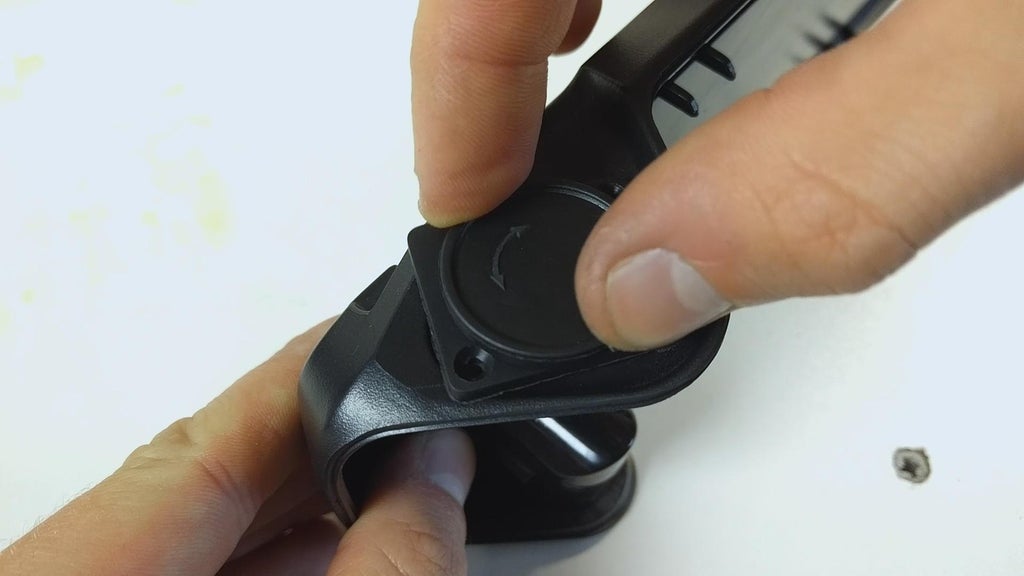
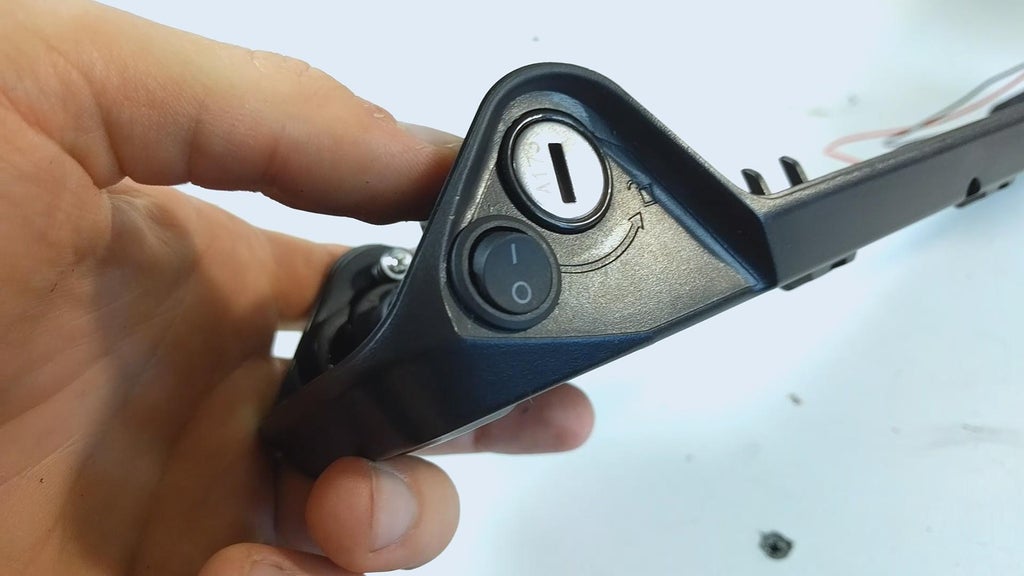
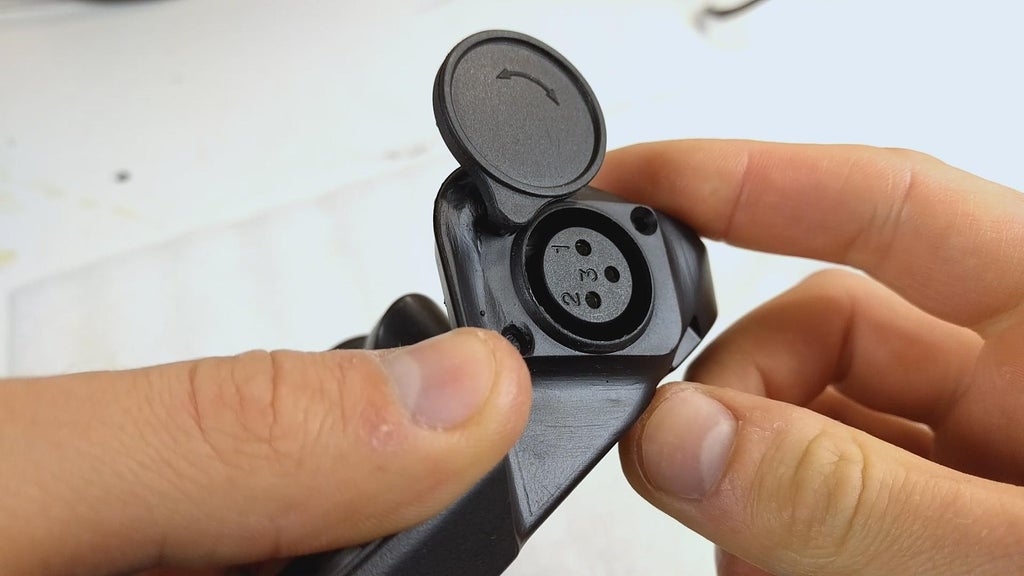
Congratulations! You now have a powerful battery pack assembled and ready for some motor spinning. On to assembling the kit!
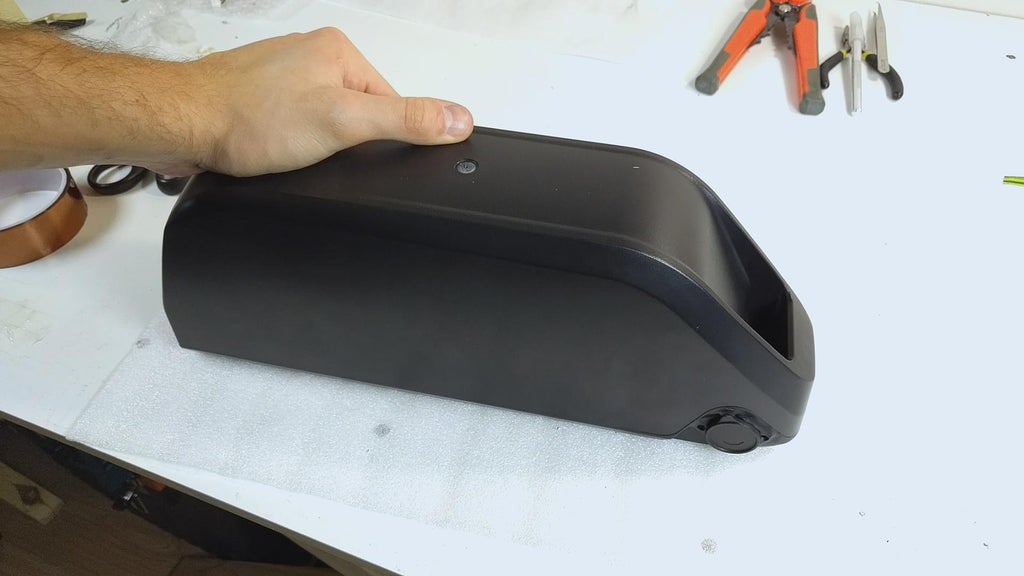
Step 4: Mounting the Battery
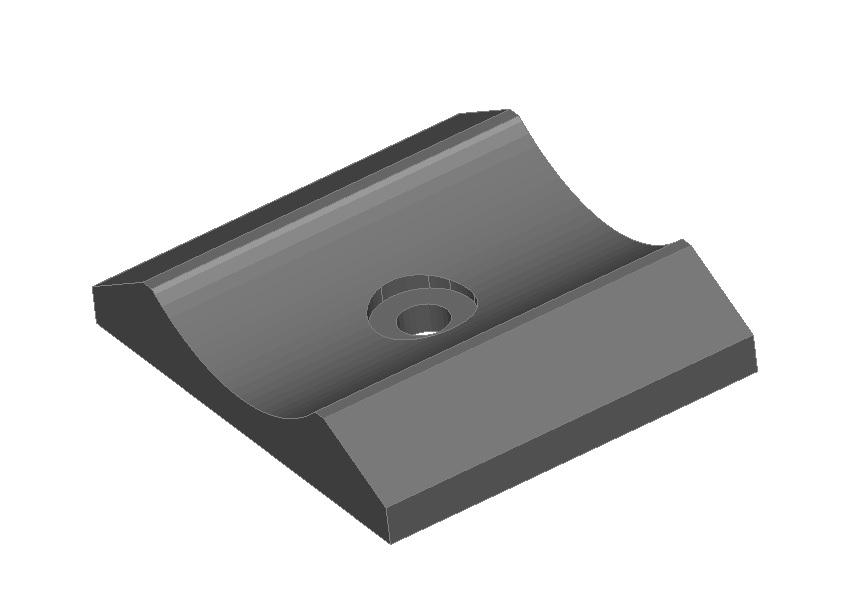
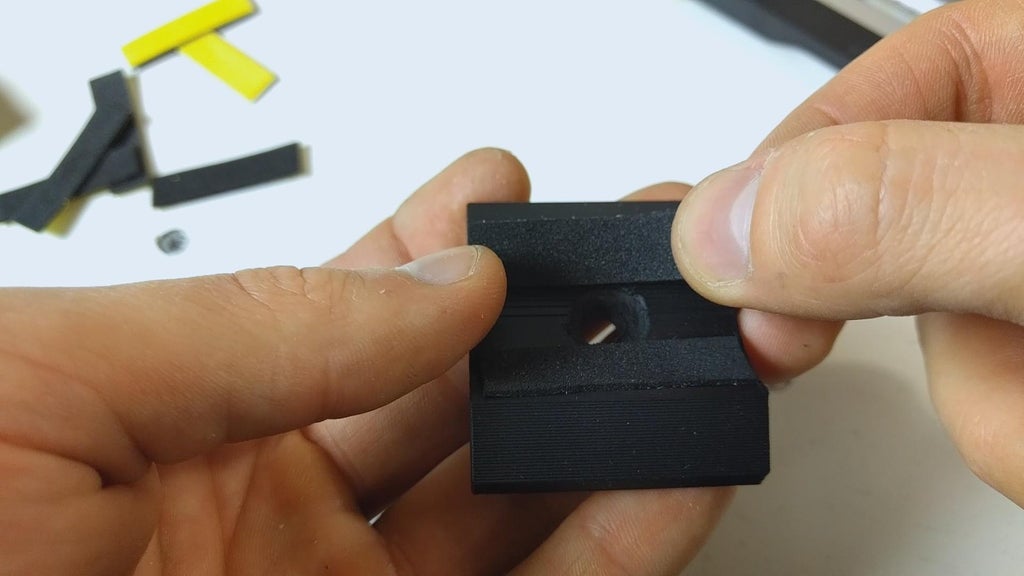
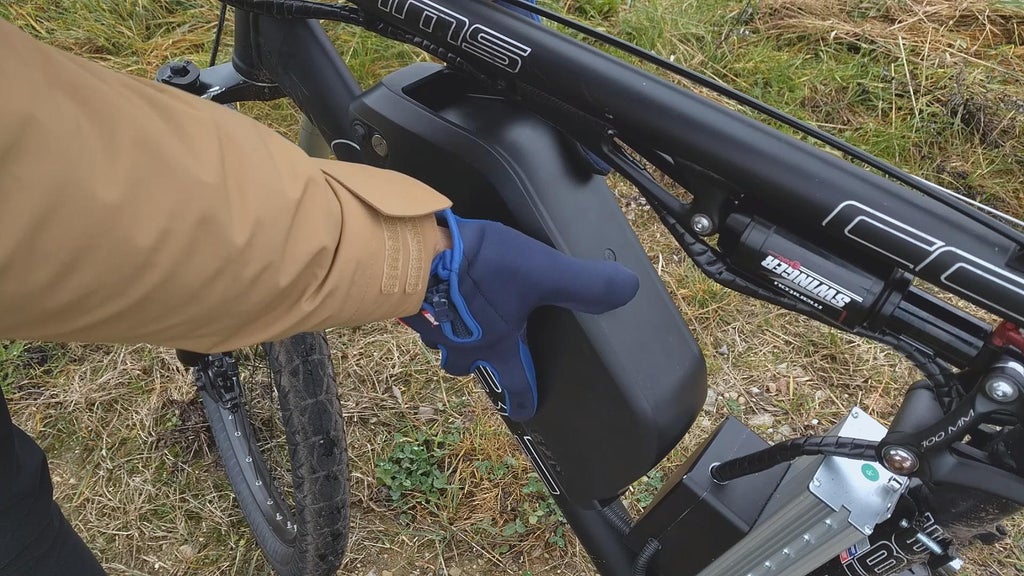
To mount the battery on the frame reliably, I needed to come up with some sort of support for the battery holder. I quickly made this 3D support model on Sketchup according to my bike frame dimensions and had 4 copies of it printed with a 3D printer. I do not own a 3D printer myself but there are many people around that would be happy to help you out with a few parts for cheap or for a big "thanks". Download the model at the bottom of this step and adjust to your frame dimensions if necessary.
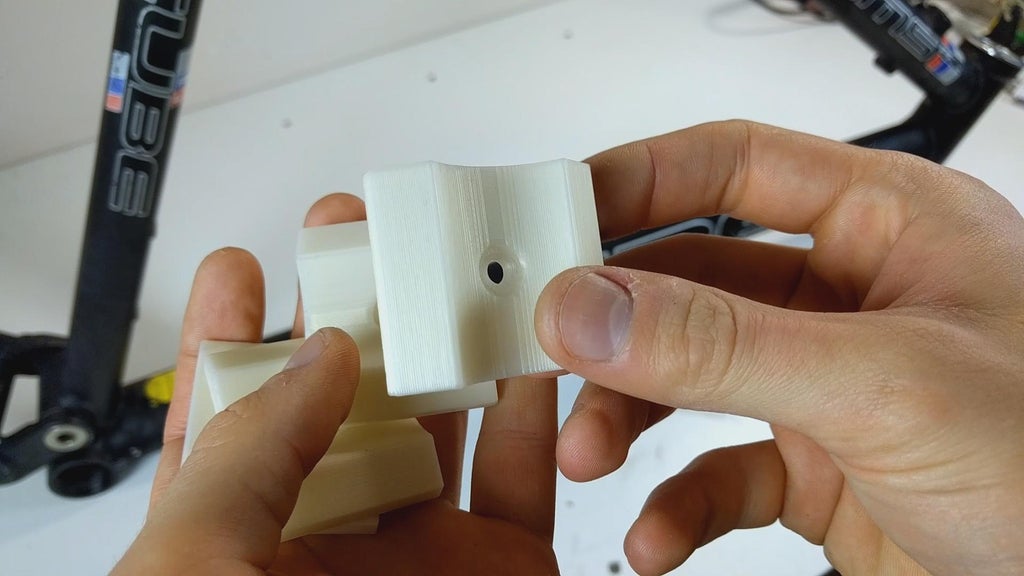
With the support pieces printed out, I quickly disassembled the bike to bare parts using the tools provided in the parts and tools list. I gave the frame a good clean and tested the placement of the battery using the support pieces.
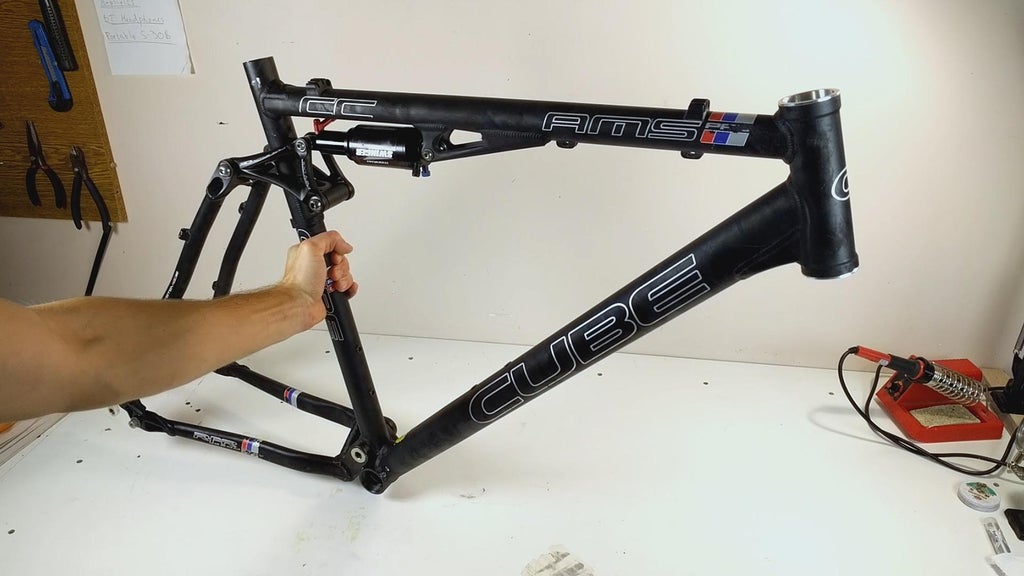
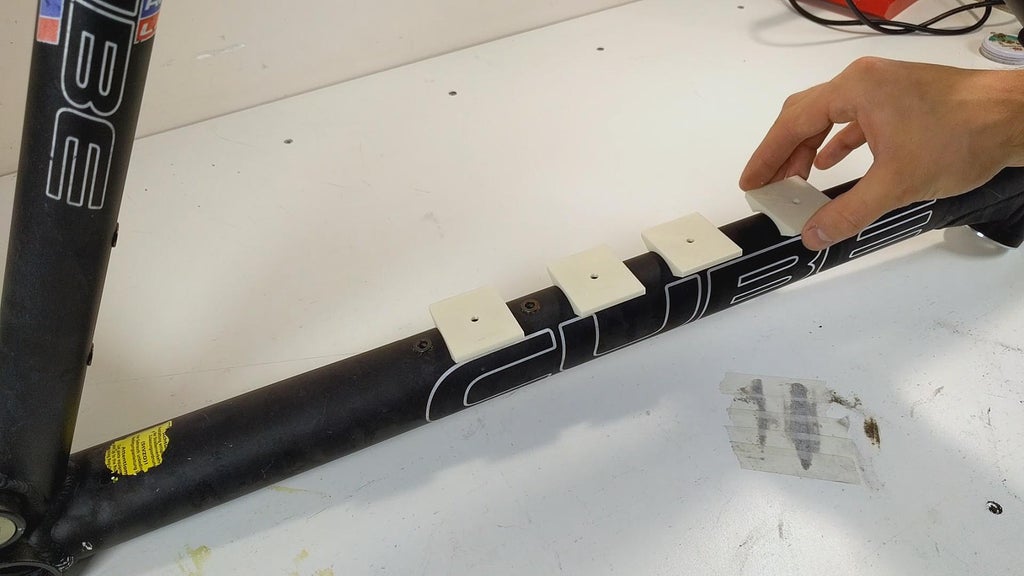
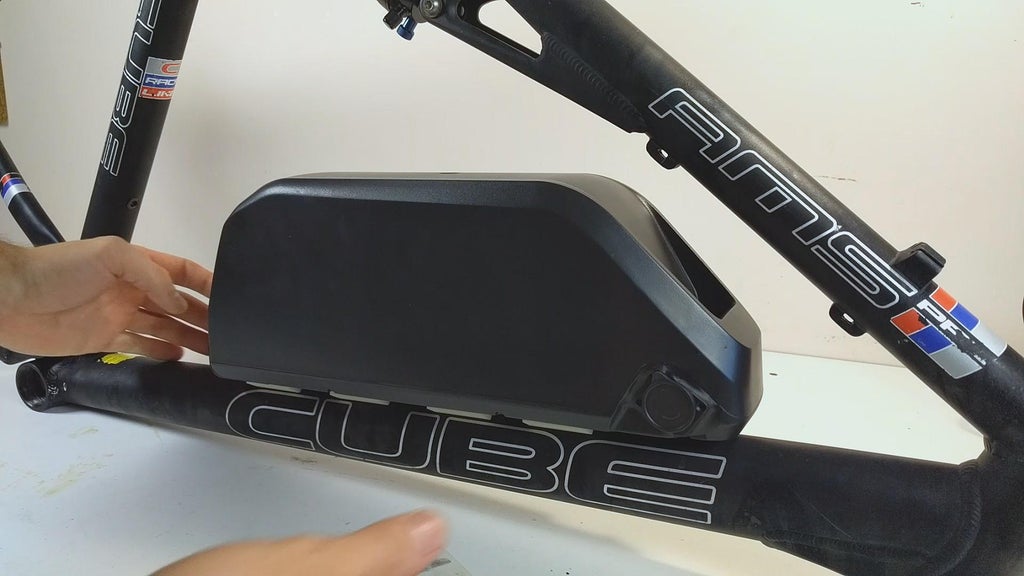
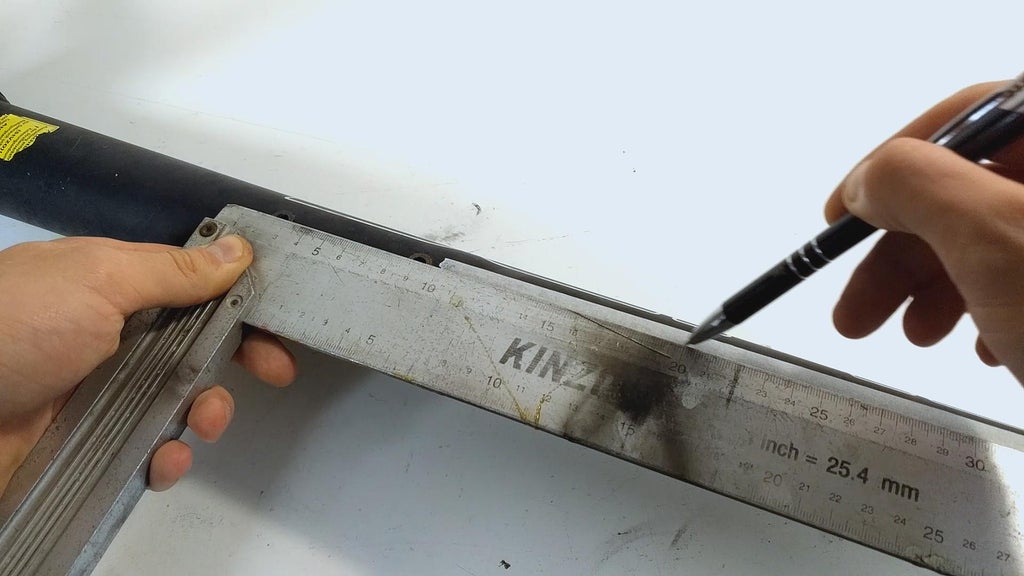
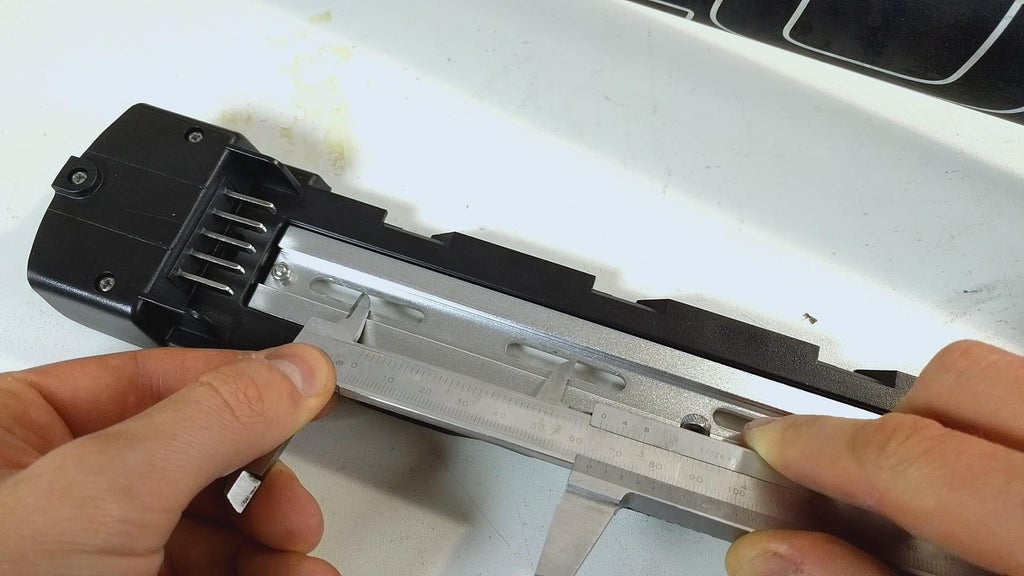
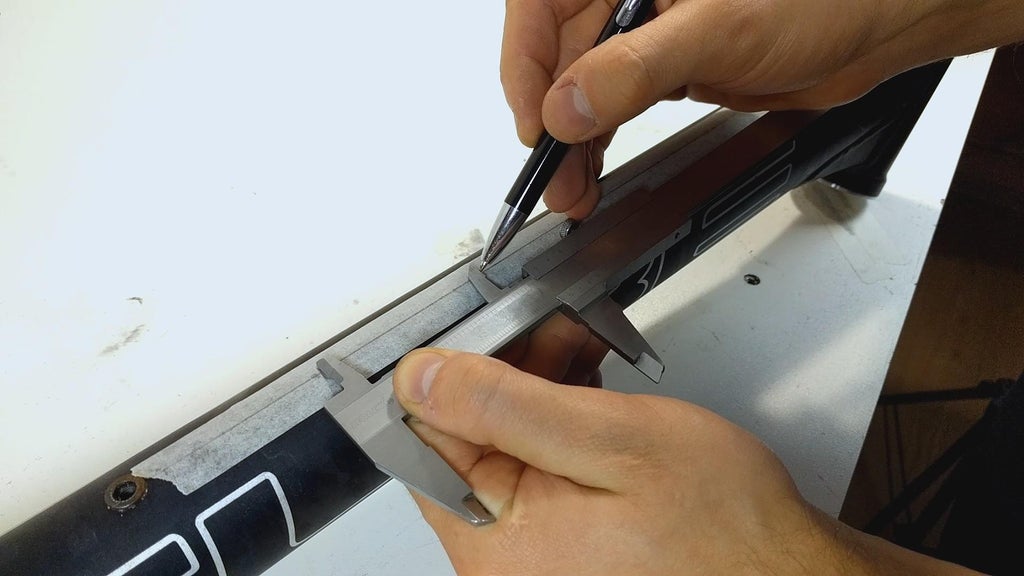
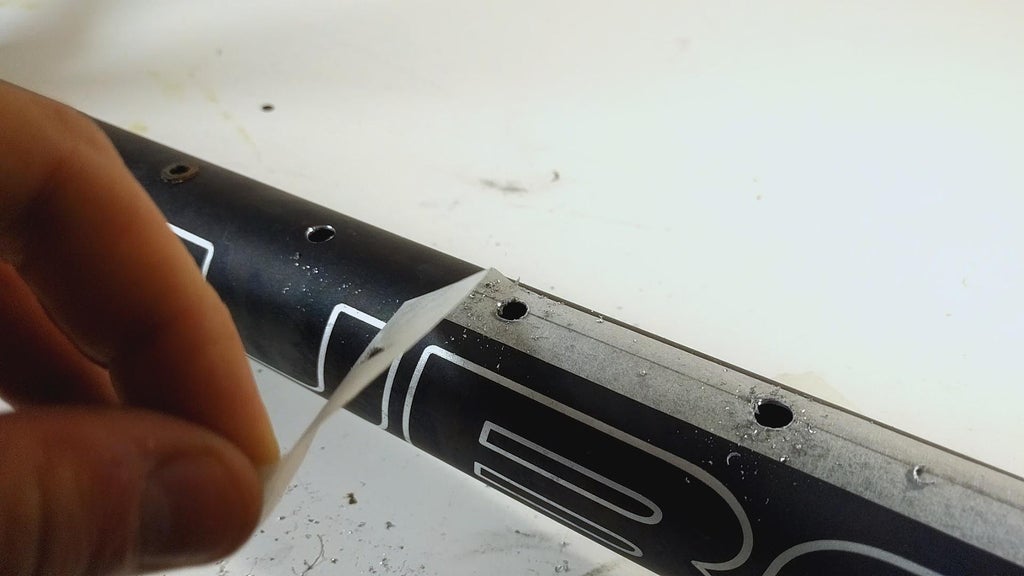
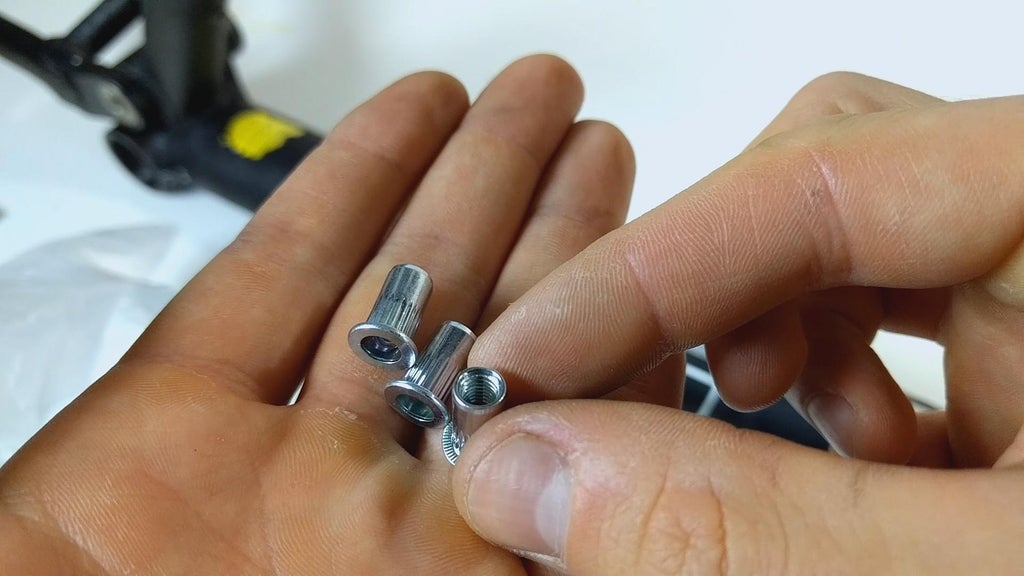
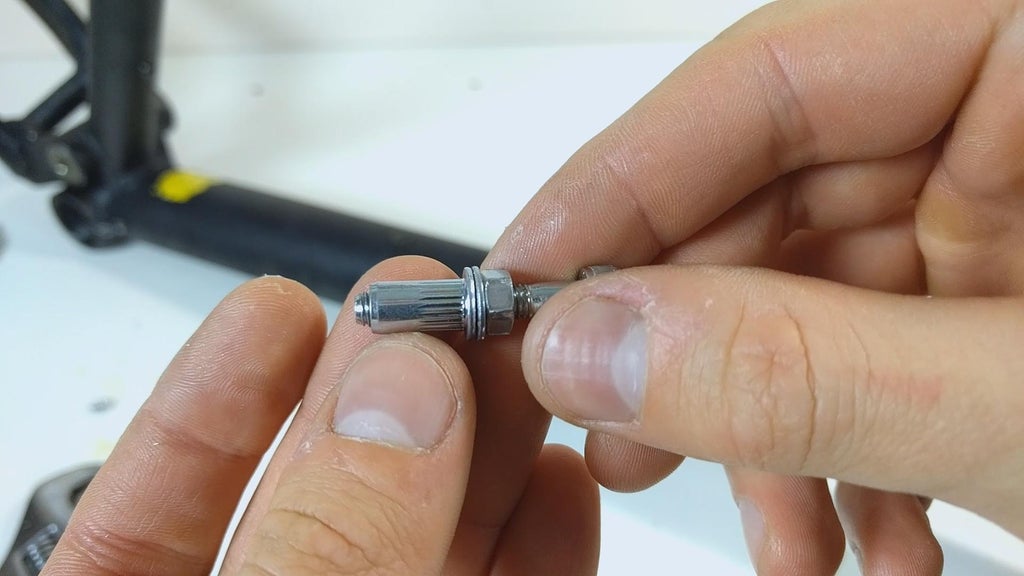
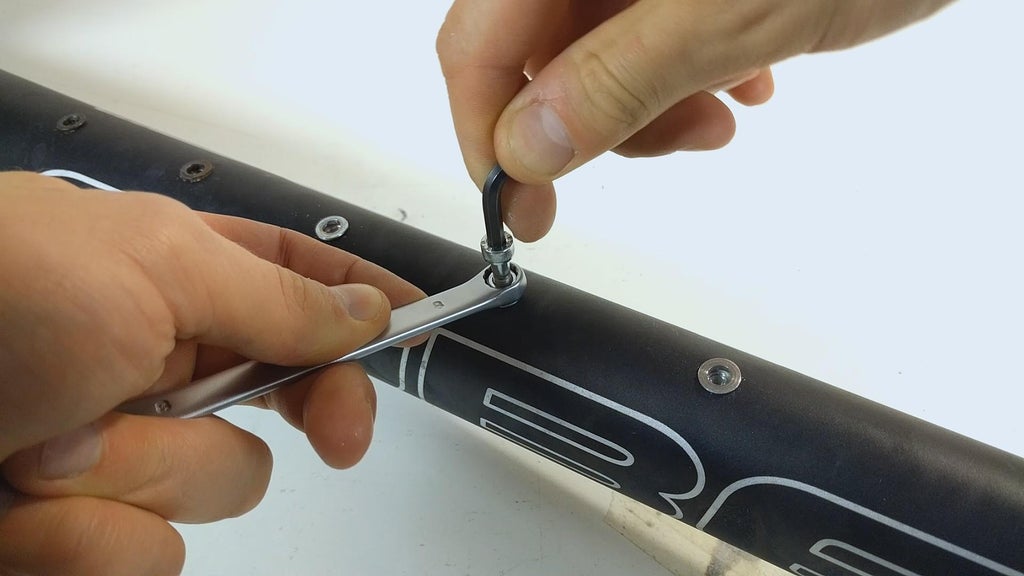
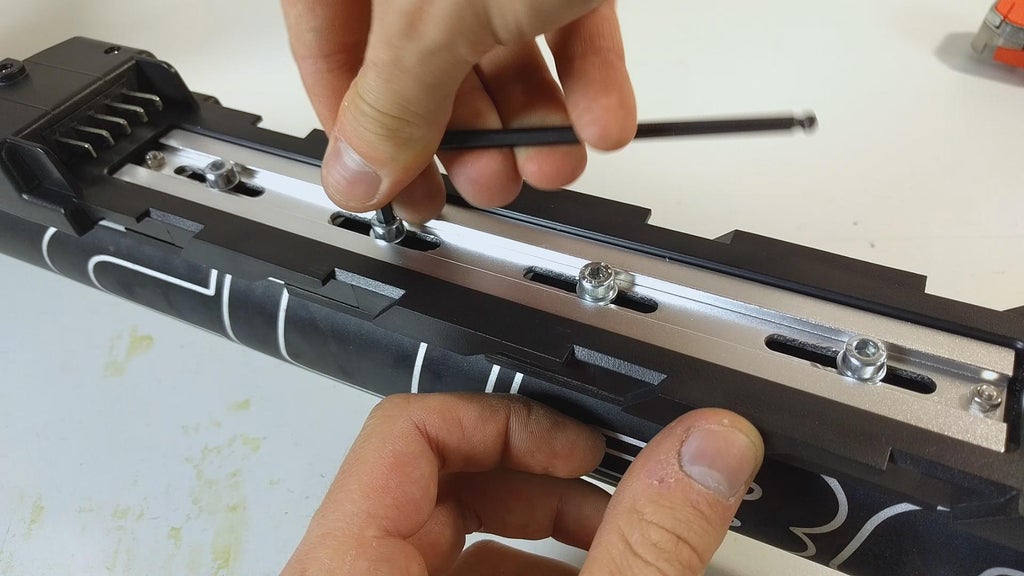
To mount the battery holder to the frame I am using rivnuts. There are two installed in factory, so I need to add three more since I am mounting the battery a bit higher. So I put a piece of tape on the frame and drew a straight line from the existing bottle cage bolt holes. I measured the distance between the centers of the battery holder holes and using a center punch, marked the holes on the frame. Using a drill bit the size of the rivnut, I drilled out where I marked. Take your time getting a straight line across the frame tube because I got mine a bit crooked.
Attachments
Step 5: Assembling the Kit
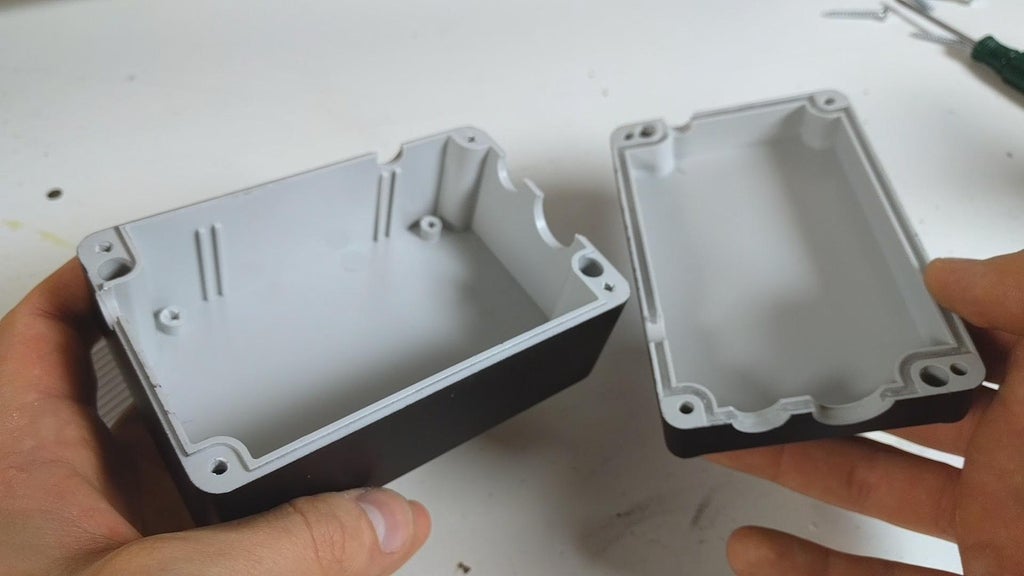
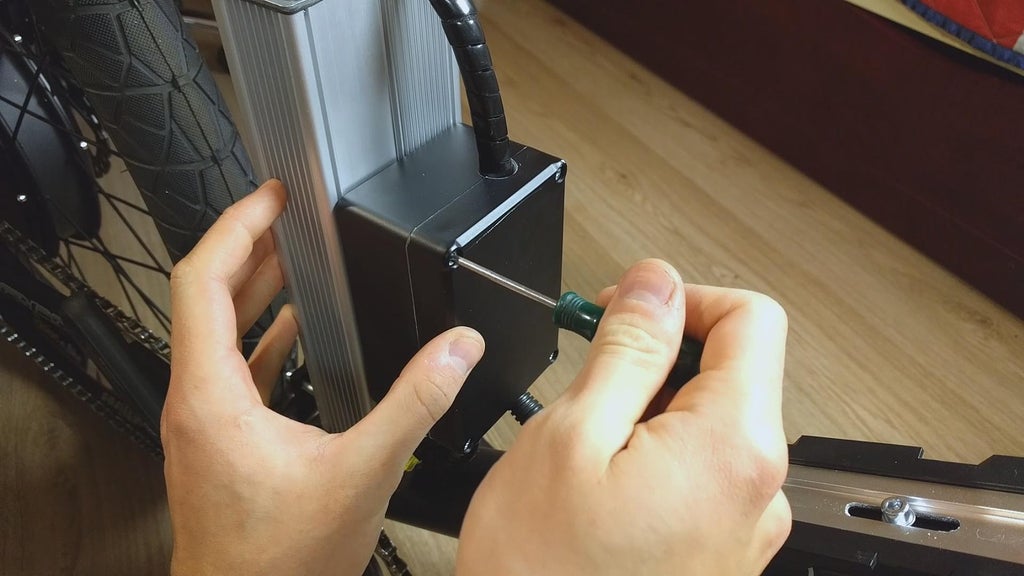
To start the assembly of the kit, I first of all drilled a few holes in a waterproof project case that will house all the connections and give some protection from the elements.
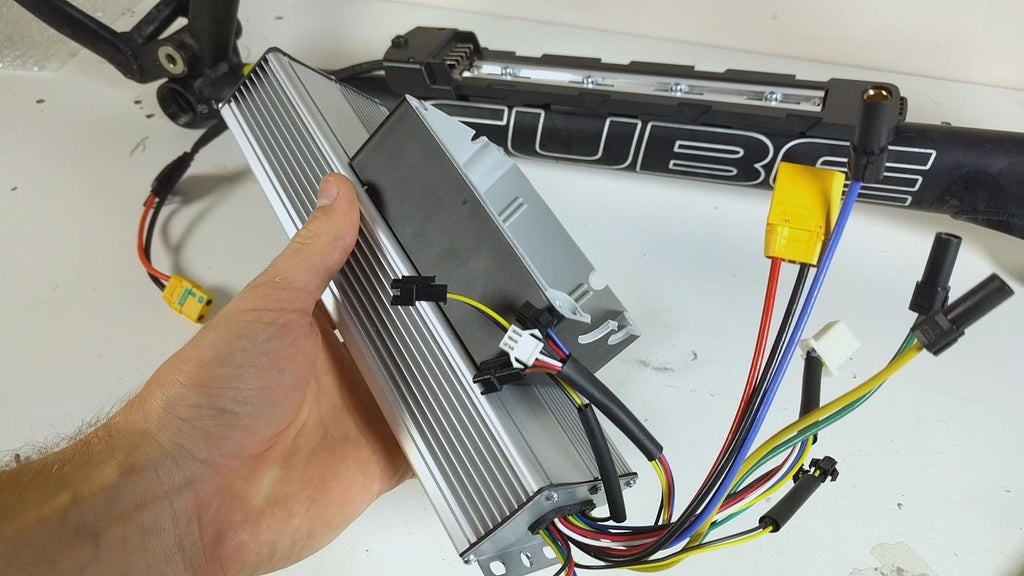
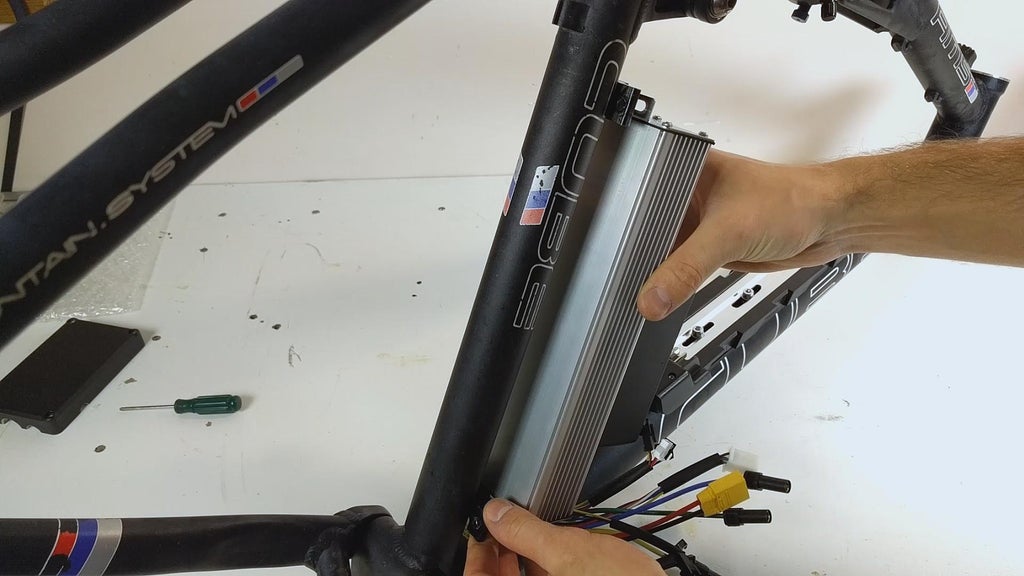
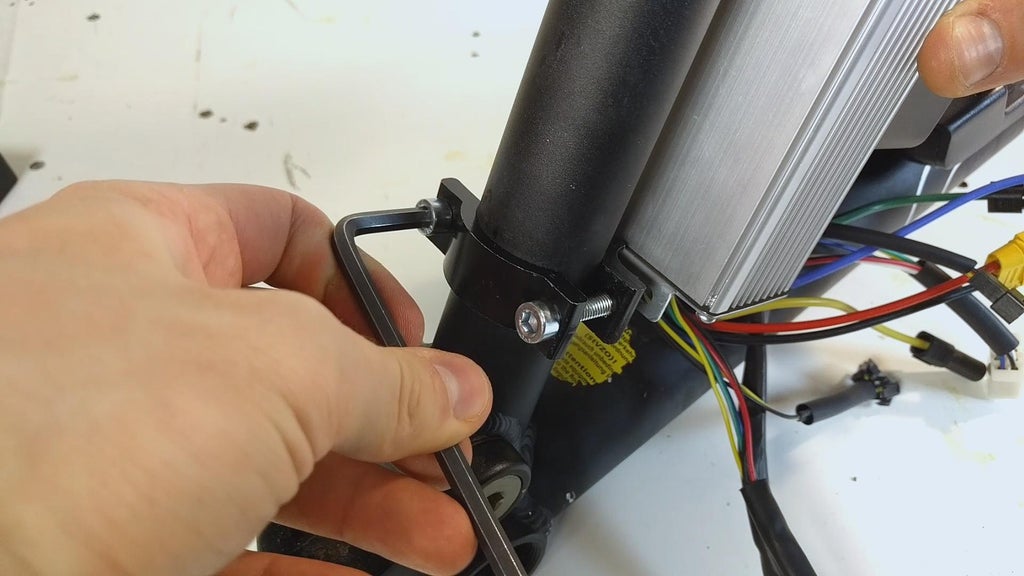
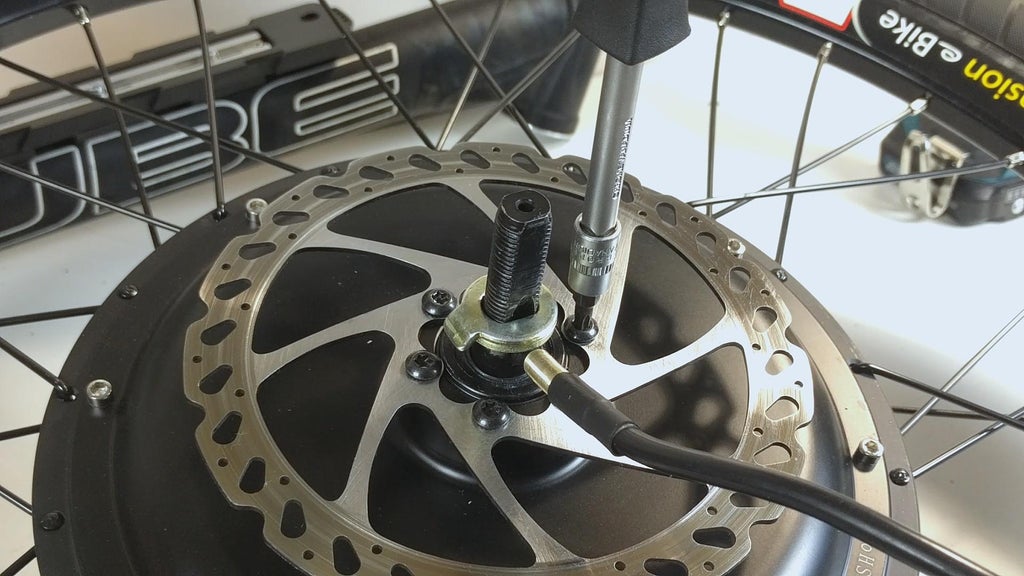
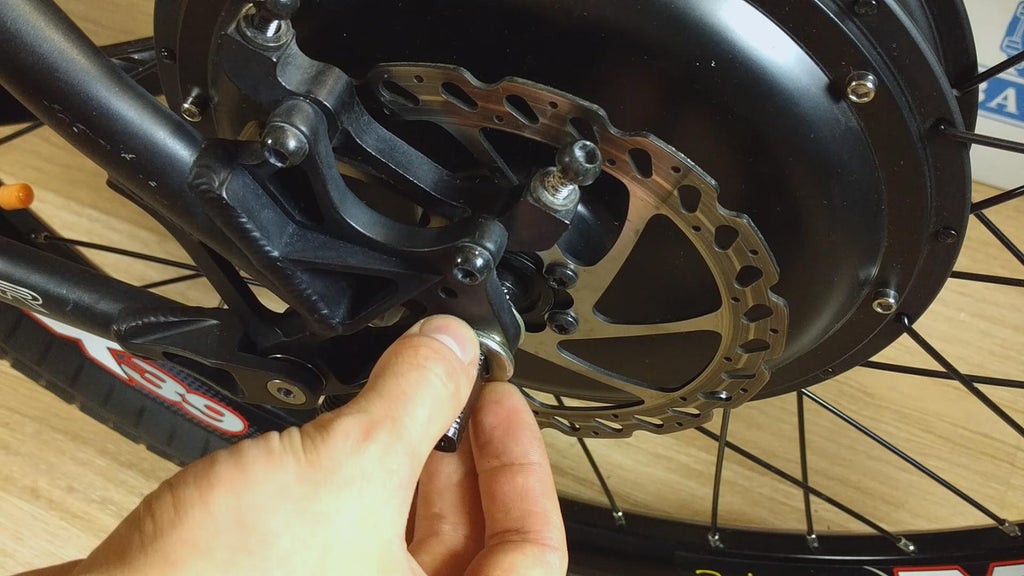
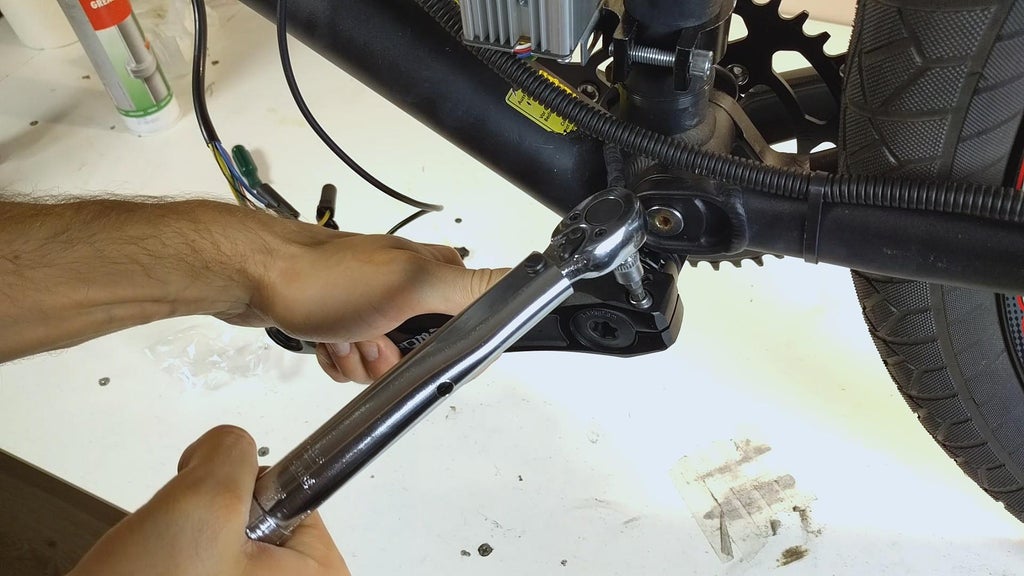
I then mounted the pedal assist sensor on the bottom bracket and glued the sensor magnet array to the crankset. I used a torque wrench on most of the parts including the crankset and the wheel. Make sure to leave a note for the seller to send you a pedal assist sensor (PAS) for hollow cranks if you are using them. I forgot so I had to cut a hole in the magnet array piece.
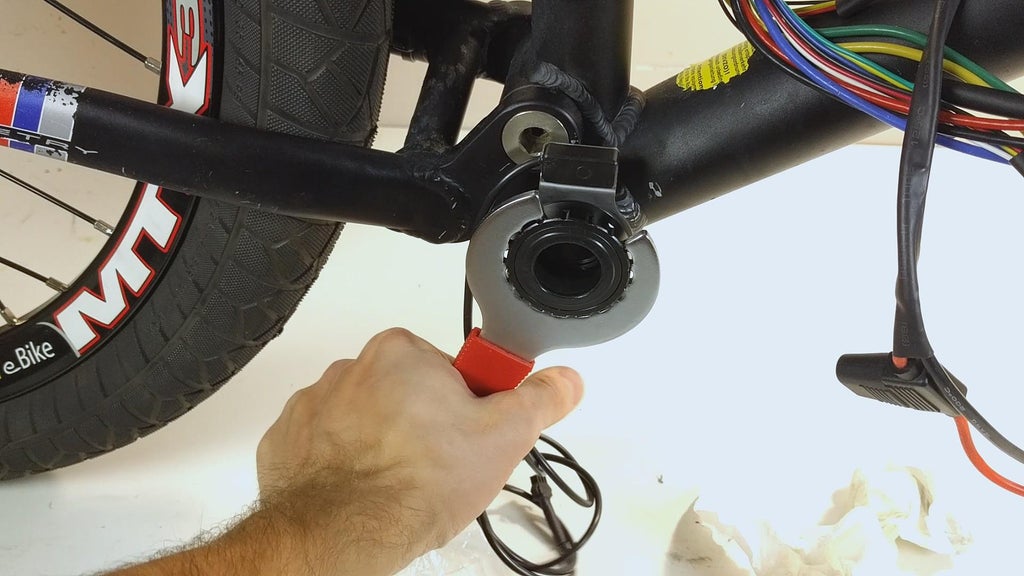
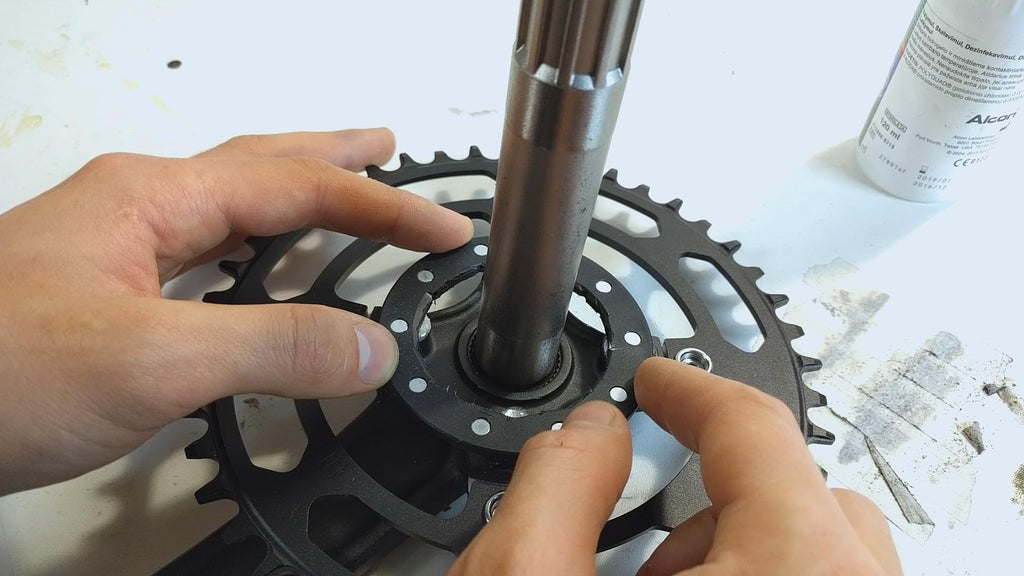
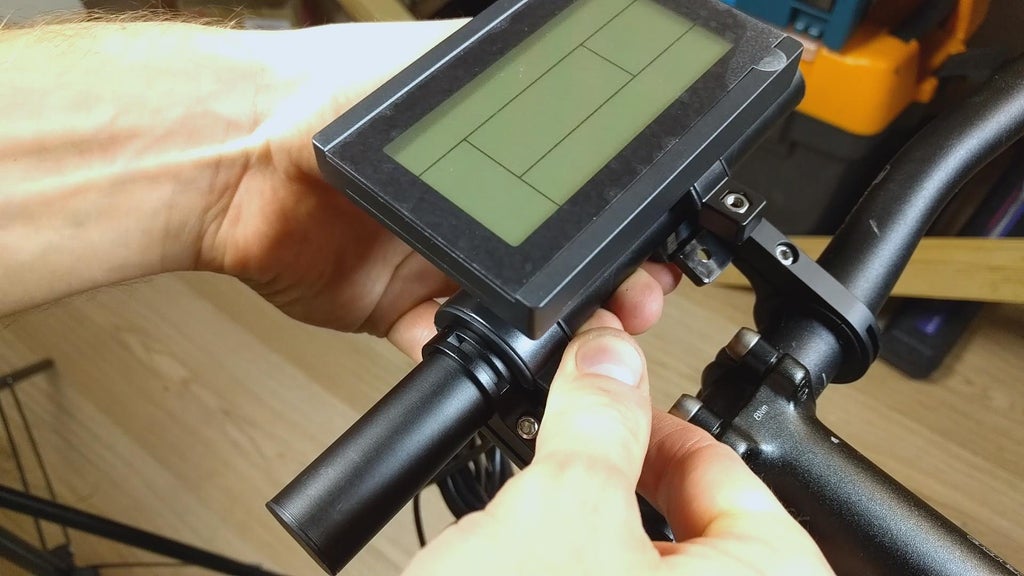
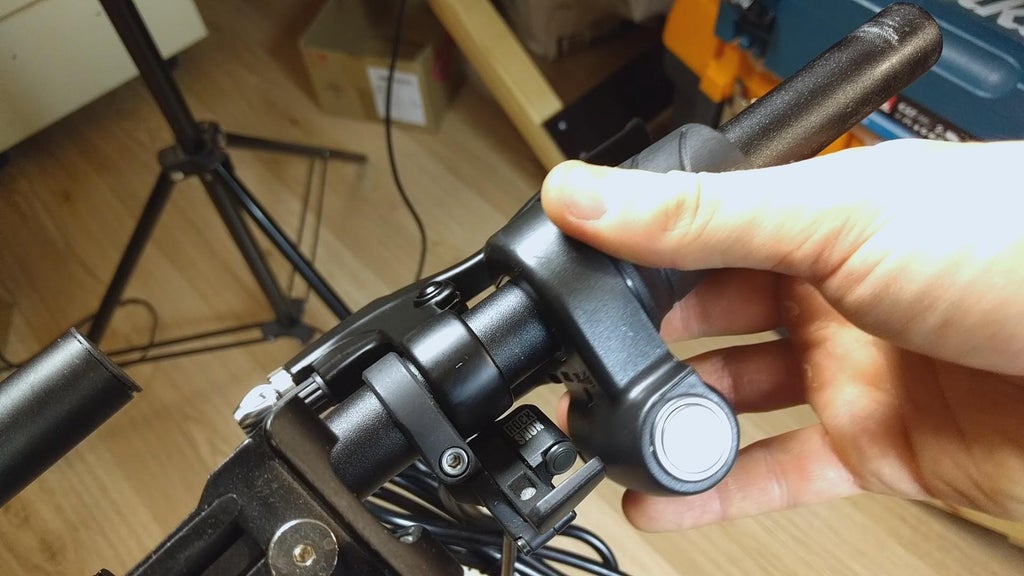
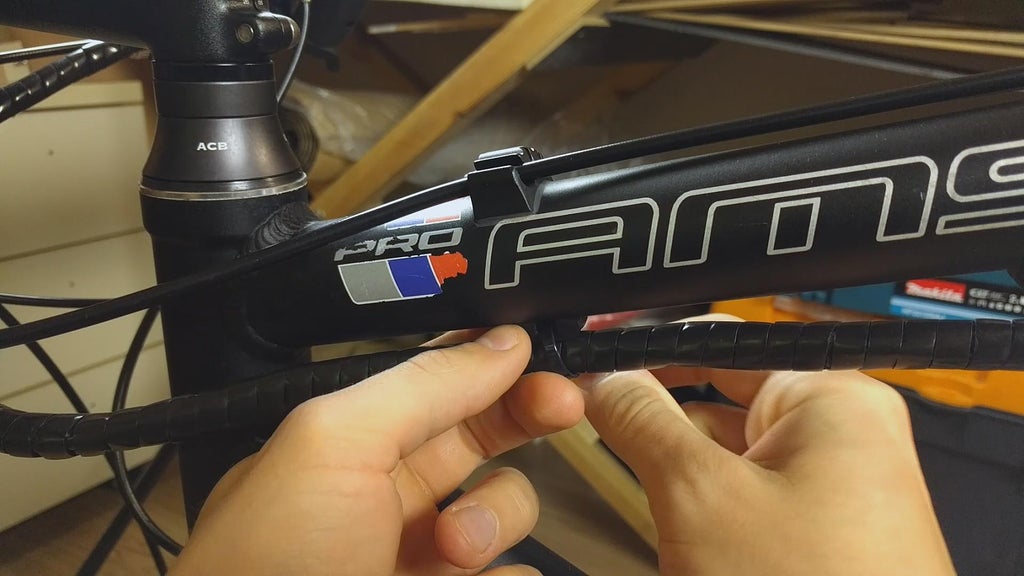
All that now follows is mounting the LCD, throttle, brake levers, switches, a shifter and grips. Note that I used a twist grip shifter on the left side of the handlebars since there is no room next to the throttle. It is put upside down but works just as great and is actually more convenient to use when rotating down to upshift. If you are new in bicycle service go on YouTube and check Park Tool YouTube channel for in depth videos on bicycle component adjusting.
Step 6: Taking It for a Spin
This project turned out to be a blast. It did take me a while to do properly but I could not be more happy the way it turned out. The range can reach up to 100km (62 miles) while pedaling and around 50km on motor alone at top speed (at least that's what the app shows - seems to be accurate).
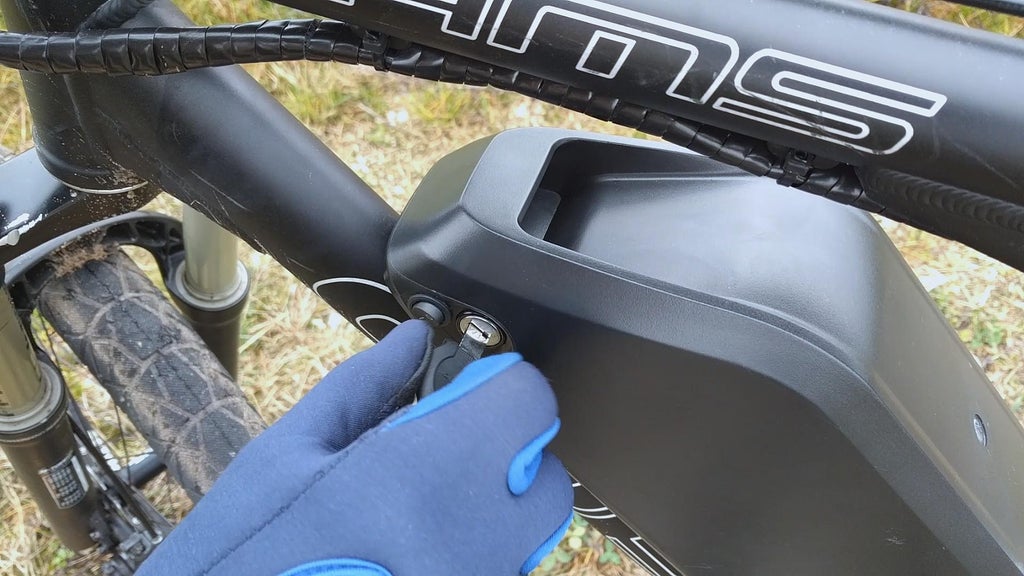
It can easily reach 65km/h (40mph). The pedal assist is great for saving battery and helping the bike accelerate even faster. There are many programmable options on the LCD itself, and the best part is the Bluetooth connectivity of the BMS. Using the app the battery can be turned on and off. It also provides temperature, range, current, cell group voltage and lots of variable parameters.
Poor weather is not the best companion in giving the bike a long-term test but I will make sure to keep my judgement on this build updated.
Hope you found this project interesting and perhaps learned something new. Please consider subscribing to my YouTube channel for more upcoming videos. As I always I more than happy to help you out if you consider building this project yourself, so feel free to reach out to me with any questions.
Thanks!
- Donny

Participated in the
Battery Powered Contest


