Introduction: WiFi / Bluetooth 5.0 Stereo Speaker Boombox
Hi!
Thank you for checking out one more project of mine. Hope you like this one! Full build plans, parts and tools lists are located in the next steps!
This time I decided to make a non-battery powered speaker that would mostly be used in my living room. I went for veneered sides and a faux leather wrapped front panel. To my eyes and ears the speaker turned out great. I really dig the wood-leather design that got me inspired when I saw the Focal Aria 906's.
Before we dive into the details of the build, make sure you check the video first. Thanks!
Step 1: Parts and Tools
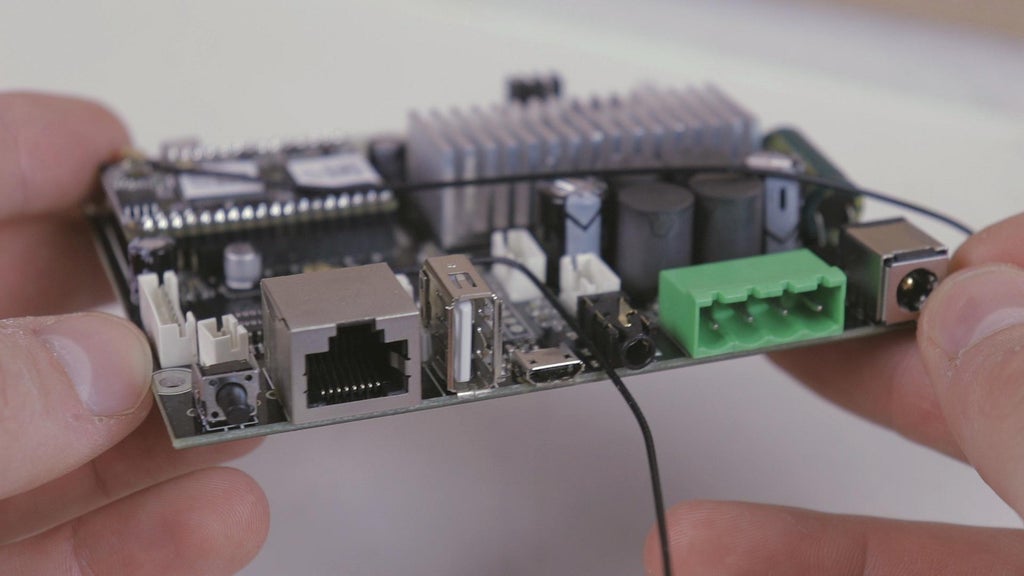
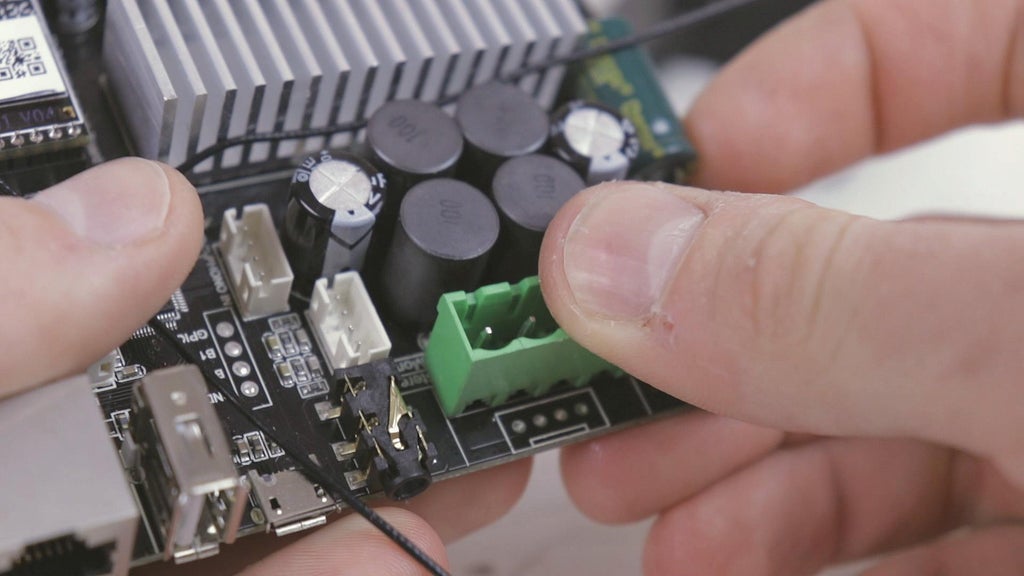
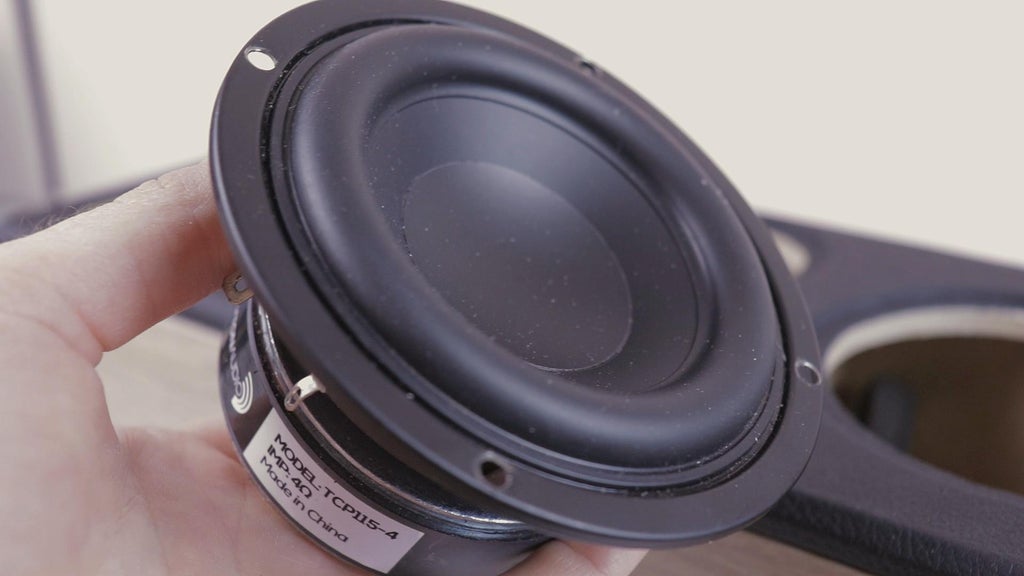
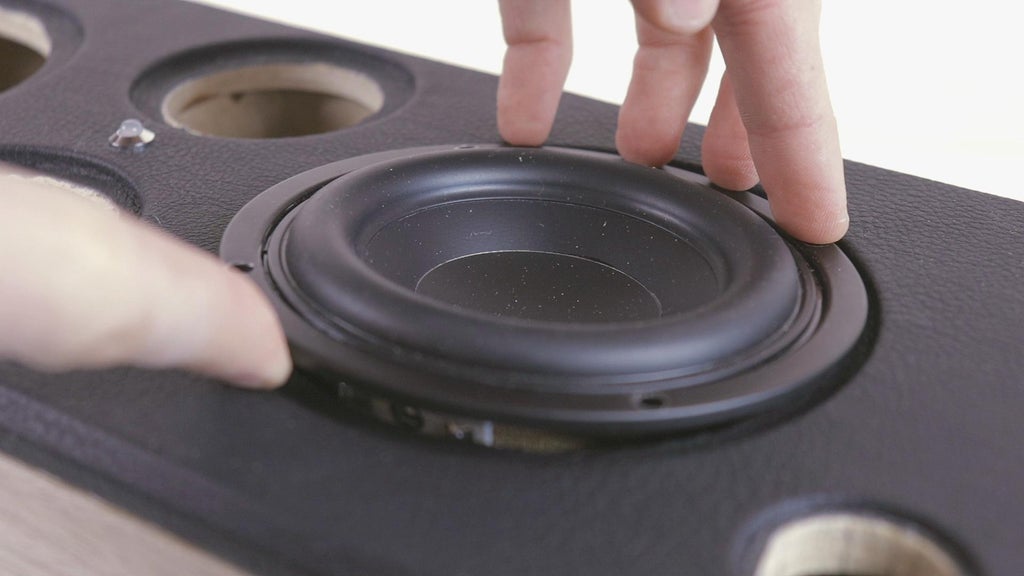
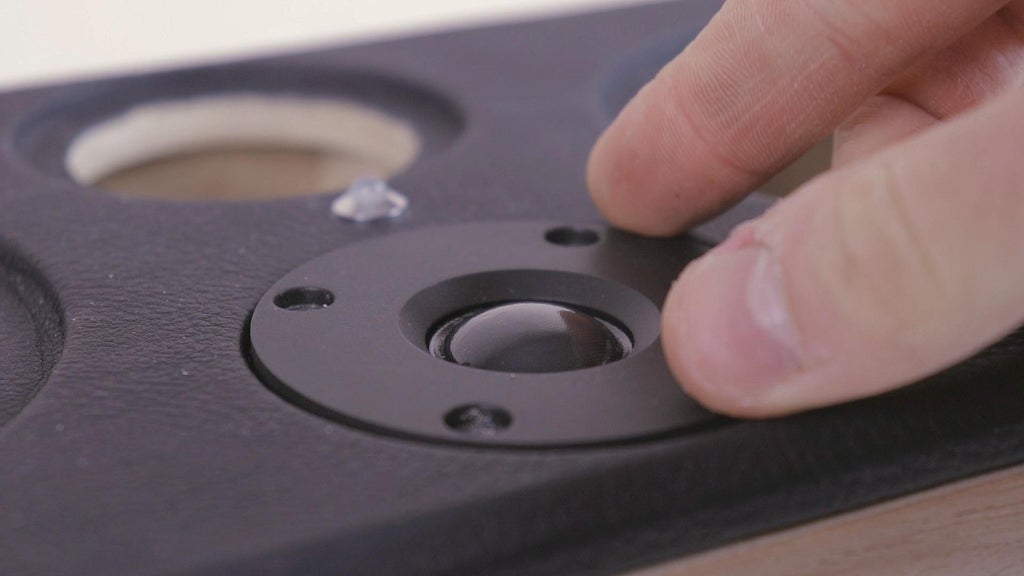
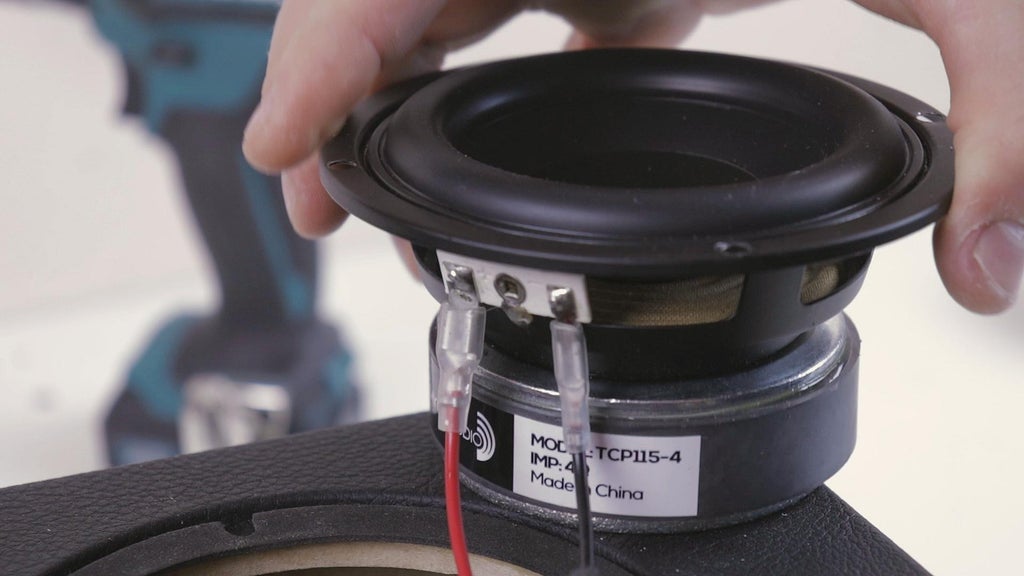
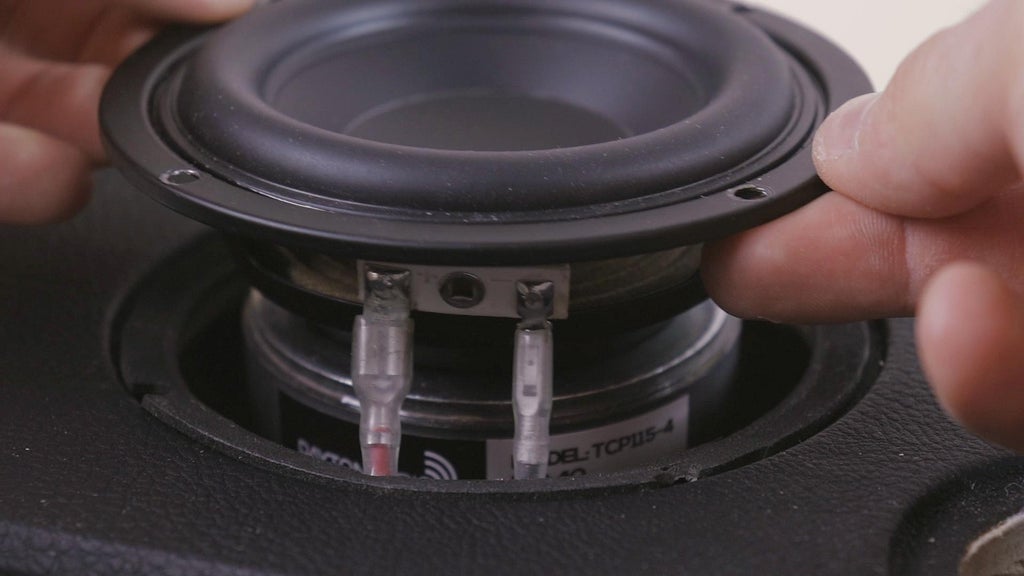
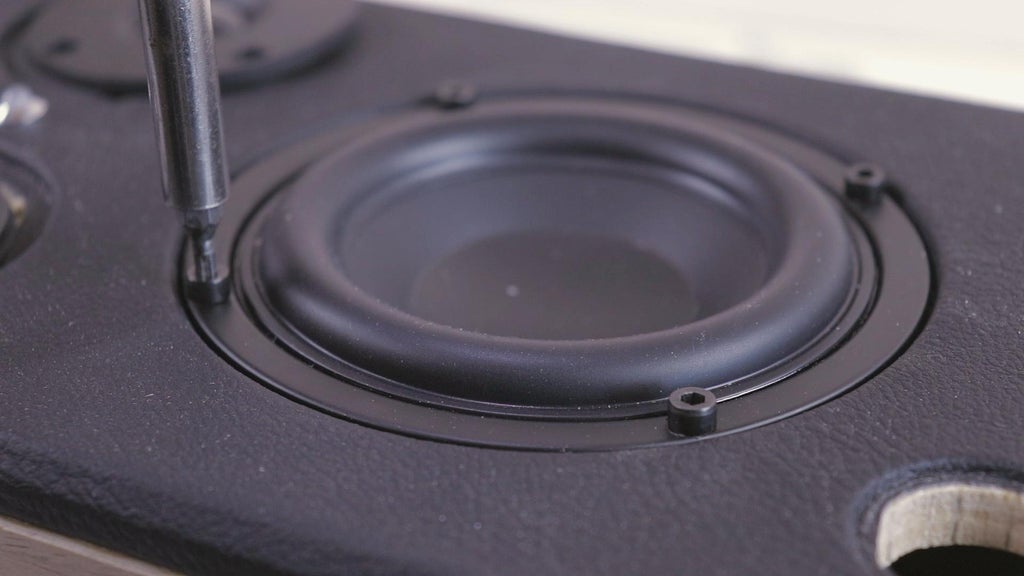
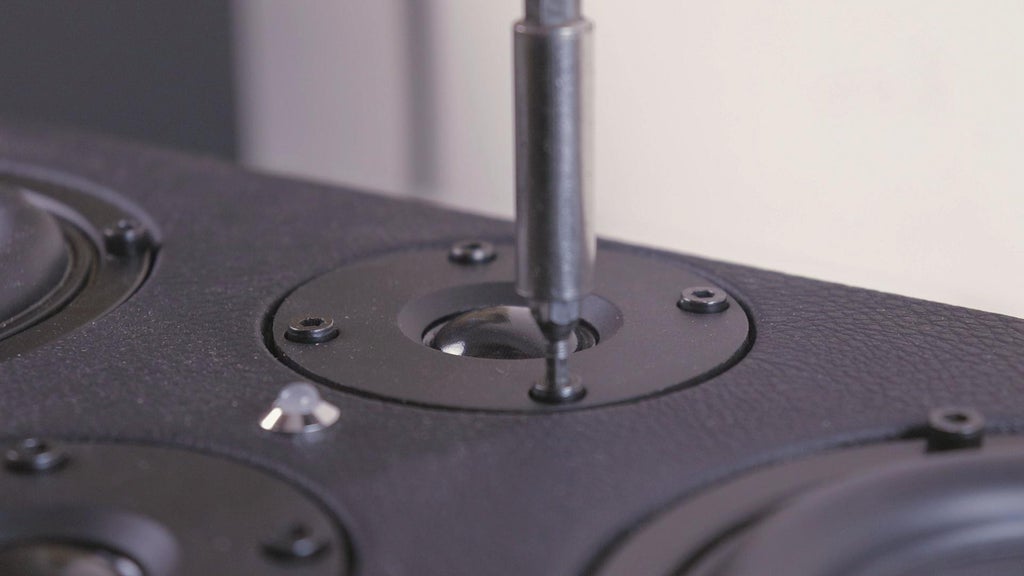
This speaker is based on the Dayton Audio TCP115-4 4" woofer combined with the Dayton Audio TD20F-4 3/4" Soft Dome Neodymium Tweeter. The speakers are powered by the Bluetooth Amplifier Board with Wifi Up2stream Amp V4. This small amplifier board is cramped with features. It has many audio inputs, including Bluetooth, Aux, USB and optical. Music can also be streamed via internet from platforms like Spotify, Deezer and more. The amplifier can be controlled by an app and can provide 2x50W to 4 ohm speakers.
Arylic Amplifier Board with WiFi and Bluetooth 5.0 - https://geni.us/5FaD
Dayton Audio TCP115-4 woofer - https://parts-express.sjv.io/Zdk2zQ / https://bit.ly/3VOpwrU
Dayton Audio TD20F-4 tweeter - https://parts-express.sjv.io/n1Oavo / https://bit.ly/3jOWwDc
🎁 $5 OFF your first App order on AliExpress - https://a.aliexpress.com/_mPN8FLo
Parts:
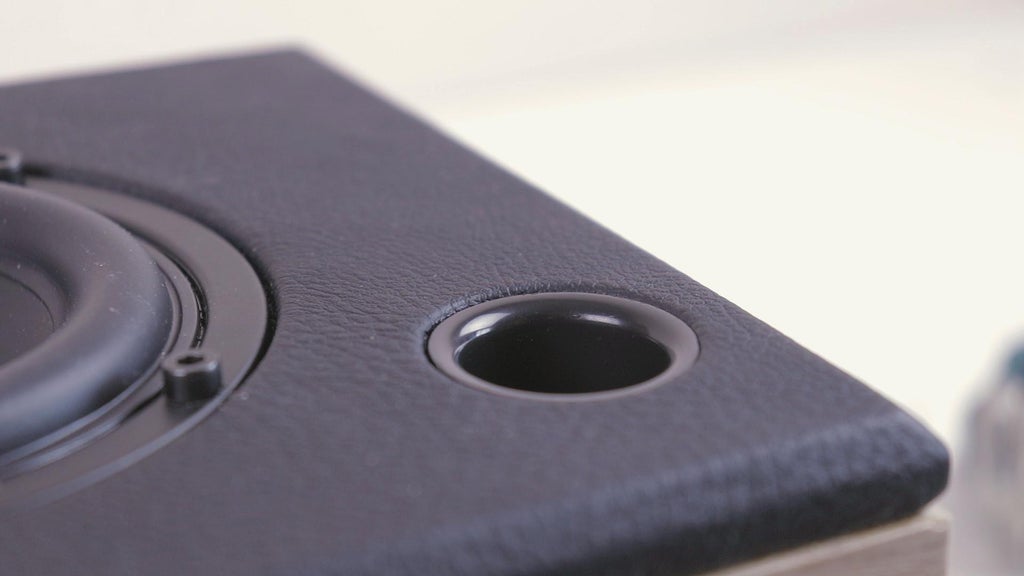
- 26mm ID (7/8") ports (2X) - https://bit.ly/3ueEhHV / https://geni.us/hZtA
- Crossovers - https://bit.ly/3x5PRXg
- DC 24V 5A power supply - https://bit.ly/3GgmWoK / https://geni.us/zAiyC
- Remote Control - https://bit.ly/3Qhp1W7 / https://bit.ly/3vChcRt
- Rubber feet - https://bit.ly/3IjqU2z / https://geni.us/E2PU4
- 3mm LED mount - https://bit.ly/3WLxL9o / https://geni.us/4DaPp
- 25mm standoffs - https://bit.ly/3ib5Bpg / https://geni.us/HeaOo2I
- M4 12mm screws - https://bit.ly/3v6OKER
- 2mm clear acrylic - https://bit.ly/3gumQyG / https://geni.us/E3RxN
Tools:
- TS101 soldering iron - https://bit.ly/3hQm4PP / https://geni.us/owyDm5G
- Wire stripper - https://bit.ly/34kBgLn / https://geni.us/6epIs
- Cordless drill - https://bit.ly/2UiMSbL / https://geni.us/A5AZi
- Drill bit set - https://bit.ly/3S3i6zC / https://geni.us/ktAK1M
- Jig saw - https://bit.ly/3GpY8w6 / https://geni.us/D8GC
- Orbital sander - https://bit.ly/3I4yBcP / https://geni.us/gHqu0W
- Wood router - https://bit.ly/3I7Aplm / https://geni.us/6okRl
- Router circle jig - https://bit.ly/3G0kcfl / https://geni.us/JvCvO
- Flush trim bit - https://bit.ly/3VzlIL0 / https://geni.us/bZRVci5
- Step drill bits - https://bit.ly/3eM5GtB / https://geni.us/xYRx7J
- Forstner bits - https://bit.ly/35snpjW / https://geni.us/F6it
- Hole saw set - https://bit.ly/3YZU8tg / https://geni.us/hONP
- Center punch - https://bit.ly/3xslc8u / https://geni.us/o5WBEwB
- Helping hand - https://bit.ly/3B9mIgt / https://geni.us/Yyqyte
Step 2: Let's Start the Build!
Make sure you check and download the attached plans for the speaker build.
The material used for the enclosure is 10mm (3/8 in) MDF board. You can use 12mm or thicker board but you will have to adjust the plans accordingly.
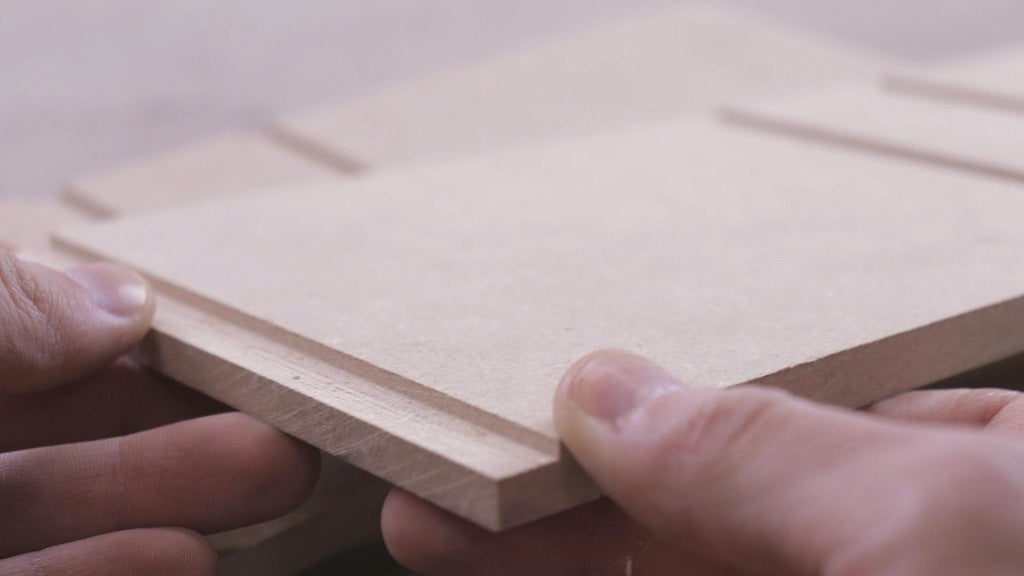
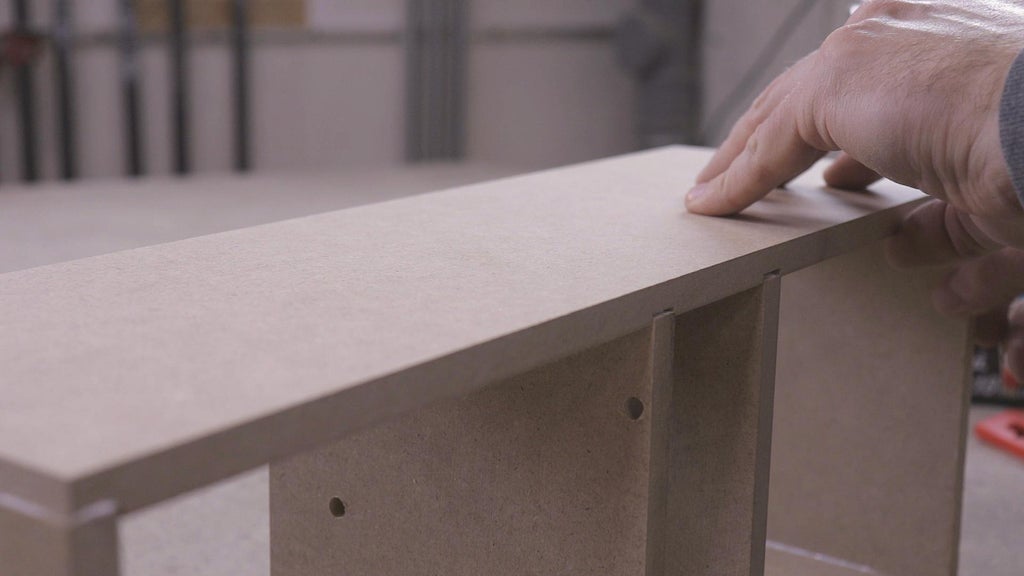
Also note that in the video I have cut rabbets into the top and bottom panels. This is not necessary for the enclosure but if you wish to do so, make sure to lengthen the side panels for the depth that your rabbet is cut.
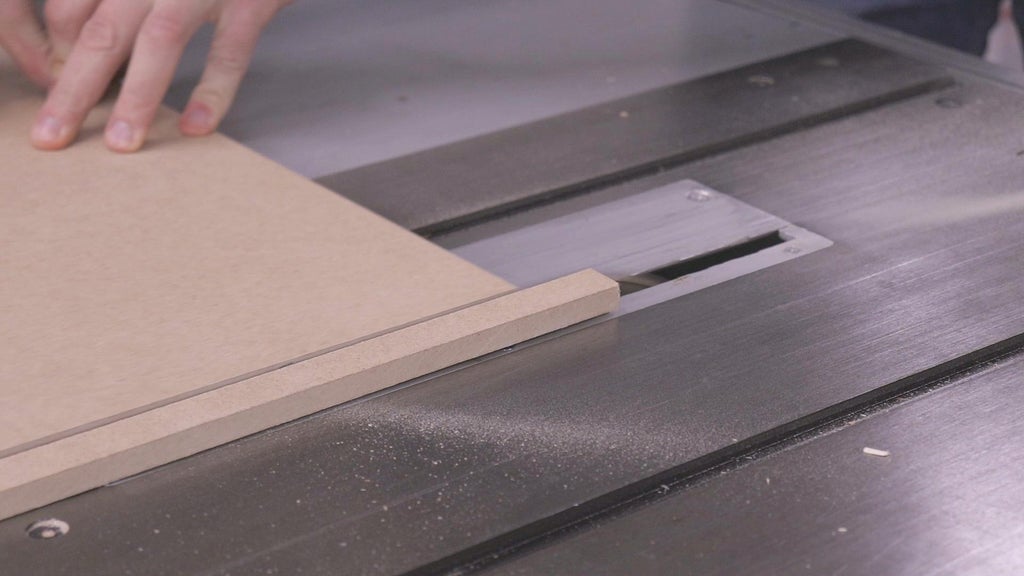
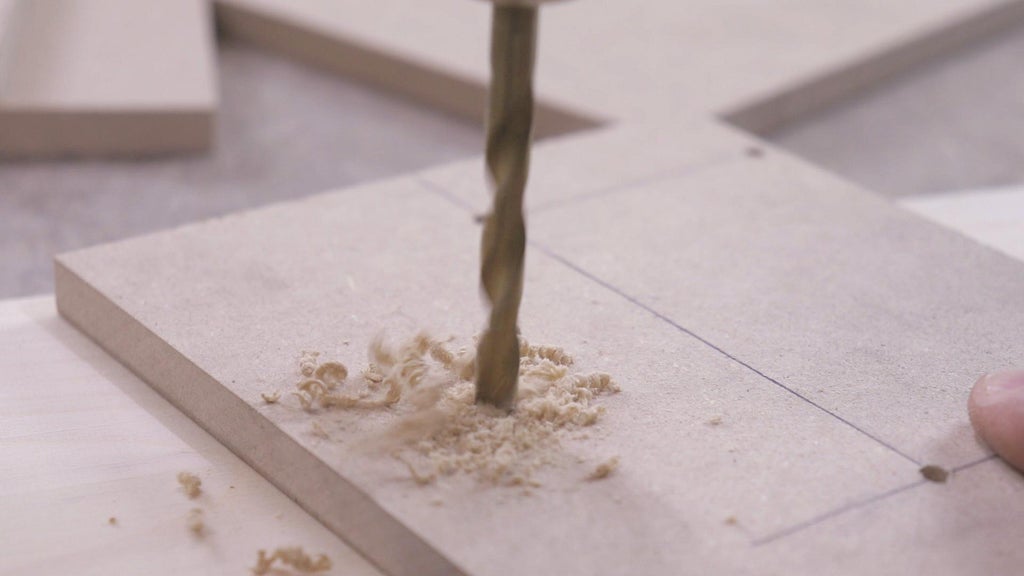
Now that we have the plans printed out and ready, I cut the panels out using a table saw. The enclosure can be cut using a jigsaw as well but might need some sanding to get the edges straight.
Step 3: Glue Up
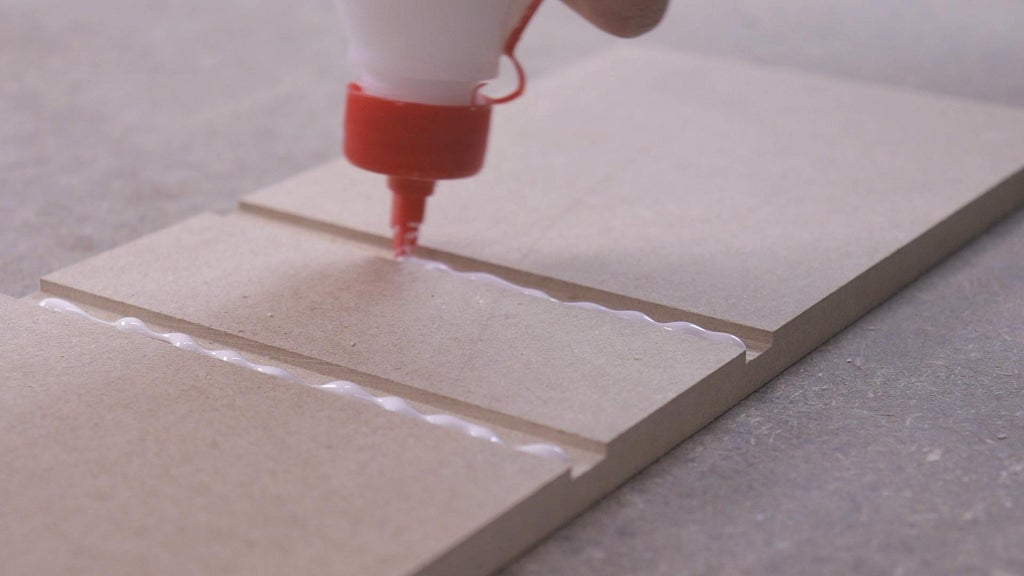
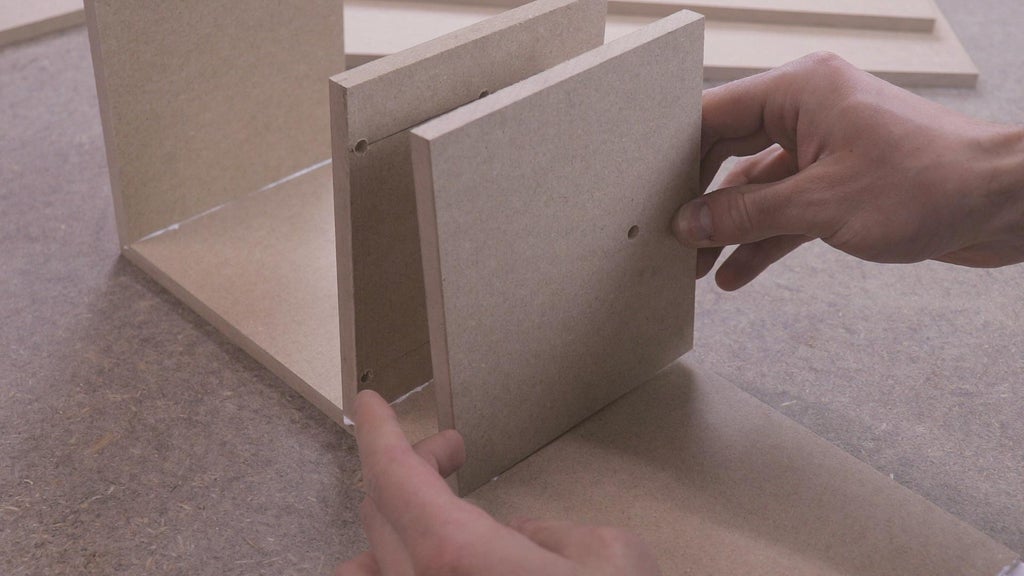
Now that we have the panels cut out, we can glue the enclosure together. Having the rabbets cut in the top and bottom panels really helps here with the alignment of the pieces. I started by gluing in the side panels and the top and bottom panels together. I then glued the back panel in place.
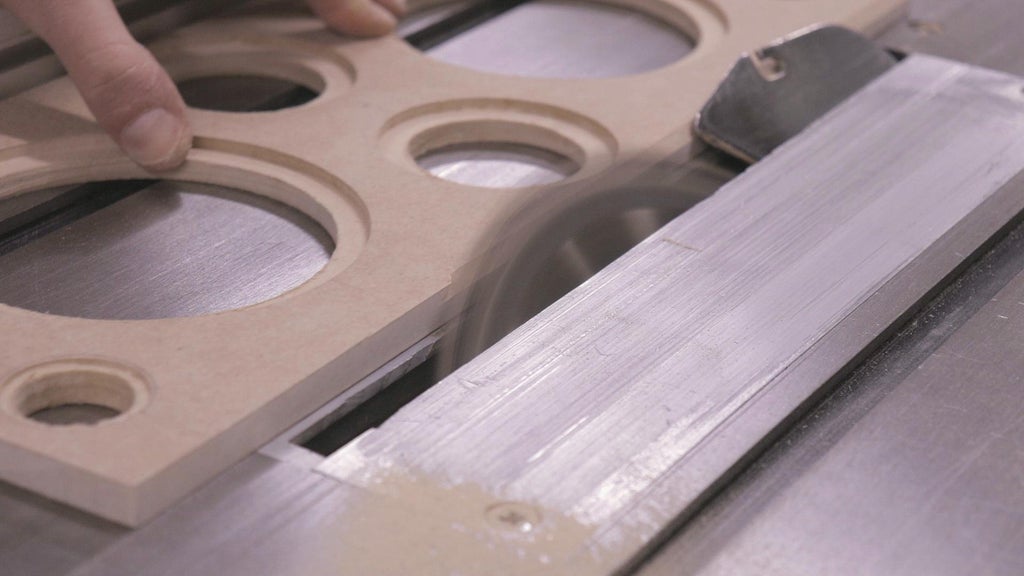
Step 4: Cutting Out the Circles
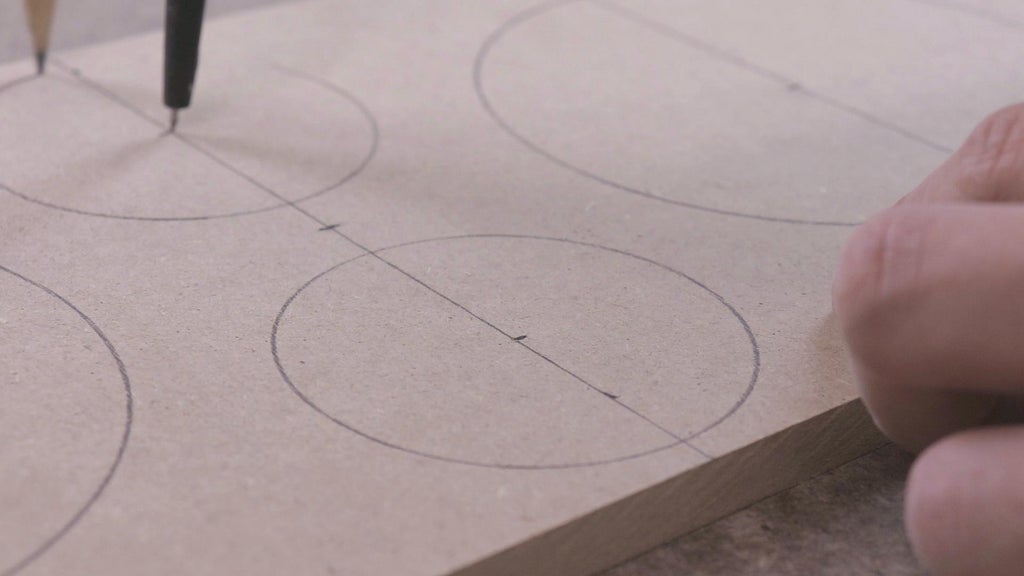
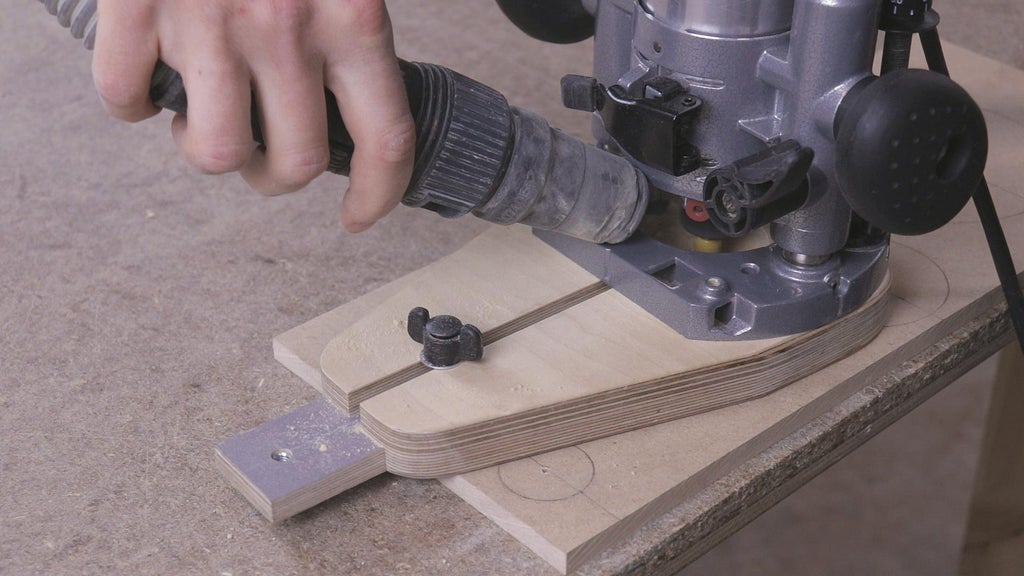
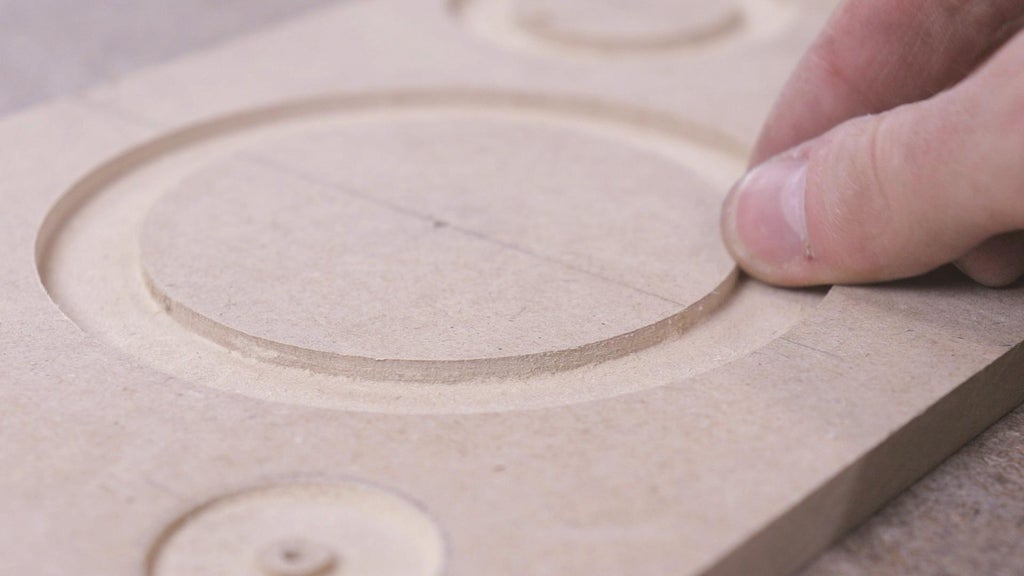
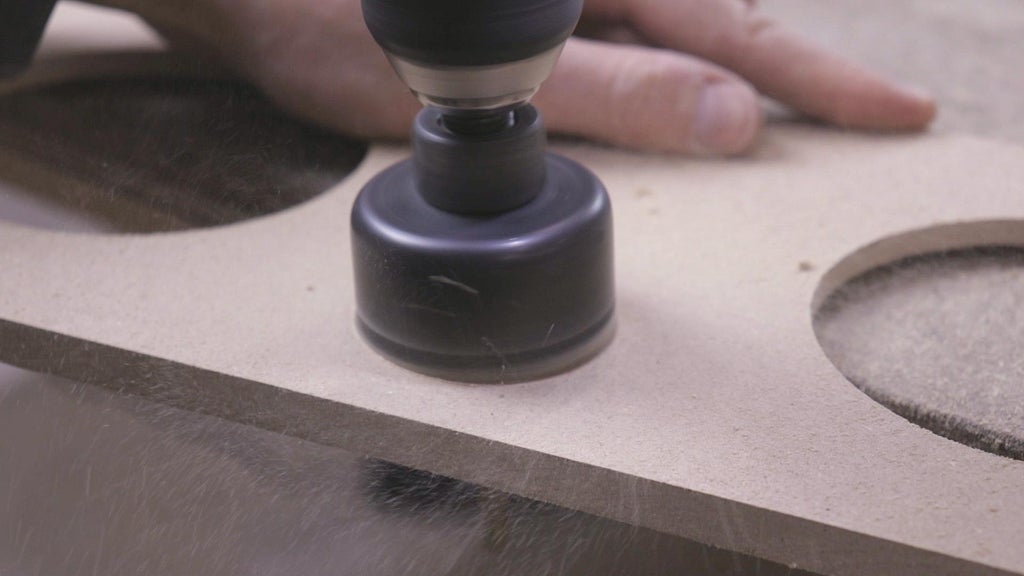
Step 5: Veneering the Enclosure
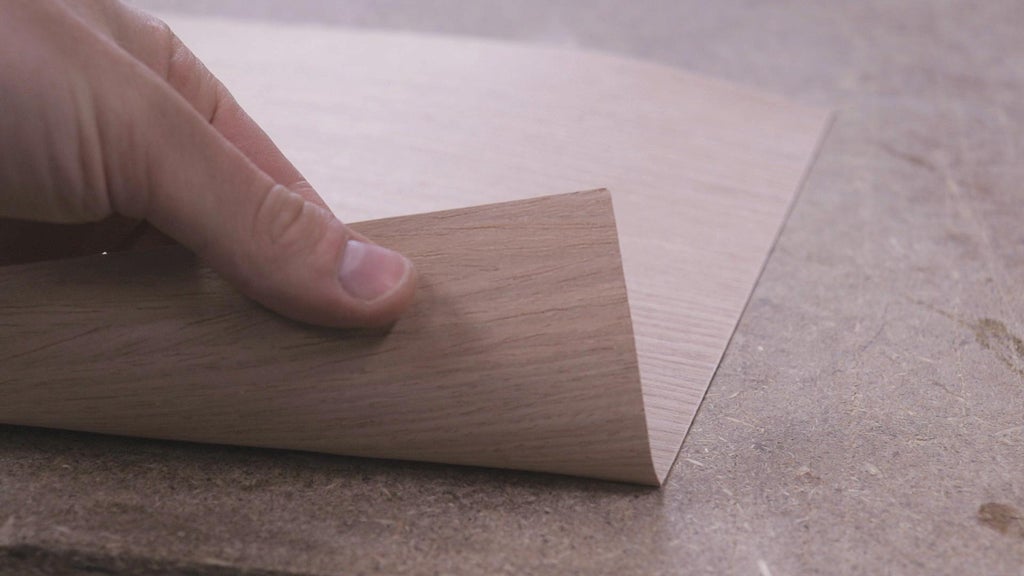
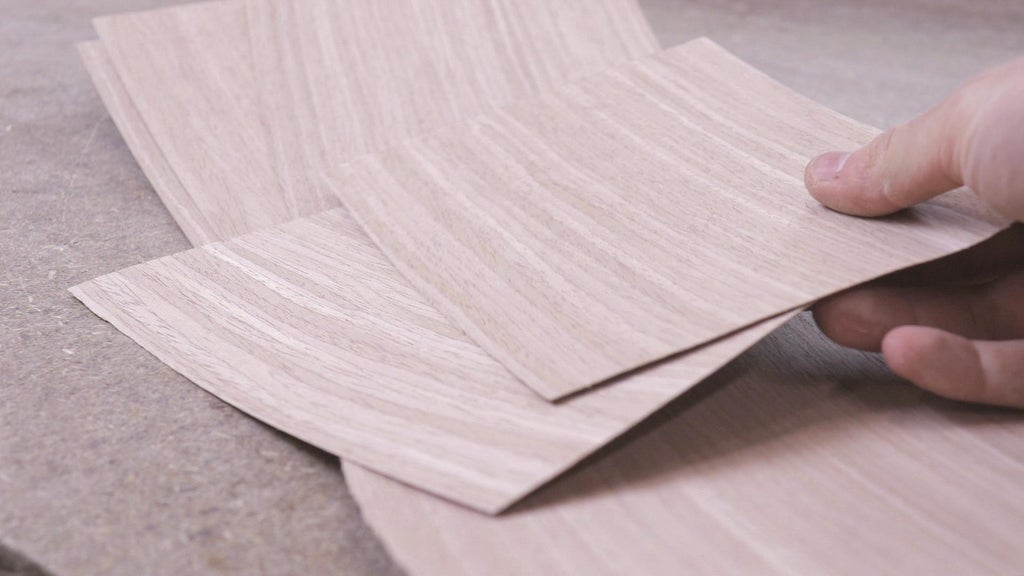
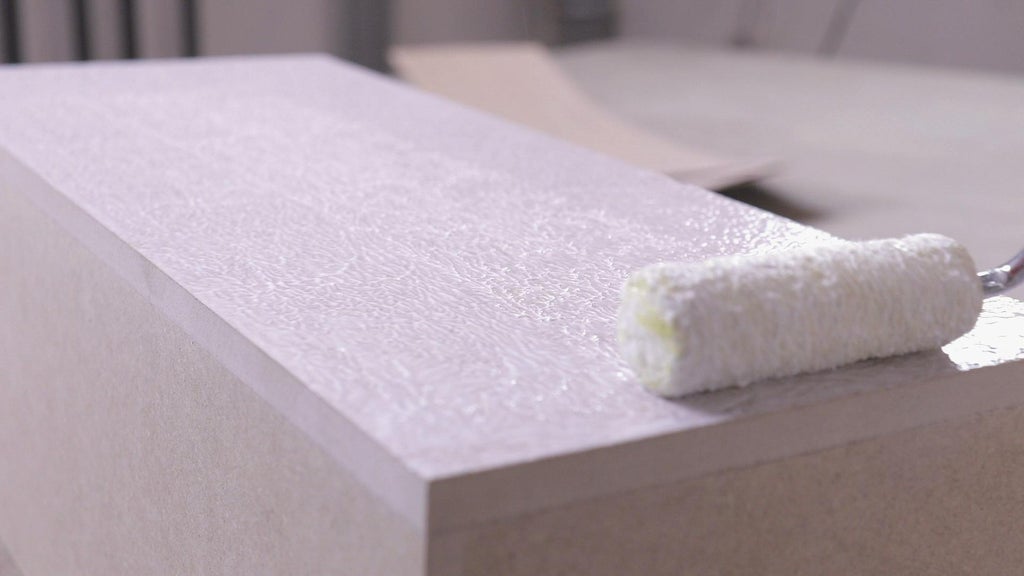
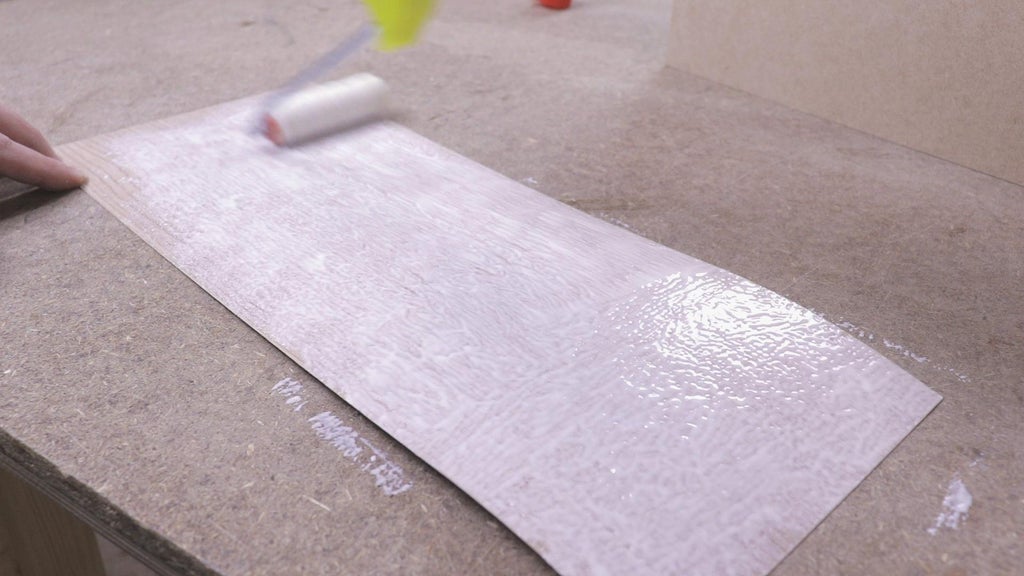
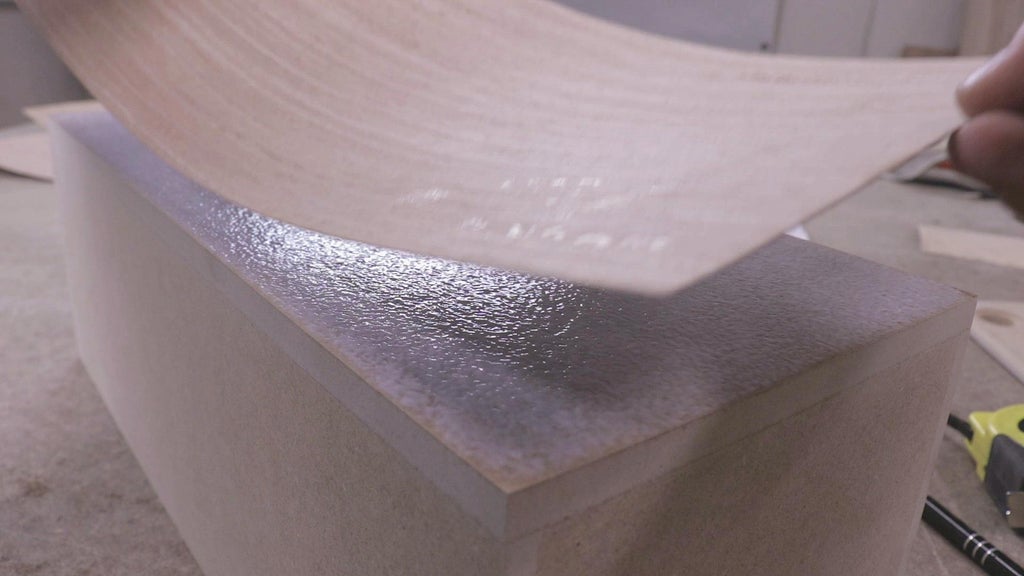
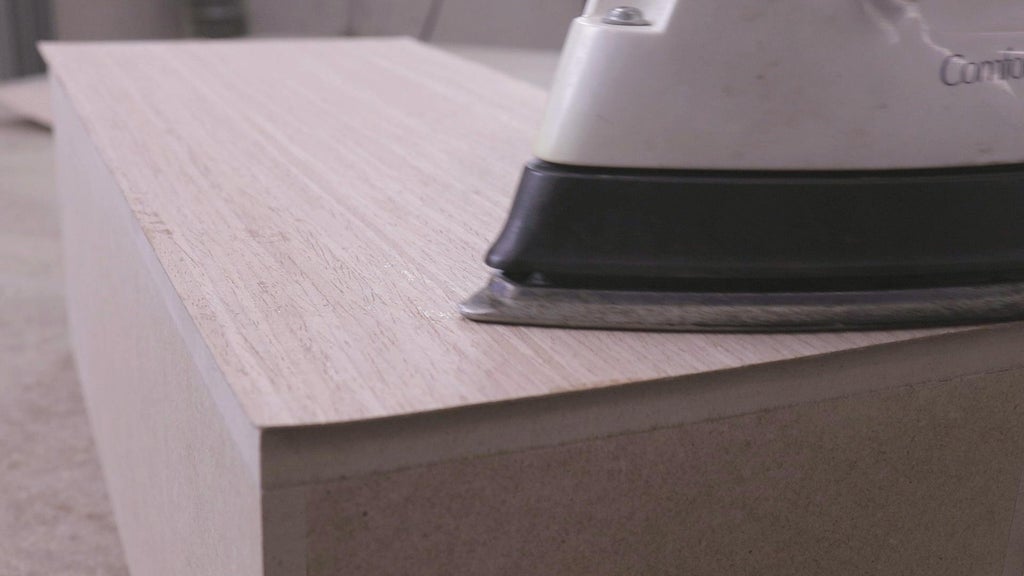
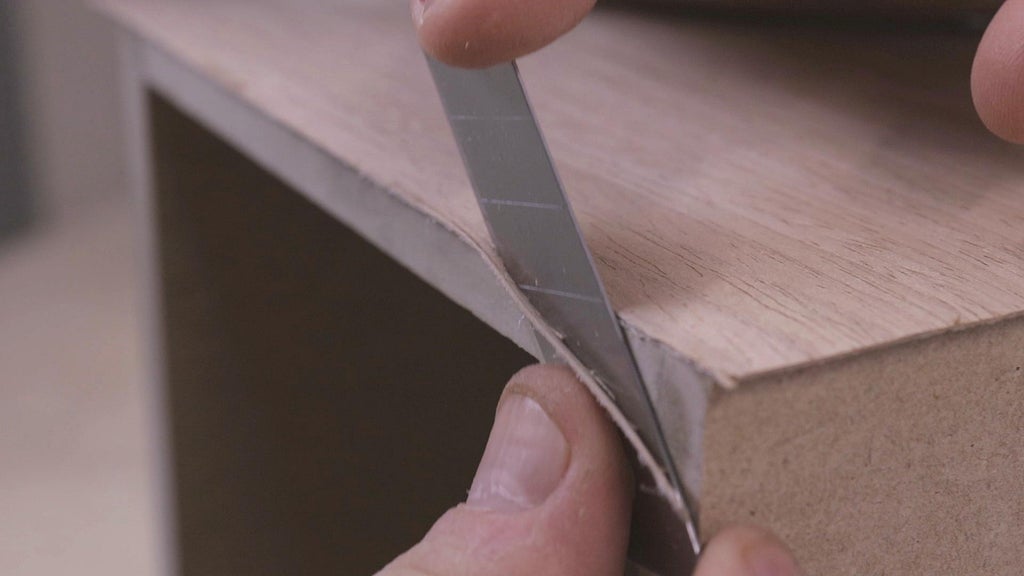
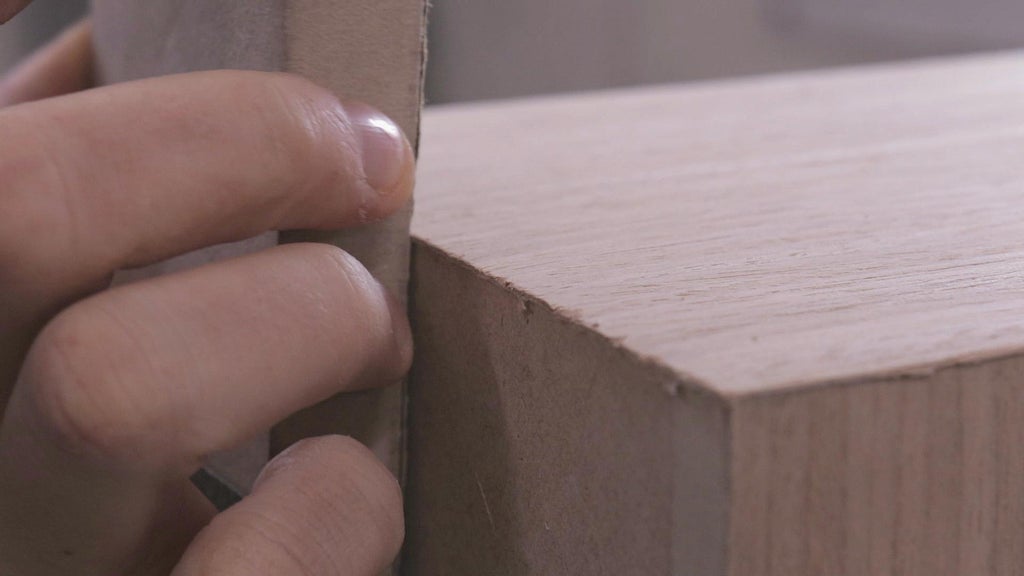
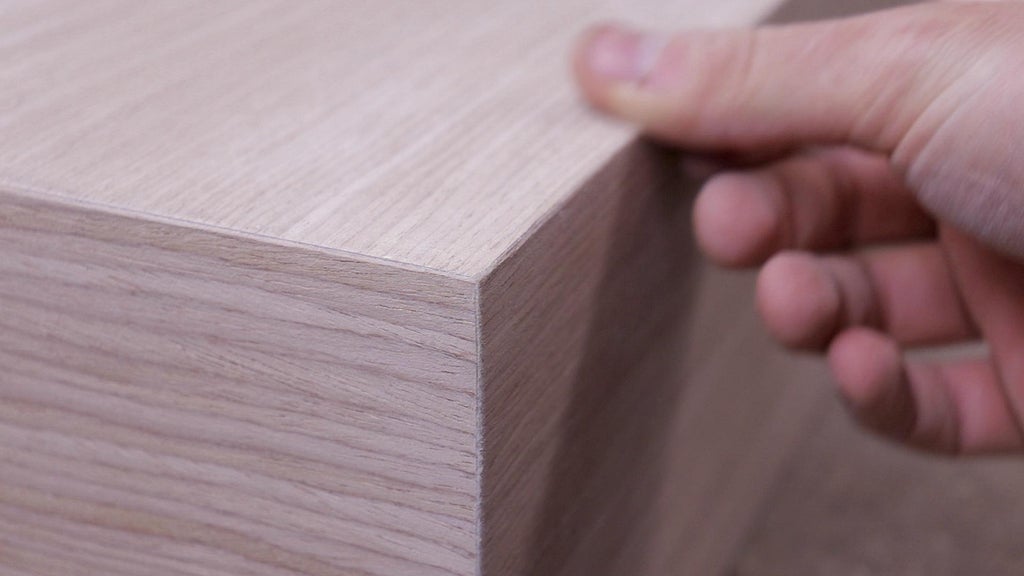
Step 6: Routing the Back Panel
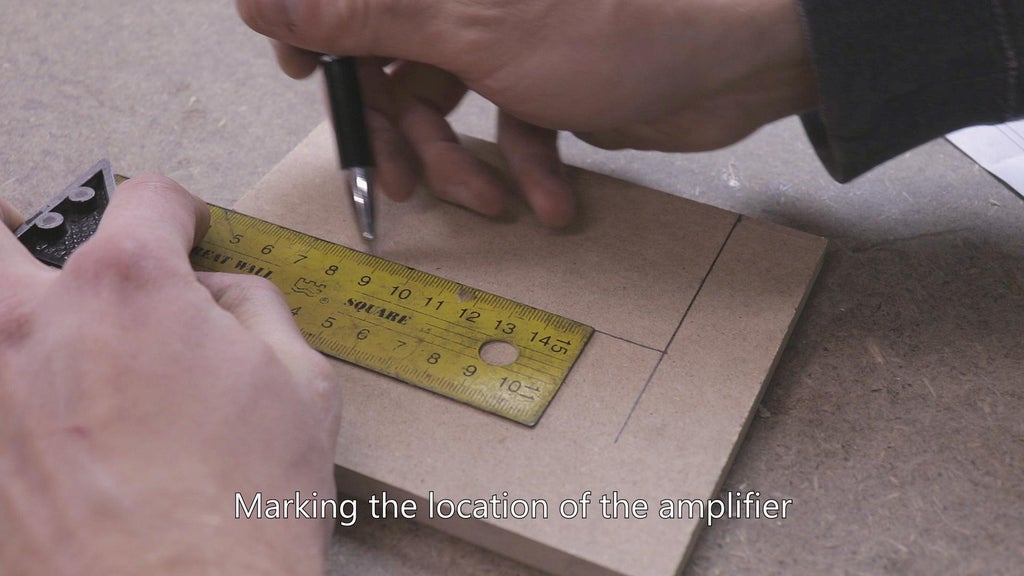
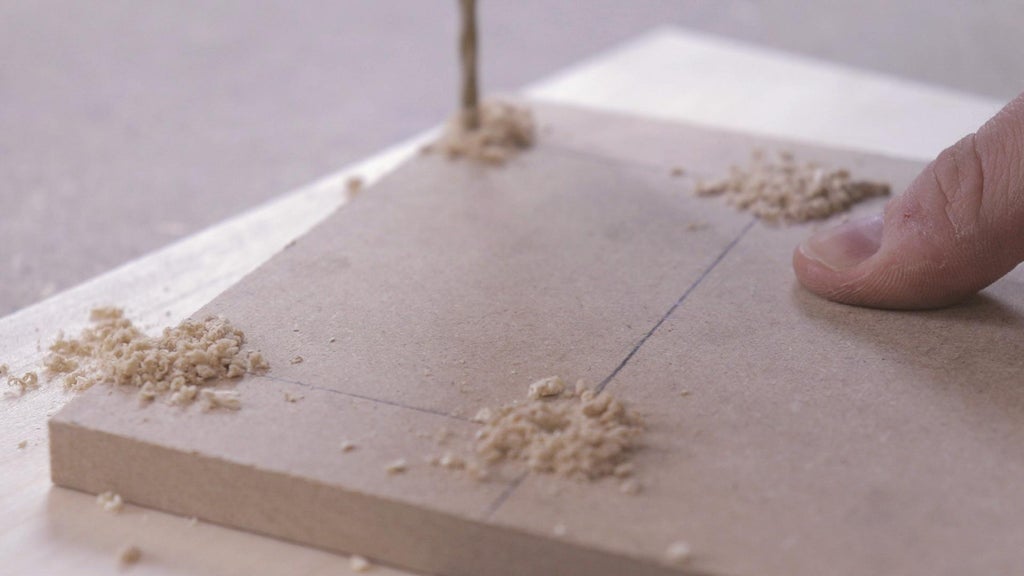
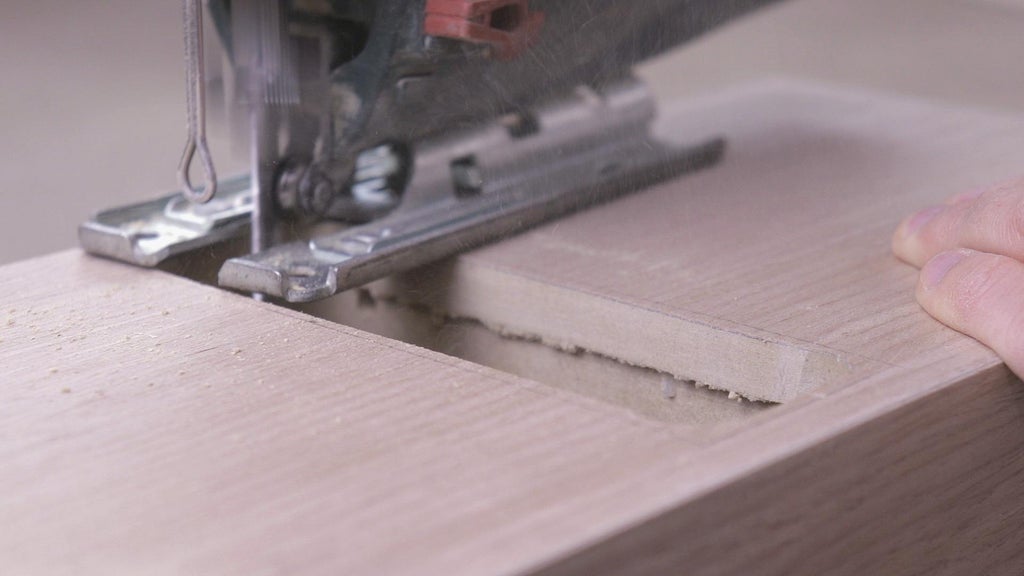
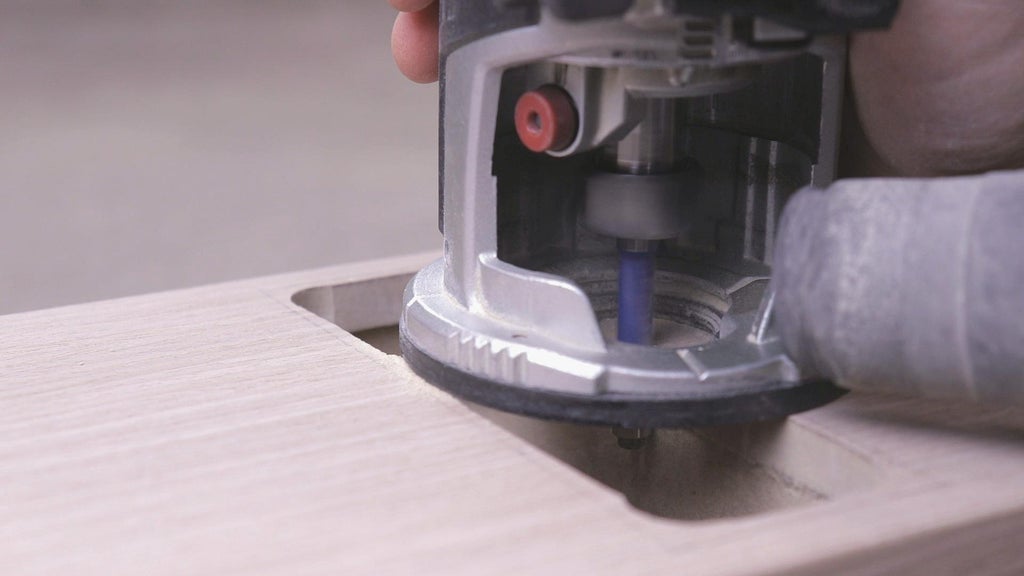
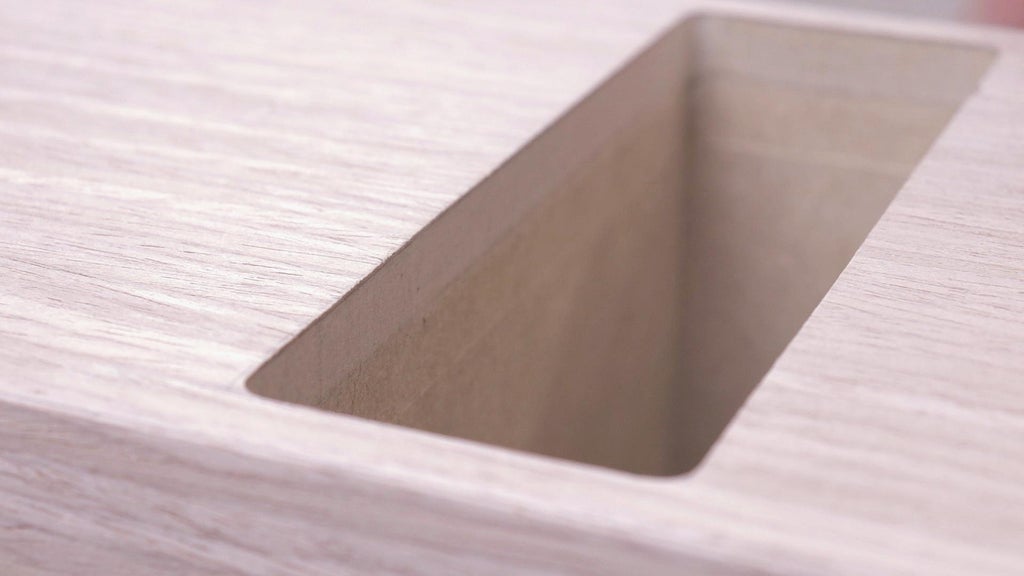
Once I had the veneer applied to all sides of the enclosure, I marked the location of the amplifier location and using a forstner bit, drilled out a hole in each side of the rectangle.
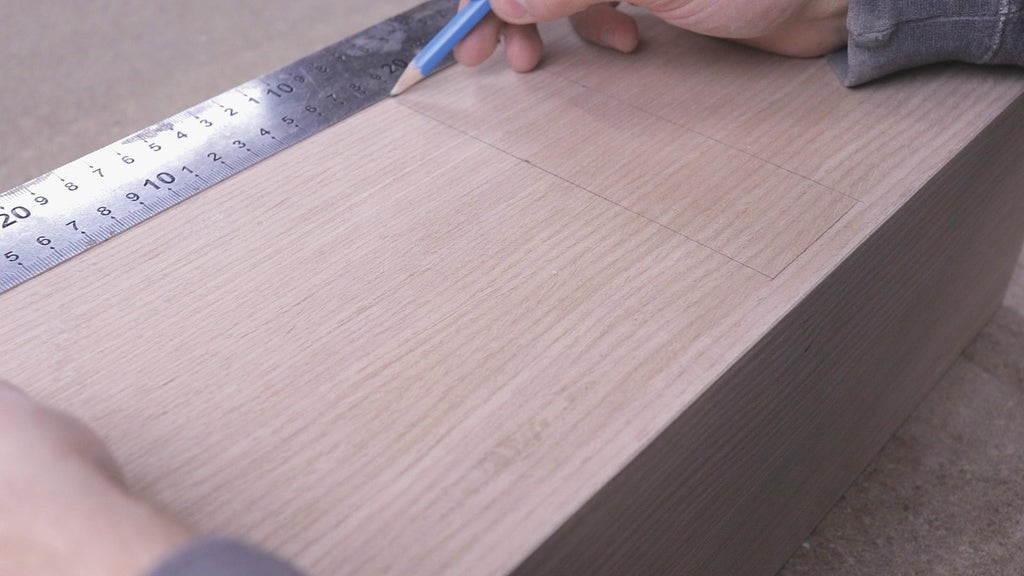
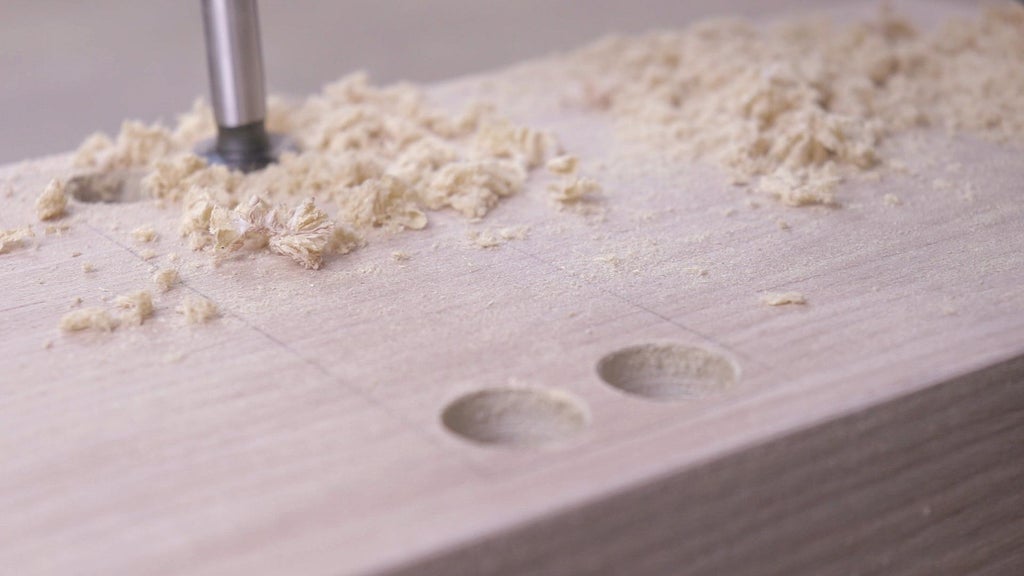
Step 7: Finishing the Enclosure
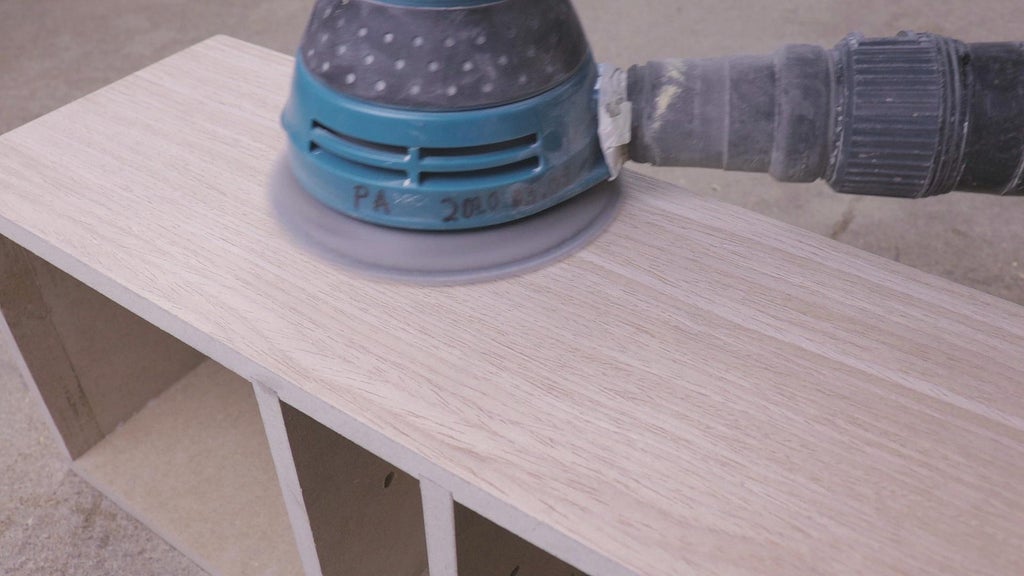
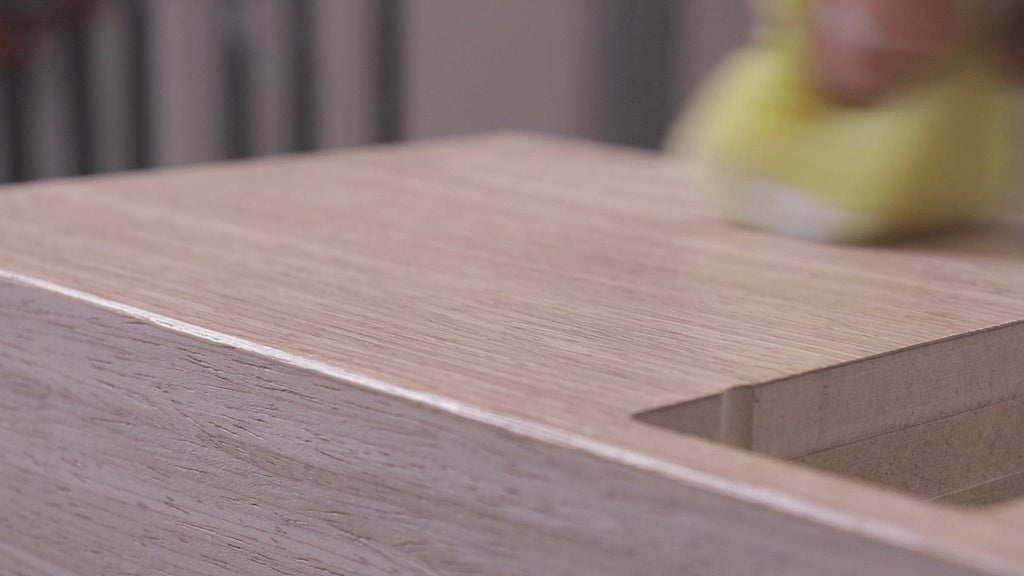
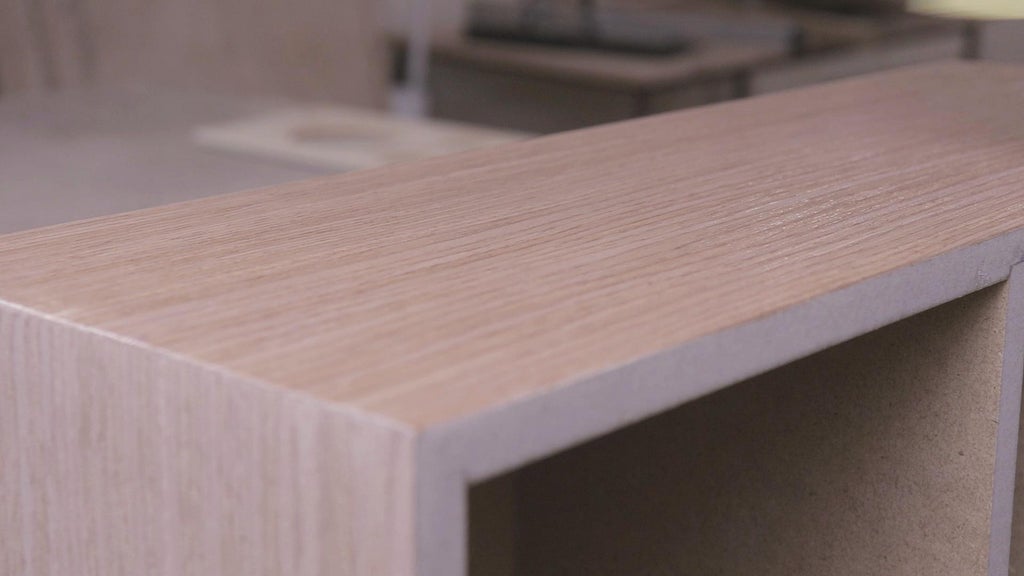
Probably the most satisfying part of any woodworking project is applying finish to your work. Before applying a coat of it, I quickly sanded it down using an orbital sander to have a nice finish.
Step 8: Wrapping the Front Panel
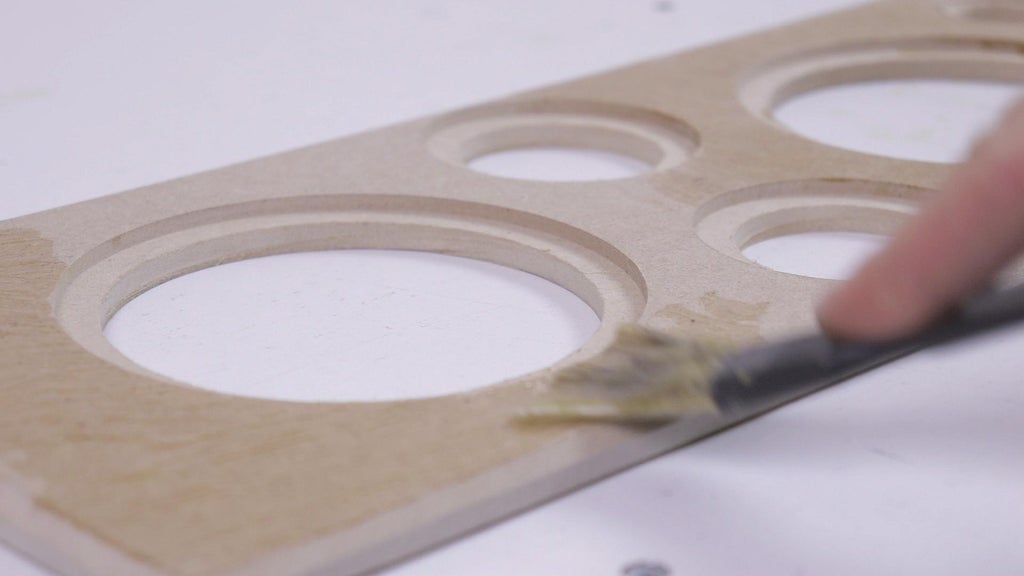
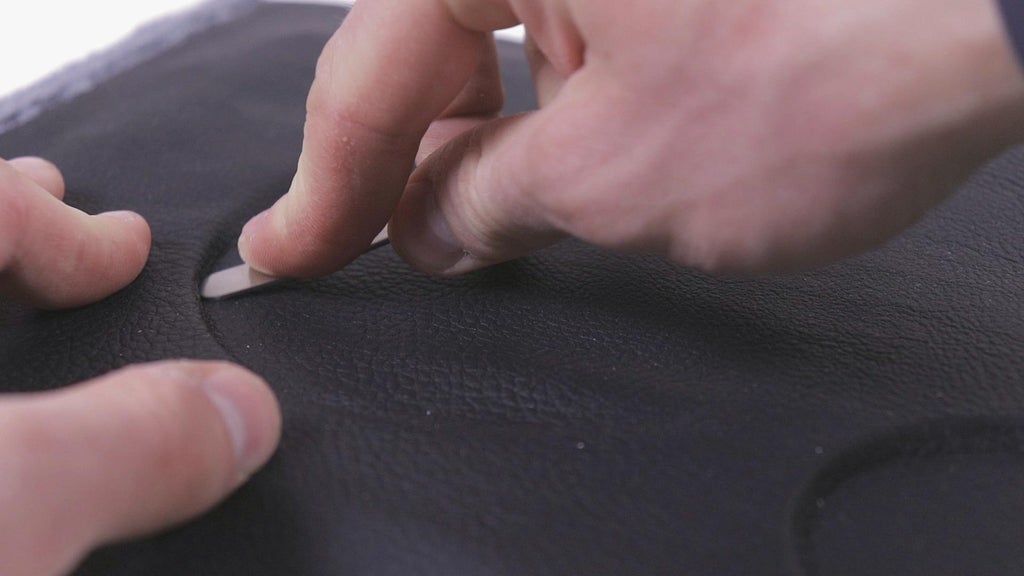
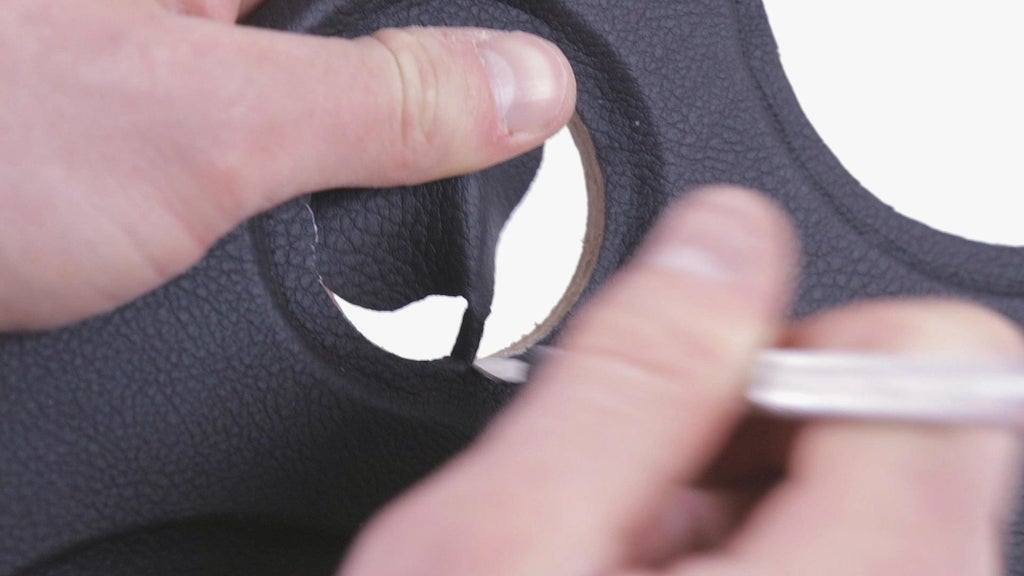
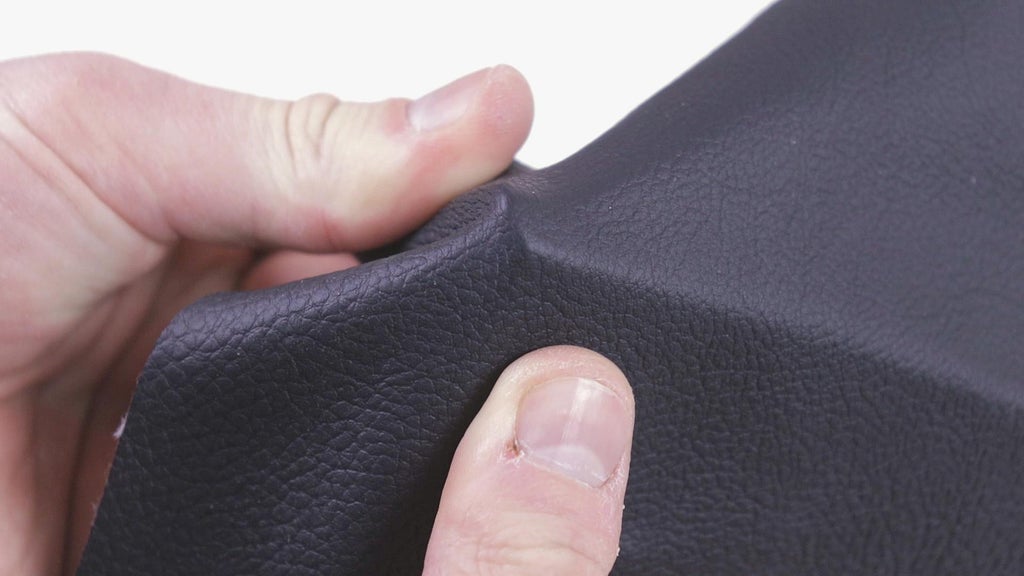
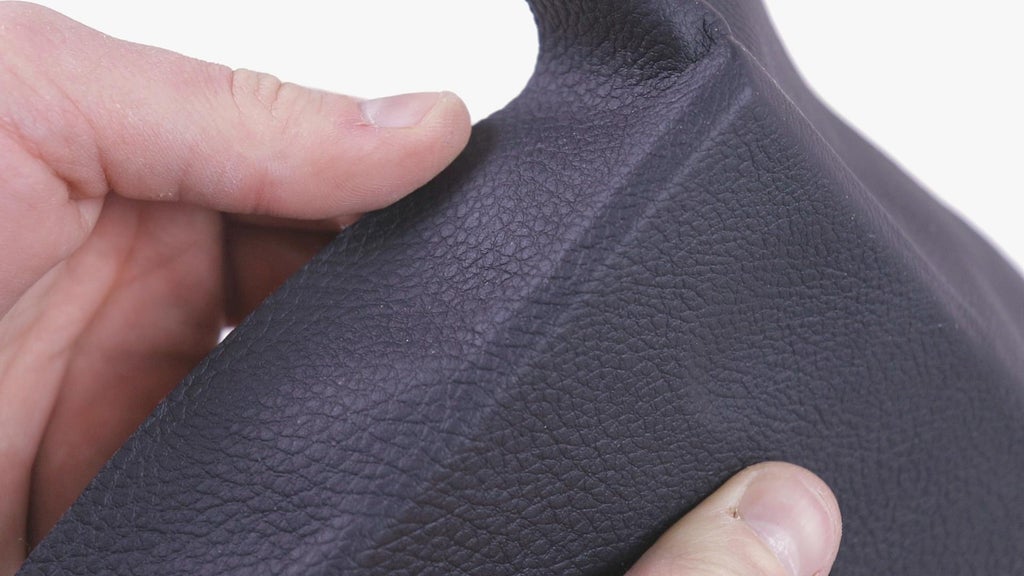
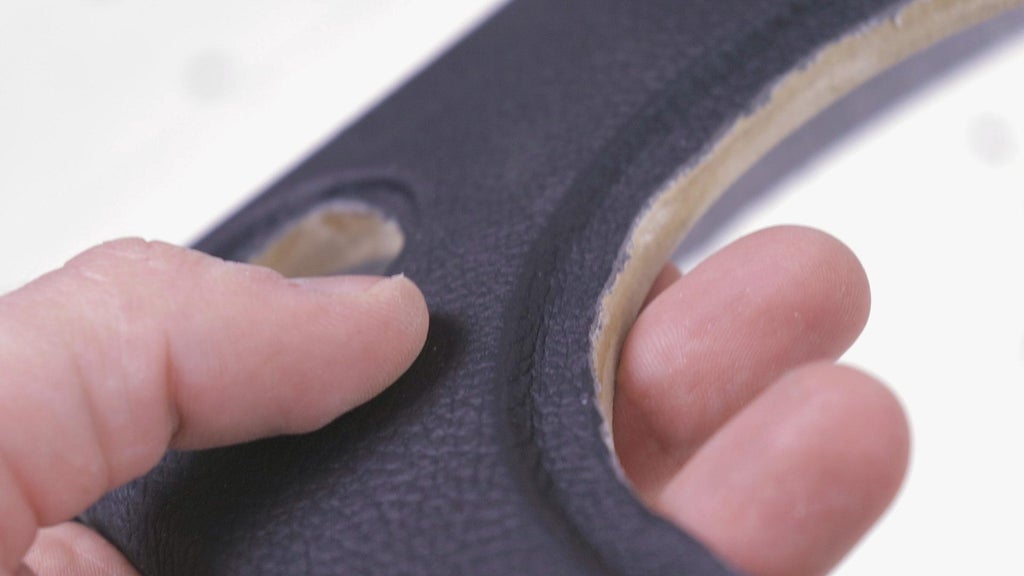
To wrap the front panel in faux leather, I coated both surfaces - the front panel and the faux leather in contact cement. Once the glue was tacky to the touch, I joined the two surfaces together and pressed the leather against every edge of the panel.
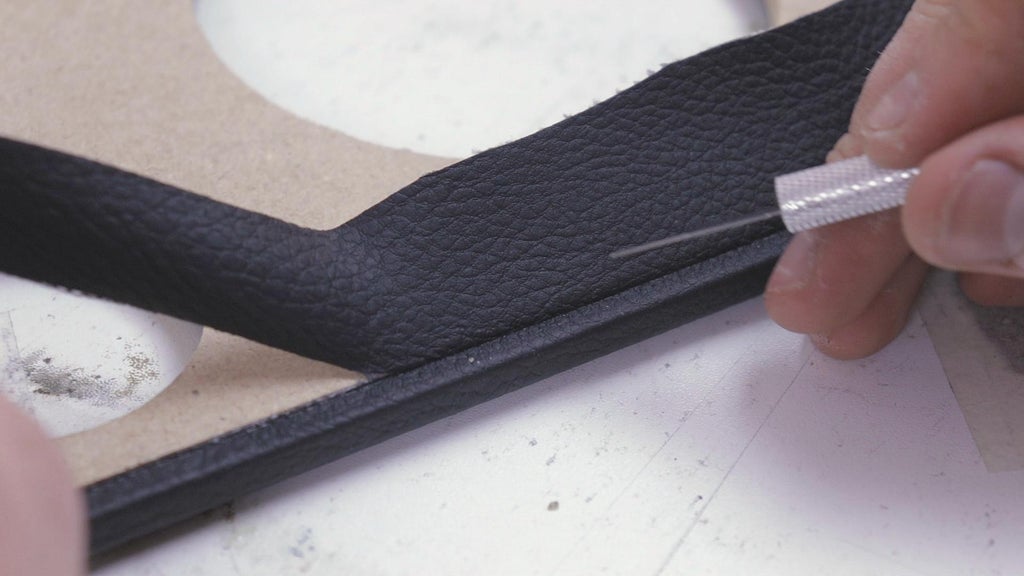
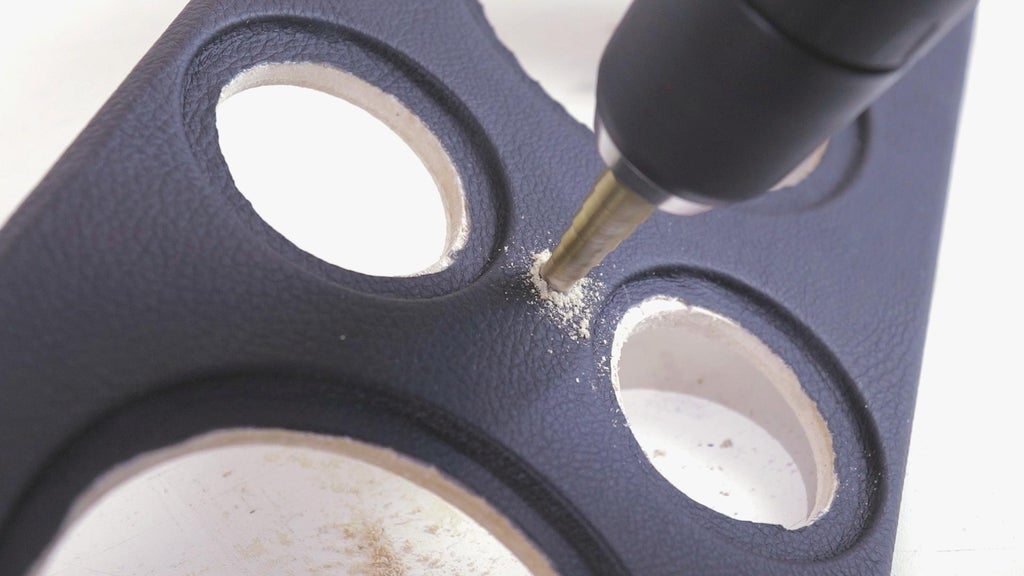
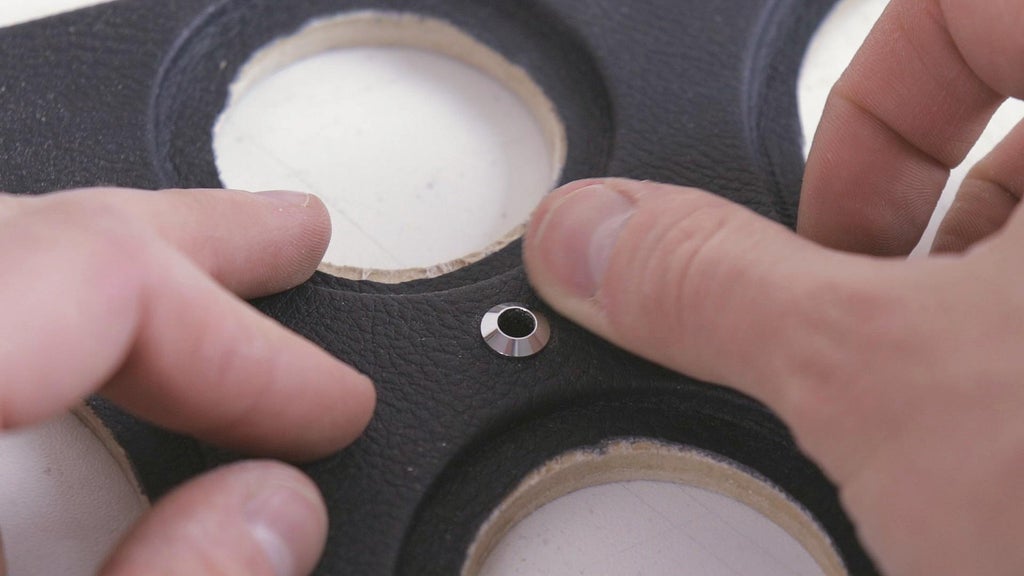
Step 9: Gluing the Front Panel
I applied a good amount of glue around the edges of the enclosure and pressed the front panel in place making sure the edges align perfectly.
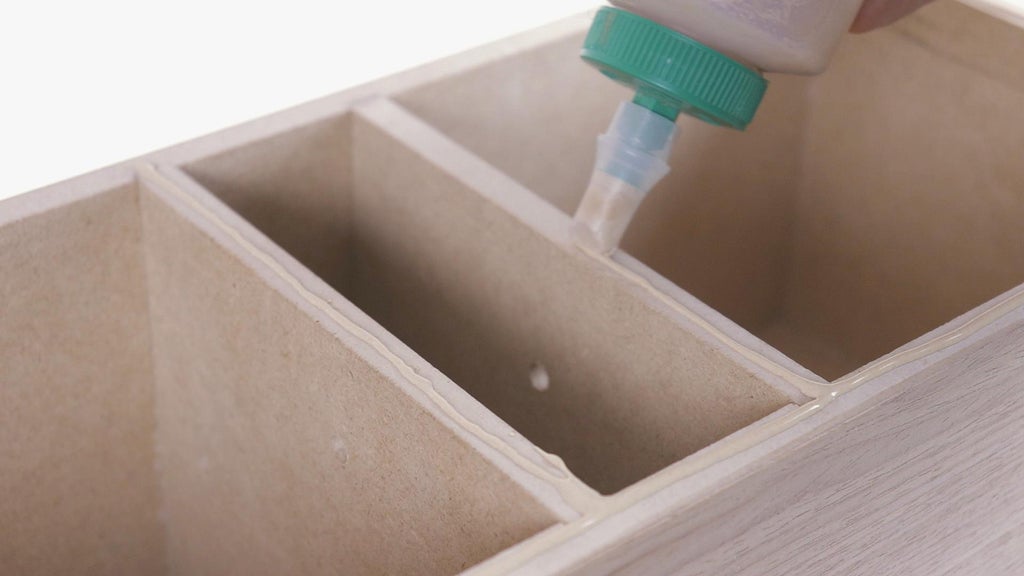
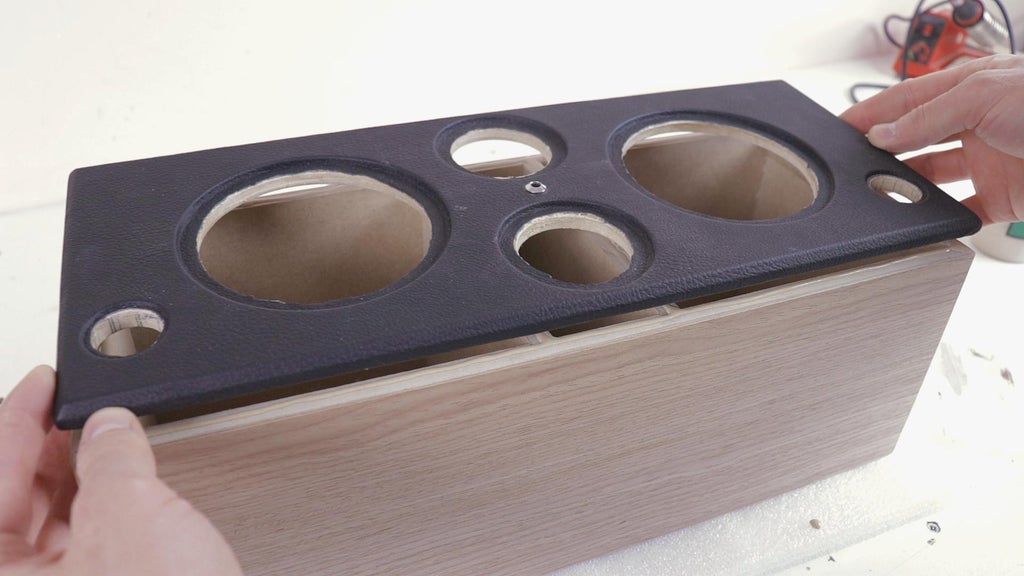
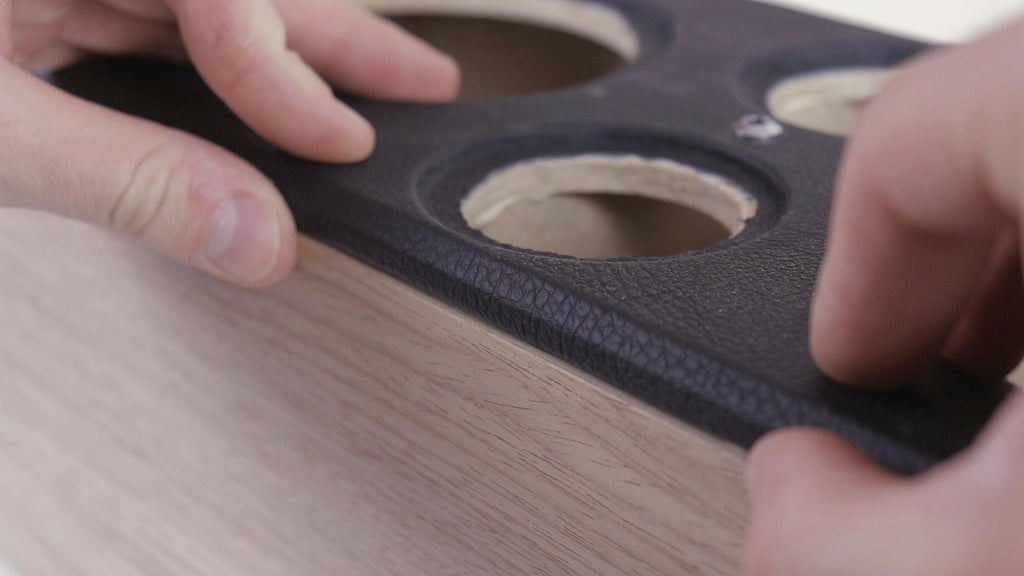
Step 10: Installing the Electronics
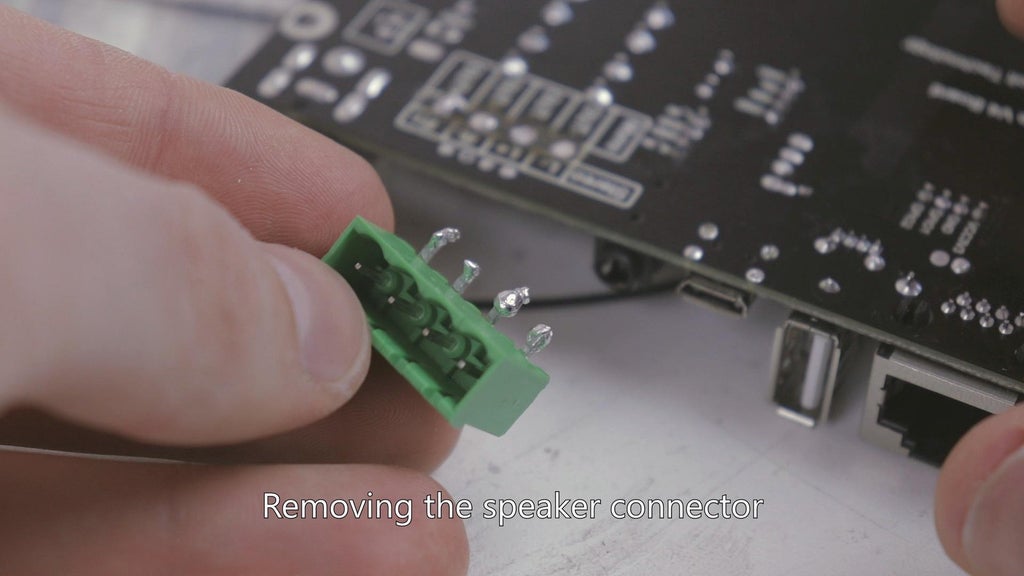
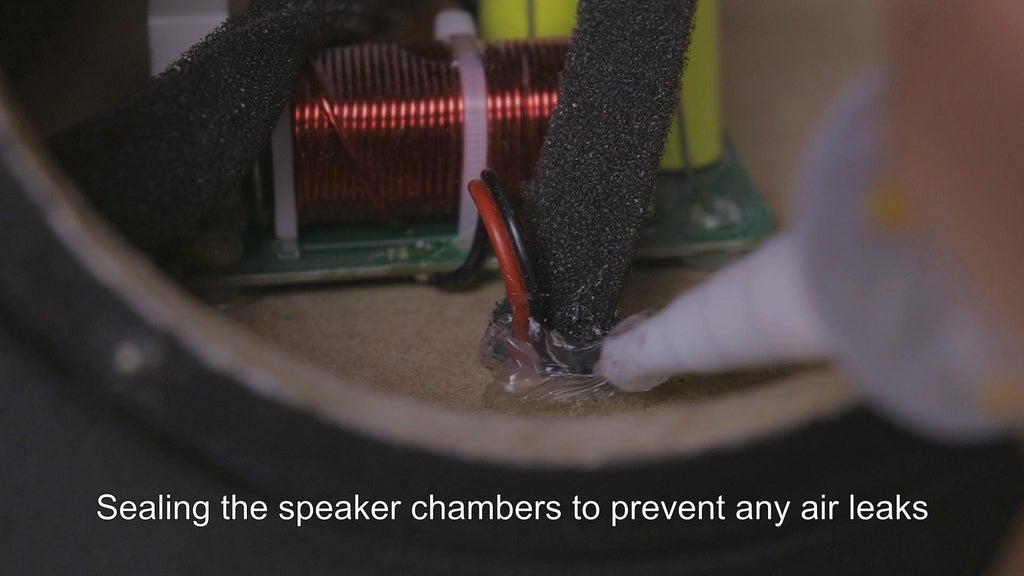
Now we can install the crossovers inside each speaker chamber and route the input and tweeter cables through the hole of the side panels.
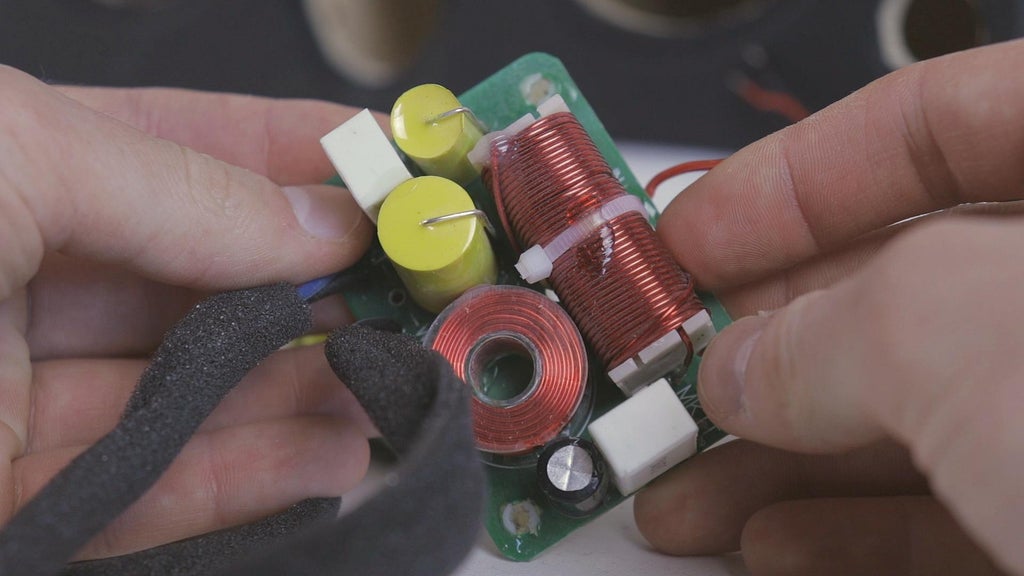
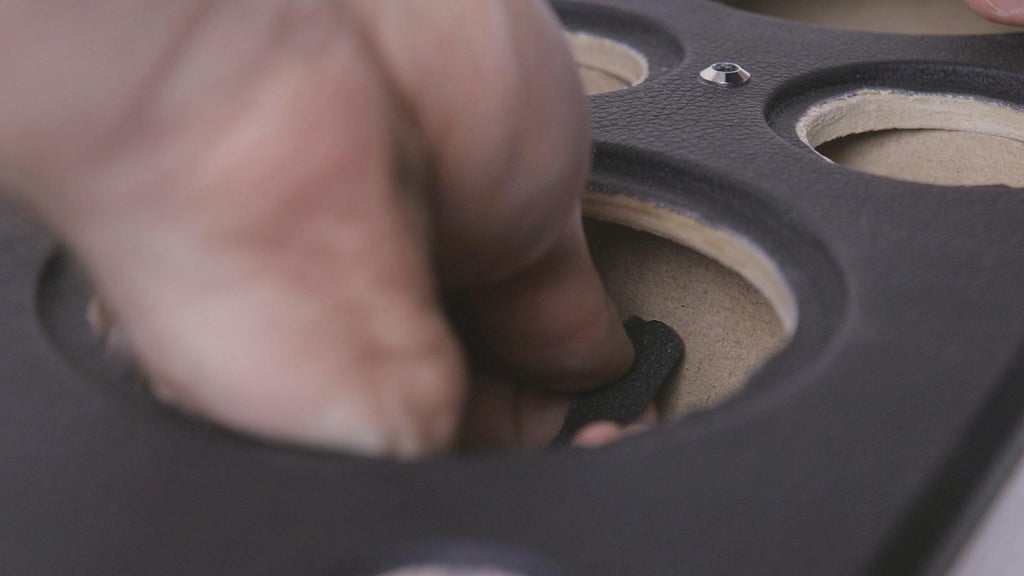
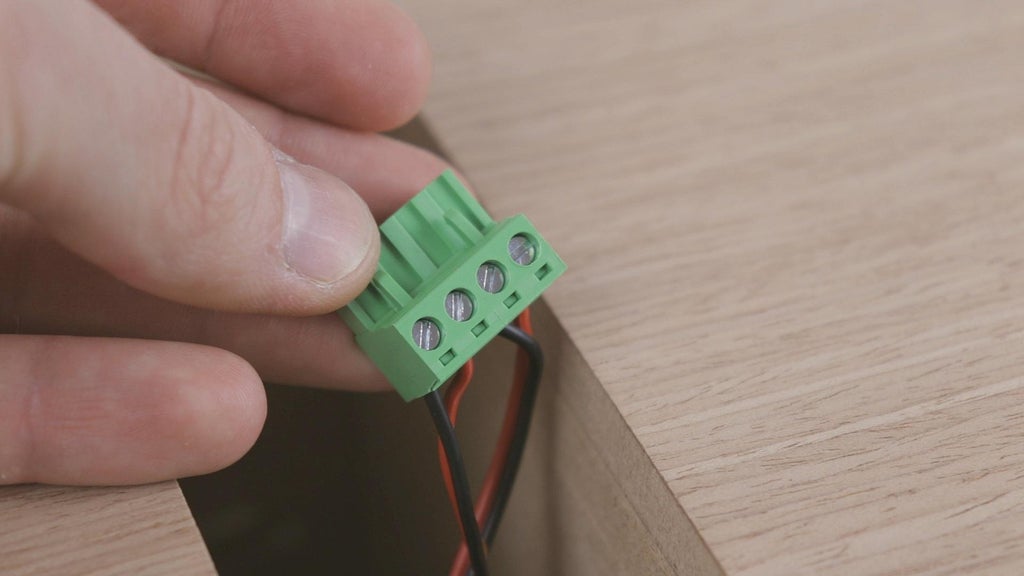
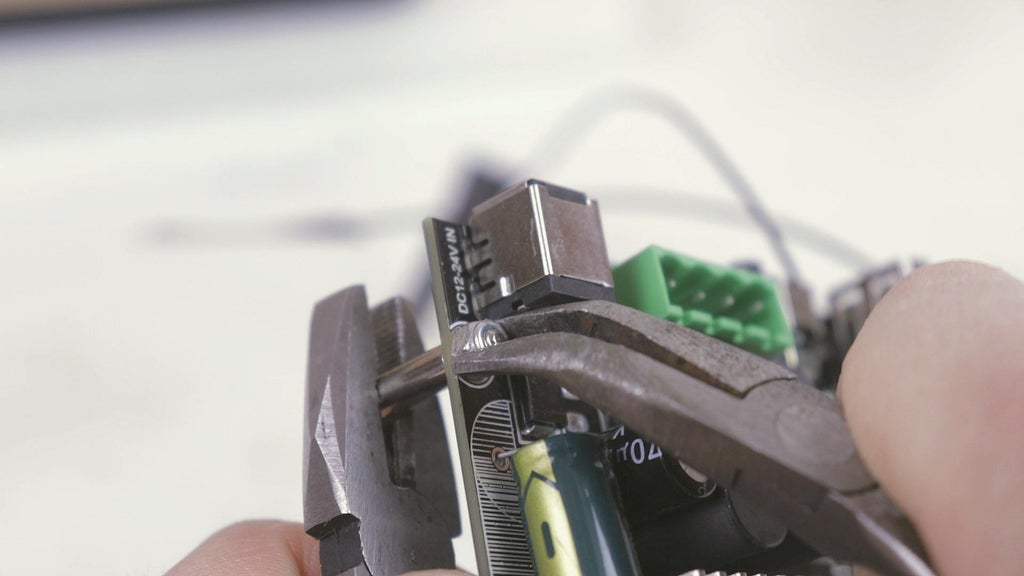
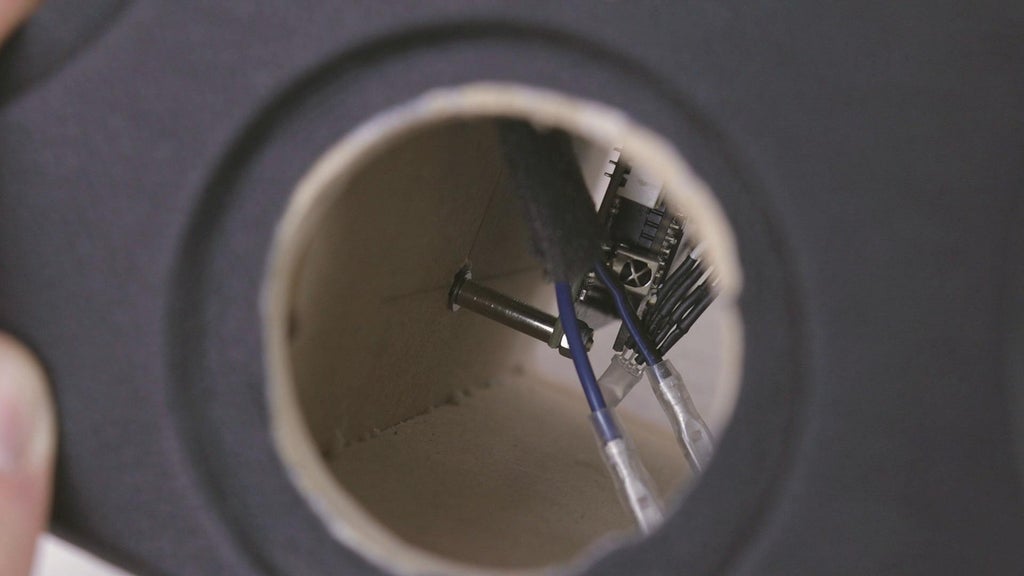
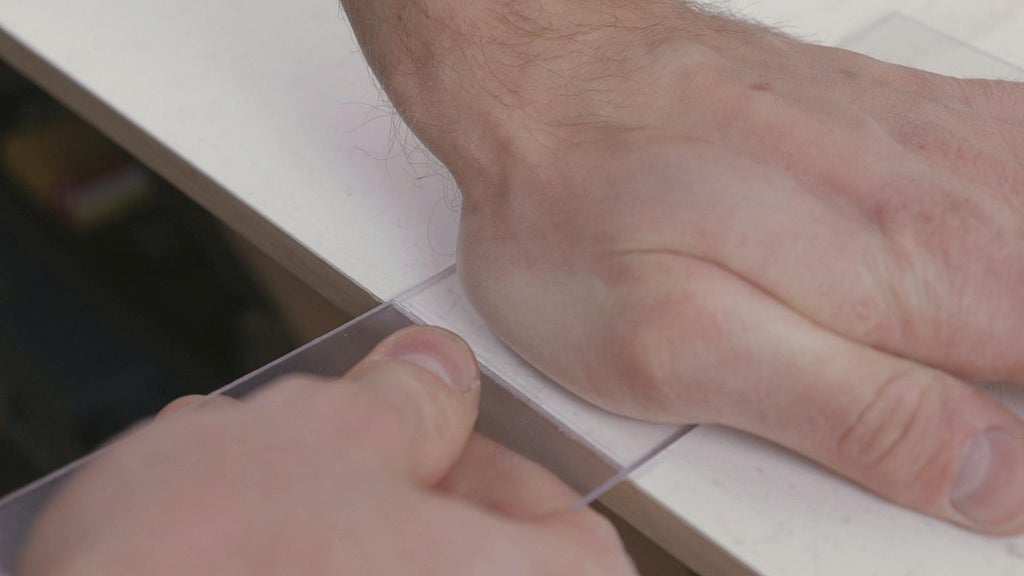
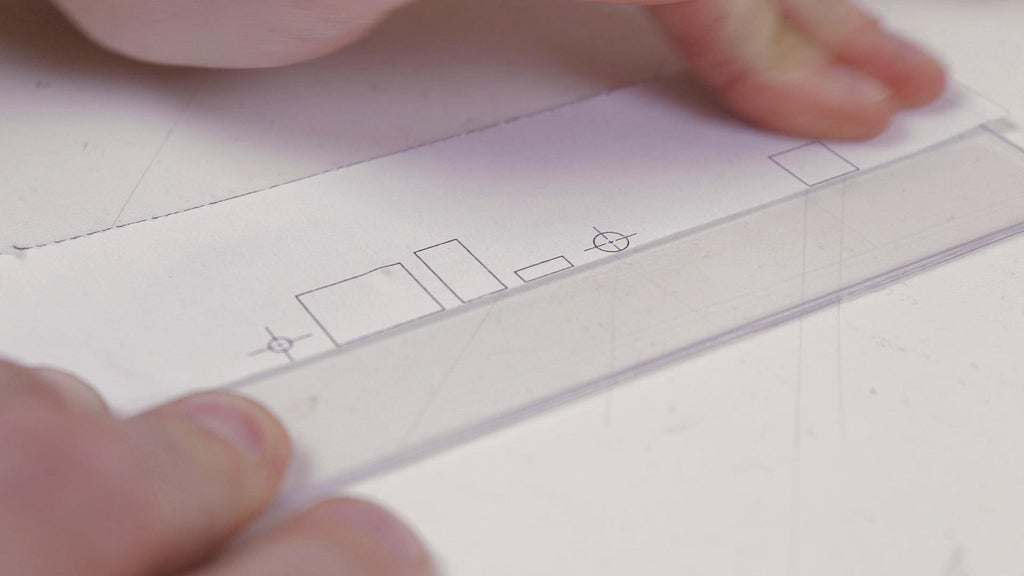
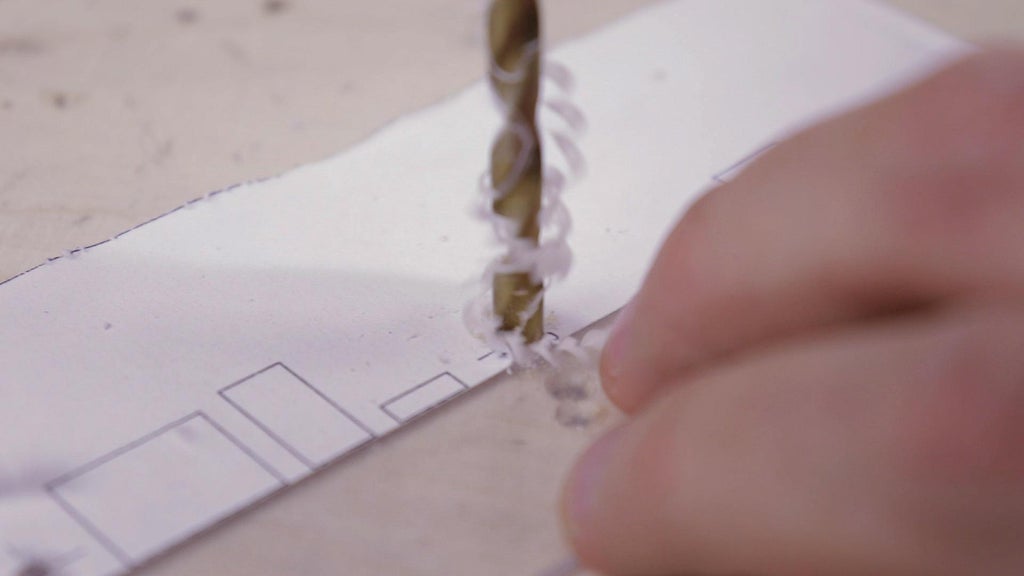
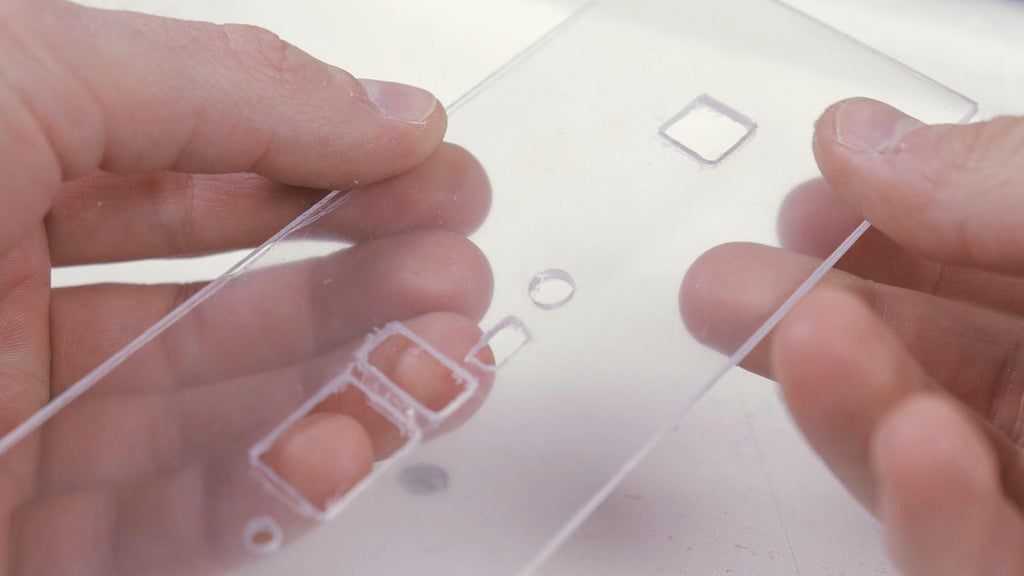
Step 11: Making the Amplifier Cover
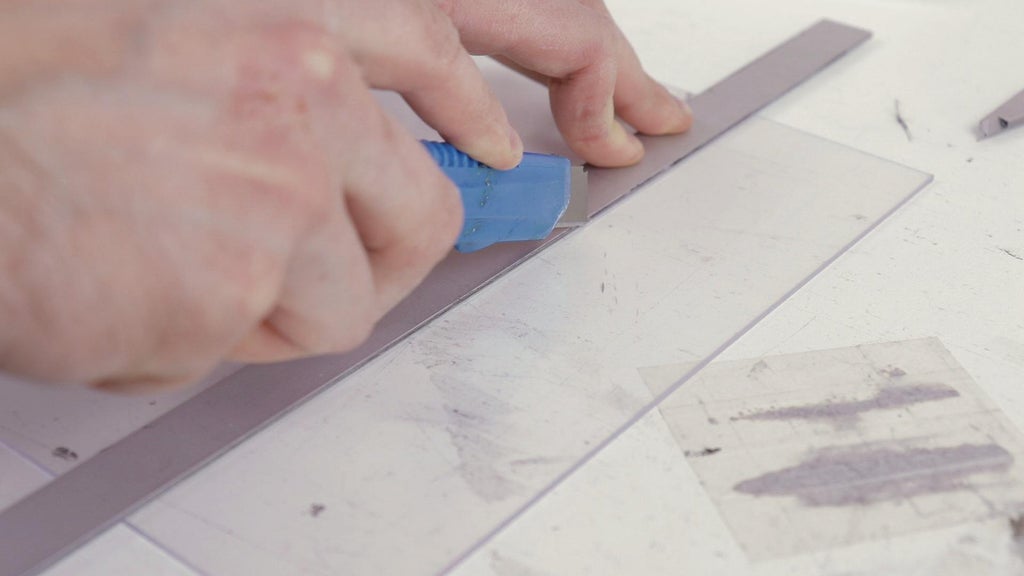

Step 12: Installing the Components
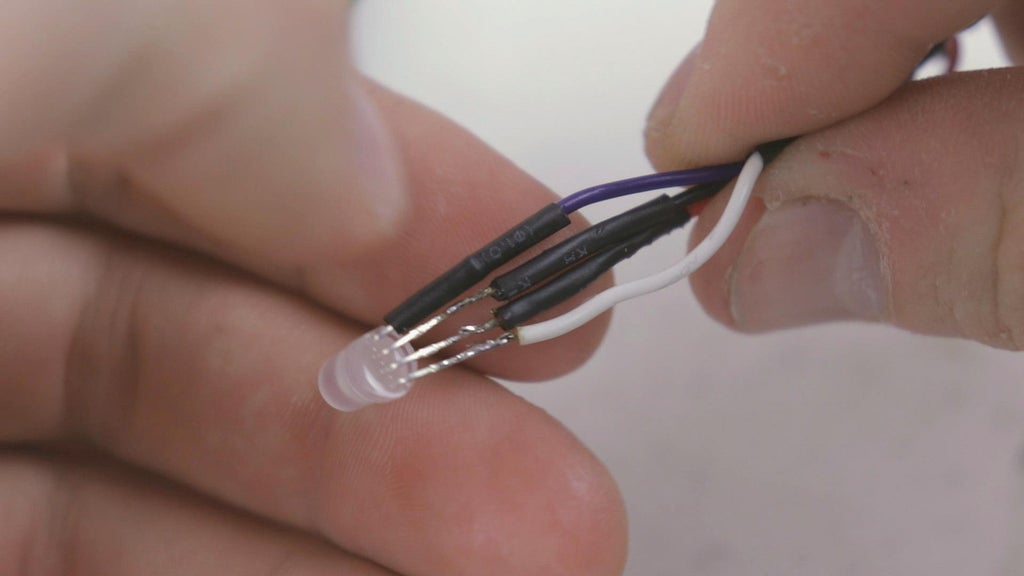
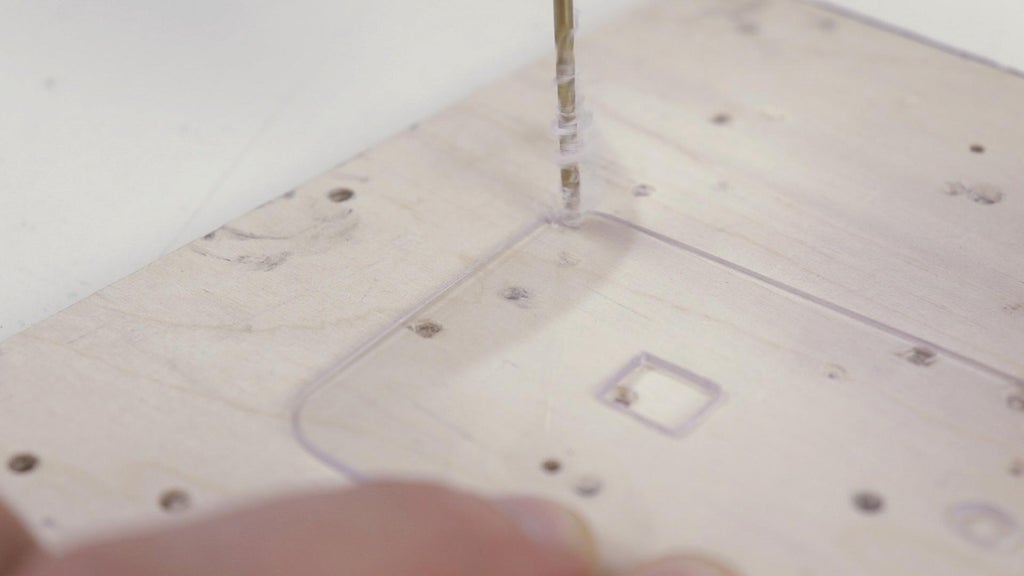
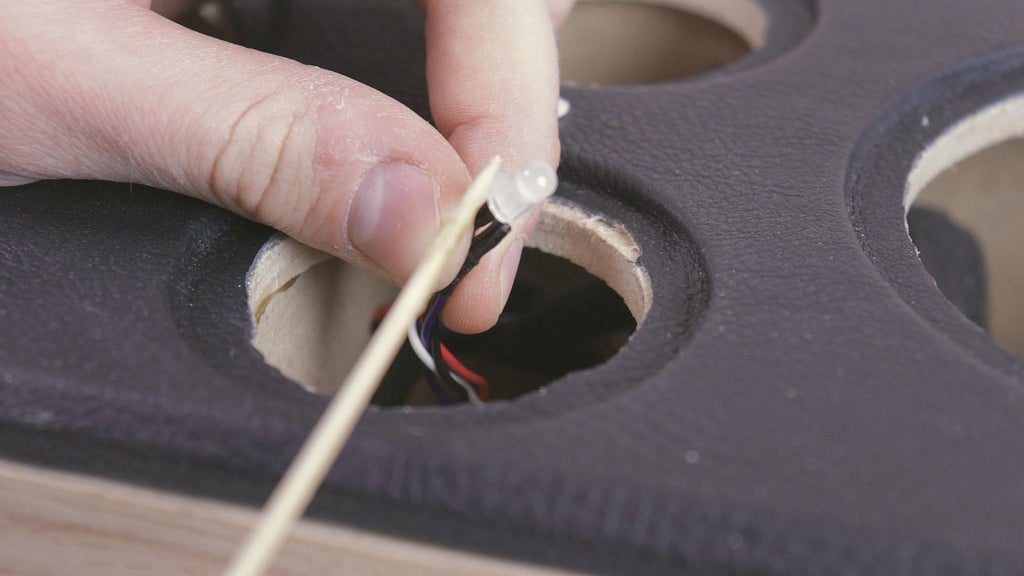
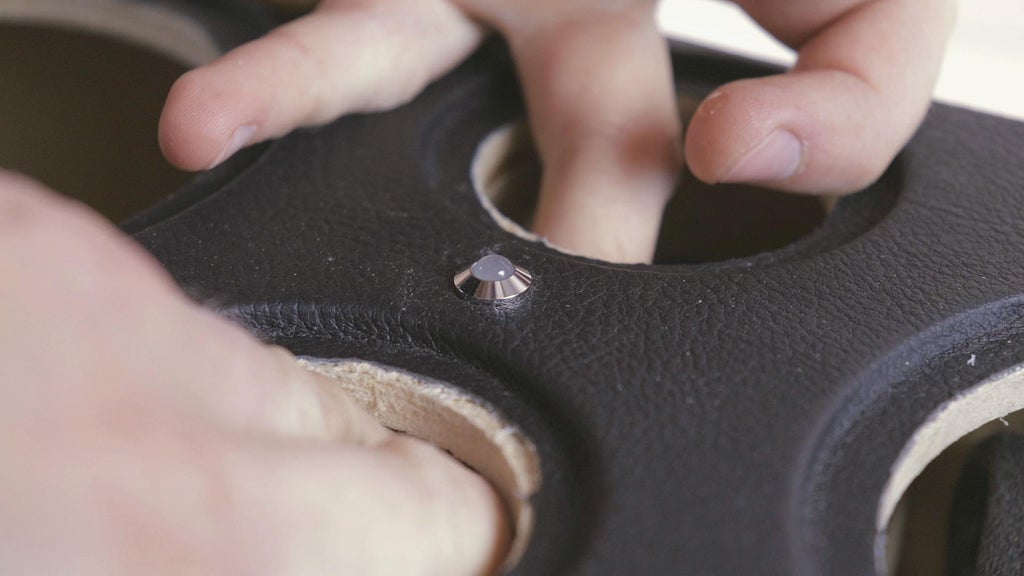
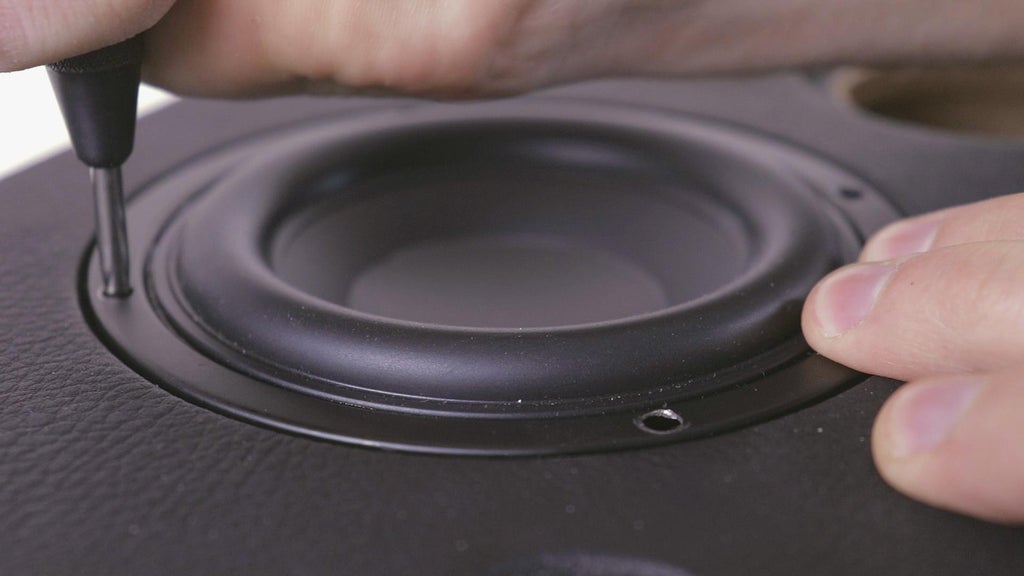
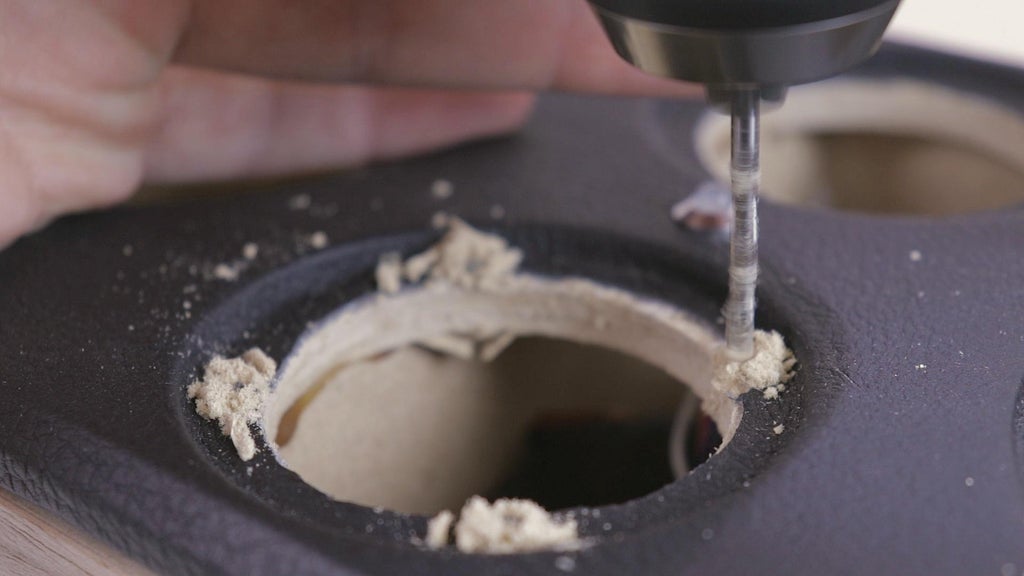
Now that I had the clear panel fabricated, I drilled out the screw holes, attached the two antennas of the amplifier and screwed the clear panel in place. I then followed by gluing in the amplifier's indicator LED.
Step 13: Last Touches!
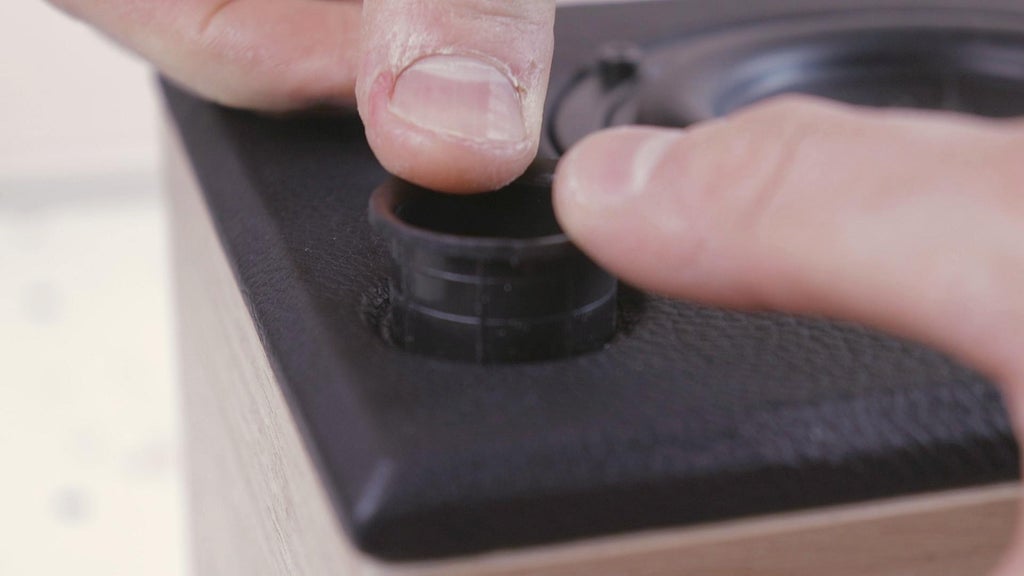
To finish the speaker I glued 4 rubber feet on each corner of the speaker.
All set and ready to test!
Step 14: Final Thoughts
I gotta say that I really enjoy the look and sound that this speaker provides. The finish turned out to be looking the way I was hoping for. The stereo imaging of this speaker is definitely not phenomenal due to both tweeters being placed in the middle of the speaker but it works great as a center piece under a TV for example. The speaker produces decent bass and the sound quality of the amplifier is great.
Hope you give this build a try! Please consider subscribing to my YouTube channel for more videos like this! Feel free to leave a comment, will do my best to answer them.
Thanks! Hope you have a good one.
- Donny

Participated in the
Woodworking Contest


