Introduction: 3D Printed Jigsaw Puzzle


A jigsaw puzzle is something that everyone has played with once in their lifetime. The best thing I feel about this puzzle is that even though it looks simple but can take quite a while to crack. The complexity of the puzzle keeps on increasing as the number of pieces keeps on increasing even though it is a simple matter of putting the right pieces in the right place. For many kids, this was their first puzzle and they seem to be able to learn to solve it quite themselves. Give them a small puzzle to start with and let them solve. Eventually, they would and when they do, they realize that they can apply the same learned techniques to any kind of image. We started learning problem-solving from the moment we solved our first jigsaw puzzle!
Usually, we are provided with a reference image that helps us solve the puzzle. For a simple image, sometimes, the reference image is not even required. Removing the reference image as an element just adds more surprise as to what the end product might look like. Imagine embarking on a journey whose end is still unknown but as you go on solving, the picture starts becoming more and more clear! You see - there is a relationship between life and a jigsaw puzzle.
At the same time, a jigsaw puzzle provides the possibility of customization and personalization. Imagine gifting a kid a jigsaw puzzle on the birthday. Personalize it by adding a custom message or image and see the face light up when the last piece of the puzzle finally maps into its place. You can gift your loved ones and customize it the way you want. You can even make a puzzle for the upcoming Christmas and New Year and arrange a puzzle-solving activity with your family and loved ones. You can even make one for yourself, vary it with the complexity that you want. Solve it together or solve it with a group of people for a nice time together. Either way - if we happen to saw a jigsaw puzzle then we know we ought to solve it!
In this Instructables I will be guiding you to build your own 3D Printed Jigsaw Puzzle from start to the finish. We will be using Tinkercad for the 3D designing and you if you are a beginner then this is a good start to learning some 3D techniques. You will be able to customize the shape and size and learn some neat tips and tricks as you build the puzzle. So what are you waiting for? Lets get started!
Step 1: Parts, Materials & Tools
For the 3D designing, we will be using Tinkercad as it provides a good starting point for beginners and lots of customization options even for the experts. You can access the same by clicking on this link: Tinkercad Dashboard
If you have access to a 3D printer then well and good, otherwise based on your country of residence you can find an online service that will help you turn your 3D masterpiece into reality and that will be your exercise.
You will be required to print an image which then will be applied on the final printed jigsaw pieces but you may choose to paint over the pieces as well. For this instructable, we will be using the self-adhesive paper which works best in such scenarios.
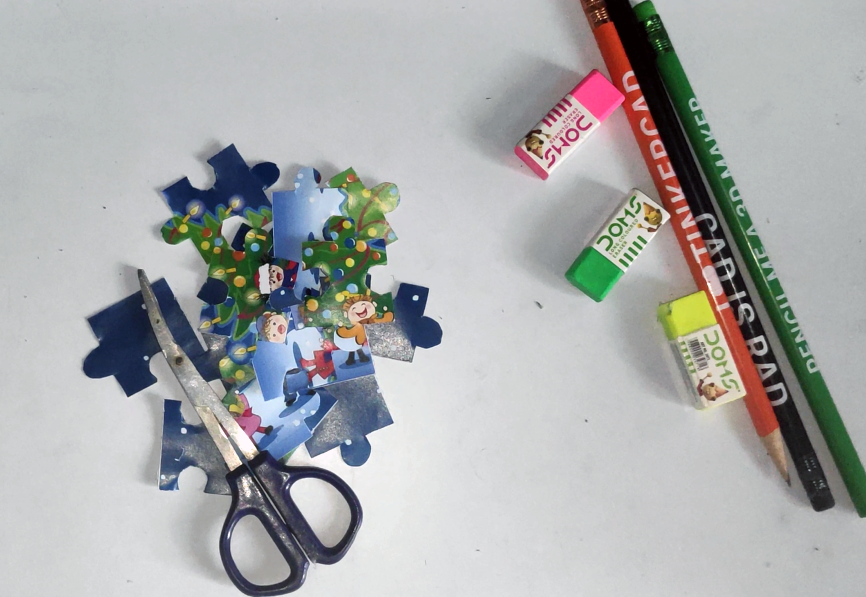
Additionally, for the scope of this instructable, the following materials will be typically used:
- Pencil and Eraser
- Ruler (to help with the cutting)
X-ACTO Knife (Scissor will do too)
Depending on the way you want the end product to look like, following are the optional materials that may be required:
- Glue (to stick the image on top of the puzzle)
- Sand Paper (to provide finishing and adjustments to the final printed pieces)
- Brush, Paints, Sketch Pens etc. (if you want to color the pieces yourself)
Caution: Safety comes first. Handle the knife/scissor with caution. If you are using the X-ACTO knife then do put something beneath and between the table and the paper so as to not ruin the table with the knife marks.
Step 2: 3D Designing
A. After you have successfully logged into the Tinkercad dashboard, navigate to the 3D Designs tab and click "Create new design" to open up the 3D designing workspace. You will get a page similar to mine as you can see below.

On the top-left, you will find the project name which you can rename by clicking on it. You can find the basic shapes and other premade models on the right-hand side. The center of the workspace is where the object will be dragged and customized. On the left of the workplane are some of the ways you can control the angle and perspective.
B. Follow along with the video below to see how you can create a basic jigsaw shape in Tinkercad.
Tips:
- Adjust the width and breadth of the cube so as to decide the piece size that you want. You can increase the complexity by reducing the size.
- After you have finally grouped the elements for the piece, you can adjust the height/depth of the final piece instead of adjusting the height/depth of each element. From experience, I can say that a height of 1-2mm is more than sufficient and will serve the purpose of providing rigidity but who am I to stop you from experimenting!
- Based on your 3D printer you may choose to reduce the "Sides" parameter of the cylinder to less than 64, since achieving a perfect circle maybe difficult which depends on the capability of your 3D printer. In the end, there will be a need for sanding to remove any gaps.
- You can experiment with different shapes instead of the cylinder. Shapes having fewer sides are less heavy on the 3D printer and you, especially when you have to cut the paper to match the shapes of the jigsaw pieces. You can see in the image below, some of the possible options that I have tried.

C. Now you just have to copy-paste the above piece and place it on its respective place. Adjust the shape according to where that piece is located. Keep a distance between adjacent pieces so that they don't stick together during 3D printing. This step has been illustrated in the video down below.
D. Finally, if you have followed along correctly, you will get the jigsaw puzzle ready for printing which will look something similar to the image below.

If you happen to put the pieces together then you get something like what I have obtained in the image below.

If you are facing any issues with the designing then you can refer to my Tinkercad Design or use it directly and send for printing. You can find my Tinkercad Design on this link: Jigsaw Puzzle
I am also attaching the .obj and .stl file in case you want to print directly or load the puzzle in some other 3D designing tool.
Step 3: Make It Real
If you have successfully completed the designing step and want to proceed with the real-life implementation then follow along.
A. I got my jigsaw puzzle 3D printed through an online source and as you can see in the image below, the print was pretty decent. You may need to sand the pieces to make it smooth and remove any misalignments.

B. Next, you have to take out a color print out of the image that you want to overlay on the jigsaw puzzle. Cut on the picture as shown in the video below to remove the unnecessary parts and be left with a square picture to overlay on the jigsaw puzzle.
Tip: Depending on the size of the size of your puzzle, you can print multiple images on the same print paper through proper alignment to reduce the cost. Also, you can overlay two different images on both sides of the puzzle to make a two-in-one jigsaw puzzle.
For your reference, I am attaching the image below which you can use directly or choose your own.

C. Next, turn the picture backward and start tracing out the lines of the puzzle by placing the jigsaw pieces one at a time.
D. After you have traced the complete puzzle on the back side of the picture, use a scissor to cut the individual pieces. In the video below I have used a curved scissor but you can even use a normal scissor to complete the step.
After completing this step, you get the pieces ready to be overlayed.
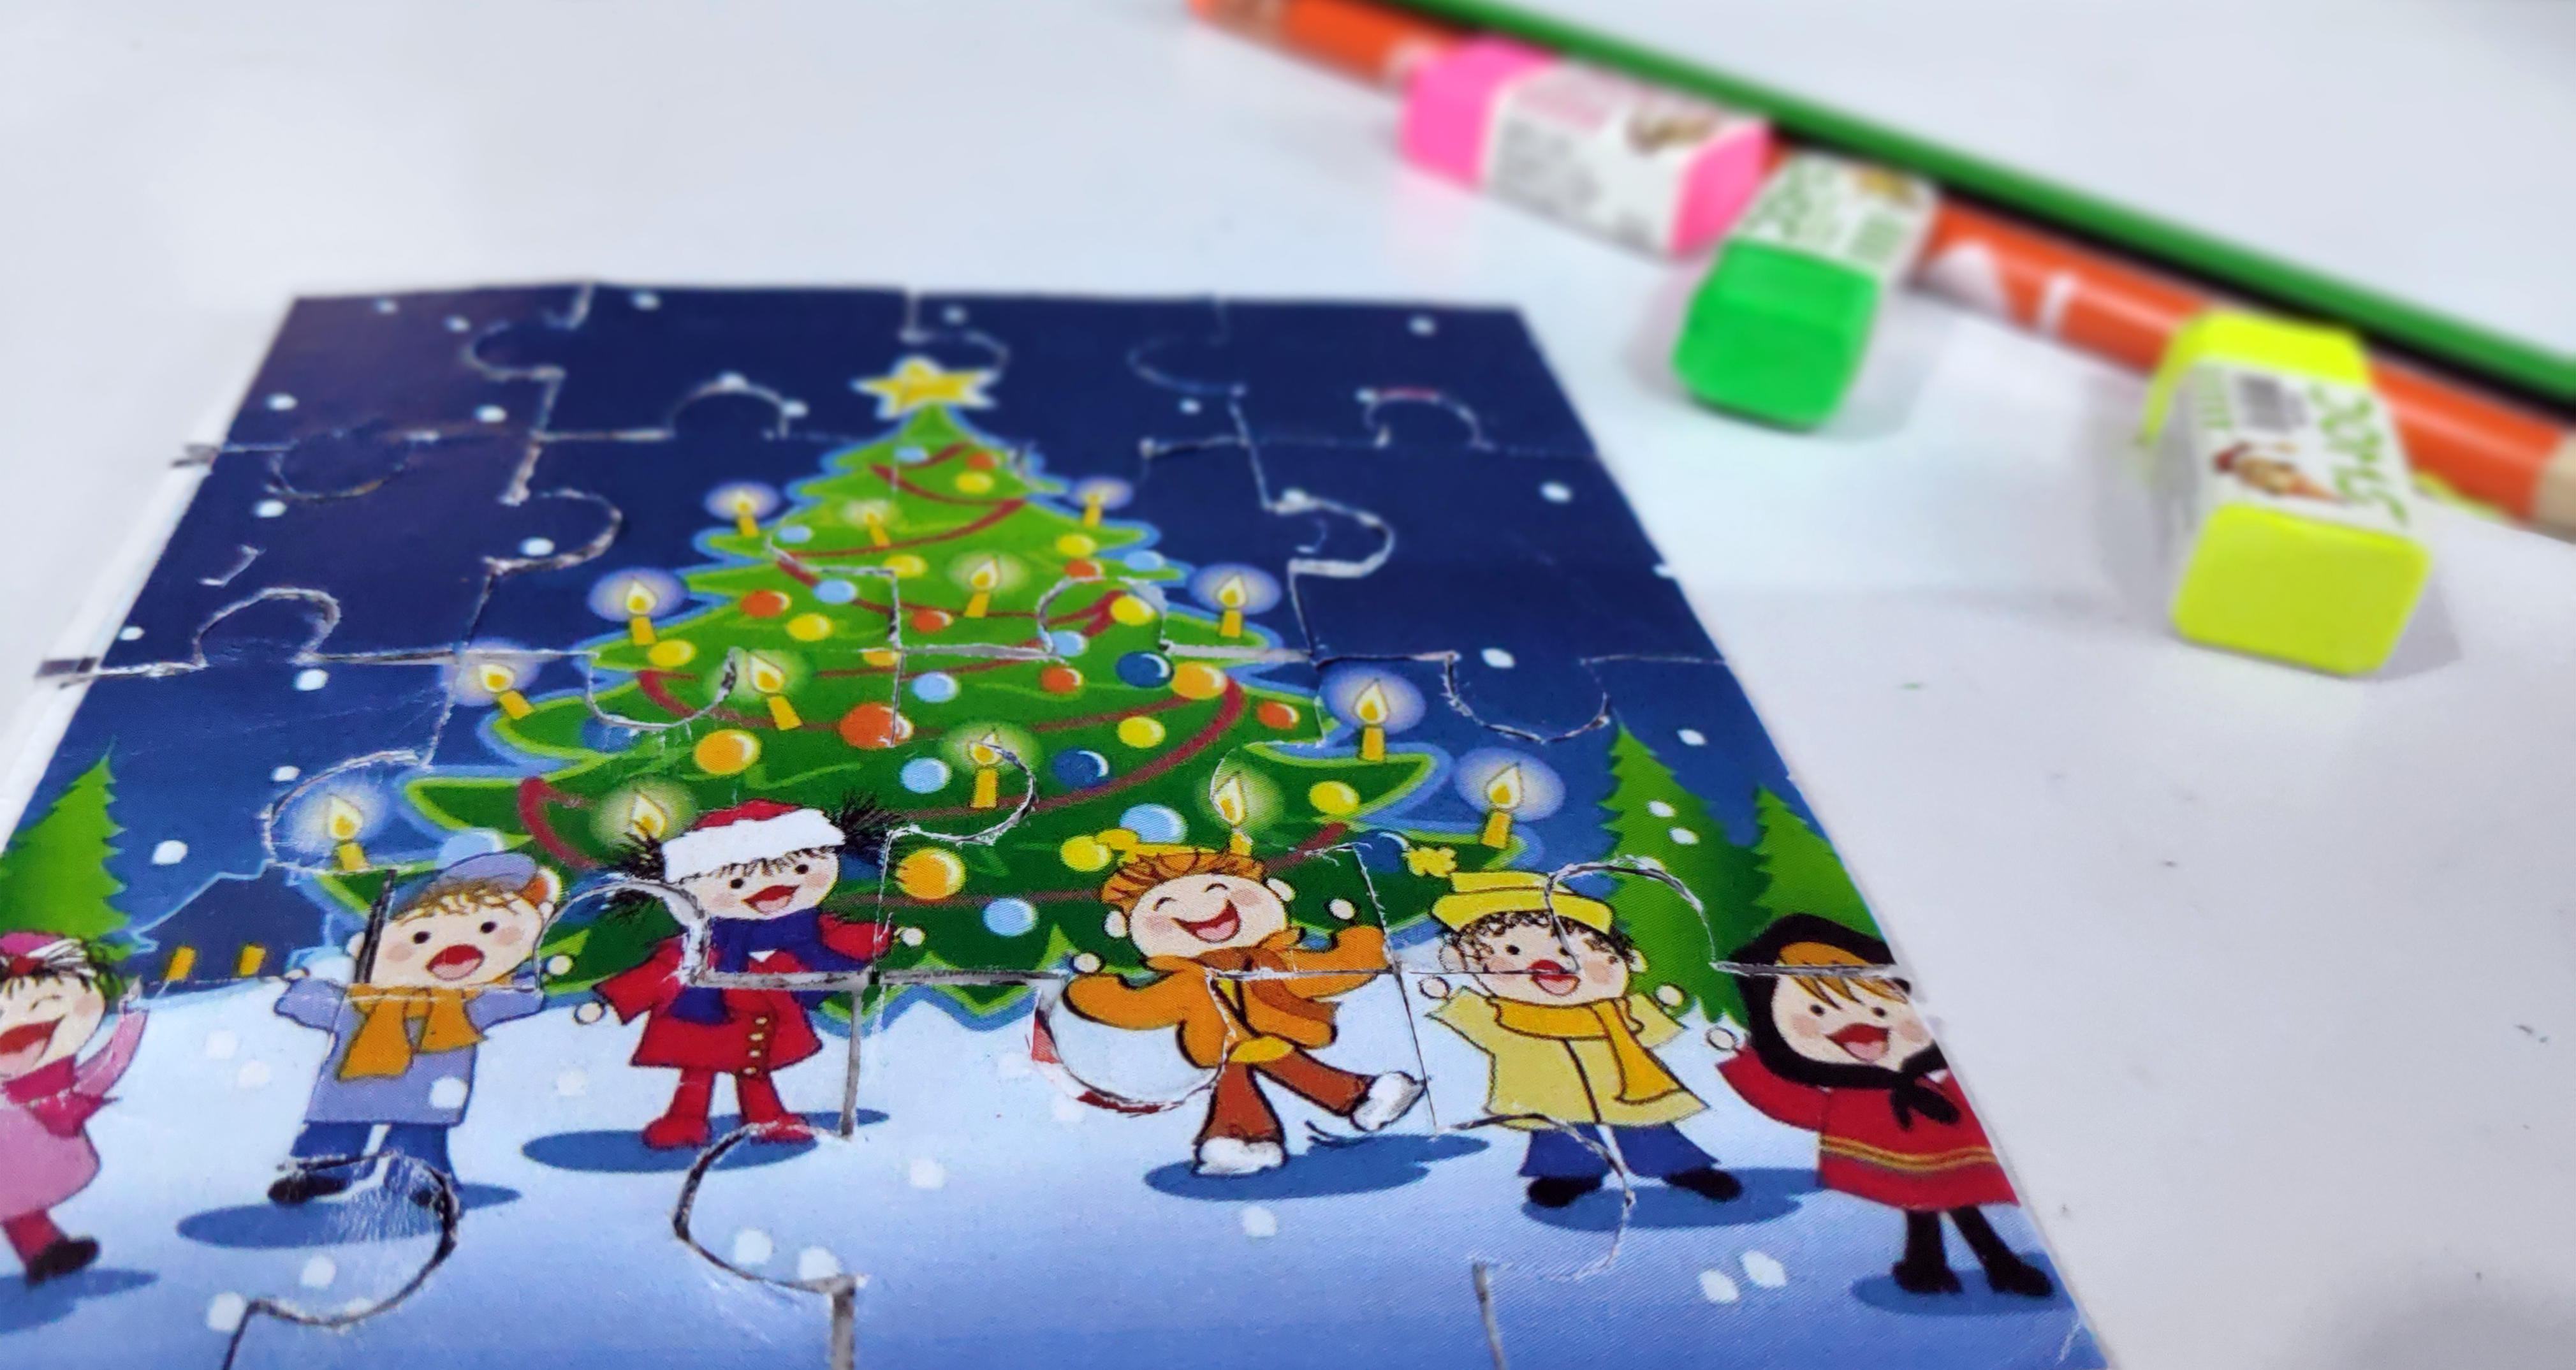
E. The next step is simple and it simply involves carefully overlaying/sticking each of the image cut pieces on the individual 3D printed jigsaw pieces. After this step, you get something similar to the image below.

You can now pack this in a box and gift to someone or start solving the puzzle right by yourself!
Step 4: Play Time!
That was a fantastic experience and you wouldn't believe me if I say that this is my first experience with 3D designing and printing. It was definitely a good learning curve and Tinkercad was really the perfect place for a beginner like me. I was able to reach from start to the finish and learn a lot along the way!
What are you waiting for now? Get started right now! Design, Build, Play!
Also, don't forget to give this instructable all the love you got by adding it to your favorites and sharing with your network. This instructable is also running for the "Puzzle Challenge" so please cast your vote!
I will appreciate any feedback and suggestion you may have related to instructable and you can share your views down in the comments section.
Adiós!

Participated in the
Puzzle Challenge


