Introduction: Arduinos: Arduino Based Keyboard for Control of Sonos Streaming


I like the Sonos setup we have in our house, but I hate having to fire up my smartphone or tablet whenever I need to shift between internet radio stations.
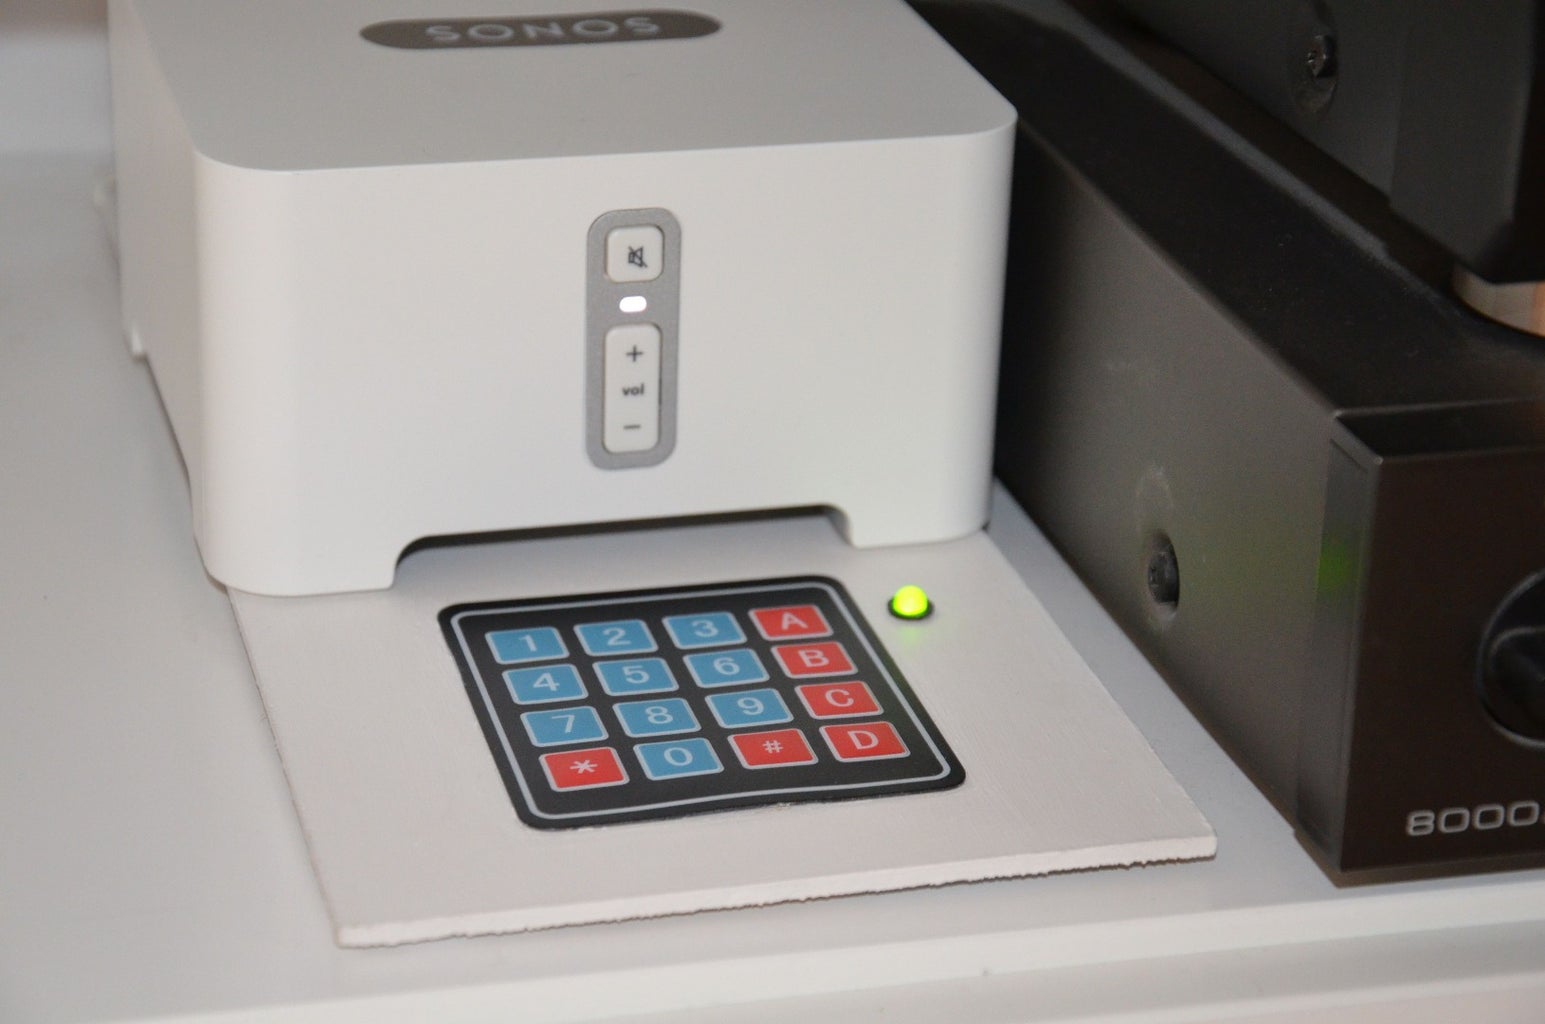
We normally just listen to a few local radio stations (and of course thejazzgroove.com...), so a simple 4x4 keyboard provides more than enough controls for that purpose. The current configuration provides for 13 radio channels + volume up/down + mute.
The user feedback is just a LED that lights green when a key is pressed, and red if a communication failure is detected.
Step 1: Arduino Nano + Ethernet Shield
I got the keyboard from ebay (£2.54 for 5 pcs) and the Arduino Nano + ethernet shield from AliExpress ($8,50).
The Arduino+shield connects through a small ethernet cable to the back of the Sonos Connect. Power to the Arduino+shield (5V) is fed through a mini-USB cable from a spare mobile phone wall plug charger.
Other than the above items, you basically just need a red and a green LED (or a combined R+G+B as on the picture) and some wiring.
I had to do some soldering and a lot of scratching my head to get the software together (this is my first real project using Arduino).
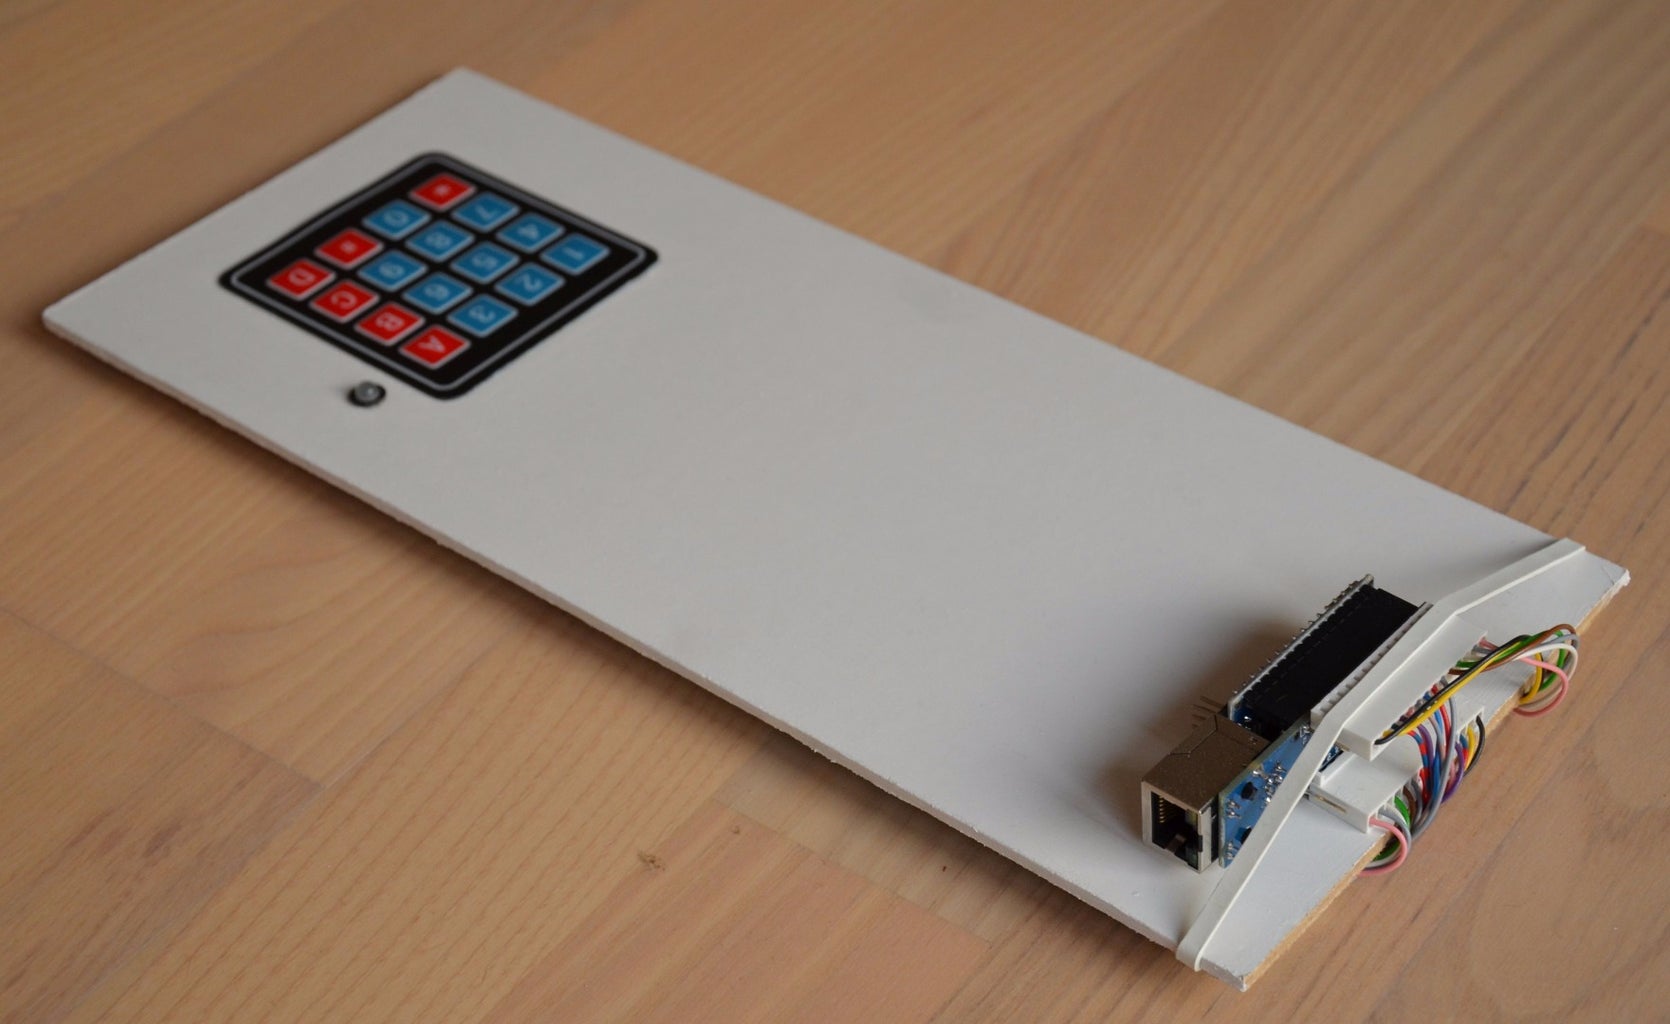
As you can see, this never went beyond a prototype setup on a thin wooden board. I just drilled a hole for the LED and cut a thin opening for the keyboard FPC. On the back of the wooden board I applied some duct tape to protectect the wiring (it just a prototype, right?). The Arduino+shield is just held i place by a rubber band, as you can't really see it anyway, when the Sonos Connect is placed in front.
The software for the Arduino can be found here along with further details: http://github.com/LarsWH/arduinos. It should work as-is, but you will want to modify it with your own favorite internet radio channels and IP addresses of your Sonos devices.


