Introduction: Chess Set for Blind People
Chess is a game that can be enjoyed by people of all ages and abilities, including those who are blind or visually impaired. While the traditional game is played on a board with visual pieces, adaptations have been made to allow blind individuals to play as well. One such adaptation involves the use of a special board with raised squares and pegged pieces that can be easily identified by touch. Players can also use a notation system to keep track of the game's moves. Additionally, some chess organizations hold tournaments specifically for blind players, providing an opportunity for friendly competition and community building. Overall, chess is a game that can be accessible and enjoyed by all, regardless of their visual ability. In this Instructable we will go through the steps on how to make a chess game for the Blind. Chess is a game that can be enjoyed by people of all ages and abilities, including those who are blind or visually impaired. We will use fusion 360 to make and model our chess set and at the end I will give you ways you can fabricate it.
Supplies
For this project you only need Fusion 360 and a couple files that I will attach.
Step 1: Preparing the Peices
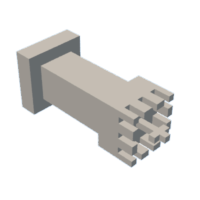
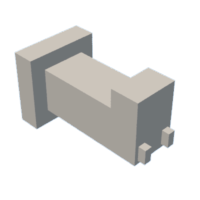
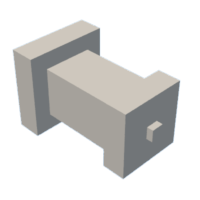
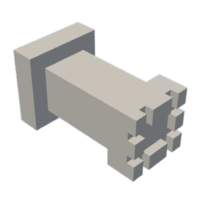
The first step is to import all the files into fusion 360. The second step is to add the sphere to every piece to the bottom. If you need reference look at the images provided above. The final step of the part is to merge both the piece and the sphere at the bottom.
Step 2: Preparing the Board
The second part of this project is to prepare the game board which the pieces will be on. If you want to prepare the game board by yourself, first you wanna sketch a square and extrude and then create sphere holes in them to scale accordingly to the pieces. If you just want the finished chessboard the file will be below.
Attachments
Step 3: Assembly and Finishing Touches
Import all of your finished parts and make your finishing touches. visualize everything see if everything fits make any necessary adjustments. If everything looks good your ready for the next part, which is optional.
Step 4: Optional Fabricating
I recommend 3d printing, 3D printing is a process of creating three-dimensional objects from digital designs by laying down successive layers of material. To begin a 3D printing project, the first step is to create or obtain a digital 3D model of the object you wish to print, which we already did. Next, you will need to prepare the model for printing by slicing it into layers using specialized software. Once the model is sliced, it is ready to be loaded into a 3D printer, which will create the object layer by layer using the chosen printing material. The printing process can take anywhere from a few minutes to several hours or even days, depending on the complexity and size of the object being printed, in our scenario to print everything it would take about 10 hours. Once the printing is complete, the object is ready to be removed from the printer and used or finished according to your specific needs.


