Introduction: DIY Carbon Tape Heated Toy Warmer
Do your kids love to sleep with a warmer?
It's cold outside, don't you want to heat the whole house, but only children beds?
Let's make a homemade high-tech carbon fiber tape (or Amazon) warmer from any toy animals!
My oldest daughter did it as a gift for the younger in just half a day, I almost didn't help :)
Look how easy it is!
Step 1: How Does This Work
You may have already used the microwave toy warmer or heater with water? If you don't put it under a blanket it cool down faster than an hour. And at first moment they almost hot, and then becoming colder. Nothing is perfect, but we can do better.
We will make it from the most modern and high-tech material - carbon fiber tape. This tape is designed for heated clothes. It looks like an ordinary silk fabric, very thin and soft. The child doesn't feel it under a toy fur.
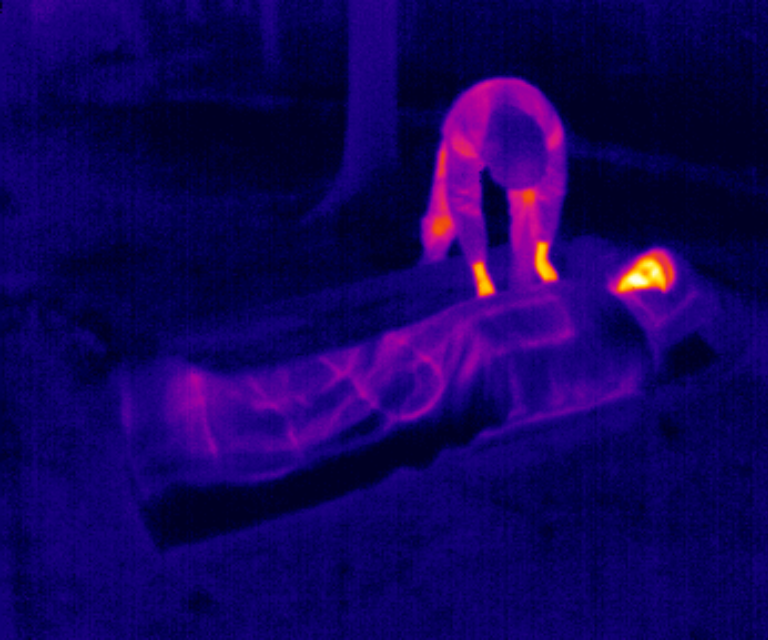
Unlike other heaters, carbon tape emits in the infrared range so quickly heats the whole body and spends less energy. In our project it runs continuously with a constant temperature of 45 degrees Celsius up to 5 hours. With the power of 50% it works more than 10 hours! RF dimmer allows parents to switch on and off the warmer, adjust the power at any time.
The temperature depends on the battery voltage and the length of the tape. We did about 45 degrees Celsius. It needs 2 feet of 15mm carbon tape only.
Step 2: Shopping List
1. An old toy you would like to be a warmer.
2. 2 feet of 15mm carbon fiber tape and now on Amazon
3. Silver glue.
4. Blinking LED.
5. 18650 batteries.
6. Battery holder with protection.
7. RF dimmer.
8. 2 feet of Iron-on no-sew hem tape.
9. A piece of fabric.
Step 3: Let's Start!
Select a location in which to install the carbon tape. It can be any place you would like. Carbon tape is very soft and can be installed at any place.
We decided to heat only the tummy. Cut out two pieces of fabric to fix the carbon tape heater.
Put iron-on hemming web tape and carbon tape on the fabric and fastened them with pins.
Step 4: Wire Connection
Strip wires and sew them as shown on the photo. Apply a silver glue. Wait 5 minutes and apply the glue again to make contact more reliable. Gently iron the carbon tape. Put on the second piece of fabric and fix the package with iron or just sew it.
Step 5: Don't Be Afraid Teddy. We Love You.
Carefully unpick the seam. Insert the carbon tape. Carefully sew it back.
There's still a little:)
Step 6: The Final Touch
Carefully cut a seam on the back. Pull out the wires from the carbon tape.
We also soldered to the carbon tape a blinking LED that parents saw when warmer is turned on. For LED I burned a small hole on the collar and glued an old button.
In the hole on back my daughter carefully sewed the zipper.
Step 7: Teddy, I Love You Even More Now!
For a child it is a good toy, but we know that it is also a good warmer and my daughter will not be cold at night. Bear is now such warm and pleasant, like a real animal!

Participated in the
Guerilla Design Contest

Participated in the
Small Spaces Contest

Participated in the
Explore Science Contest


