

Introduction: Designing a Toroidal Spring With SelfCAD


Learn how to design a toroidal spring with SelfCAD
Step 1:
How to Design a Toroidal Spring with SelfCAD
Welcome to this comprehensive tutorial on designing a toroidal spring using SelfCAD! SelfCAD is a powerful and user-friendly online CAD that empowers both beginners and experienced designers to bring their ideas to life. In this tutorial, we will guide you through the process of creating a toroidal spring, exploring the essential tools and features SelfCAD provides for precise and efficient design.
The interactive tutorial for this article can be accessed here.
Once you’ve launched the Editor;
From the Generators Category on the Toolbar choose Spiral Generator
Set Edges to 10, Rotation x to 90
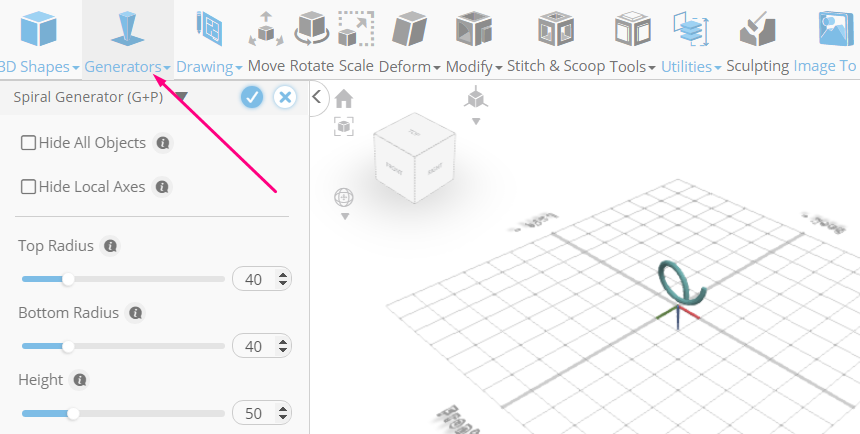
Click to finalize Spiral Generator
Click Scale on the Toolbar. Set Keep Proportion to True. Set y to 60
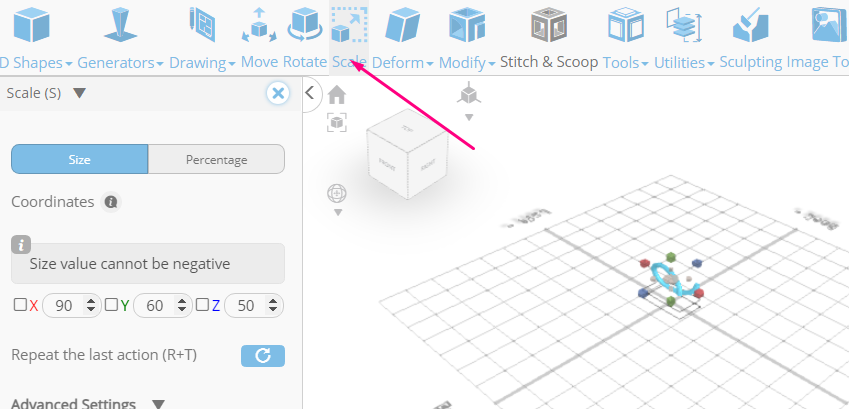
Click ‘x’ to close Transformation panel
Click Move on the Toolbar. Set y to 0. Set x to 200
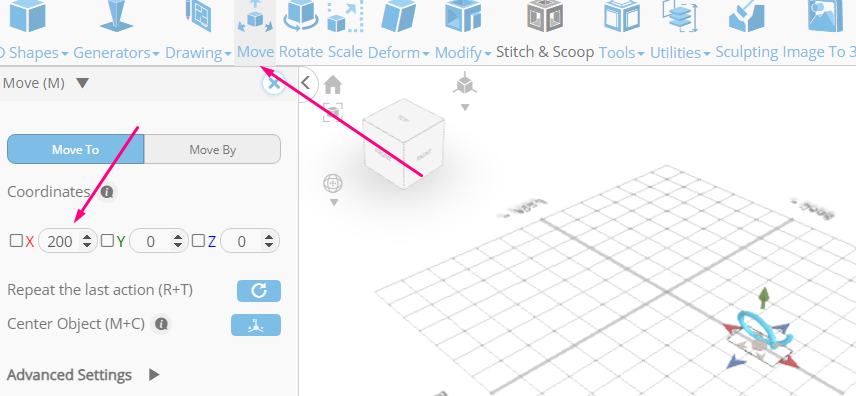
Click ‘x’ to close Transformation panel
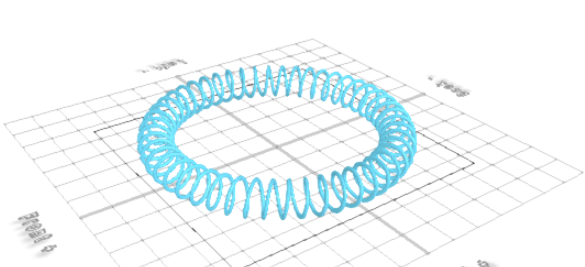
From the Tools category on the Toolbar choose Copy Offsets.Set Operation to Pivot. Set Amount of Copies to 49
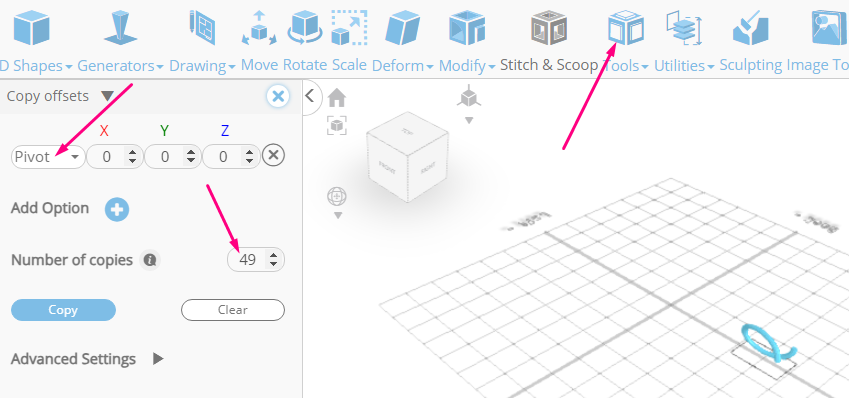
Click Copy button to create copies. Click ‘x’ to close copy offsets panel
Click Stitch & Scoop on the Toolbar. From the Tool panel choose Union
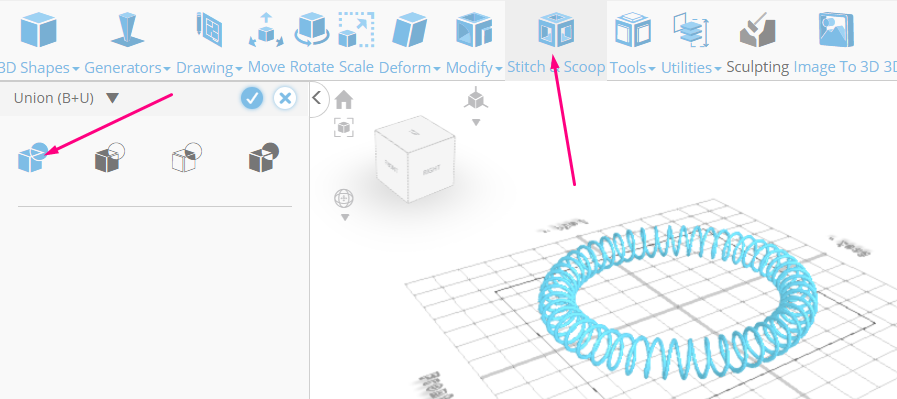
Click to finalize Union
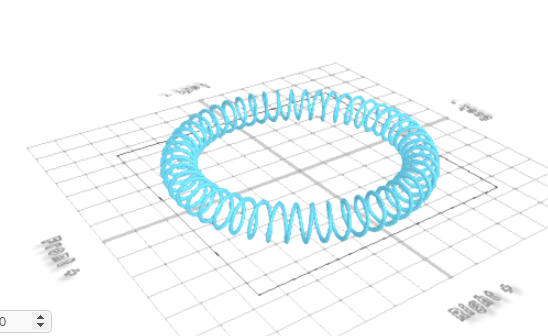
Complete!
As you continue honing your design skills, remember that SelfCAD offers a wealth of resources to support your learning journey. To deepen your understanding and explore more advanced features, consider checking out the interactive tutorials available on the SelfCAD website. The tutorials page provides a treasure trove of guides, tips, and tricks that cater to designers of all levels.
More structured learning experience can also be accessed at the SelfCAD Academy and 3D Modeling 101 series. This comprehensive resource offers in-depth courses taught by industry experts, allowing you to master the intricacies of SelfCAD at your own pace.


