

Introduction: Designing a Viking Horn With SelfCAD


Learn how to design a viking horn using SelfCAD
Step 1:
How to Design a Viking Horn with SelfCAD
Discover the fun of designing your own Viking horn with SelfCAD. In this easy-to-follow tutorial, we'll show you step-by-step how to create a cool Viking horn. No matter if you're a pro or just starting out with digital design, SelfCAD, a powerful 3D model maker makes it simple to bring your design dreams to life.
The interactive tutorial for this article can be accessed here
Once you’ve launched the editor;
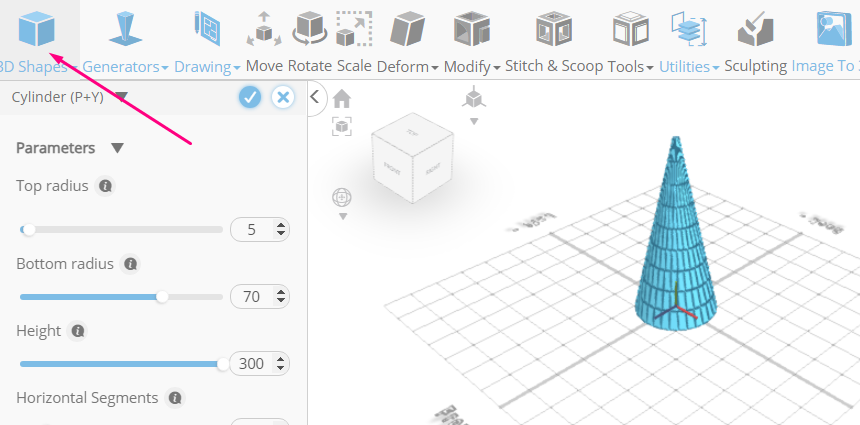
From the 3D Shapes Category on the Toolbar choose Cylinder
Set Top Radius to 5, Bottom radius to 70, Height to 300, Horizontal segments to 9, Vertical segments to 30
Click to finalize cylinder
Click to activate Polygon selection. Click on highlighted region to select it
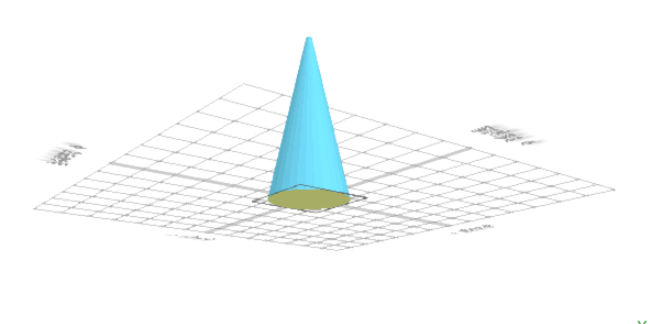
Click Delete button to delete selected object
From the Modify Category on the Toolbar choose Add Thickness
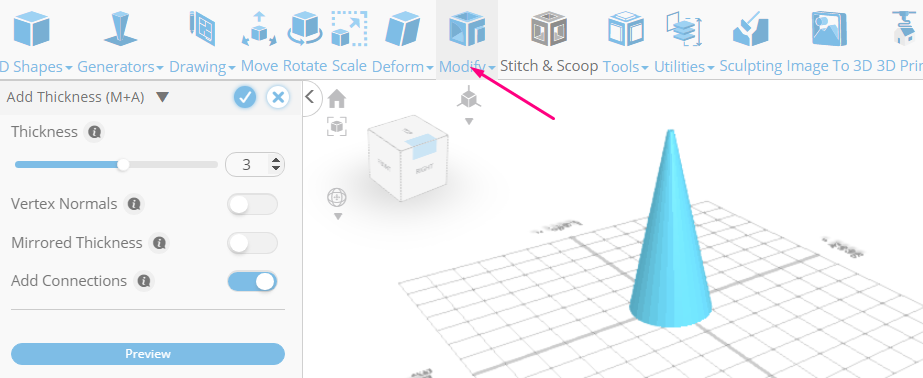
Click to finalize Add Thickness
From the Deform Category on the Toolbar choose Bend. Set x to 90
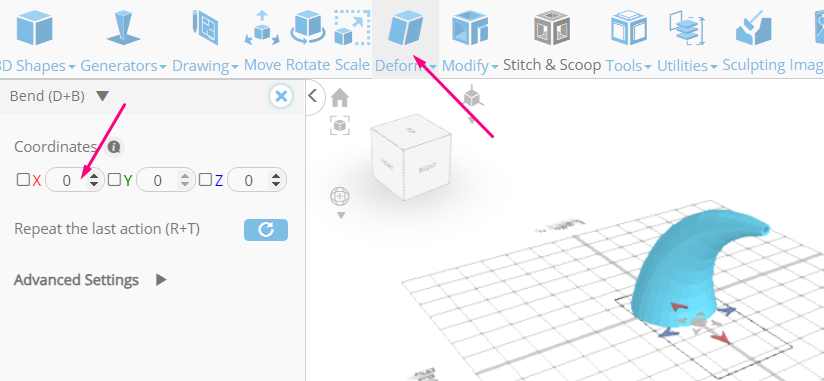
Click ‘x’ to close Transformation panel
Click Rotate on the Toolbar. Set z to 225
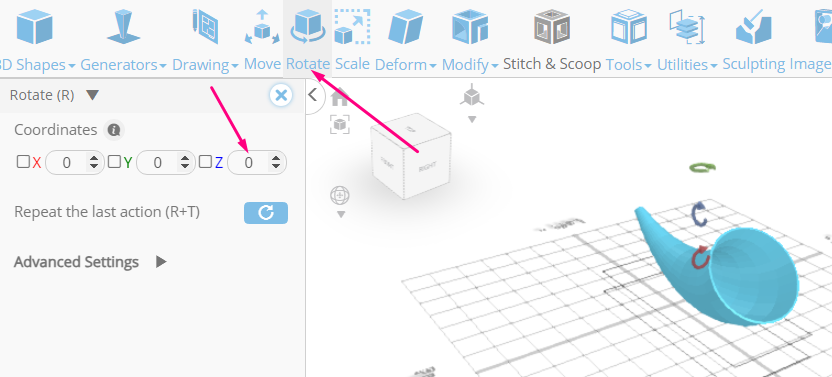
Click ‘x’ to close Transformation panel
Click Move on the Toolbar. Set y to 0 using highlighted gizmo
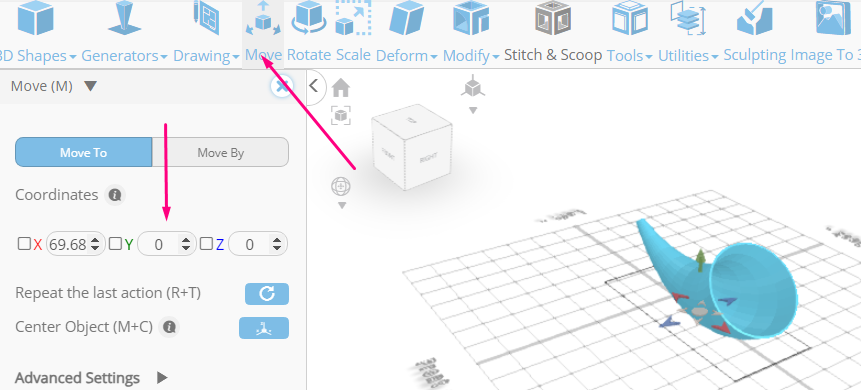
Click ‘x’ to close Transformation panel
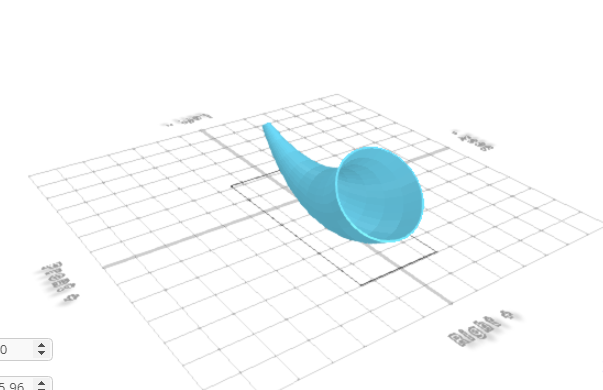
Complete!
As you continue honing your design skills, remember that SelfCAD offers a wealth of resources to support your learning journey. To deepen your understanding and explore more advanced features, consider checking out the interactive tutorials available on the SelfCAD website. The tutorials page provides a treasure trove of guides, tips, and tricks that cater to designers of all levels.
More structured learning experience can also be accessed at the SelfCAD Academy and 3D Modeling 101 series. This comprehensive resource offers in-depth courses taught by industry experts, allowing you to master the intricacies of SelfCAD at your own pace.


