Introduction: Drilling Perfect Holes
Drilling holes in things isn't difficult, but knowing a few tricks can improve your projects dramatically. In this lesson the basics of power drills will be covered, as well as techniques for drilling small and large holes.
It seems simple, but there's lots that can go wrong when drilling from wandering drill bits, holes that don't line up, and tear out. Understanding the tool limitations and how the bits work is the best place to start, at the end of this lesson you'll be a pro in drilling.
This fundamental skill in woodworking will be used in almost every project you make, and with a little practice will become second nature. Most of this lesson can apply to both corded and cordless power drills, but for this lesson I'll be exclusively using a cordless drill.
Step 1: Torque and Speed
Most of today's power drills do double duty and can be used to drill openings and drive screws. You may not have noticed but most drills actually have settings on them which you can dial in for different applications - some fancier models even have a speed control which you can change from low to high, giving your drill an ever wider range of settings.
Torque Selection (Clutch)
The business end of the drill is called the chuck, this is where you insert drill bits. Most drills have a ring of numbers around the chuck, this is the clutch that lets you select the torque for driving screws. You can rotate the ring to choose the torque value of your drill, which will stop the drill from spinning when it reaches a certain amount of resistance: higher the torque value the higher the resistance threshold. This is great when you don't want to over tighten a screw and risk it snapping or boring too far into the wood.
At the end of the torque selector is a drill icon, this tells the drill that you are drilling and have no need to limit the torque (maximum torque).

Torque Selector
Speed Selection
With most drills the rotational speed can be controlled by how much pressure is applied to the trigger, but many drills will also have a speed selector. This allows you to switch from high speed to low, perfect for driving screws (low speed) to drilling (high speed)

Speed Selection
Step 2: Drilling Vs. Driving Bits
Most drills can handle the double duty of drilling holes and driving screws. There's a few different types of drill bits used to make openings and choosing the right bit is important since different drill bits excel at different things.
Drill Bits:

Helical - Great all around drill, comes in a variety of sizes and lengths.

Spade- Used to drill large diameter holes, point helps keep bit centered.

Forstner - Creates flat bottom holes, perfect for receiving dowels, comes in variety of sizes.

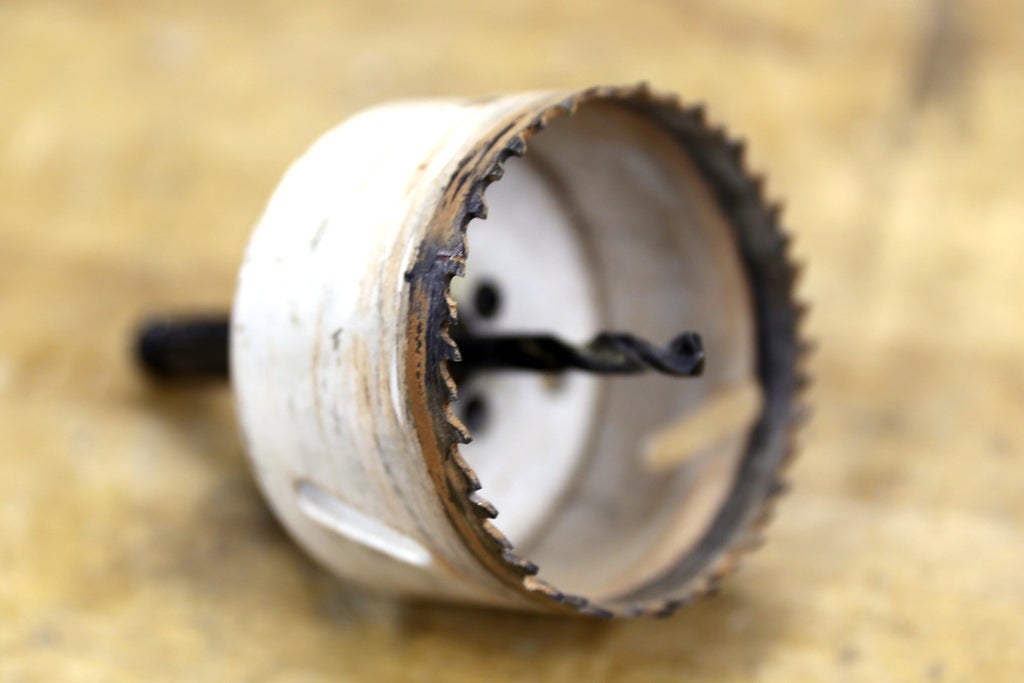
Hole Saw - Drilling large diameter holes, creates a plug of waste material that is pried out after cutting.

Countersink - Used to create a conical hole in your work so when a screw is placed inside the hole to sit flush with the surface of the surrounding wood.
Driving bits are used to drive screws into wood. There's many shapes that correspond to the head shape of the screw you are using. For clarity, "cam out" is when you are driving a screw and the head slips out of the screw head, this can cause the head of the screw to "strip", meaning deform the shape of the head making the screw unusable.
Driving Bits:

Slot - Common style of driver. Advantage is less rotational force needed due to the leverage of the head width, disadvantage is cam out and the driver does not automatically center to the screw.

Robertson - Also called square drive. Advantages are ease of use since screws stay on drive and virtually no cam out, disadvantage is they are not common in some areas (mostly America).

Phillips - Widely used and versatile screw. Advantages are that even incorrect size drive can fit into screws, disadvantage is moderate cam out (though some screws are designed to induce cam out to prevent over tightening).

Torx - Advantages include high torquing and very low cam out, disadvantages are availability to consumer and the accessibility to the right bit when disassembling your work.

Allen - A relative to Torx and can sometimes be used interchangeably. Advantages are low cam out and high torquing ability, disadvantages are that it's uncommon for wood screws (mostly used for machine screws). You probably have a bunch of Allen drivers from IKEA furniture.
This is just a sampling for the many types of screws you're likely to run into. For most projects you'll probably use the most common screw which is the Phillips screw, possibly the Robertson. Start with getting a small selection of each and you'll have most of your options covered for almost all your projects.
Step 3: Tear Out
While drilling openings into wood you may notice a ragged exit hole, this is called tear out and it can ruin an otherwise nice piece of wood.
The easiest way to prevent tear out is to support your work at the exit point of the tool. Tear out happens because the wood fibers get caught on the drill bit and pushed out the wood, with a sacrificial board supporting the wood fibers at the exit point of the tool you can prevent tear out - this is called zero clearance. To make a zero clearance drill support all you need to do is sandwich another wood board underneath your work, then clamp them together. Zero clearance was explored in previously in Lesson 1 - Tear-out.
If you don't want to use a zero clearance board another trick is if you have a concealed side to your work you can make that side the "exit" side of your drilled opening, leaving the starting point of your drilled opening the "show" side.
Step 4: Pilot Holes
To make drilling easier and more precise, especially in dense hardwoods, drill a pilot hole. A pilot hole is a hole with a smaller drill bit than your final size.
This smaller hole will help guide the larger bit for the final size of the opening, and also has the benefit of allowing you to see and correct any minor drilling mistakes before committing to the larger bit.
Step 5: Hole Saws
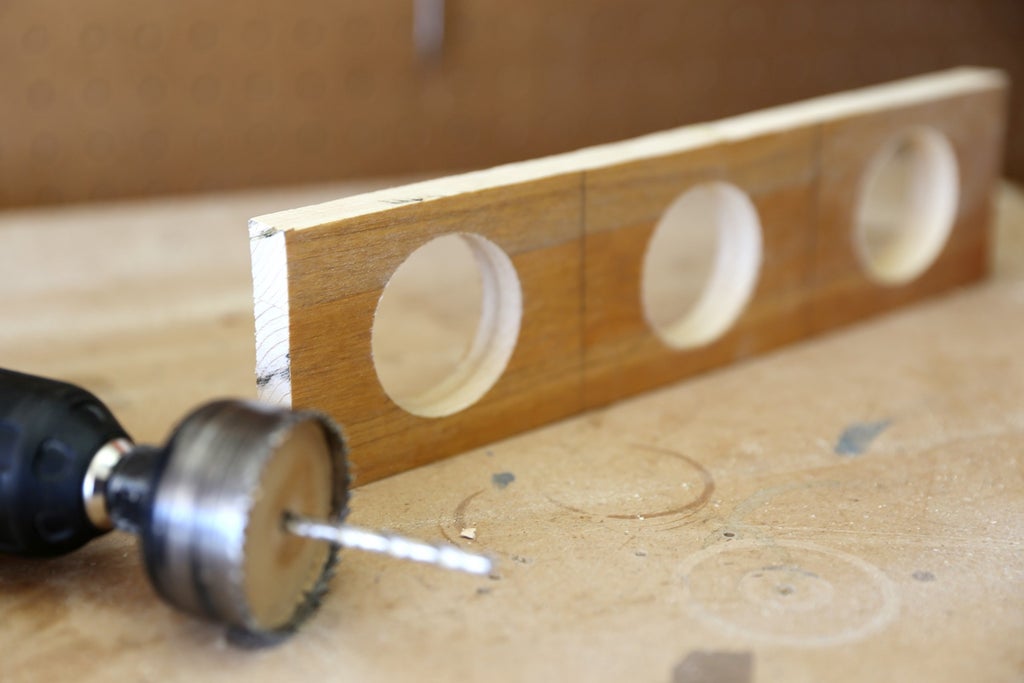
Hole saws are used to drill out large diameter openings in wood. They come in a variety of sizes, usually stepping up in diameter by ⅛" or ¼" increments, but there are specialty hole saw sizes for any diameter if you're willing to pay for an unusual size.
To prevent tearout, use a sacrificial piece of wood under the wood you are drilling a hole through.

Even though hole saws are removing the perimeter of your hole and will create a plug when finished drilling all the way through, they are covering a lot of surface area and can get bogged down easily. Go slow with the hole saw and push gently, allowing the hole saw teeth to do the work.
After drilling you should have a plug inside your hole saw from the wood you just cut, this plug can be easily removed by inserting a screwdriver through one of the openings in the side of the hole saw and working it out.

If your work was clamped properly, and you used a sacrificial board underneath, you should have clean holes in your wood.
Step 6: Drilling Straight
Drilling an opening into wood isn't difficult, but you may notice that even the slightest tilt can make your exit hole somewhere you didn't mean to. Some of this can be corrected by using a pilot hole, but you can get consistently straight holes by using a scrap piece of wood that has a squared end.
Honing our skills from Lesson 1 - Making Perfectly Straight Cuts, we can easily make a straight square cut on a scrap piece of wood and then use this as our reference piece to drill straight holes.
Mark where you want to drill a hole, then place your drill bit on the point. Next bring up your squared scrap against your drill bit until the drill bit sits flush against the squared end. You can move the scrap piece around to the perpendicular side of the dill to check both directions for squareness.
A drill press is a fixed tool that is set up just for drilling straight holes perpendicular to the work piece. The next step if you find yourself doing lots of drilling would be to invest in a drill press, it can save a lot of setup time.
Step 7: Simple Depth Guide
There's going to be some occasions where you'll only want to drill into wood a certain distance and not all the way though. A very easy way to manage drilling depth is to measure from the tip of the drill bit the depth you wish to go, then mark that length with a small piece of tape. Drill down into wood until you reach the tape touches the surface of the wood.
Step 8: Quiz - Drilling Holes and Openings
{
    "id": "quiz-1",
    "question": "Torque selection for drills allows the drill to stop spinning when a set amount of resistance from the screw is reached.",
    "answers": [
        {
            "title": "True",
            "correct": true
        },
        {
            "title": "False",
            "correct": false
        }
    ],
    "correctNotice": "Correct!",
    "incorrectNotice": "That's incorrect"
}
{
    "id": "quiz-2",
    "question": "It doesn't matter what speed your drill goes, one speed for both drilling and screwing.",
    "answers": [
        {
            "title": "True",
            "correct": false
        },
        {
            "title": "False",
            "correct": true
        }
    ],
    "correctNotice": "Correct! Speeds are different for drilling holes than for driving screws.",
    "incorrectNotice": "That's incorrect"
}
{
    "id": "quiz-3",
    "question": "Pilot holes make drilling larger holes easier",
    "answers": [
        {
            "title": "Yes",
            "correct": true
        },
      {
            "title": "Sometimes",
            "correct": false
        },
        {
            "title": "No",
            "correct": false
        }
    ],
    "correctNotice": "Correct!",
    "incorrectNotice": "That's incorrect"
}
{
    "id": "quiz-4",
    "question": "Which prevents tearout when drilling?",
    "answers": [
        {
            "title": "Zero clearance",
            "correct": true
        },
      {
            "title": "Final clearance",
            "correct": false
        },
        {
            "title": "Drilling in reverse",
            "correct": false
        }
    ],
    "correctNotice": "Correct",
    "incorrectNotice": "That's incorrect"
}
Step 9:
A fun and easy project to hone your drill skills is an upcycled bottle vase, which uses all the skills taught in this lesson to make something functional and chic.
now that we've covered the basics on woodworking construction: cutting straight, drilling openings, and using glue. It's time to turn our attention to finishing wood by learning about sanding.


