

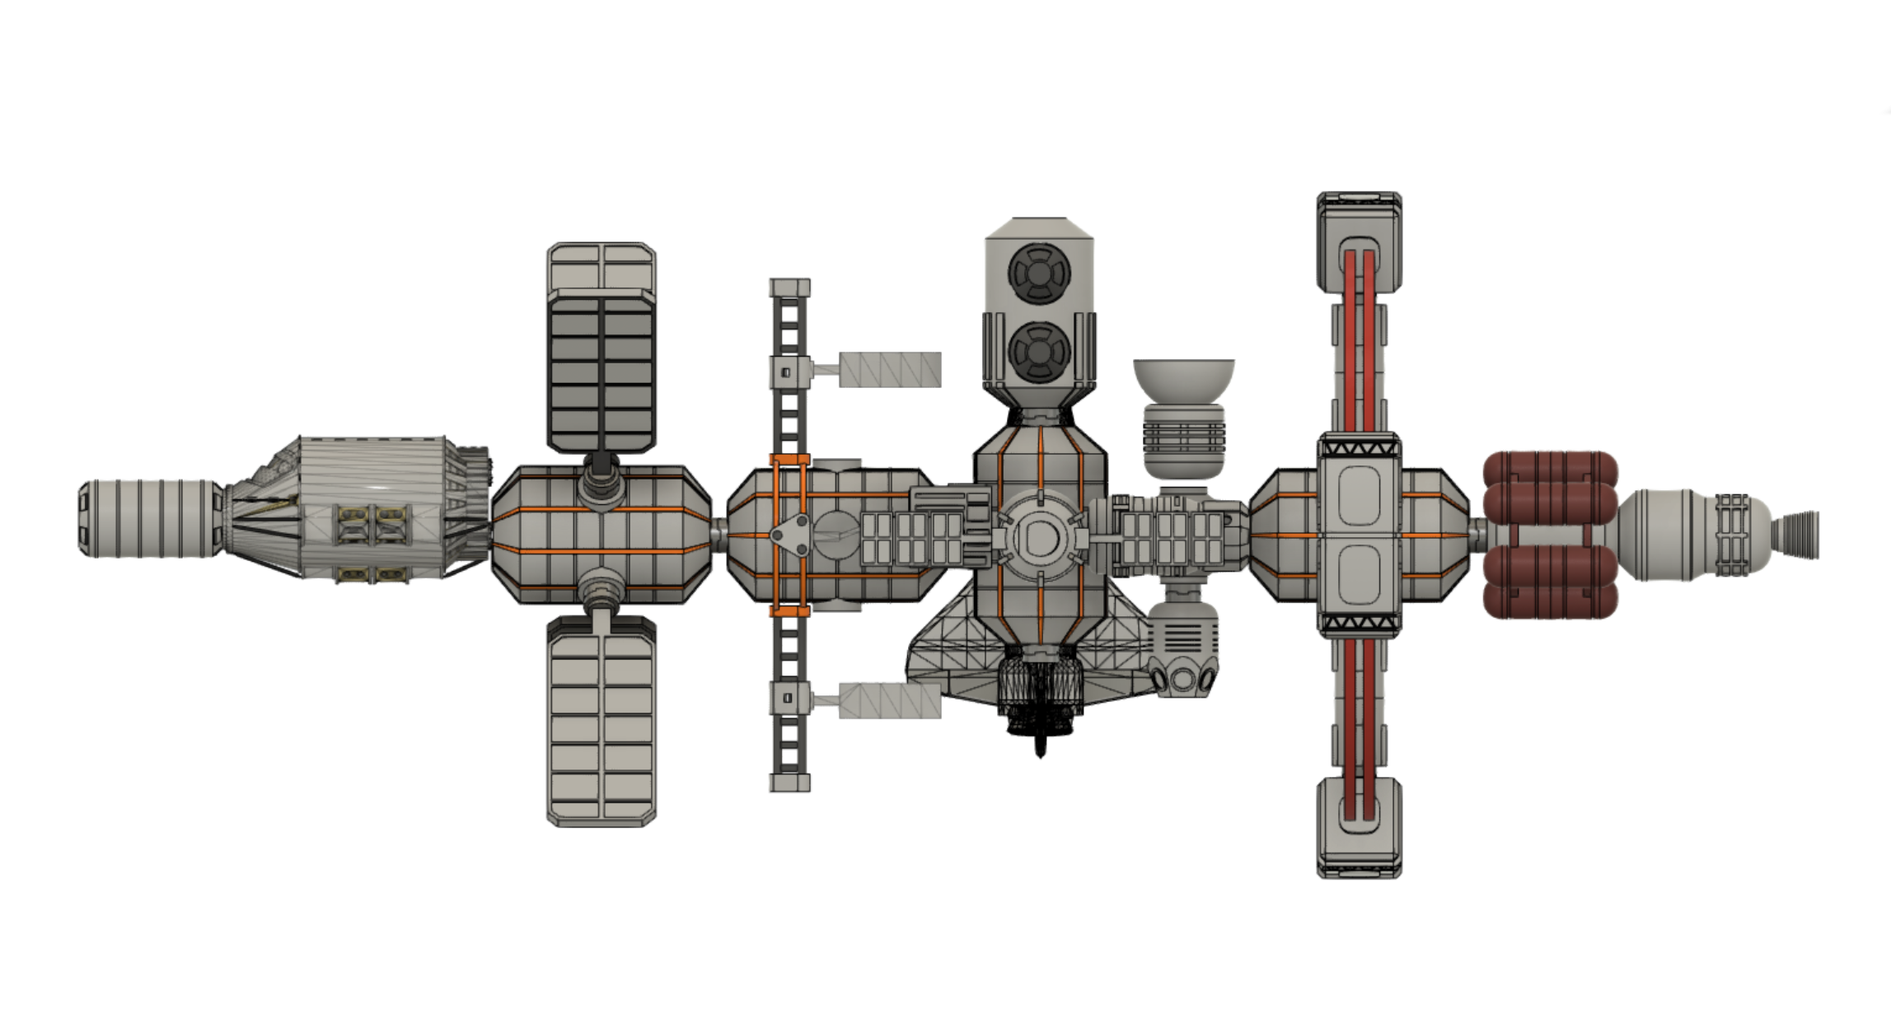
Introduction: GALACTIC EXPLORER - Design & Make Your Own Spaceship Prototype


I was fascinated by Science fiction since my childhood. For the past few months, I have always dreamed of making my own spaceship prototype for the future interplanetary and Intergalactic transportation of humans. I already have resources & technology like 3d printers, laser cutting, and other hand tools to make my own prototype.
So, I decided to make a self-made Design & a prototype of a spaceship with all the facilities and tools needed for humans to travel through space to reach their destination planet or nearby Solar Systems in the future.
I want to make this Futuristic spaceship for Kids for Learning and self-making Purpose.
I was motivated by few science fiction movies such as Martian, Prometheus, Interstellar, gravity, Star Trek, Star Wars, Lost In Space, Arrival, Wall-E & Approaching unknown, in which I have seen many spaceships and space vehicles.
So, That's the seed of my idea.
I started from scratch to collect information about the current International Space station and vehicle. Also, to develop Spaceships and necessary Modules for Interplanetary travel.
https://www.nasa.gov/mission_pages/station/structure/elements/space-station-assembly
Furthermore, I want to make this for kids and adolescents. that’s why I design detachable and magnetic modules which can be rejoined at different places and children can make various designs using the same parts.
In the addition, we're working on Augmented Reality. with the help of this technology, kids can learn space technology through AR.
The entire project work is based on my own imagination and for learning purposes.
By following these steps you will design and make your own Spaceship prototype.
Let’s start to make a dream spaceship.
Check out my video for more.
Supplies


- Rough pages for Idea Design
- Laptop for 3D Design in Autodesk Fusion360
- 3D Printer access
- Sandpapers for surface finish
- Feviquick Adhesive for join 3d printed part
- Acrylic, Spray paint colors
- Rubber gloves for spray painting
- Passion to Complete Project *
Step 1: Idea Builtup
- I Figure out a 3D printing technology to help me make a prototype for my design.
- I started with the rough design of ISS (ZARYA) In my 3d design. Side by side research on New Space Technology and other nearby planet exploration done by space agencies.
- I found Manufacturing giants like SpaceX, Boeing, Lockheed Martin used 3d printing to manufacture some Components for space applications.
- Now I want to design my Spaceship Prototype in Software and print it on my 3D Printer for Showcasing the Idea in real Life.
Reserch Reference:
https://www.nasa.gov/
https://www.spacex.com/
https://www.boeing.com/
https://www.esa.int/
https://www.lockheedmartin.com/en-us/capabilities/space.html
Step 2: Drawing Some Rough Idea From Research
- I Explore some designs from the Internet websites for reference and to collect data.
- I separate data according to requirements, daily needs of humans, maintenance, emergency, future expansion on Spaceship building, communication, extravehicular activity in Space.
- I make a list of Different Types of Modules with their Working environment and Facility.
- Most of the ideas come from Analysis of ISS data and From science fiction movies.
- I list out all modules and their work in Spaceship for sustain life.
- Checkout Here: NASA ISS Structure Assembly.
https://www.nasa.gov/mission_pages/station/structure/elements/space-station-assembly
Step 3: Requirement of Future Long Journey in Space
What Humans Need in Travel interPlanetary Missions?
I list out some modules and necessary equipment need for interplanetary missions.
1> Food & Water reserve and ReClaimers Machine
2> Grow their own Food in Space in small Amount
3> Medical supply and Emergency equipment
4> Various Experiments in Microgravity and in Space.
5> Human habitation module
6> Artificial gravity module
7> Fuel storage
8> Communication
9> Planet survey satellite
10> Various camera and sensors
11> Backup Flight Computer
12> Power backups
13> Solar Power generator and Storage
14> Thermal radiator
15> Research activity Module
16> Emergency escape pod (if needed)
These types of modules, Spaces, Hardware we will need to survive in Space and Research in Space Exploration.
Step 4: Start Designing With Fusion360.


I started designing with Integrated CAD, CAM Software Named Fusion360.
I have been using it for the last 2 years for my design and fabrication.
Fusion360 gives more flexibility in design and fabrication.
Autodesk Fusion360 is free for students, entrepreneurs, enthusiast people.
Check out Fusion360 website, Signup/login, download & design.
Step 5: All Modules & It's Uses in Spaceship.

As discussed above in the ideation step, I imagine some modules to sustain life in space, research, and travel.
We take here a brief of all modules, their use and what they contain inside for human sustainability and travel.
The benefit of Science fiction is, you can imagine future technology and showcase its use before time.
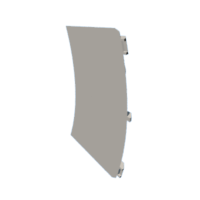
Step 6: Module-1 : Bridge


1>Bridge Module
The bridge module contains various control panels and main flight control computers on deck.
There are 10 seats for astronauts for controlling ship direction, monitoring Modules & human health, Controlling Gates in the module, Oxygen supply, Heat dissipation, Power collection and distribution, Various sensor reading, analysis of path, Communications, other activity Schedule, etc.
All major non-contact activity will be controlled from the bridge by the commander and controller.
There are 4 Different Flight computers on the bridge to control the spaceship.
the bridge is connected with small Directional thrusters, which control the micro-movement of a spaceship.
Spaceship can also control by Autopilot.
Bridge has 3 airlocks, two is connected with the other spaceship module and the other is for Extravehicular activity.
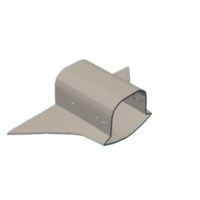
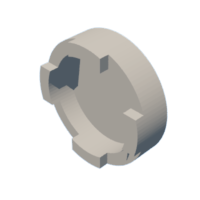
Step 7: Module-2 : Docking Module-1


- Docking module Connected where we need to join another module or use it as an Airlock Gateway for Spacewalk.
- In our model, we use 2 Docking modules.
- one is connected in front of the bridge and the second is Connected at the center with Discovery Spaceshuttle.
- The docking module Include Space for Airlock Connection and Cargo transfer.
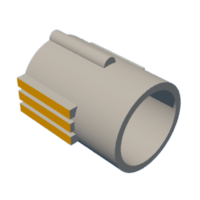
Step 8: Module-3:Main Module-1


- The Main Module-1 is connected to the bridge.
- It consists of a Secondary flight computer for backup.
- Also include food and water reclaiming systems to re-use water and food for efficient use of energy in outer space.
- Solar panel connected with this module to provide power to Spaceship.
- There are 2 airlocks for entry/exit in the module and both are connected with Spaceship modules.
- All main modules are similar in design but different in Internal Structure and Usage.
Attachments

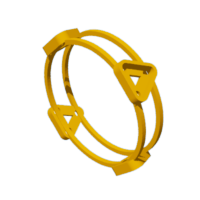
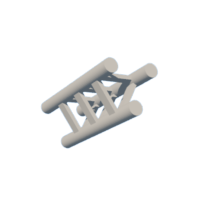
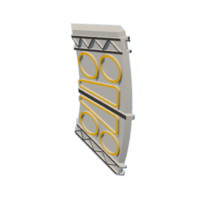
Step 9: Module-4: Truss for Radiator and Other Use


- Truss is connected to Main module -2 Which is the Lab and Experiment module.
- The use of truss is to Connect Solar Panels and radiators to maintain Inner temperature for Human habitation. In Real ISS Liquid Wax System is used for transfer and radiate heat in space. Truss will be made in a Spacial 3D printer which will print metal in Space to decrease the cost of Launch.

Step 10: Module-5:main Module-2


- Main Module 2 is connected with main Module 1.
- It Called the labs and experiment module.
- All experiments assigned in space Will be done here.
- This module also includes a Food harvester to make small amounts of food that will grow in zero gravity and be used for onboard humans.
- This module is connected with a truss which is connected with the radiator to radiate heat from inside modules.
Step 11: Module-6:main Module -3


- Main module 3 is connected to Docking module 2 and Discovery space shuttle.
- It is connected vertically to other modules.
- The cupola module is connected On top of this module. on another side of the docking module, Connecting module is attached.
- The 2nd connecting module is attached to the back side.
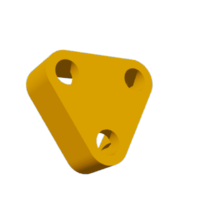
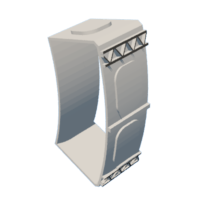
Step 12: Module-7:Connecting Module -1


- Connecting module 1 connects with main module 3.
- It holds 3 different survey satellites, which are used to survey planets and their terrain from distance orbit.
- if something interesting is found on scans, humans can Land on the surface and research it.
- The satellite includes got scanners, heat scanners, Imaging spectroradiometers, Non-imaging sensors include microwave radiometers, microwave altimeters, magnetic sensors, gravimeters, Fourier spectrometers, laser rangefinders, and laser altimeters.
Attachments
Step 13: Module-8:Connecting Module-2


- It connects inline with main module 3.
- it holds the Main high gain Antenna array for Data transmission & communication.
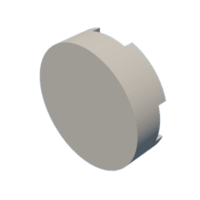
Step 14: Module-9:Docking Module -2


- Docking module 2 is connected to main module 3 and holds Discovery Spaceshuttle.
- It is often used as an airlock for Spacewalks. Also, use to docking cargo modules and space vehicles.
Attachments

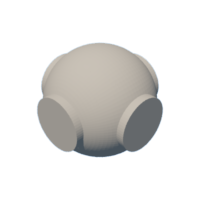
Step 15: Module-10:Various Survey Satellites


- Survey satellites will connect with the connecting module. so they are easy to deploy.
- It is used for survey missions on different planets' surfaces, Environment, Life Likeness, biohazard on planet to ensure the landing of humans is safe on that planet.

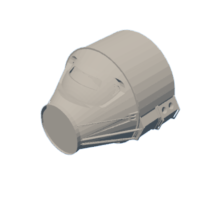
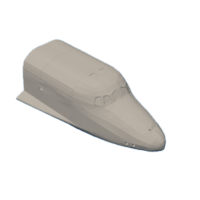
Step 16: Module-11:Discovery Space Shuttle for Maneuvering in Space


- As we used Spaceshuttle in the '90s, here we use the same conceptual vehicle for land on other planets Our galactic Explorer will not be able to land on another planet.
- So, our spaceship will be in orbit of the planet and we will visit that planet using a Discovery-type vehicle.

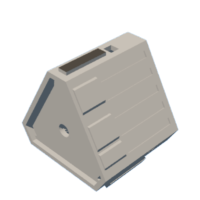
Step 17: Module-12:Main Module -4 Human Activity Module


- Main Module 4 is Called the Human Activity module. It includes Different Exercise Machines to maintain Physical health and Some Mental games to maintain mental health.
- Another 4 modules are connected with this module for creating artificial gravity through centrifugal force in the module.


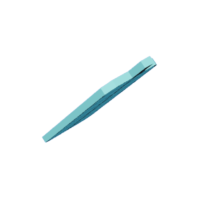
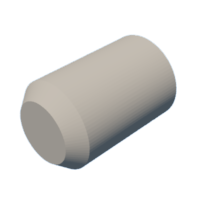
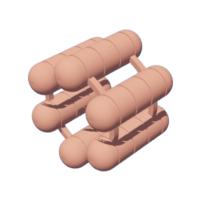
Step 18: Module-13:Fuel Storage Module


- Fuel storage module connected to Engine module to provide feel reserve to main engine tank.
- Fuel storage module also contains RTEG to convert heat in Electric energy to run some backup Power supply in Emergency.
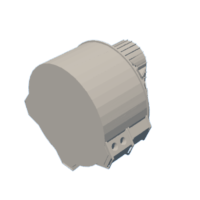
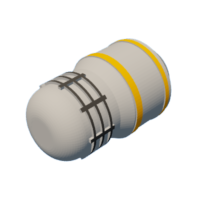
Step 19: Module-14:Engine Module


- Spaceship doesn't need more force to travel in space because there is no gravity attraction affects ship.
- So, ION thruster engine uses to drive a spaceship. For changing Direction small thrusters are provided in the Bridge module.
- Engine cone will be Metal 3D print in space to Decrease the Cost of Launch.

Step 20: Post Process of 3D Print Part


After printing all parts I remove all support material using a plier and cutter.
Use sandpaper to smooth the surface of modules.
Step 21: Paint the Model.


I was trying to paint my model with watercolor (image attach) but it's not working fine. After that, I sanding all parts with sandpaper and spray paint all modules.
After 3d print and Attach all models using Feviquick, we need to paint all models in appropriate colors.
I use Gray and silver color spray for different modules.
Please wear Glows & while Paint with Spray colors.
Step 22: Attach Magnet and Assembly of Modules


To attach the Module, I use a magnet to stick all Modules together.
we stick this button at a defined place outside all modules.
Kids will make their own design just by detaching it from one position and attaching it with another module.
This will increase creativity and Knowledge of the module.
Step 23: Assembly of Galactic Explorer


- Make a wooden base for showcasing my model to kids.
- Place wooden cutting to provide support modules. I attach the Lasercut file for cuttings.
- neodymium magnets Attach with all the modules, so it's easy to assemble by Kids.
- After completion of the project, one of my neighbor kid came to Checkout the Spaceship prototype.
- She was overwhelmed by observing these spaceship prototypes.
- I provide all details and brief about all modules and basic working.
- It's fun to learn something new using the prototype.
- kids can make their own iteration in design using the magnetic detachable prototype modules.

Step 24: Make Your Own Spaceship With Your Imagination


Now you check all step-by-step designs and making procedures.
it's time to make your own spaceship with your imagination.
it is my wish to provide this type of prototype to educational sights, so that future generations can learn space technology from schools.
Write comments, share your opinion & updates needed in the model.

Second Prize in the
Space Contest


