Introduction: Geometric Concrete Planters Made With Paper Molds
I wanted to make my own geometric concrete planters for quite some time. There are many different designs and ways to make them. I planned mine to be for small succulents.
When you want to make a concrete planter, you first need some kind of mold for the wet concrete. Silicone molds are great if you want to produce a large number of items but can be overkill if you just want to make a few pieces. I decided to use a mold made from paper and cardboard to make my concrete planters. If the shape you want to create is not too complicated, then using paper and cardboard is much cheaper and also quicker than using silicone.
Below is a list of all the material and tools you are going to need for this project.
Material:
- 4 mm plywood
- cardstock paper (200 - 300 gsm)
- cardboard
- tape
- concrete mix
- sand or small stones
- sandpaper
- wood glue
- linseed oil (optional)
- soil and small plants
Tools:
- laser cutter or utility knife and saw
- scissors
- small putty knife or stick (for mixing concrete)
- cup (for mixing concrete)
- jar
Step 1: Cut and Engrave the Paper, Cardboard, and Plywood

To begin, you will need to cut out the shapes from the template files which are available for download.
I used a laser cutter for the cutting, but you can also use just scissors or a utility knife and a saw. There are three templates: for the cardstock paper, the cardboard and for the plywood.
In the template for the cardstock paper mold, there are red and black lines. The red lines are for cutting and the black for engraving/scoring. The engraved lines mark where the paper will be folded and also act as a score line so that you will get very clean folds. Just make sure that the engraving is not too deep because then the paper might tear when you fold it.
If you don`t know the settings of your laser for cutting and engraving paper make some test cuts first.
In the template for the cardboard and plywood, there are just red lines. Cut out all the pieces, and you are ready for the next step.
Step 2: Fold and Glue the Cardstock Paper
First, slightly bend the cardstock paper along the engraved/scored lines. For the outer mold, I folded the paper so that the engraved lines were on the outside and for the inner mold the engraved marks were on the inside.
Then I used strips of tape to glue adjacent triangles together and create the shape of the inner and outer mold. In the image below you can see which parts should be glued together.
The tape for the outer mold was applied on the outside and for the inner mold on the inside. This way there won't be any marks from the tape on the finished concrete. I was a bit perfectionist here because when you fill the planter with soil, there is not much of the inside visible anymore. So you can save yourself a bit of fiddling when you just put the tape on the outside for both molds.

Step 3: Building the Support for the Paper Mold
Using cardstock paper will lead to a very nice smooth concrete surface, but when I did my first test pouring with just the paper mold, I encountered two problems. The first was that while in general, the paper held the concrete really nice with nothing leaking, the damp paper expanded a bit and this caused the triangular planes to bend outwards.
An outer layer of cardboard fixes this problem. The second problem was that even with the cardboard added, the mold was still flexible. The image below shows how it can be squished.

Step 4: Adding the Wooden Support
To resolve the instability, I used a pentagon cut from plywood as a support frame. With the wood, you get a very stable mold, and the great thing is that the wood and cardboard can be reused. You just need new paper molds and can create multiple planters.
Step 5: Sanding and Gluing the Wooden Top

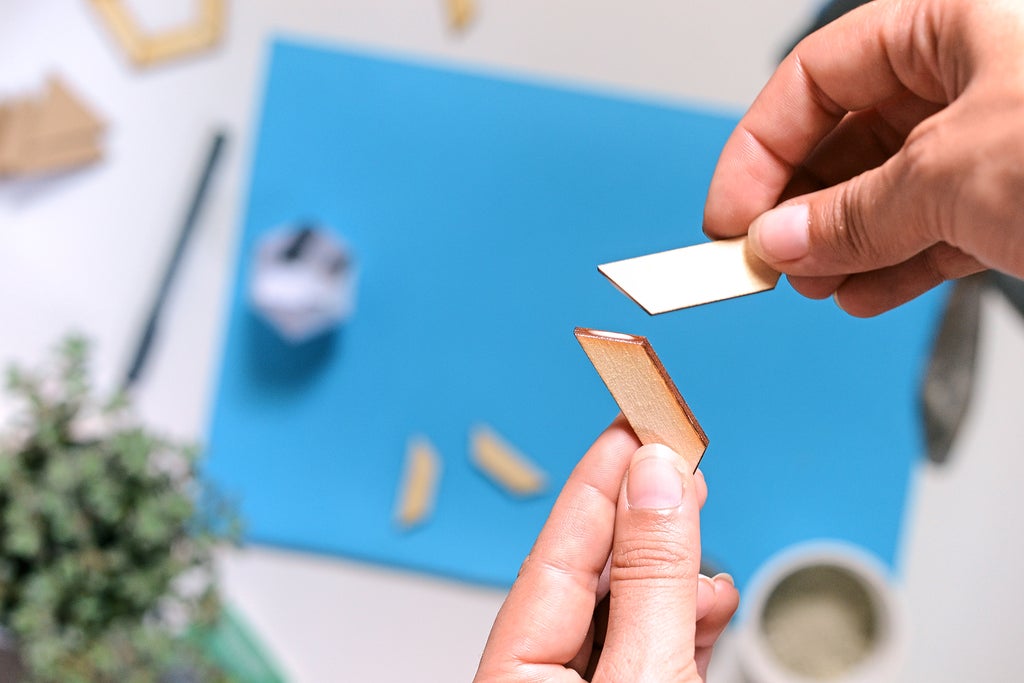
The wooden top is mainly a design element. I really like the wood texture in combination with the concrete surface. I recommend sanding each piece individually before gluing the pieces together. This way the sanding will be much easier.
Use wood glue to assemble the five pieces into a pentagon shape. Wipe off any excess glue with a damp paper towel and then lay on a flat surface and wait for the glue to dry.
Step 6: Prepare the Molds

Before you start mixing your concrete, you need to prepare a support for the molds. Because the icosahedron has a pointed tip, it won't stand on its own. I used a jar and a roll of tape as support, but anything with a similar opening will work.
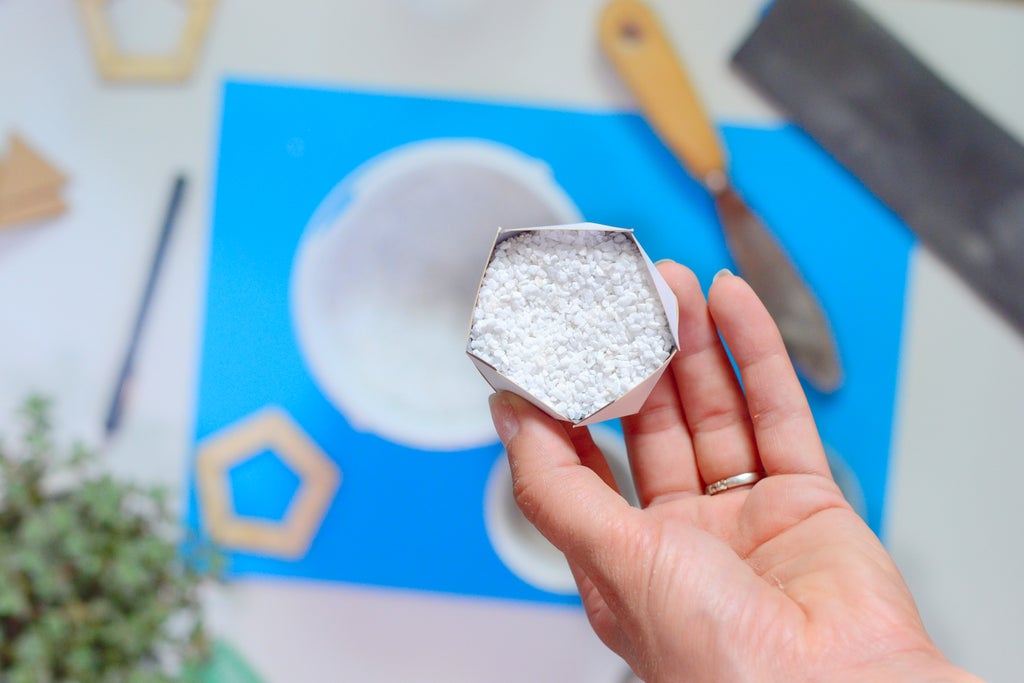
Fill the inner mold with sand or small stones. This is necessary because otherwise, the mold would just float on top of the concrete.
Step 7: Mixing the Concrete for the Geometric Planters

When all the parts are prepared, we can now finally start with the main part of this project - pouring the concrete!
For one planter I used d about 200 ml of the dry concrete mix. The volume of your dry concrete mix will shrink once you add water. This seems counter-intuitive at first, but when you add the water to the dry concrete mix, the sand and cement parts will bind more closely, air will get pushed out, and this reduces the volume.
You can use a pre-mixed concrete or mix your own concrete. Just make sure you use a fine concrete with no stones or sand grains bigger than 1-2 mm in the mix if you want a smooth surface. With bigger parts in the mix, the corners might not fill well, and you might get air bubbles. I had an open batch of a self-leveling concrete mix at hand, and so I used that. Also, read and follow the safety instructions of your concrete.
The first step is to add water to the concrete mix. The amount of water you need will depend on the type of concrete you use – check out the descriptions.
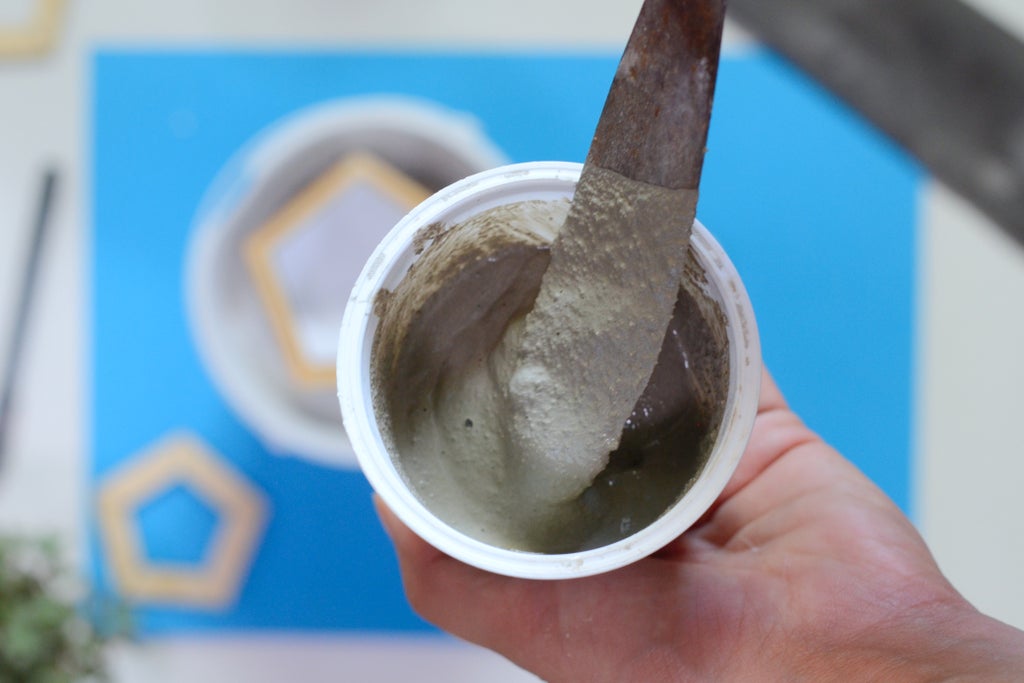
Then, use a small putty knife or something similar to mix the concrete thoroughly. I have to confess that did not measure and just added small amounts of water until my concrete mix had a consistency similar to honey. Not using the correct amount of water will reduce the strength of the concrete, but as it is just for the planters and not for a load-bearing element in a building, I can live with that.
Step 8: Pouring the Concrete
In the next step fill about 2/3 of your outer mold with concrete. Afterward, insert the inner mold.
Fill the mold until the concrete level reaches the lower edge of the wooden pentagon. Tap the mold a few times to remove any air bubbles that might be trapped inside.
You might need to add some sand/stones to your inner mold to keep it at the right height. Also, make sure that the edges of the inner and outer mold are approximately parallel.
This part might require a bit of fiddling to get right. If I would make the planters again, I think I would redesign the wooden hexagon to hold also the inner mold in place. This would make things considerably easier at this step.
Almost finished! Now you can sit back and relax while your planter dries.
Step 9: Removing the Mold
The drying time will depend on the type of concrete used and on the temperature. I did remove my planter from the mold about two hours after the pouring. Don’t wait too long to remove your mold because I had one planter in the mold for about 24 hours and when I tried to remove the paper I found that the outer layer of the paper kind of bonded to the concrete and was impossible remove.
Better check after a few hours if the concrete is hard to the touch and then you can remove the paper.
I found it really satisfying to peel off the paper and reveal the smooth concrete surface.
Step 10: Finishing Touches
The two finals steps are to sand the top surface of your geometric concrete planter and then glue on the wooden top. For me, I found that the perfect time for the sanding is about 12 to 24 hours after the pouring of the concrete. At that time the concrete is hard enough so that the edges won’t crumble while being sanded, but still not at his final hardness which makes sanding much easier.
For sanding the concrete, I used regular 150 grit sandpaper. The goal of the sanding is to flatten the concrete so that the wooden top sits flush. In case you need to remove more material, it will be a good idea to use wet sandpaper and start with a lower grit.
When you are happy with your top edges, glue on the wooden. Then just fill-in some soil and plants and you are done! One thing to note is that regular concrete is not waterproof. Concrete will absorb water, and when there is too much water, it will leak through.


Participated in the
Gardening Contest


