Introduction: Google Slides Book

Google slides books are a great way to incorporate technology into writing instruction or to allow teachers to tell a story of their own making. I've created my own Google Slides books as a tool for instruction and I've allowed my students to make their own books. Students love creating their own stories and finding images to go with them. When they are written digitally, students can share their books with the entire class.
Supplies
- Computer
- Internet access
- Google account
- Photos (optional)
Step 1: Create a Title Page.


When you open a new Google Slides presentation, it automatically opens to a title slide. Here you can name your book and add an image to make your cover pop.
To add an image. go to the toolbar and click "Insert." In the drop-down menu, click "Image" then choose where you will be getting your image from. You have the choice to upload an image you already have like a photo from your Google Drive or computer or you can click "search the web" and a bar will pop up on the side of your presentation. You can search for images through Google without ever leaving your presentation.
Step 2: Create the First Page of Your Book.


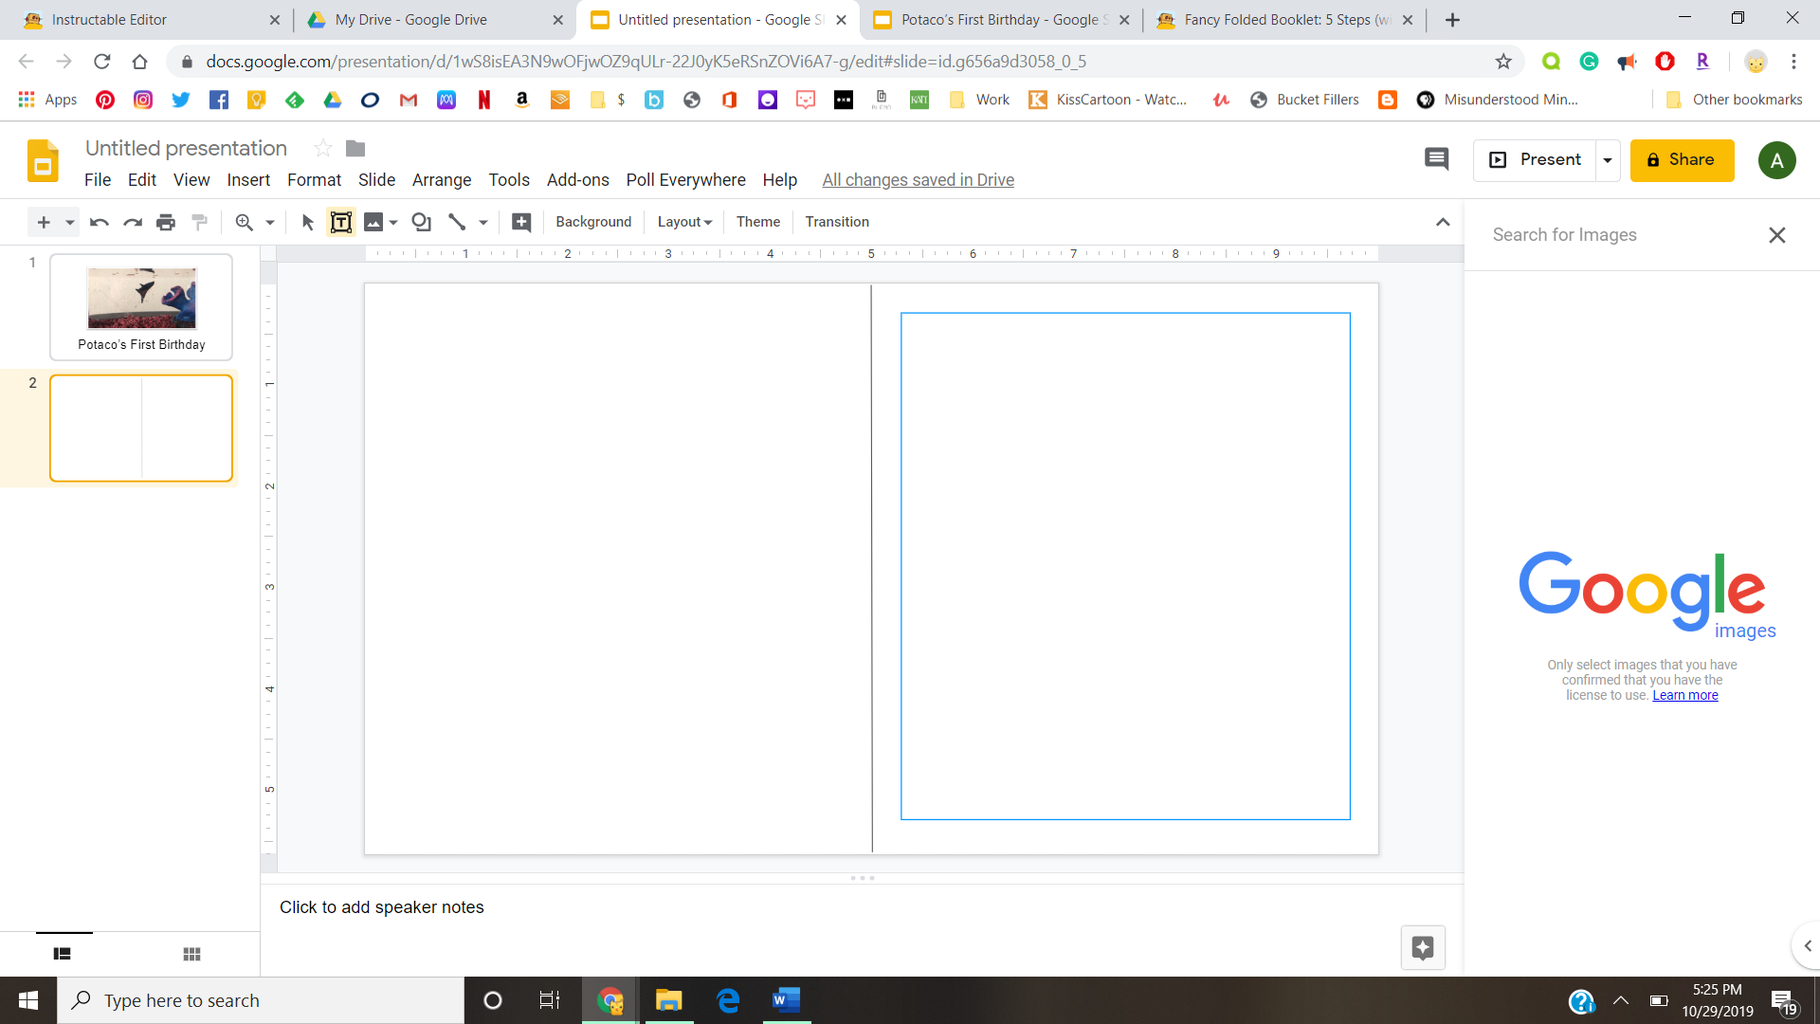


Create a new slide and delete the text boxes that are on it.
I like to create a lie down the center of my slide to make it look more like an open book. To do this, click "Insert," "Line," then click "Line" again. You can then drag a line from the top to the bottom of your page. To center your line, drag it around the middle of your page until you see a red vertical line appear. This line means you have it centered.
I then add my writing to my slide. In my toolbar, I click the square with the T in it then click and drag on my slide to create a text box. In this text box, I type out part of my story.
After I add my writing, I then add any pictures I want to include. Again, you can upload pictures from your computer or you can search the web to find a picture you want.
Step 3: Repeat Step 2 Until You Have All the Pages You Want.

Continue to create pages using the directions in step 2. On each slide, continue your story until the story is complete. Play around with how you have your text and pictures until you find a format that you want to use. No two pages have to look the same.
Step 4: Share Your Story With You Class
Present your book and read it with your class or print it out to send home with kids.


