

Introduction: Pop Up Boxes


This container is meant for more convenient storage and access of items in the workplace. This Instructable will show a step-by-step process on how to make it. Made by a group that attends PHHS.
Supplies


- Wood
- Wood Glue
- Sandpaper (if necessary)
- CNC Machines(3D printer, Wood cutting machine, Disk sander, laser cutting machine)
Step 1: Wood Parts


The wood parts are for the outer top layer of the box and the inside top of the box.
Used the files attached to cut the wood into the correct size and shape.
The .tap file is for wood CNC, .ai file is for the laser cutting machine.
Attachments


Step 2: Outer Engraving Images (optional)


For the outer engraving of the box the design may be whatever. This step is completely optional.
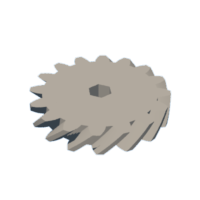
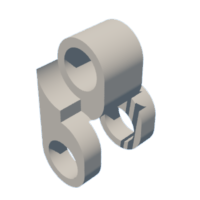
Step 3: 3D Printed Parts Assembly


These parts are printed with a 3D printer. The gears are for the movement of the wooden box.
Import these files attached below into your own 3D printer slicing software.
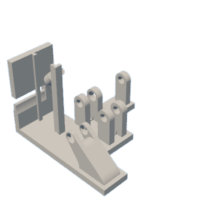
After the print assemble in the order given below:
- Normal gear (big and small) fits into shaft holders, looks similar to a USB, side by side
- Place small helical gear onto side holder
- Put the big helical gear towards the middle near the small gear
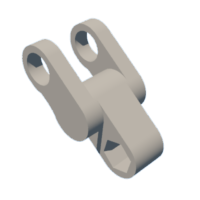
- Place the Y looking part between the middle of the middle holder
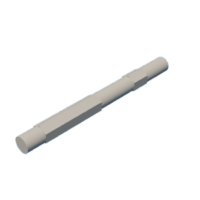
- Insert the short shaft (circular stick) through the holes in the big normal gear and the Y looking part
- place long shaft through the small normal gear and the big helical gear
- Slide the rack gear into the slot next to the big helical gear
- Put the caps onto the end of each shaft
- Assemble the remaining parts and place them into the Y looking gear
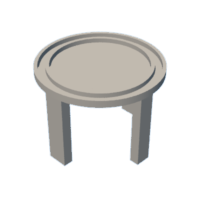
- Insert three leg circle table into the 3 design spots
Attachments
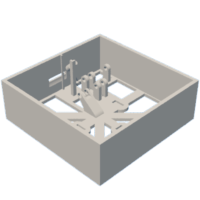


Step 4: Final Assembly


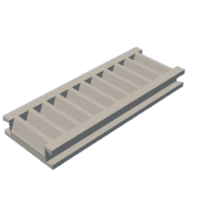
Follow the given steps below in the exact order given to achieve the wooden box part (all parts should be sanded):
- Glue side wood parts together
- Glue triangle parts together (do this four times the sides of the triangle parts have to be sanded too)
- Place the dividing wood parts into the middle of the wooden box
- Glue bottom base with the wooden ring in the center
- Glue the bottom base onto the sides
- Wait one day for the glue to dry
Step 5: Final Product


Once both parts are assembled completely put the wooden box onto the ring in the 3D printed base.
And there a inner box that will lift up when you press the lever, it is finished. It is design to turn, so it can lift up all four sides.


