Introduction: Refrigerator Pickles
In this instructable, I'll show you how to make refrigerator pickles. These are as easy to make as they are to eat! Which is good, because in my house, they disappear quicker than you can say "Peter packed a peck of pickled peppers.". :D
Step 1: Safe Home Pickling

This recipe is a project that I made to go with my Instructables Canning & Preserving Class. I will not be going over all the safety ins and outs of pickling in this instructable, so I highly recommend that you read through Lessons 1 & 3 of my class before you give this recipe a go!
Step 2: Tools & Equipment
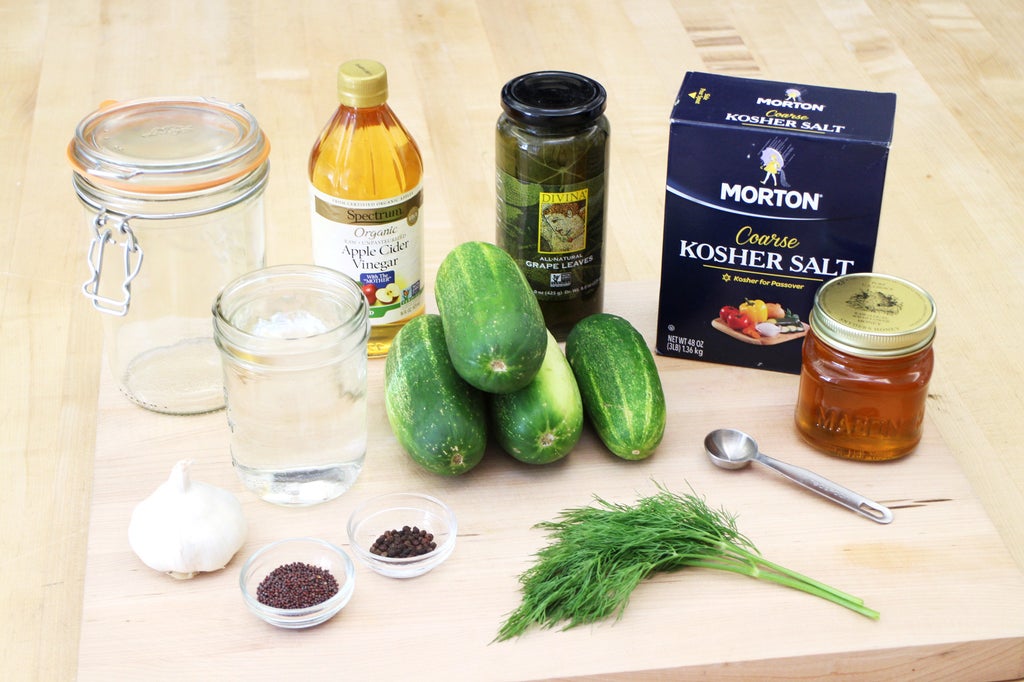
Here's what you'll need to make these delicious snacks:
*It's not necessary to sterilize the jars. Washing and drying them is enough as we'll be using cold storage in conjunction with the vinegar.
Step 3: Recipe

- 2 lbs small pickling cucumbers*
- 2 cups water
- 6 tbsp apple cider vinegar or white wine vinegar
- 1 1/2 tbsp kosher salt
- 2 tsp light honey
- 2 cloves garlic
- 1 tsp whole mustard seeds
- 1/2 tsp whole black peppercorns
- 3 small grape leaves**
- 2 large sprigs of dill or 1 tbsp dried dill weed
*You can substitute these small, jar sized cucumbers for pretty much any vegetable! Carrots, green beans, cauliflower, and asparagus are all delicious options, to name a few.
**Grape leaves are sold in jars packed in water or oil. I found mine at Whole Foods, but any Mediterranean market will also carry them. They are optional - they help keep the pickles crunchy - so don't worry if you can't find them!
Step 4: Making the Brine

To make the brine, add the water, vinegar, salt and honey to a medium saucepan on medium to high heat.


Give the ingredients a stir and bring the mix to a boil. Once the bubbles start roiling, turn off the burner and move the saucepan to a cool burner. Let the mix cool to room temperature while you prep the cucumbers.
Step 5: Prepping the Future Pickles

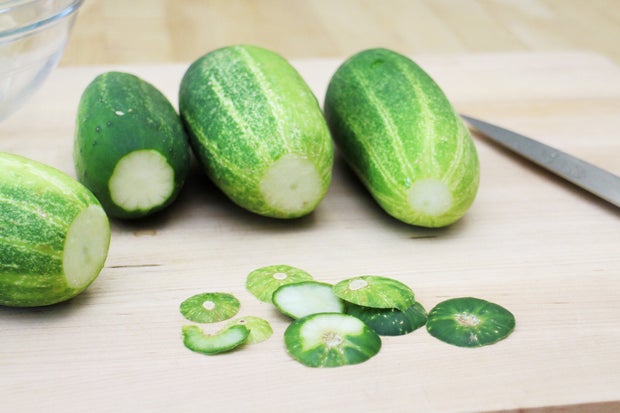
Weigh out your 2 lbs of pickling cucumbers. For me, that was 4 cukes.


Use a sharp chef's knife to remove the ends of the cucumbers and cut them into halves or spears.

Measure out the remaining ingredients and remove the skins from the garlic cloves.


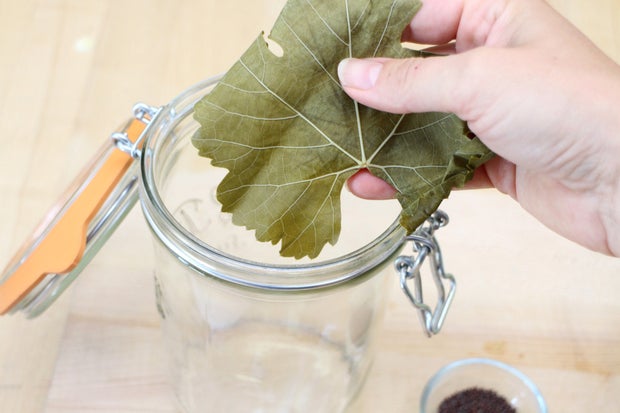
Place one of the grape leaves (if using) in the bottom of the jar.

Add the garlic cloves, mustard seeds, and peppercorns.

Now it's time to 'build' your jar of almost pickles.


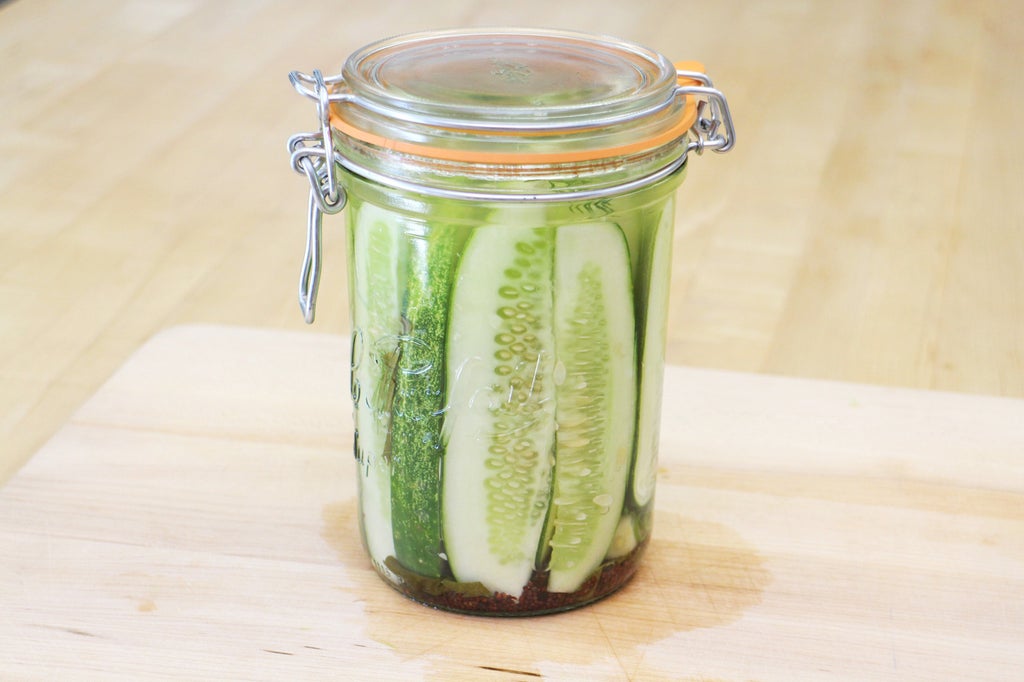
Tip the jar to a 45° angle with one hand while starting to stack in the cucumber spears with the other. As you build up layers of spears add in the remaining grape leaves and fresh dill as you go.

Once you've filled the jar, straighten it back up and add any remaining spears into any remaining spaces. Be forceful if necessary. As the cucumbers pickle, they will shrink a bit, so the more tightly packed they are in the jar, the less likely they are to float up out of the brine.

Like so!
Step 6: Adding the Brine

Once your brine has cooled back down to room temperature (feel free to speed that process along if necessary by sticking it in the fridge), fill the jar with brine until it covers the cucumbers completely.

There's no need to leave headspace for fridge pickles, like you would for anything to be canned.

Seal or secure the lid and you're done! Well, almost done. The only thing left to do is stick it in the fridge! The sooner the better.
PROPER STORAGE
Now that your fine work is chillin' in the fridge, kick back and give the pickling process 4-5 days to work its magic before serving.
Refrigerator pickles will last for up to 3 months in cold storage. But I'll bet you a Canadian quarter that they'll be long gone before then. ;)


