

Introduction: Block Countdown Calendar


Tired of buying new calendars every year? Do you enjoy having to remember to set your calendar each day so you can remember what day it is? If so then you will love having a block calendar. Less function than a real calender with 97% more effort!
I jest, but I am quite terrible at updating the block calendars we already have.
This is sort of a re-purposing of the classic block calendar. Instead of counting through the days of the month it counts down (from 32) to a specific event. In the case of this build I created them as gifts to announce that the wife was pregnant to our parents and as such it counted down the weeks until they became grandparents. These are pretty easy and cheap to make so doing them as one-offs isn't a big deal and in this case they can reuse them for every other grandchild-to-be so it's not quite a one shot deal, but using some chalkboard, whiteboard, or magnetic paint or stickers, as well as a generic theme, will allow unlimited uses and make great gifts. You could of course use a generic one as a calendar, if you're into that sort of thing. To demonstrate this flexibility I've built a third calendar, with a different base style and decorations, intended for generic use.
Step 1: Materials and Tools


- Square Wood Post - Mine is 1.5" x 1.5" x 8", enough for 2 sets, and was intended as a table leg or something of the sort. This is where the blocks come from so keep that in mind when choosing a size.
- Sheet Wood - This can be pretty much any sort of sheet wood, probably .5" thick as a minimum, that you have laying around. If you want a nice wood finish then use a solid hardwood. If you are planning on painting a fine particle particle board gives a smooth surface. I used 1/2" MDF I had lying around.
- Dowel Pins - Not completely necessary but it makes for sturdier construction.
- Wood Glue
- Wire Coat Hanger (Optional) - Used in place of plates on the end to give a more finished look.
- Adhesive/Epoxy (Optional) - Used to secure the wire, see above. I used a general purpose silicone adhesive.
- Paint/Primer/Wood Stain - This is completely up to you. I went with a basic white.
- Decorative Paper (Optional) - Used to decorate the faces of the blocks.
- Number Stencils - The only stipulations are that each number is smaller than the block faces and that the 6 or 9 can be used as both a 6 and 9.
- Wood Filler - Used to remove the grain on the blocks, if necessary, and to smooth the joints in the base.
- Saw - A miter box is also helpful.
- Drill & Bits
- Clamps
- Sand Paper
- Angle Pliers/Wire Cutters (Optional) - Only necessary for the wire edge design.
- Tape Measure/Ruler
- Center Punch - Not necessary but once you use one you'll never do a project without it. Seriously, If I could recommend one tool to every person just starting to DIY it would be an automatic center punch.
- Paper Craft Tools (Optional) - Fancy pattern scissors, colored pens, etc.
Step 2: Blocks
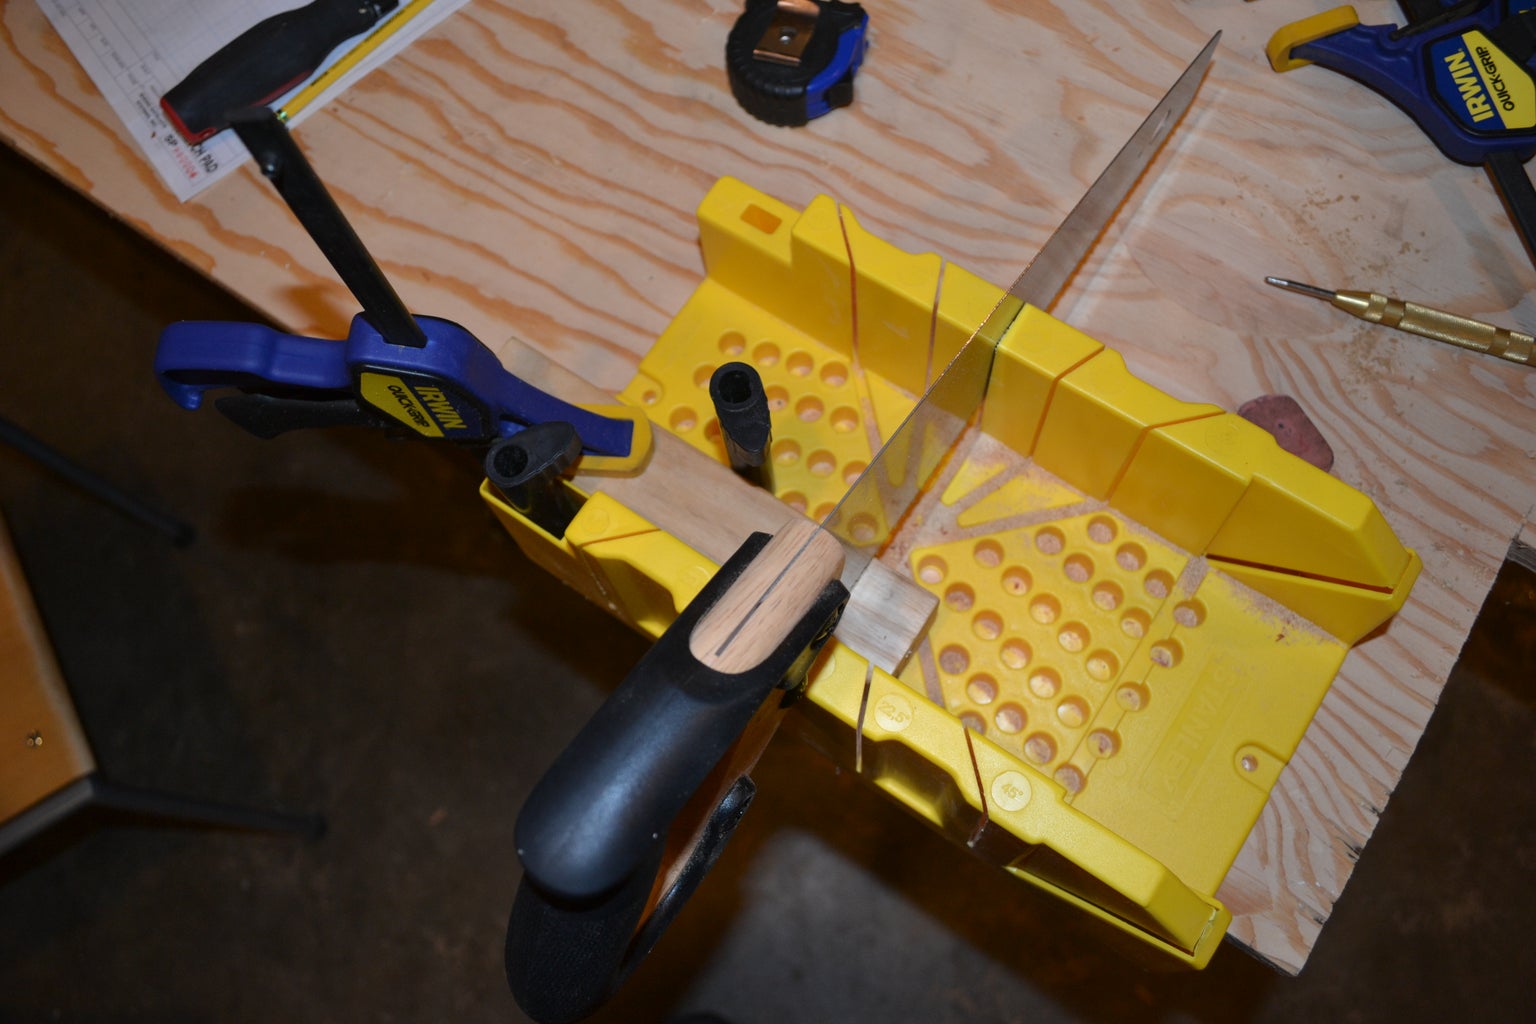


The first step is to build the blocks because then you can fit the base to a specific set of blocks.
Measure the side length of your post and make a mark that distance off along the length. Make sure to cut outside the mark to account for the saw kerf or the block will not quite be square (if your blocks aren't quite square don't worry as long as they're close). I would recommend that you measure for each cut after completing the preceding cut or by the time you get to the last block or you will end up with a very short final block.
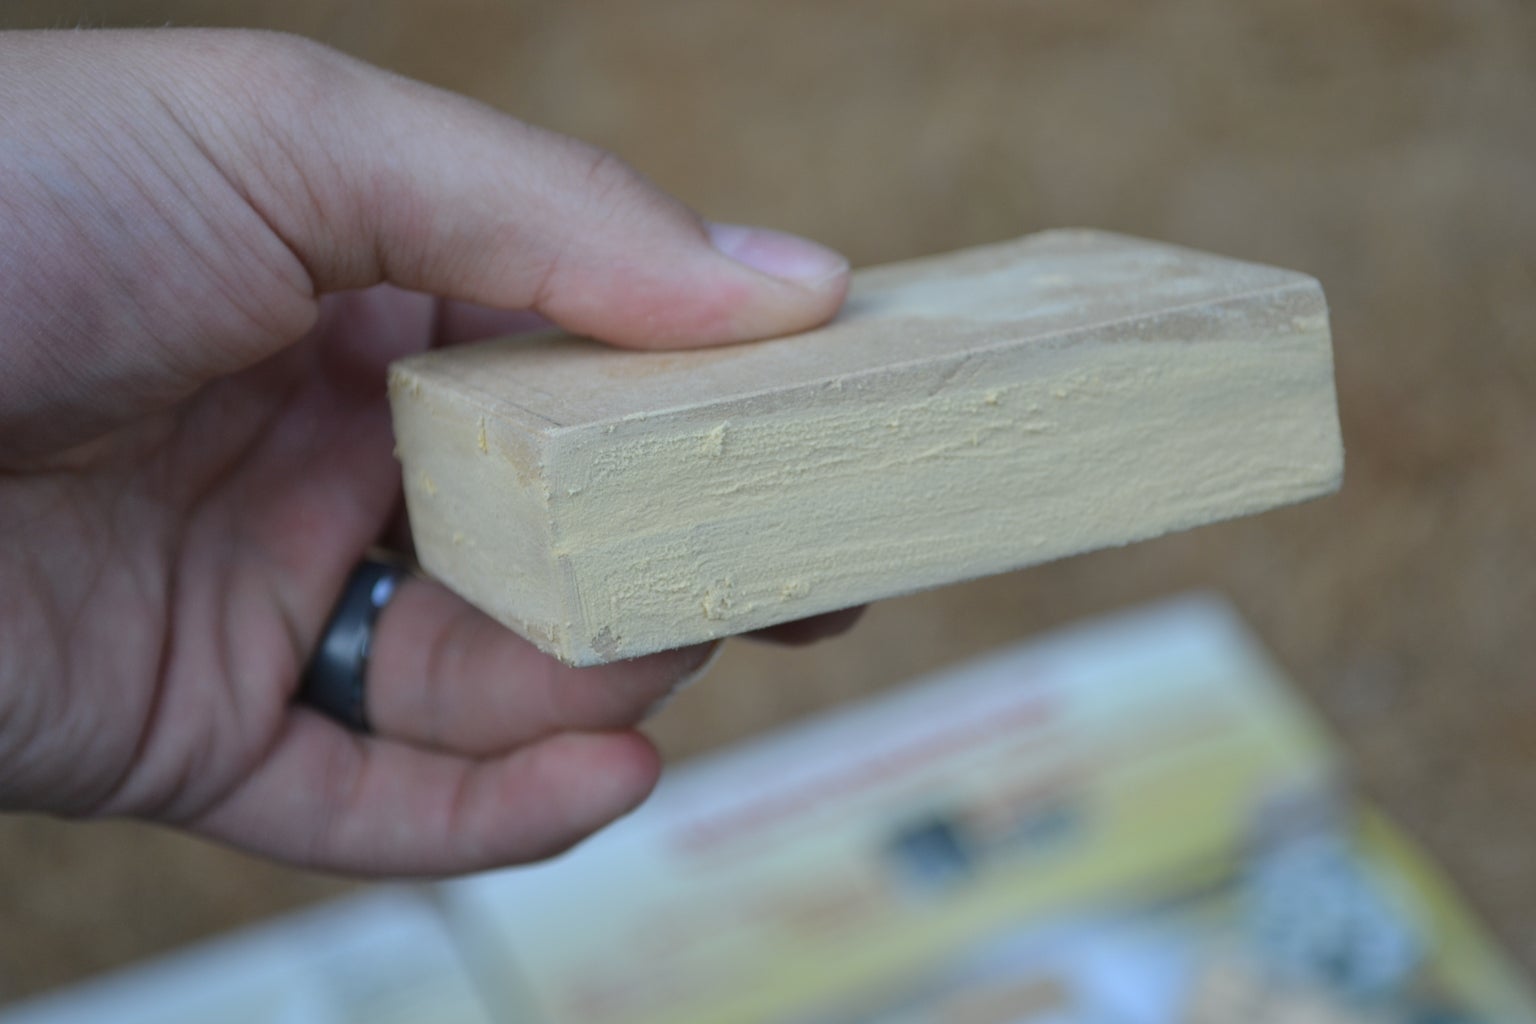
With the blocks cut use the sand paper to remove the burs. If your post had rounded edges use the sandpaper to also round the edges and corners on the cuts. Use the wood filler if the cuts are textured different than uncut surfaces. If you are not painting the blocks don't use the wood filler.
Step 3: Base #1: Bottom


- Width of the bottom(s) = width of two blocks + (.25" x 2)
- Depth of the bottoms(s) = width of two blocks + back piece thickness
- Width of back = width of bottom(s)
- Height of back = width of single block + .125"
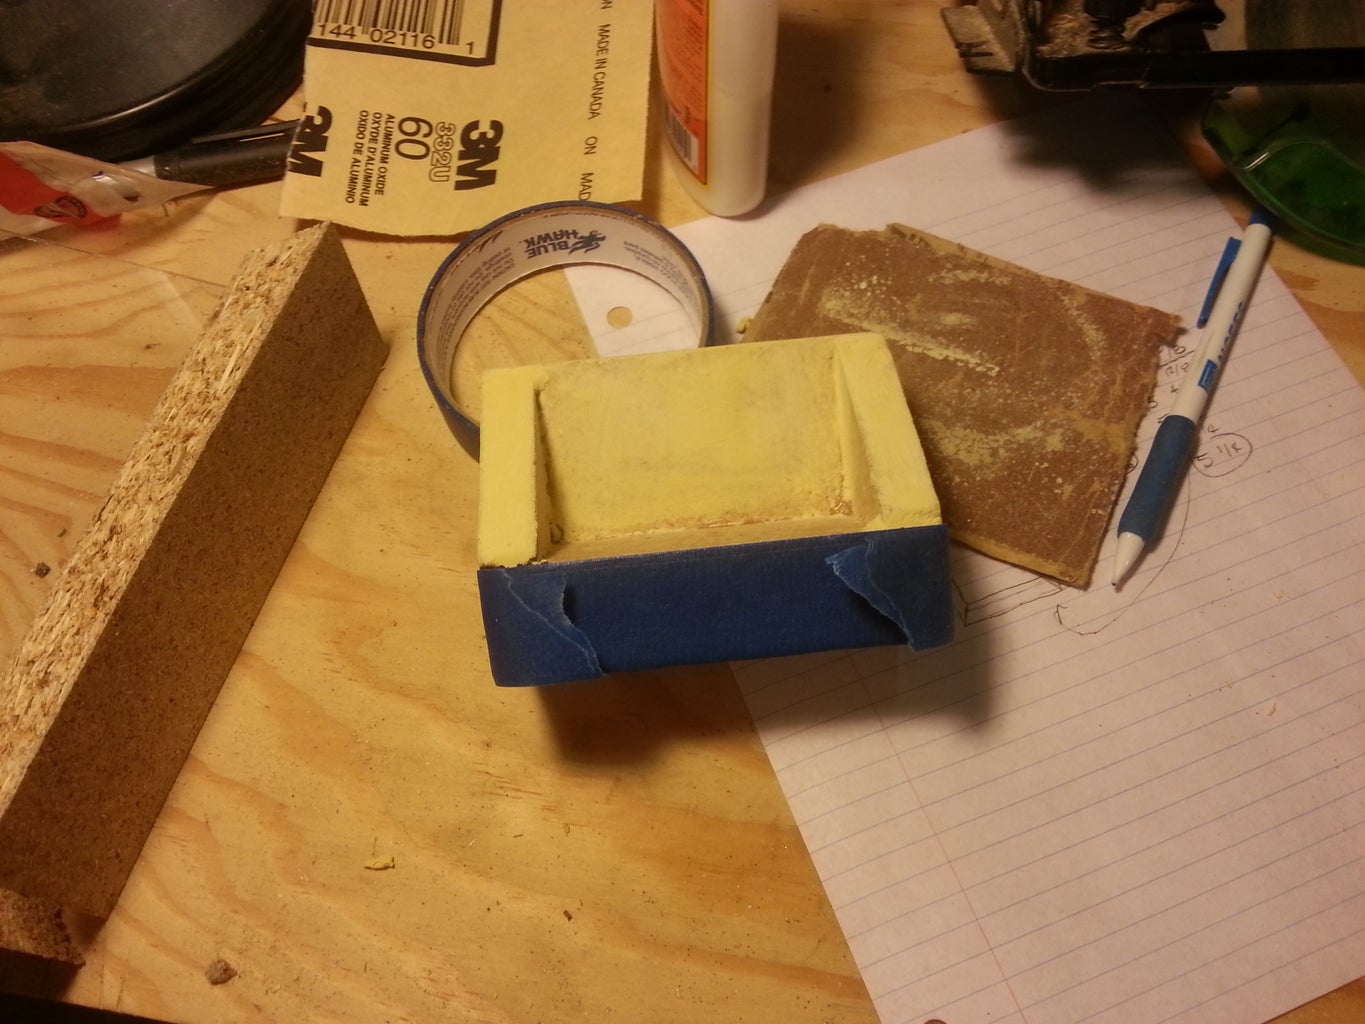
Cut out the three pieces and sand them down until you are happy with how the edges line up. Clamp the two bottom pieces together, making sure they are lined up how you want them, and drill two dowel holes on the center line. Drill through the first board and at least half way through the second. Make a mark, a simple line crossing both edges will do, so you know how to orient the pieces, and un-clamp them. Rough the mating surfaces and then press the dowels into one of the pieces. Apply wood glue to the mating surfaces and then clamp tightly until the glue dries. Once dry, remove any excess glue and apply wood filler to the joints so you have a smooth surface after painting. Remember to sand the wood filler when it dries.
Step 4: Base #1: Back and Sides


Next, find and drill the holes to hold the wire sides in place. A standard wire coat hanger is a touch under 1/8" in diameter so using a 1/8" drill works perfectly. I placed the holes 1/8" from the outside and front edges of the base and the outside and top of the back. This is a pretty tight margin especially if your choice in wood is prone to splitting so you may want to increase your edge margin.
Measure the distance from the corner to each hole and add them to get a rough idea for the length of wire you'll need. It's better that you start out with a longer piece and trim it down to size. Find the middle of the piece and place it over something round that has a radius similar to what you want and press on the ends until it is bent 90º. Check the fit and trim the legs if needed.
If you are going to prime, do it now. Separate the back and keep the sides in position in the bottom. When the primer is dry sand the mating surfaces on the back and bottom, apply glue, and clamp, wiping away any excess glue that comes free.
This base is complete and ready for final paint and decorations. We'll do this after building the second base.
Step 5: Base #2: Bottom


- Width of the bottom(s) = width of two blocks + (2 x side piece thickness)
- Depth of the bottoms(s) = width of two blocks + back piece thickness
- Width of back = width of bottom(s) - (2 x side piece thickness)
- Height of back and sides = width of single block + .125"
- Length of sides = depth of bottom(s)
Step 6: Base #2: Back and Sides


Preparing the back piece is as simple as cutting it out and sanding it down.
The side pieces are essentially that simple but are a slightly more complex shape because I feel the front edge being at an angle looks better than a sharp corner. The easiest way to accomplish this is to measure and cut out a piece that matches the dimensions given in the previous step. Then cut that piece corner to corner leaving two triangles, one for each side.
Again, if you're planning on priming, this is the time to do it. Once the primer dries begin assembling by gluing the back in place. When the back is fully set glue the sides in place. The sides are tricky to clamp but if you place the clamp on the angled face and the back corner of the bottom piece it should press the piece against both the bottom and the back.
When all the glue dries it's time to finish up.
Step 7: Decorate


Blocks
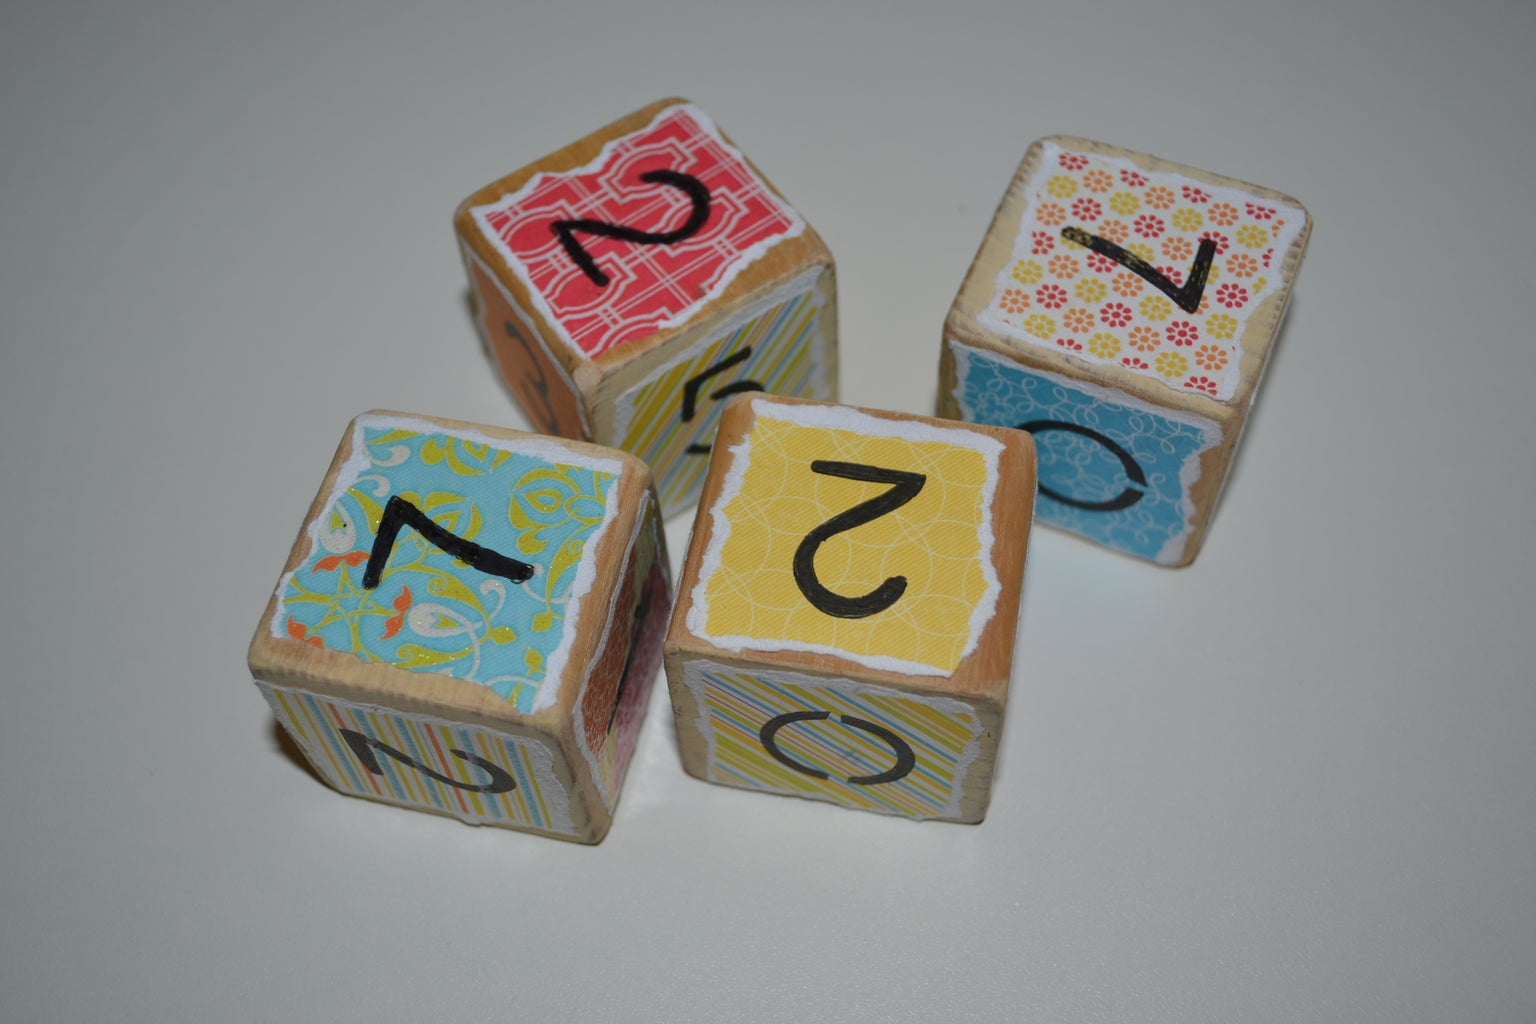
Before you start decorating the cubes remember that the numbers have to be divided in a specific way.
Cube #1: 0, 1, 2, 3, 4, 5
Cube #2: 0, 1, 2, 7, 8, 9/6
Did you notice clever bit? You need to be able to use the 9 and the 6 interchangeably. Keep this in mind when you choose/create your font.
My wife decorated the #1 blocks by tearing out squares of decorative paper, gluing them to each face, and then using a stencil to ink on the numbers. Putting a clear enamel over the blocks when they are done will help them last longer. For the #2 blocks she simply drew the numbers on with a permanent marker.
Base
The bases are simply painted with white spray paint, flat on #1, semi-gloss on #2, but there are lots of fun options, from textured spray paints to staining the wood.
The title on the #1 base was done using the same method as the numbers on the blocks except the lettering was done freehand. For base #2 the title area was painted with chalkboard paint.
Step 8: Final Thoughts
- If you want a countdown that goes higher than 32 you could make more blocks with the necessary numbers that store behind the blocks in front or use higher sided polygons (think of 8, 10, 12, etc sided dice).
- Another way to increase the count would be to use higher sided polygons, look at dice as an example.
- You can get magnetic, blackboard, and whiteboard surfaces in both paint and sticker form. Place these on the front panel and and you can use these over and over to count anything.
- Use it to count up something. It could be particularly motivating if it said something like "# of Days I've Exercised This Month" and was out where everyone could see it.
- Steampunk, princess, electronics, sports, baby. By mixing up the materials and decorations you can give your calendar any number of themes.
- Because the sides are nonstructural and only keep the blocks from falling off the edges it would be very easy to replace them with various materials or reshape the materials used.

Participated in the
Epilog Challenge V

Participated in the
Craft Contest


