

Introduction: DIY Low Cost Home Automation Using Esp8266


Hi everyone,
Today in this instructables I will be going to show you how I prepared my own home automation as a step towards a smart home using an ESP 8266 module generally known as nodemcu so without wasting the time let's get started :)
Supplies
Local store
Step 1: Bill of Materials (BOM)


First of all we start by taking a look at the things required for this project
the required products includes an
Esp8266 board
Relay board
Diodes
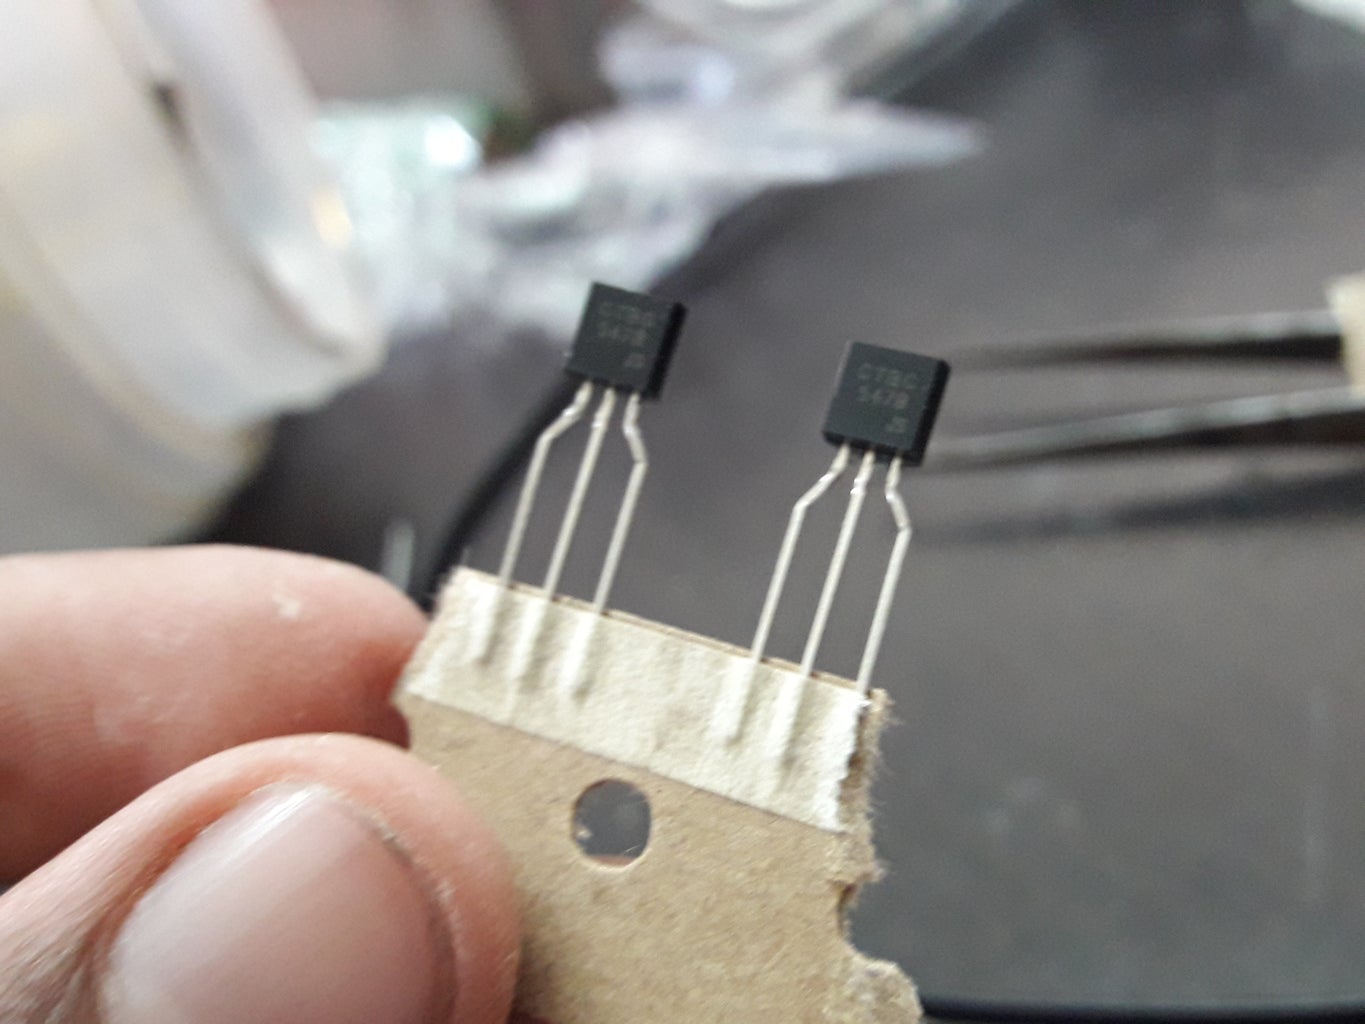
Npn transistor i used bc547
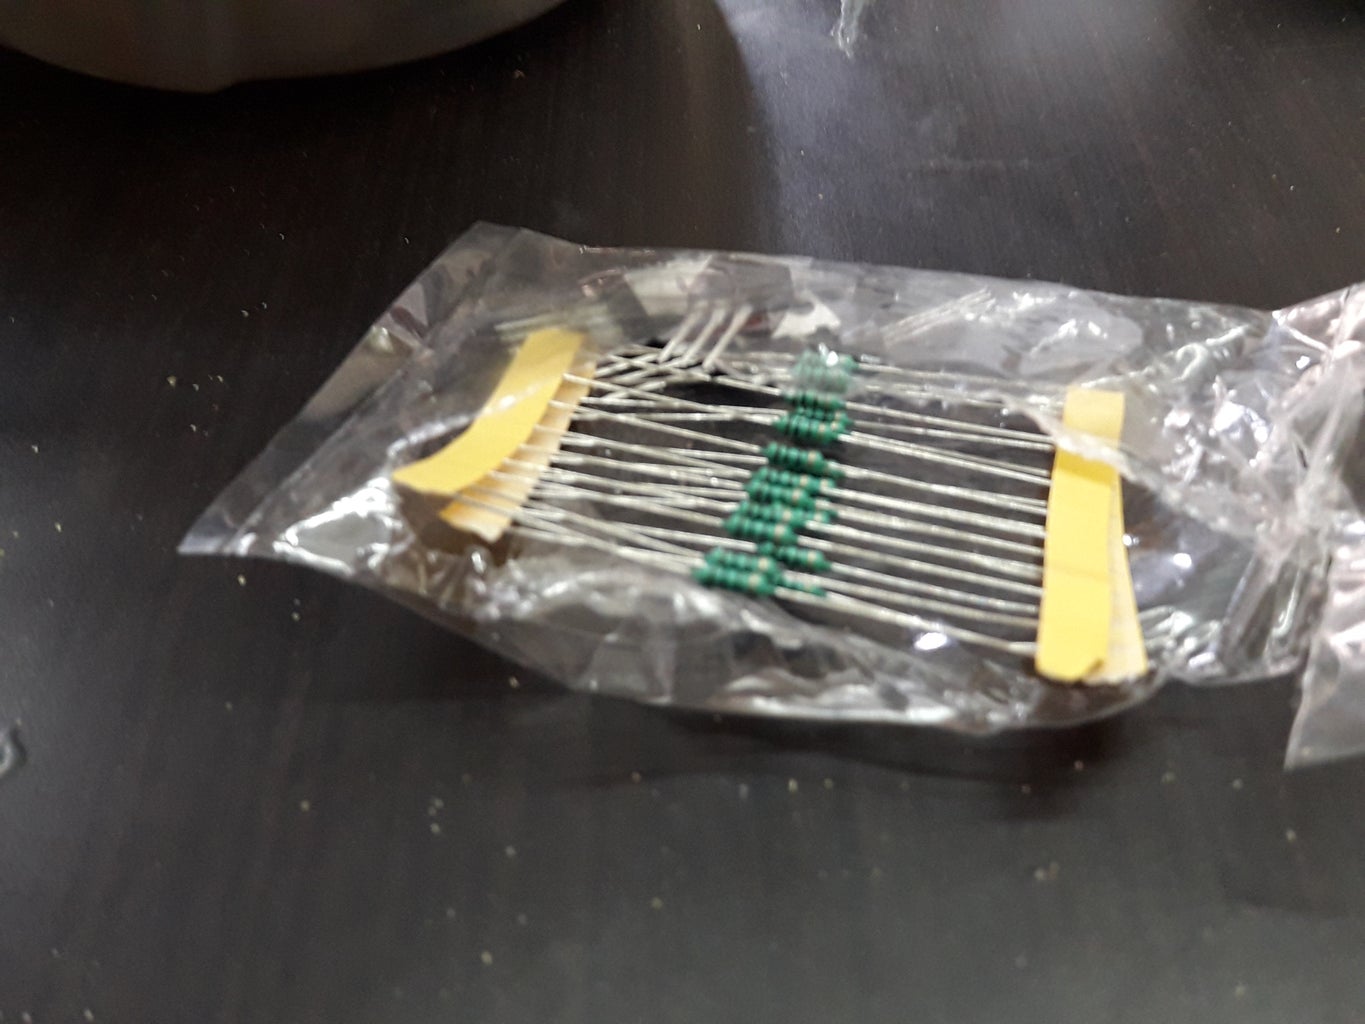
100ohm rasistor
A genral purpose pcb
A 5v adaptor circuit
And also some complementry Components such as terminal blocks, wires ,switches etc
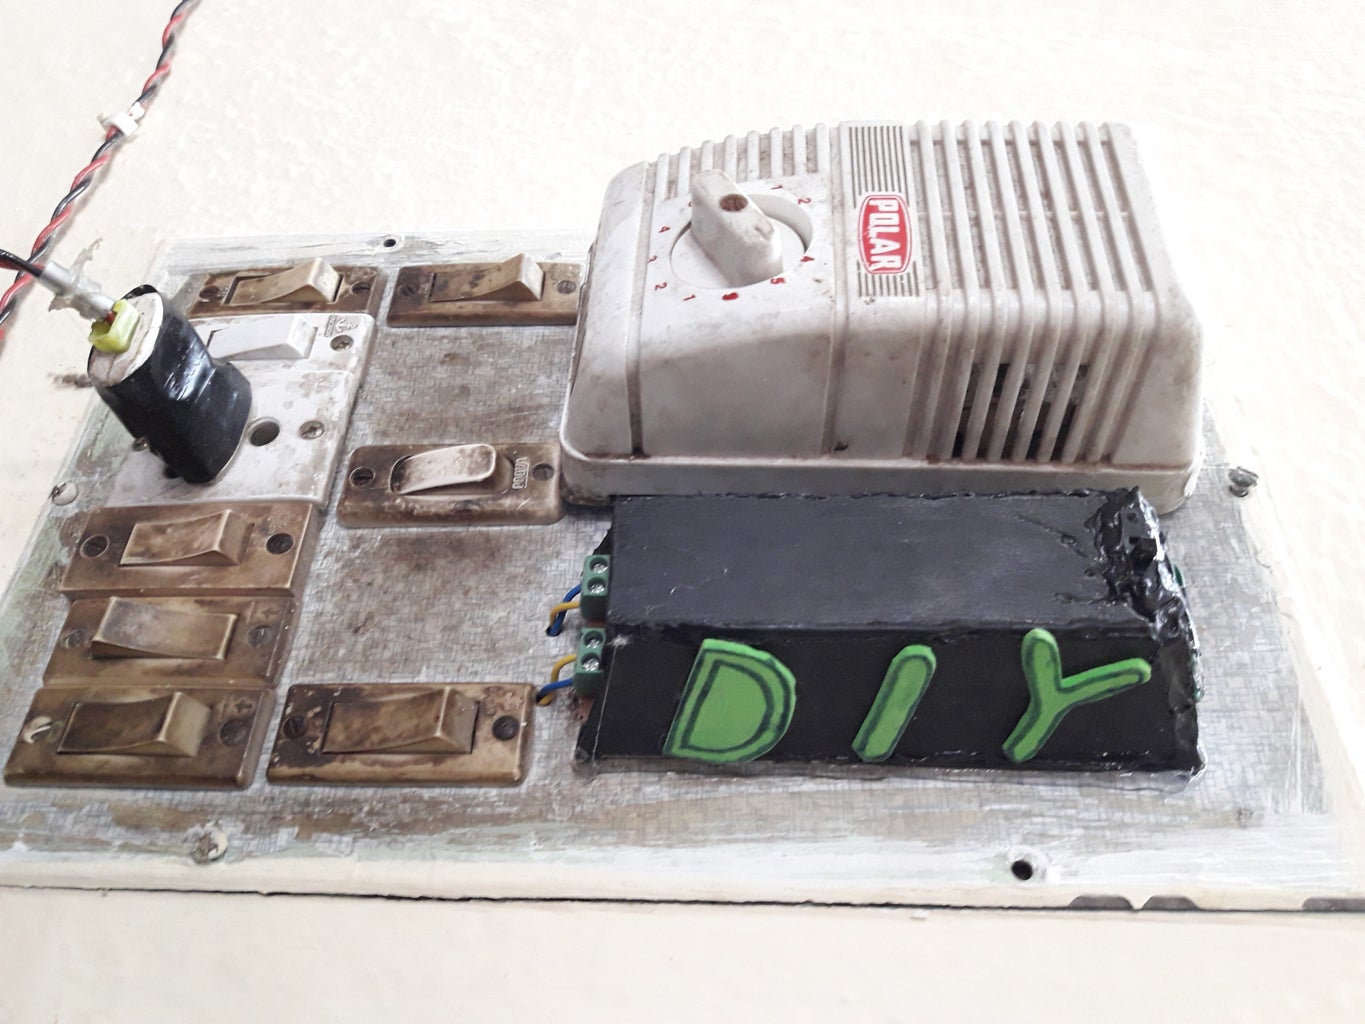
Step 2: Building the Circuit

Now we need an circuit to drive our relays i designed this simple schematics for controlling the relays you can connect the transistor's pin to any digital pin of node mcu and that can be replaced in the blynk app so don't be afraid of using any digital pin you like i used pins D5 and D6 respectively
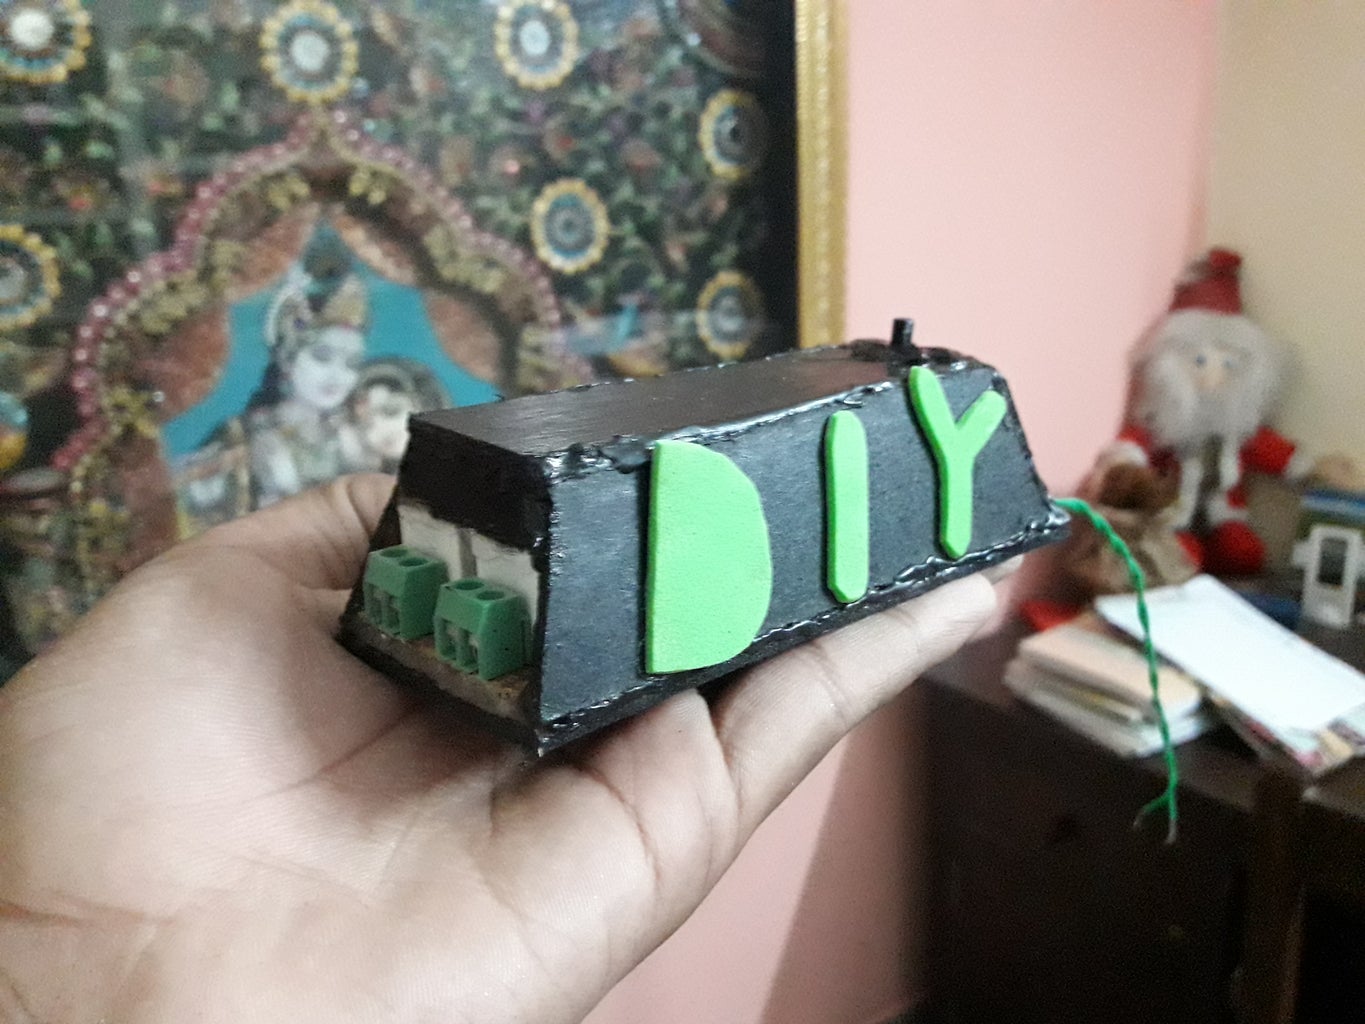
Step 3: Soldering and Building the Circuit


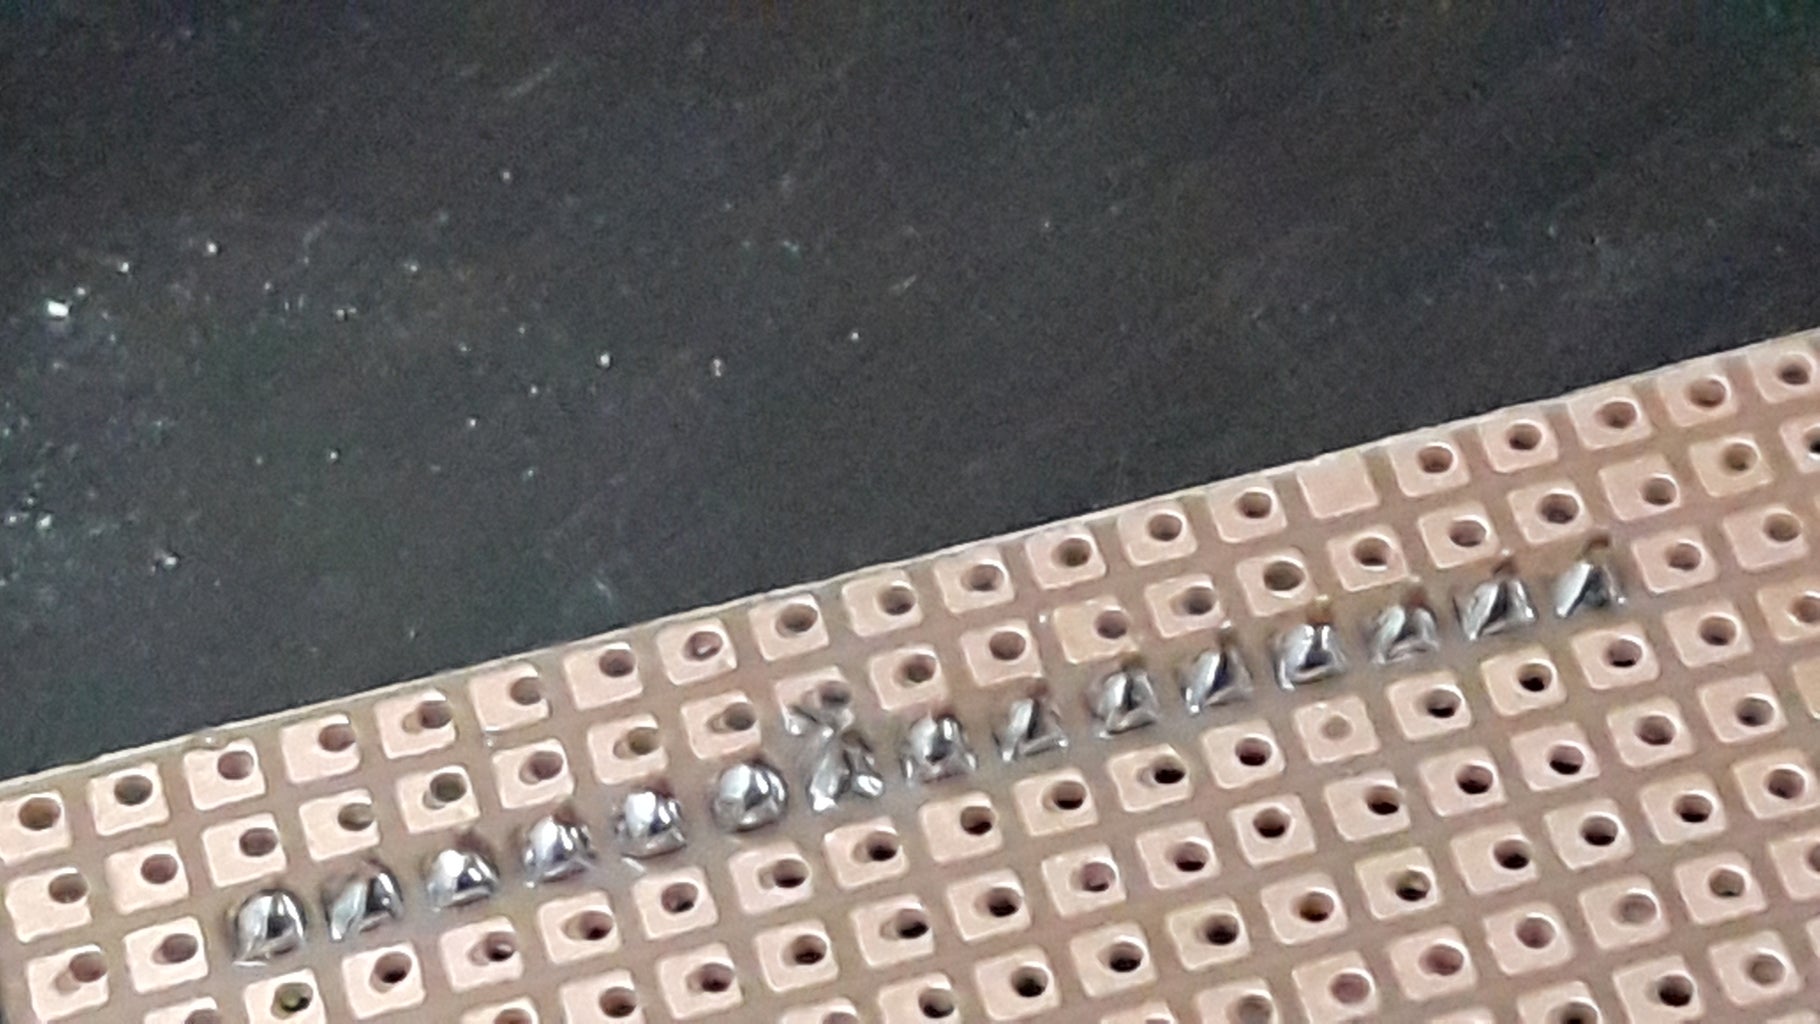


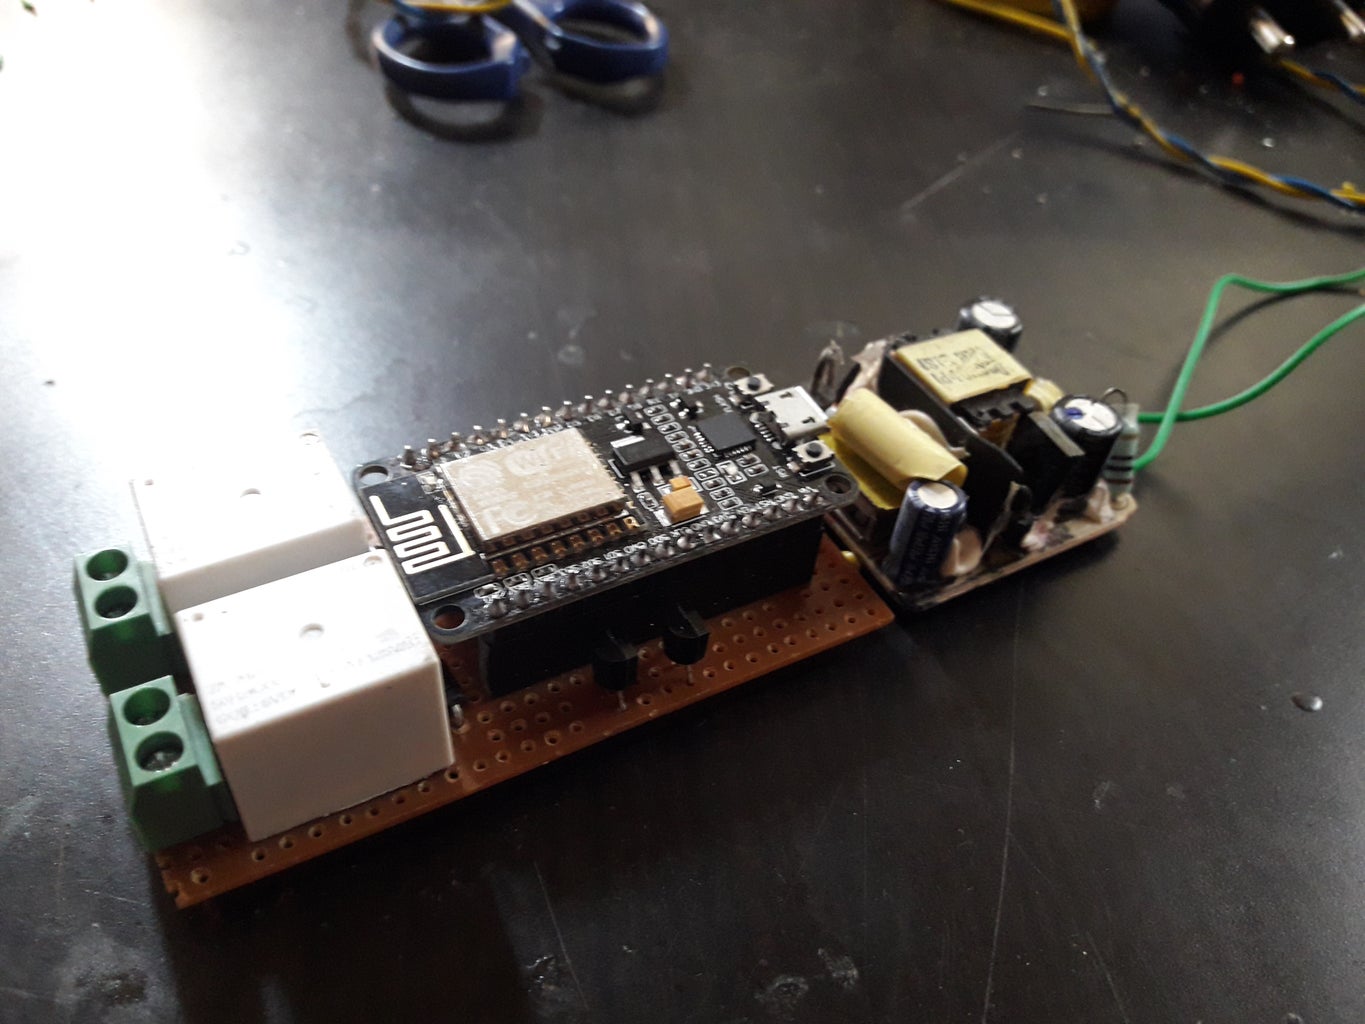


Now comes the building of the circuit on a perfboard,
I build the same circuit discussed above on the pcb without any changes except that i added an interrupting switch between the both but thats not the topic of discussion
After completing of soldering my pcb begins to take its shape and looks wonderful
Step 4: Programming


Now you need to program the esp8266 board
O took the board out of the circuit and then used a mobile cable to connect it to my computer
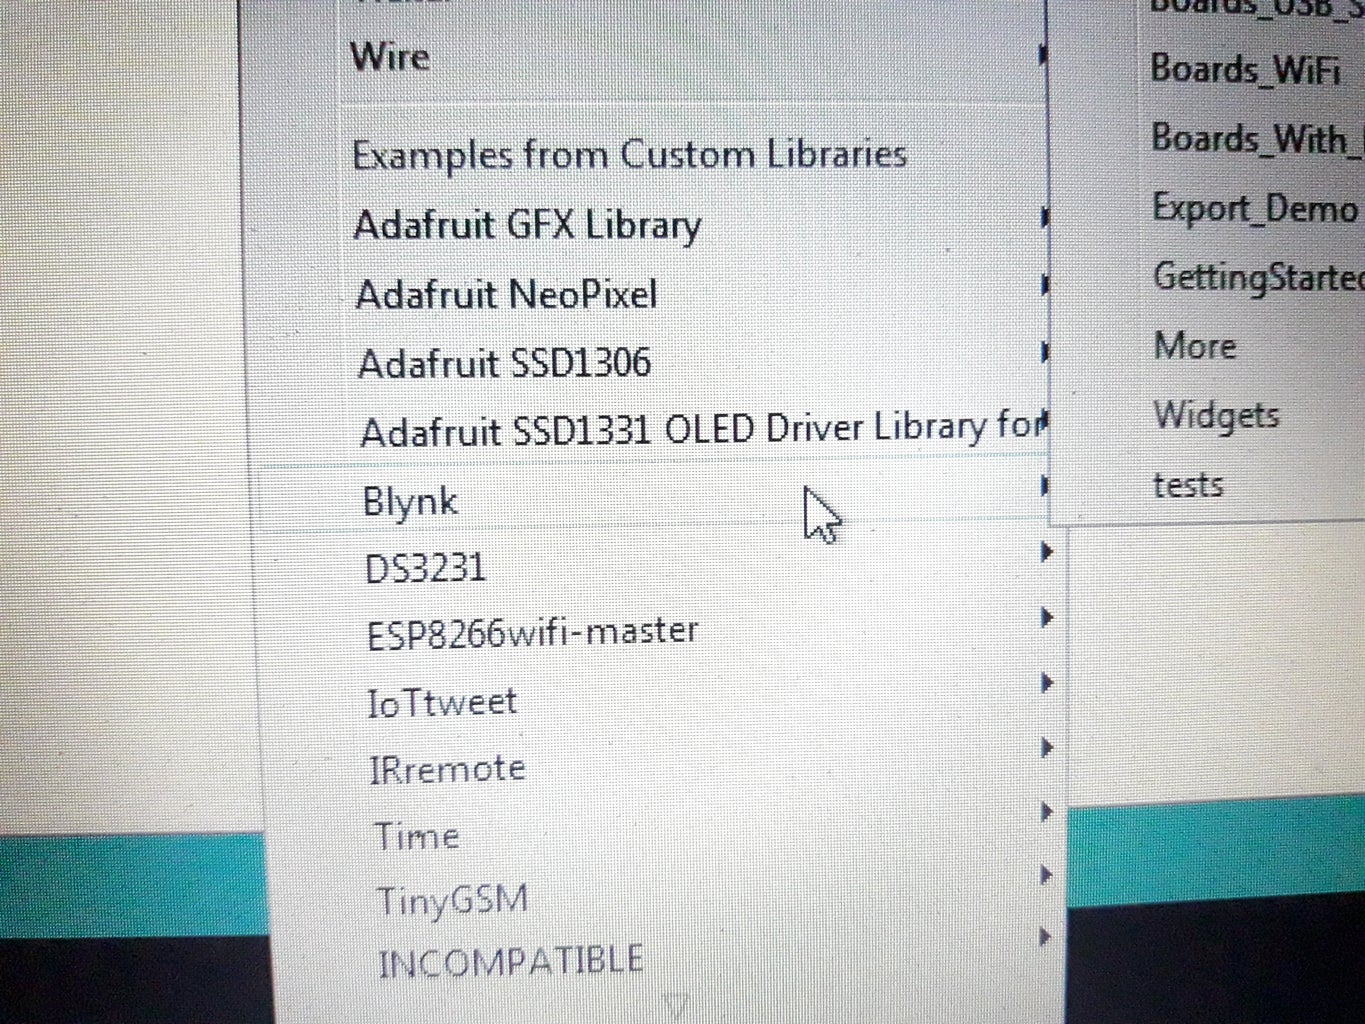
Now you first need to install esp8266 library i have already installed but if you dont have you need to install it
Next you also need an app to control it i used blynk app so firstly i downloaded the blynk app and also installed its library in arduino ide
Then i opened
- file
- examples
- blynk
- board wifi
- nodemcu
Now a new program will appear on your screen just you need to paste the authentication token provided to you by blynk app about which we would talk in a moment
Next you need to provide the name of your wifi and password in their respective places
Now just you needto select the right port and the board as nodemcu and just click on upload withlut making any changes
Much easy, isn't it?
Step 5: Setting Up the Blynk App


Now forst you need to install blynk app
Nest you need to create a new id and then click on create a new project select the wifi option and board type to node mcu
Now it will send an authentication token to your email just you need to copy the same token in the program in arduino ide as discussed above
Next just add 2 buttons or more equal to the number of appliances you want to control and just select the pins you used and then its done...
Step 6: Its Just Addicting


Now our project is complete and by connecting it as a switch we can use it to control aur daily appliances as a step towards a smart home
I think its really addictinggggggggggg........

Participated in the
IoT Challenge


