

Introduction: Steampunked-Talking-Book


Hi everybody
It has been a very long time since I wrote my last instructable. I had a lot to do with family affairs.
But now a new project is ready to be presented here. It is called the
"steampunked-talking-book".
This funny looking story teller is very easy and quickly to do.
This very old book was printed in 1901 and laid in a wastepaper container of a paper mill. I took this book and within a second the idea to create a steampunk-styled ancient story teller was born. I thought it should look like a book from the secret-library of captain Nemo at his famous submarine Nautilus.
The title of the book says that its content is about elementary aspects of mechanics and this fits perfectlyl into the world of neo victorian steampunk inventers.
So if you like, follow me through this instructable and have fun with it.
Yours Aeon Junophor
Step 1: Prepare the Book


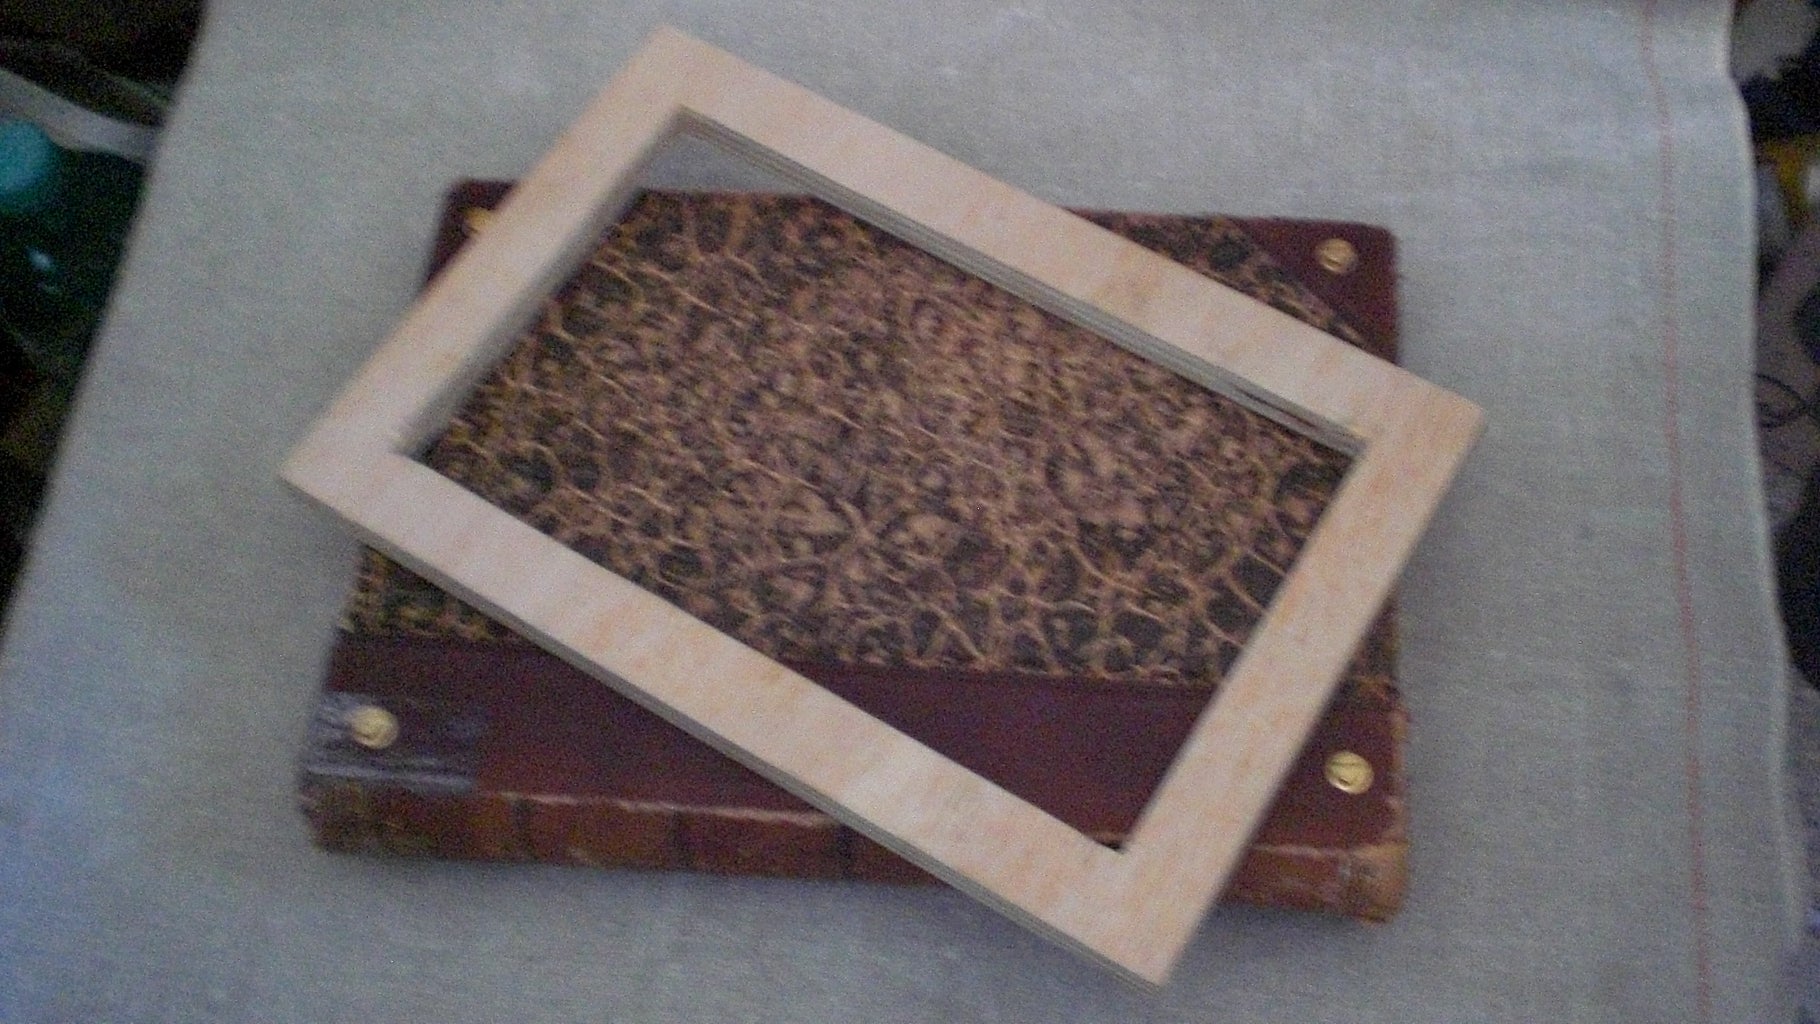
To prepare the book you have to cut out parts of the pages. First start with cutting a frame made of plywood. Open the book and fix this frame with two srewclamps. Then you can cut out the pages carefully with a very sharp knife. (Take care of your fingers while working with shrap instruments.) Cut out only some pages in one step, take them out and cut the next pages again. When this work is finished, you have to glue the inner parts of the page-frame left with wood glue. Take a small paint brush for this work and take care that the glue is all over the inner frame so it can hold all pages together. When the glue is hard cured you can take away the clamps and the plywood frame. Now the book is ready for the next step.
To keep the book at the end of this project closed I took four brass made screws M4 and drilled four 4mm holes through. The cap nuts at the front page protect the new push buttons if you lay down the talking book at this side.
Step 2: Installing the Speakers


The voicemodule I used (see explanations at the next step) runs best with 4.5 Volts (using AA-batteries) but it also can work with 6 Volts. The maximum amplification can drive two stereo loudspeakers with 8 Ohms and 3 Watts.
Now let´s build in the speakers:
For this steampunked talking-book I chose two very samll speakers from an old laptop and put them into a jointbox as you can see at the pictures. They fit perfectly in this box with an inner diameter of 70 mm.
First I cut a suitable hole in the frontcover and then I screwd the speakers and the jointbox with the cover togehter.
At the topside I placed an air grid made of brass and screwed it with a ring of vulcanized red fiber with the joint box.
After closing the jointbox the sound comes out very clear.
Step 3: Installing the Voicemdule


At the internet you can find a lot of such "voice recording modules". I took a very good one from this adress.
It convinces because of its very good sound quality and you can use either a SD-card or take an USB-Stick to keep the mp3-datafiles. It works quite like a mp3-player in stereo.
Looking at the functions of tis module and what is needed for this project we have to do some modifications.
First of all we do not need the red LED light and the IR diode. So we desolder them from the board.
By testing this module I experienced that the electrical circuit is always running although I stopped everything with the push button. The red control LED is still running and also the LED of an USB-stick is glooming still. So I decided to integrate a separate switch to the batteryholder for switching on and off the whole circuit. If you do so, you do not need the "STOP"-push button anymore and you can desolder this button too (or you don´t have to replace it).
Then we have to change the push buttons to longer ones which lead through the cover. I connected then all new push buttons with wires to their former contacts an placed them at the backside of the frontcover in a strip of vulanized fiber. This strip is also screwed to the frontcover with decorative brass screws M3. After testing the functions I fixed the new push buttons with melting glue.
At least put the SD-card with the mp3 files on it into the slot, close the new „old talking book“ and fix the four brass screws to keep the book closed
And now your steampunked storyteller is ready to start.
Hope you enjoyed this instructable and have fun while listening
Yours Aeon Junophor
And that´s it.


