

Introduction: Bending and Forming PVC


SAFETY FIRST: Before you decide to bend PVC pipe, please refer back to the ‘Material Safety’ section of the Tools and Materials lesson of this course. When heat forming PVC pipe, the material is heated close to its melting point which can cause the PVC to off-gas harmful toxins like chlorine and dioxins. Perform bends outdoors or in a well-ventilated area such as an open garage or better yet, under a ventilation hood if you have access to one. Respirators are encouraged.
Step 1: Making Quick Bends

To make quick bends in PVC, like an eyeballed 90° bend, consider the using this technique.
For this demonstration, the following tools and consumables are used:
For small diameters of PVC pipe, the wall thickness is much thinner than other larger diameters making the pipe easy to manipulate with minimum heat.
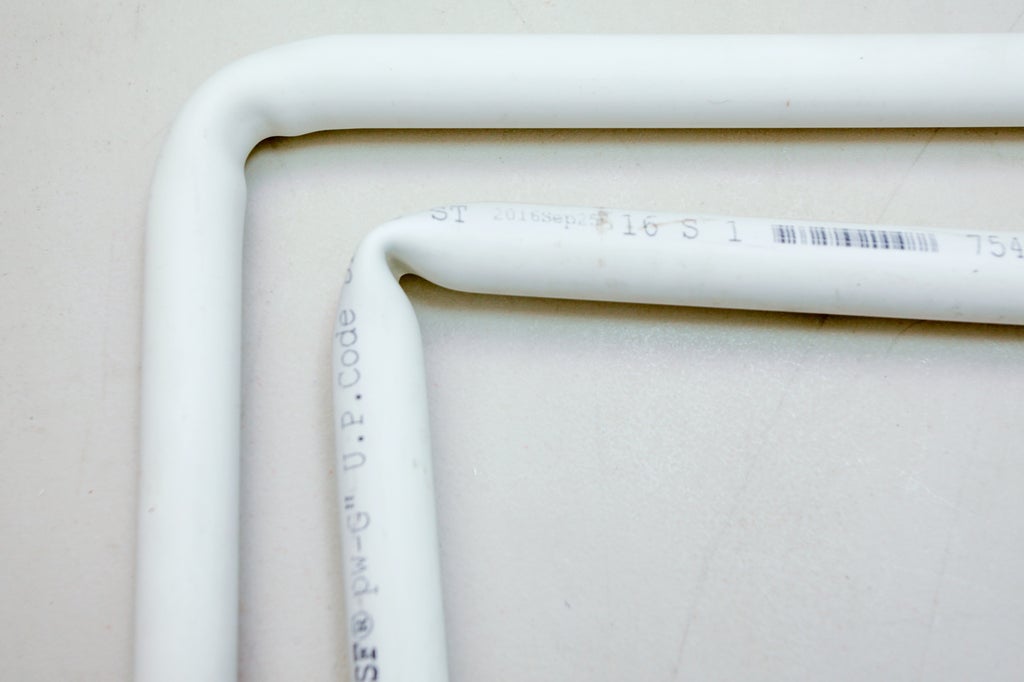
This also means that the walls of the PVC pipe are more susceptible to kinking. We can prevent kinked or collapsed pipe by inserting an extension spring into the pipe.

Begin by creating a wire leash for your spring, so that you may easily free the it from your bend after it has cooled. Insert the spring into your length of pipe and bend the wire's tail around the pipe so that the spring stays in place.

Turn on the heating gun, I set mine up on a table and hold the pipe over the hot air, and begin to slowly rotate your pipe. It should kind of feel like you're roasting a marshmallow on a campfire, but with a respirator on.
You'll begin to feel when the pipe is getting hot and malleable, the spring doesn't spin so freely. At that point, you can begin to shimmy the bend into the pipe heating more if needed to flex the bend further.
Hold in place the pipe begins to cool and your bend is held rigid.

It is not advised that you cut before your bend. Your PVC may stretch slightly while it is bending, so it is best to make a cut after it's cooled. Allow a length of pipe on each side of the bend, I like to leave about four inches because it can be tricky to control the position of the bend with this method.

If you enjoy this method, there are specialty bending springs that are a bit more expensive. These springs are designed for use with PVC and are available at 1/2", 3/4", 1" and 1 1/2" diameters, and instead of heating the section your trying to bend, you can send hot air from the heat gun down the center of the pipe. These are awesomely long springs(~30") so you can use them with most bending jigs too, if you are worried about kinking your pipe.
Step 2: Making a Bending Jig

When it comes to making repeatable organic shapes, I prefer to make a bending jig using a piece of scrap board and screws.
In this demo we will be using the following:
- Scrap board (I used an old pine shelf, but project plywood boards that are at least 3/4" work great too)
- Marking tool
- Flexible measuring tape
- 24" length of 1" PVC
- 1" PVC end cap
- 2 1/2" screws
- Drill
- Play sand
- Aluminum baking pan
- Funnel
- Heat resistant gloves
- Respirator


For this example project, I wanted to form a heart shape that is joined with two 90-degree pipe fittings. I needed to make two curves that were the same shape. To do this, I started by marking a straight line on a scrap board, this would be my mirror line.


On a piece of board, using a flexible measuring tape like the ones used for sewing, measure out a curve that is the same length as your piece of PVC pipe, in my case 24". Using a pencil, or a permanent marker if you're brave, carefully trace the curve that you want to form your pipe around.


Working around the perimeter of your shape, drive screws that act as a guide for your heated pipe to form to. Drive extra screws near tight bends to prevent kinking or misshaping.


Using the end cap, dry fit the cap to the pipe and then begin to fill the pipe up with play sand using a funnel. You want to fill your pipe to the very brim, any gaps or spaces will cause your pipe to kink or misshapen.


Empty your pipe's sand into an aluminum oven pan, and heat the sand in your oven. I have had the most success heating the sand to 475°F, the oven could get hotter, but why risk melted pipe and off-gassing chemicals? Using a metal funnel and heat resistant gloves, fill your pipe back up with hot sand and cap it off.


The pipe will become malleable and quite warm (you may want to keep those heat gloves on), when the pipe begins to flex, begin slumping it into your jig.
Working with sand to heat PVC is just one method, but it is flawed as the sand cools quickly, and sometimes you will need to heat the sand multiple times to get the pipe fully flexed. These professional heat PVC bending tools exist, but they are cost prohibitive. If you're feeling extra jiggy, I've seen people make jigs out of thin steel pipe that they heat with a heat gun, then slip the length of PVC down the hot metal pipe and allow it to heat. This method is effective if you need to heat up a long length of pipe to make curly curved or wound shapes.
Step 3: Course Complete!

Thanks for following along with this PVC Pipe Class. The skills here are just the beginning of what's possible with PVC pipes and fittings, and these skills represent most of the operations you'll ever need to accomplish with these parts and materials.
With time and experience, you will get a better understanding the physical handling properties of the material and be inspired to find your own PVC design solutions for the world around you.
{
    "id": "quiz-1",
    "question": "Are you ready to share your PVC creation on Instructables?",
    "answers":[
        {
            "title": "Not quite, but when I'm ready I'll share my project on Instructables",
            "correct": false
        },
        {
            "title": "Yep, I made a project as I took this class and I'm ready to tell my DIY story!",
            "correct": true
        }

    ],
    "correctNotice": "That's awesome! Don't forget to check to see if your project is eligble for any contests!",
    "incorrectNotice": "That's ok, when you're ready to share your project we'll be here!"
}
Step 4:
Totally inspired to tell your own PVC story? Post an instructable and share your PVC project after taking this class. For more guidance, check out jessyratfink's class on How to Write an Instructable ! I can't wait to see what you come up with!
Instructables constantly offers amazing tools and prizes to our community of authors via our Contest Page, check back often to see what contest your next project could be eligible for.
If you liked this class, check out the other classes I have written for Instructables:


