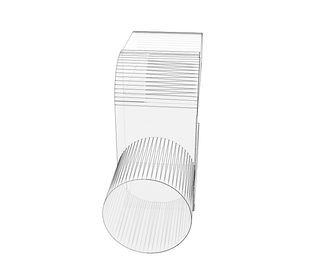
Introduction: 3D Printed Hinges. I Made It at TechShop
Goal:
To create 3D printed hinges.
Procedure:
Use Autodesk Fusion or Inventor to create surfaces in a vertical plane. Create a 2D surface for each object.
Extrude the 5mm diameter pin to the left. Create top and bottom jaws and extrude 12mm to the right. Create 11mm square surface and project 3mm to the right. Create fillet as shown.
Save File .ipt in Autodesk Inventor. Export CAD to .stl for Makerbot 3D printer.
Insert the hinge to the side holes. Glue hinges to the panel that needed the hinges.
Design Tips:
Since the hinge require durability and strength, I used 100% fill. Because it is such a small part, the print time is not a problem.
Depending on individual need, the pin could be off-centered or centered to the jaws. A 3mm notch (tight fit) need to be created to the plate panel, This would prevent the hinge from moving and dislodged from its glued surfaces.


