Introduction: A DIY Desktop Thermohygrometer


Use Sugar ENV1 and ENV2 modules collect local temperature, humidity and air pressure values。Small and compact in size, with a sleek design, this DIY desktop thermohygrometer can not only display temperature and humidity but also serve as a technological ornament when placed on a desk.
Supplies
Micro:bit V2 * 1
SugarBox Expansion Board * 1
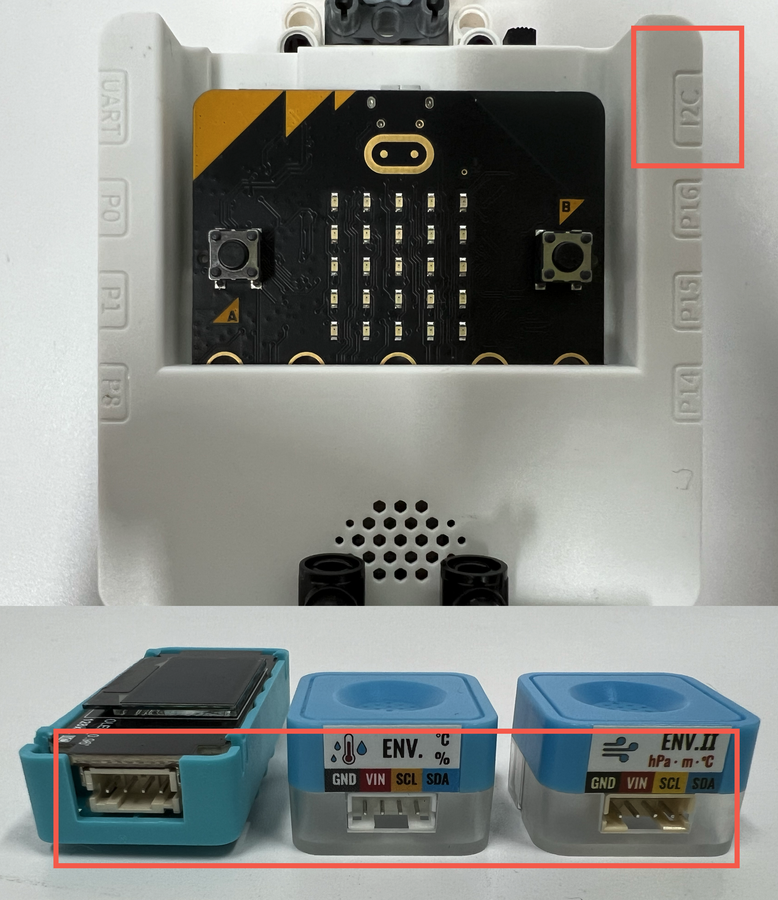
OLED Module * 1
Sugar ENV1 Sensor(Temperature and Humidity)* 1
Sugar ENV2 Sensor(Air Pressure and Altitude)* 1
Sugar I2C Hub * 1
Building Blocks

Step 1: Wiring
This project requires the use of the Sugar ENV1 Sensor, Sugar ENV2 Sensor, and OLED Module, all of which require the use of the I2C interface. However, the SugarBox Expansion Board only has one I2C interface. What should be done in this case?
In this case, you can use the Sugar I2C Hub module introduced by KittenBot. This module works like a computer docking station and can expand multiple I2C interfaces. You can connect the Sugar I2C Hub module to the single I2C interface on the SugarBox Expansion Board and then connect multiple sensors or display modules through the Sugar I2C Hub module. This way, you can use multiple devices simultaneously without worrying about insufficient interfaces.

Step 2: Structure
Use some LEGO blocks to build a model. The design of this project is inspired by the appearance of some weather stations, mainly for aesthetics. At the same time, the electronic modules will be installed on the model.

Step 3: Program
Open the MakeCode programming platform and add a plugin. These modules don’t normally appear on MakeCode and need to be added manually.
OLED:Enter the URL address: https://github.com/Kittenbot/pxt-nanobit.

Sugar:Search for "Kittenbot" in the search bar, then add “Sugar” and “robobit” to use sensors and ultrasound.

We'll see all of the following extensions appear. All extensions have been added at this point.

After the program is executed, the OLED Module is initialized first. Then, the data from Sugar ENV1 Sensor and Sugar ENV2 Sensor is read and displayed on the OLED Module, with attention to data type conversion and decimal handling. Finally, the data is refreshed every 2 seconds.


