Introduction: Cool Can on Command
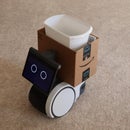
On command, this device drops a cool can into Astro robot's load bin. Astro can find an individual and deliver the can.
By changing the magnetic sensor to a button, this can be used as a cool drink dispenser in a game room or "cave."
Supplies
12 vold dc, 10 amp power supply
Arduino Uno
Arduino Motor Shield
(2) linear actuator, two inch stroke
Foam block, 6" x 12" x 1" (six pieces)
Assorted jumper wires
Assorted 3mm screws and nuts
Assorted wood screws
10 feet 1" x 2" wood
(2) 20mm x 10mm x 5mm strong magnets
Magnet sensor
3d printed parts
Duct tape
Wire, solder, heat shrink tubing
5" x 8" foam padding (to cushion can landing in Astro's load bin)
Hook and loop tape (like Velcro)
Astro is a robot that is (sort of) available from Amazon--if you request it and are given an invitation.
Step 1:
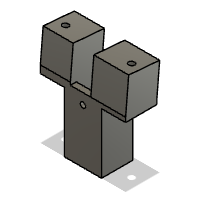
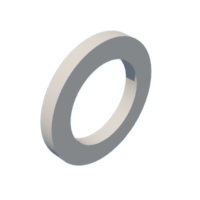
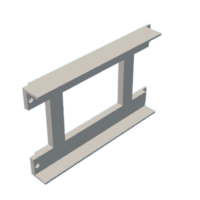
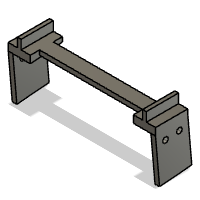
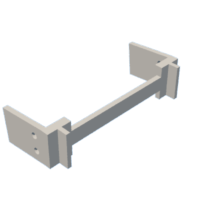
Print 3d files, then assemble two rail pieces using 3mm screws.
Attachments
 can divider with bktb.f3d
 can divider with bktb.stl
 can releaseb.f3d
 can releaseb.stl
 magnet sensor mount.f3d
 magnet sensor mount.stl
 ornament eye.f3d
 ornament eye.stl
 ornament screen.f3d
 ornament screen.stl
 ornament topper.f3d
 ornament topper.stl
 ornament vest.f3d
 ornament vest.stl
 ornament wheel tread.f3d
 ornament wheel tread.stl
 Peltier holder.f3d
 Peltier holder.stl
 rail.f3d
 rail.stl
 tower mount.f3d
 tower mount.stl
Step 2:
Cut 1" x 2" pieces and attach to rail supports using wood screws. Attach rail supports to rail using glue (or melt with soldering iron).
Step 3:
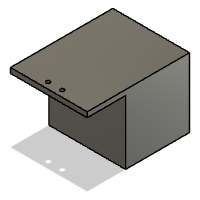
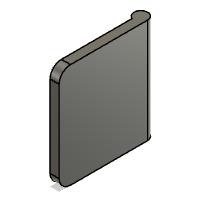
Attach can stopper (orange end piece that releases cans) and can divider (green piece that holds row of cans back during can release) to linear actuator using 3mm screw.
Step 4:
Construct base to hold linear actuators. Secure linear actuators in 3d printed mounts. Assemble such that (when fully retracted), the can stopper and can separator do not touch cans.
Step 5:
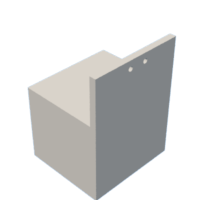
Mount arduino with motor shield to base of unit. Attach magnet sensor to sensor holder. Wire according to schematic. Install sketch in Arduino.
Attachments
Step 6:
Place two magnets together. Place one part velcro on the back center of Astro robot (so that it is slightly above magnet sensor). Place the other piece of velcro on one end of the "two magnets."
Step 7:
Here's an uncovered view of the dispenser in operation. Place padding inside Astro's load bay--just to soften the landing of the can.
Step 8:
Cut and assemble a foam box to insulate the cans. Use wood screws to connect the foam.
Step 9:
Attach 12 volt dc supply to the Peltier cooler. This supply will also go to the input on the Arduino motor shield.
Step 10:
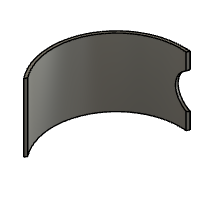
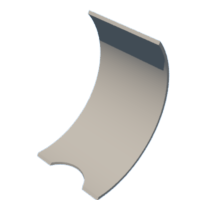
Paint the base (so that it doesn't look like scrap wood). Cut foam and glue to the bottom of the rails (I used Elmer's glue and duct tape). Attach the "can door" using duct tape.
Step 11:
Assemble the ornament topper (I melted the bits together using a soldering iron). Glue the topper to the top of the box.
Step 12:
Assemble, load and it's ready to go! Stick the magnet to the velcro on Astro's backside if you want a can delivered. If not, leave the magnet inside the load bay.
Step 13:
Why, you may ask, so much effort to make the little guy holding a can? I'm thinking of the future. Place one cooler to the left of the charger and one cooler to the right of the charger. The can holders indicate the type of drink held in the cooler. Add "snacky" above the center. With that combination, I can send Astro and request either a drink (one of two possibilities) or a snack. It's the future!


