Introduction: Small Jewelry Gift Box


Step 1: This Is What I Found:


Two old tealights with aluminum holder
One old glass tealight holder (which I painted blue inside ages ago)
One elastic band used for vegetables
One beer bottle cap
A tiny piece of silk
A tiny shell
Tools I used:
Scissors
Hammer
Sandpaper
A wood block for hammering
And something for prying out the candle if it won’t comes out itself.
Furthermore I used glue and nail polish (or paint)
Step 2: The Box Itself

I cleaned the old glass tealight holder and put some silk in it, that will become the box. The first part was finished, that was easy.
Step 3: The Lid Part 1

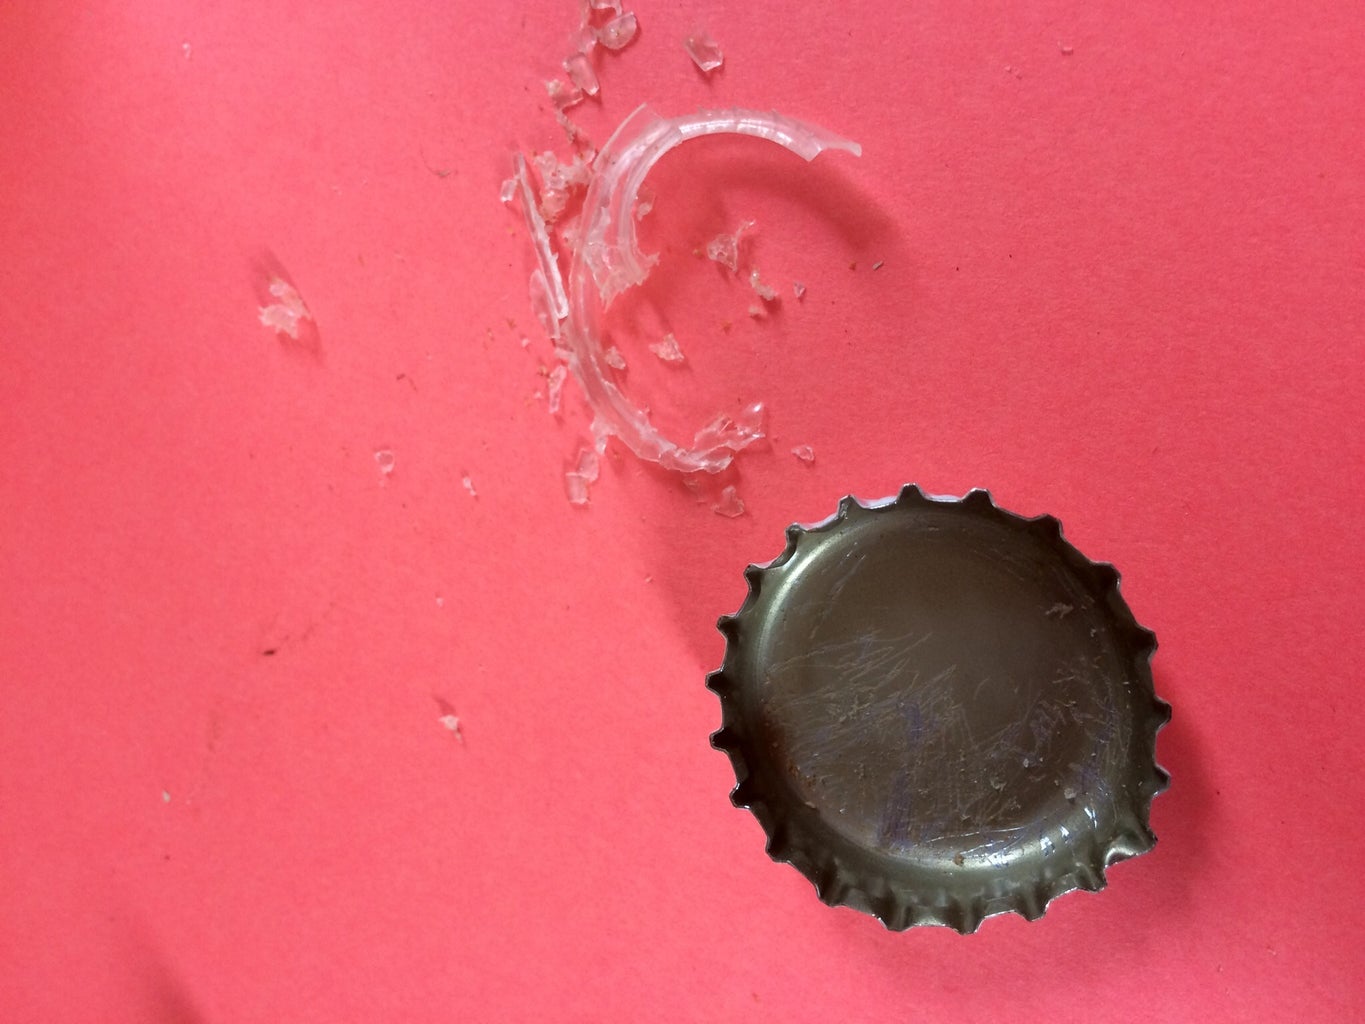


I started with taking out the plastic seal inside the cap. Then I flattened the bottle cap. Hammering around the edge, turning round till it look likes the hat of a mushroom. When it had the right shape I turned it around and flattened the edge. With some sandpaper I removed most of the paint, not all to give it an old look. After sanding I painted the cap with nail polish and put it aside. The old paint of the cap that was't removed makes darker spots in the nail polish.
Step 4: The Lid Part 2


The two tealights are also for the lid. From one of them the edge is cut to the bottom every 7 mm and then flattened. From the other one I cut out the bottom, I only needed the ring. I folded the ring in half for extra strength. I put the ring on the flattened holder and fold the edges around the ring. Now I had a holder half as high as the original one and much stronger. I also painted this with nail polish.
Step 5: Assembling the Lid


As soon as al the parts of the lid were dry I glued the bottle cap and tealight holder together. I glued the shell on top as a knob.
When the glue was dry I found out the lid didn’t fit, so I took a elastic band and put it around the lid. Now the lid fits but the color didn’t match so I painted the elastic too. After that I had a perfect fitting lid.
Step 6: Fill the Jewelry Box


There was only one thing left to do: put the earrings in the box and my gift was ready to give.

Participated in the
Box Contest 2017

Participated in the
Unusual Uses Challenge 2017


