

Introduction: Small Parts Organizer / Spice Rack


The last few years we have now and then bought garlic pepper in small glass jars in our supermarket. A product of an Europe-wide chain of steakhouses.
At first, these small glass jars (H 90 x Ø 50mm) were just too bad for me to throw them away in the glass container. Therefore, they were kept. Over time, there were so many that I started to think about what you could craft from them ... something to store screws and / or small parts … or spices.
The rack consists of 3 boards. Actually, to fix the jars are necessary only two. The lower shelf should serve to be able to put down a detached jar ... .. as it is also possible in the shelf above. In addition, this allows the shelf to be placed standing.
Dimensions: Width 540 x Height 400 x Depth 93mm
Supplies


For this project you'll need:
- 12 small glass jars (H 90 x Ø 50mm)
- 3 boards 540 x 80x 19 mm
- 2 wooden strips 400 x 38 x 13 mm
- 36 wood screws Ø 2 x 8 mm
- 12 wood screws Ø 4 x 50 mm
- jigsaw
- glue
- screwdriver / cordless screwdriver
- sandpaper
- sanding block
- pencil
- centimeter measure
- screw clamps
- stop bracket
- pricker
Step 1: Sawing Boards


For this step I needed:
- jigsaw
- sandpaper
- sanding block
- centimeter measure
- pencil
As I did not have ready-made boards in the dimensions, I had to saw them from a larger board. This larger board (bamboo) I had left over from another project. Of course, you can also take pine or spruce, which is lighter than bamboo and therefore perhaps of an advantage.
As strips will later have to be attached to the shelves with screws, the boards must not be too thin. The boards that I have available have a thickness of 19 mm. If the boards are too thin, there is a risk that they will split when the screws are turned in - despite pre-drilling.
From this larger wooden plate I have sawn 3 boards 540 x 80 x 19mm
After the boards are sawn, the edges must be chamfered with the help of sanding paper.
Step 2: Remove Product Stickers


The removal was quite simple in this case. I was able to peel off the label completely. The few adhesive residues I have removed with cleaning alcohol. Then I cleaned all the containers and lids.
Step 3: Holes for the Lids


For this step you need:
- the 12 lids of the glass containers
- drill hole template
- pricker
- drill bit Ø 2,5 mm
- drill
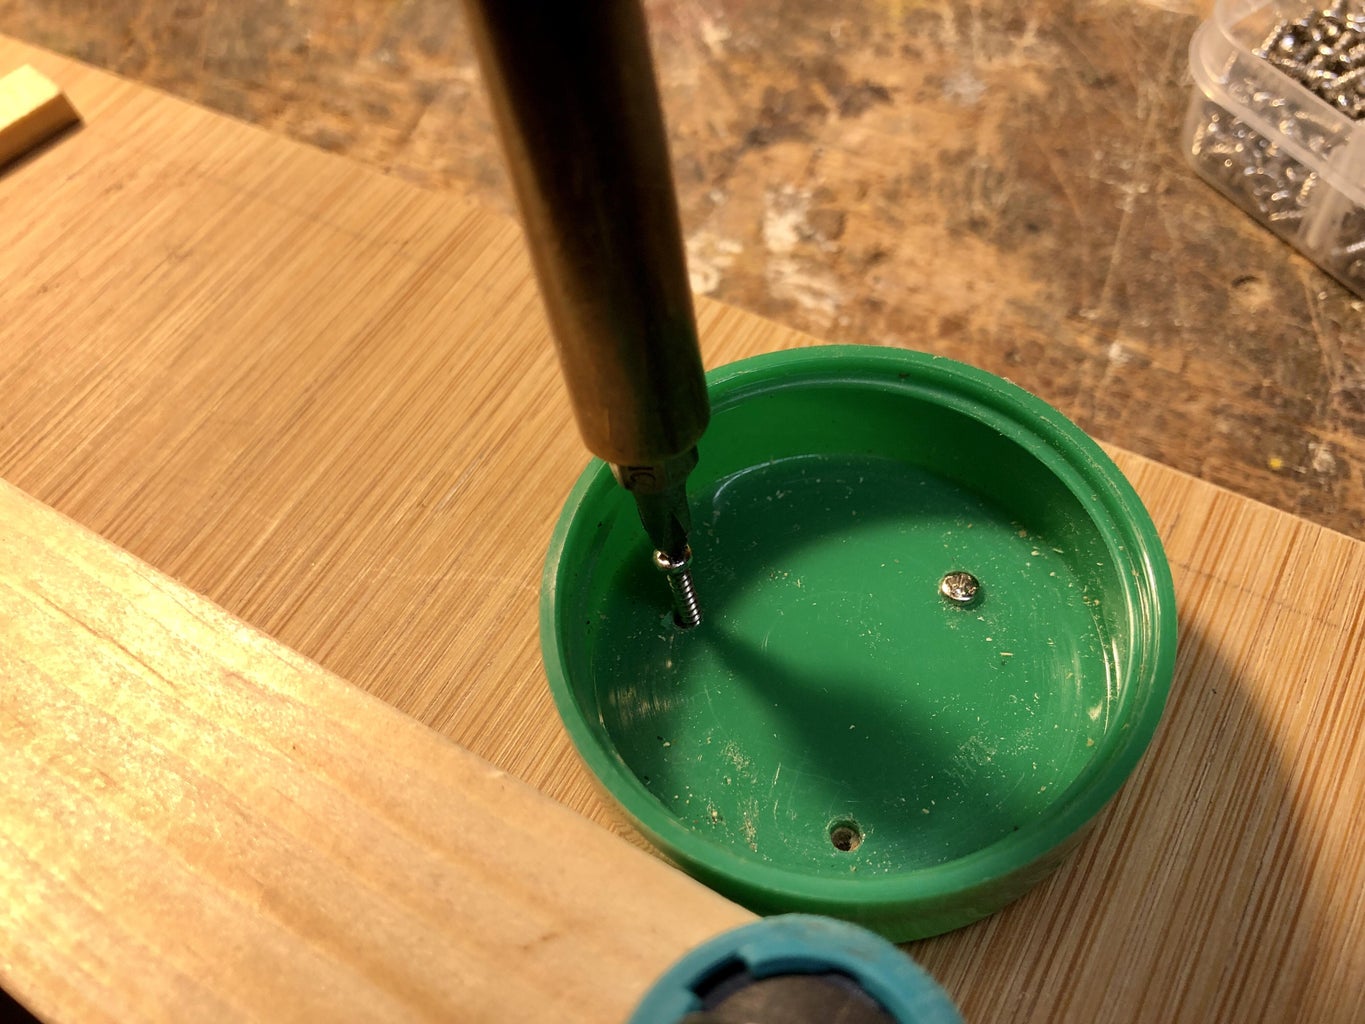
To ensure a good fit and to prevent the lids from twisting later when the jars are closed or opened, each lid is to be fastened with 3 screws screws (Ø 2 x 8 mm). For this purpose, I drilled 3 holes (Ø 2.5mm) in each lid with the help of a 3D printed template. An adequate template can also be made from cardboard.
With the help of the template and a pricker mark the drill holes.
Drill 3 holes in each of the 12 lids.
Note: Small screws with small heads should be used for the fixing later, as large screw heads could prevent proper tightening up to the stop. Otherwise, the drill holes must be moved further towards the center of the lid.
Attachments

Step 4: Determine Division


For this next step you'll need:
- 2 of the sawn boards (540 x 80 x 19 mm)
The rack is constantly widened in the course of construction. In order for the jars to be turned in and out without complication, they need to be sufficiently spaced apart. An initially narrower arrangement turned out to be impractical.
Likewise, the distance between the boards of the rack to each other. Here there must be enough distance from the bottom edge of the glass to the board below, so that the hand has enough space to make the turning movement from below.
Before the lids can be attached, the arrangement must be determined on the two boards.
The lids - in my case - have a diameter of 47 mm.
540 mm divided by 6 gives 6 equal sectors of 90 mm. Within each sector, the lids must now be centered in the longitudinal direction.The distance between the lids and the front edge should not be 10 mm.
Step 5: Attach Lids


Now you'll need:
- the 2 boards
- the 12 prepared lids
- drill bit Ø 1,5 mm
- 36 wood screws Ø 2 x 8 mm
- screwdriver
- spacing template 43 mm
In order not to "pollute" the boards unnecessarily with pencil lines, I sawed a small piece of strip 43 mm long. For the even longitudinal alignment of the glasses I fixed a strip on the board. After the first lid is fixed at 21,5 mm from the edge, I now place the 43mm strip against the lid and position and fix the next lid and so on.
Step 6: Sawing Strips


For this step you need:
- wooden strip (2400 x) 38 x 13 mm
- jigsaw
- sanding paper
From a 2.40 m long strip, which I had bought in the DIY store, I have now sawed 2 strips with a length of 40 cm and then finished the edges with sandpaper.
Step 7: Attach Strips


Now you need:
- the 3 boards
- 2 strips 400 x 38 mm
- screw clamps
- drill bit Ø 3 mm
- drill bit Ø 4 mm
- drill bit Ø 5 mm
- stop bracket
- 12 wood screws Ø 4 x 50 mm
- screwdriver
- glue
Before the strips can be screwed on the back, the positions for the holes for the screws must first be determined. To do this, I aligned the strips with the boards using screw clamps. The space between the boards is 170 mm.
Then I drilled 2 holes (Ø 4 mm) in the center at the height of the boards and drilled a little into the board so that I could later pre-drill the holes in the boards at these points with a Ø 3 mm drill bit.
Optional:
In order to attach the shelf to the wall, a Ø 5 mm hole must be drilled in each strip at a distance of 2 cm below the upper board and above the lower board. If you intend to stand the rack, then these holes do not need to be drilled.
To avoid later distortion of the shelf, I applied some glue in addition to the screws. To ensure that the shelves are perpendicular, I used a stop angle.
Step 8: Insert Glasses


It's done! After the glue has set and the strips and boards are now well connected, the moment comes when the glasses can be inserted,
Now you just need to find a place where this shelf can be useful. Either in the craft room for small parts or in the kitchen as a spice rack. As the jars in my case had a removable shaker cap, these can then be put back on for certain spices.
I recommend that those who want to use this rack in the kitchen, paint it with colorless finish or at least oil it!
Have fun with it!
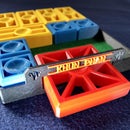
Step 9: Color Suggestions


Maybe you would like to color this shelf ... here are some ideas!

Runner Up in the
Organization Challenge


