Introduction: Unusual Uses Ziploc Bags
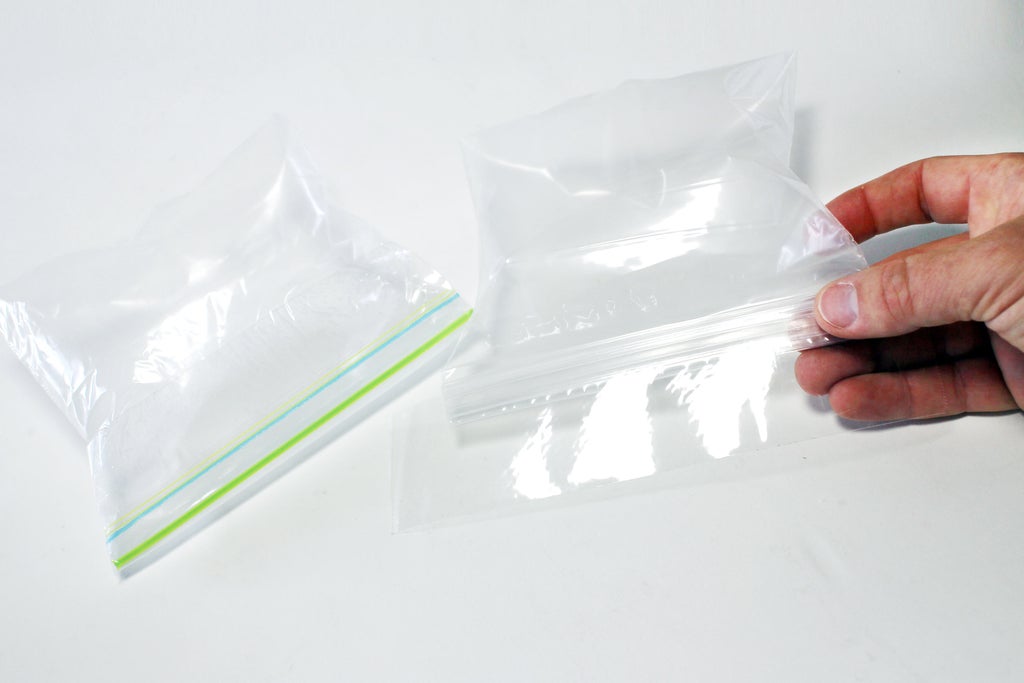
Resealable plastic bags are so useful at keeping things securely sorted. Though the organizational uses for this plastic pouched wonder are abundant, there's quite a few unusual uses for Ziploc bags that might surprise you. From paint to marinade, there's more than a few unusual uses for Ziploc bags.
Step 1: Airplane Phone Holder
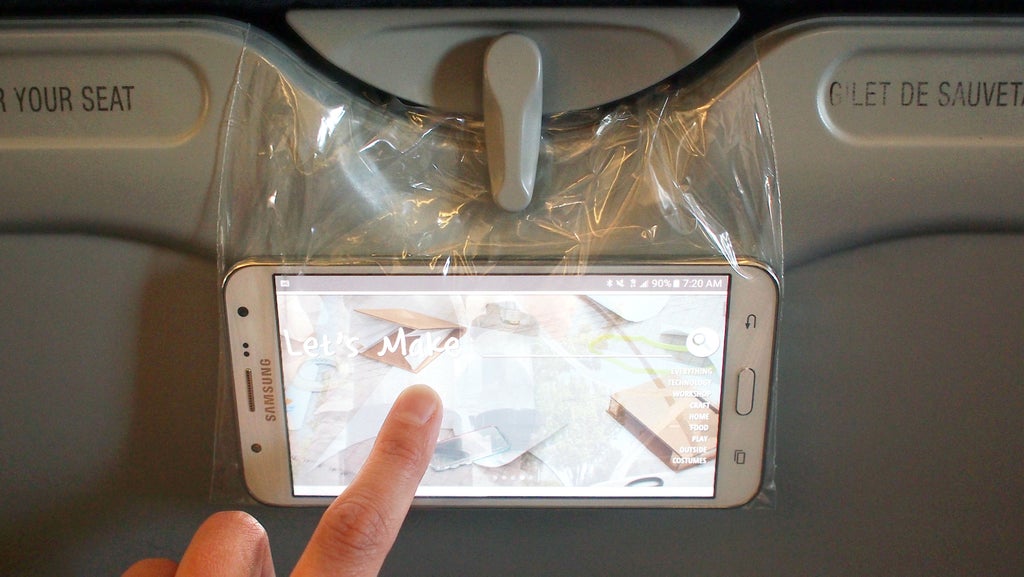
There are so many storage uses for resealable bags when travelling, especially when there's liquid limits to what you can take on your carry on. Carrying a few extra bags with you when travelling on an airplane is smart, since the bags can be used as a makeshift phone holder for your next flight.
 |  |
When you're in your seat, place phone inside the clear plastic bag and seal closed. Open the drop down tray table in front of you and place the top of the bag into the tray lip and close the tape, trapping the thicker closing strip between the tray and the seat. You can close the locking hasp over the bag to secure everything in place.

When your phone is resting securely you can still use the capacitive touch screen, and headphones can easily puncture the bag into the jack if you want to watch a movie.
Some airplanes have different versions of the tray table, so you may have to adjust the method to suit your plane model.
Step 2: Piping Bag
If you're ever in need of a piping bag but can't find one, chances are you'll be able to locate a sandwich bag that will serve the same function.
 |  |
Scoop your frosting into the bag. If you can find a small bowl to wrap the open top of the bag over, that will make filling much easier. Spoon frosting into bag until about 3/4 full.
Seal the bag and use scissors to snip a small corner off the bottom of the bag. Squeeze the bag from the sealed top to push the frosting out the cut opening in the bottom of the bag. Pipe directly onto your cupcake or dessert. The bag can be refilled as many times as needed.
Step 3: Funnel
Piping delicious frosting isn't the only function of filling a resealable bag and snipping off a corner. Using the same trick the bag can be used as an emergency funnel for dry good or liquids.
Depending of what you're funneling, and the opening size of the receptacle, you can cut off more or less from the corner to get the right flow for your application.
Step 4: Marinade Bag
Staying in the kitchen, resealable bags are perfect for marinading food. The best part is that it keeps your hands from getting messy, and makes marinades a snap!
Simply put all your marinade ingredients into an appropriate sized resealable bag, seal up and mix with your hands until combined. Open the bag up again and place your food to marinade inside the bag. Lay the bag flat on the counter and try to remove as much air inside the bag as possible before sealing. Once the plastic bag is sealed massage with your hands until the food is completely covered with the marinate. Place in the fridge and let the marinade do the hard work.
Step 5: Breadcrumbs
Ziploc bags are just so good at keeping a mess contained, that it's perfect for the next time you want to make crumbs from a cracker or stale bread.
Place your food into a Ziploc bag and start smooshing it with a rolling pin. If you're not gentle with making crumbs the plastic bag can split, so if you're unsure double wrap the food before turning into crumbs.
Step 6: Keep Ice Cream Soft
Okay, the last kitchen use for Ziploc bags. I promise.
If you've even kept ice cream in the freezer for too long you might have noticed ice crystals forming on the top of your favorite flavor, this is called heat shock (or freezer burn). This happens when ice cream melts a little and then is refrozen, when the ice cream is put back into the freezer the container isn't air tight and the cold draws moisture out of the ice cream and freezes into large ice crystals on the surface.
The best way to combat this is to add an air barrier between your frozen favorite and the rest of the freezer, like in a large Ziploc bag. This provides a method to block air from moving around inside the container of ice cream but still let the cold through.
Step 7: Store Paintbrushes
In the workshop a resealable sandwich bag can be invaluable for your next paint job. Between paint coat applications while the paint is drying on your next project it's also drying on your brush or roller. Instead of cleaning your brush between every coat and wasting water or mineral spirits just put your brush in a resealable sandwich bag, squeeze out the air, then seal to preserve your brush until you're ready for the next paint coat.
I've had brushes last overnight using this method, though haven't tested longer. I usually finish my paint jobs in a day so duration isn't as important as the short-term gain of not having to wash my brushes between coats.
Step 8: Shower Head Soaker
Vinegar is great for descaling all kinds of things in your home, like your kettle or stainless steel water bottle. It's also great for use on your shower head to to descale the insides and increase the flow. You could remove the shower head first before soaking but by leaving it on you also expose the neck of the shower plumbing to the same treatment, double whammy!
The bag is placed over the shower head and filled until the head is completely submerged, the top of the bag is wrapped closed and secured with a zip tie and left to sit overnight. The next morning the tie can be cut and the vinegar can be poured into the drain. Let the shower run for about a minute after this application to blast out any remaining vinegar in the head.
Step 9: Packing Airbags
An alternative to using paper wadding next time you ship something is to use airbags. If you're like me you reuse your resealable bags as often as possible. Before throwing them away for good, using them as packing fill is a great last use.

Close a resealable bag most of the way, then blow air into the small opening until bag is inflated and quickly seal shut while continuing to fill the bag. Once the air is trapped inside you might need a little tape to secure the seal and ensure it stays inflated. I find it easiest to fold over the resealable top and then tape shut, giving an extra layer of sealing protection.
Step 10: Paint Project (for Kids!)
Kids love being creative, and messy. Allow them to express themselves with color without all the mess that comes with painting.

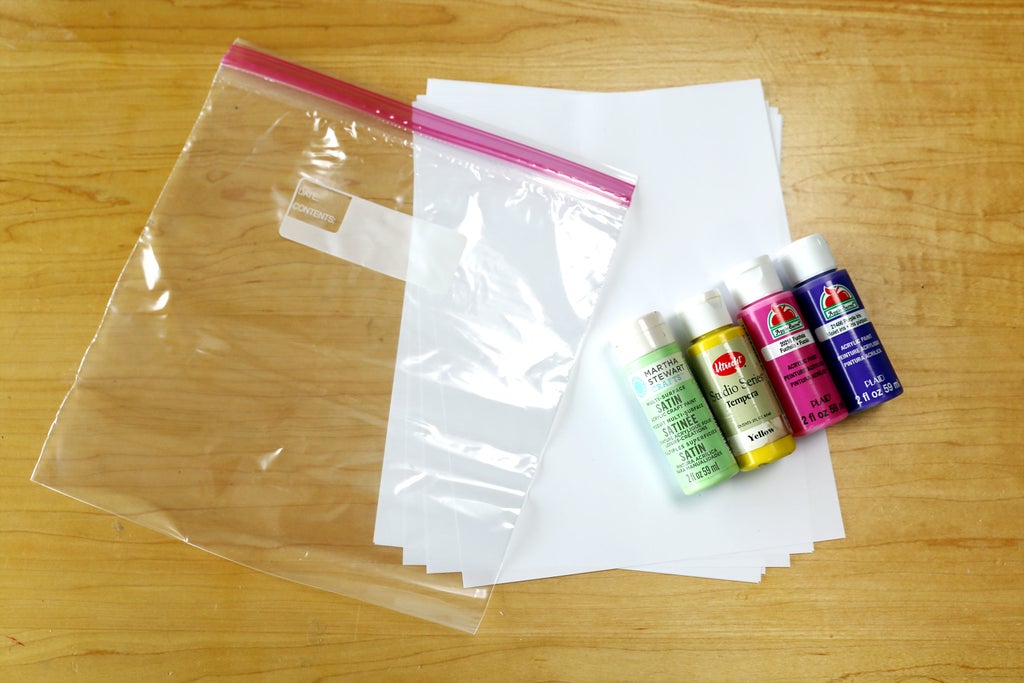
The best part of this method is that there's no rules with how you apply the paint, or make your creation. Any paint will work (though, water-based acrylic is best), and can work for any ability or age group.

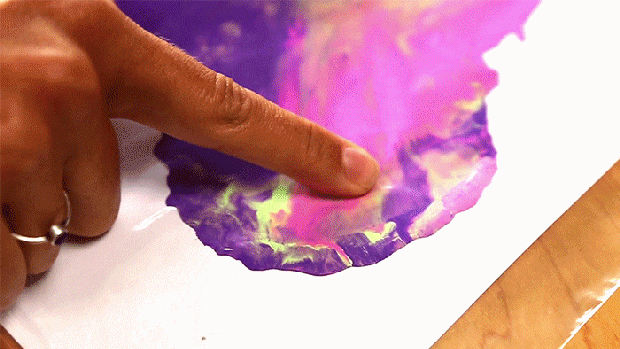
These artistic masterpieces can be made by placing a piece of printer paper in a large Ziploc bag and then adding a few drops of acrylic paint, then seal the bag. Press your fingers, palm, or any other instrument against the bag where the paint is to smear it around and make your design.
 |  |
After, clean out your Ziploc bag with warm soapy water and let dry, then repeat for the next project.
Do you have your own unusual uses for Ziploc or plastic bags?I want to see it!
Happy making :)

Participated in the
MacGyver Challenge


