

Introduction: ARDUINO UNO LED CUBE DANCING Lights


Lets see how to make dancing lights LED cube using your arduino uno.
For this project arduino uno is must and 64 LED's you need of your color choice.
I have used blue LED's for this project.
You need to solder all 64 led's layer by layer but that would be very difficult if you try to to solder normally so i used a wooden jig which is capable of holding the led's in right place,
Goto this link http://adf.ly/wWZNw and http://adf.ly/wWZSa to download 2 pdf files and make the right size wooden jig.
I have printed the 4th page of that pdf (4x4x4 led cube construction pdf )
and pasted on the wooden board of size 6"x6" and 1" thickness.
and the right size hole drilling instructions will be in the pdf files.
After you made the jig then place the led's for soldering before doing that you need to bend the leads of led's in right direction, how to bend and place it in jig for soldering is also there in the manual that 2 manuals are very short in size and totally 30 pages including both
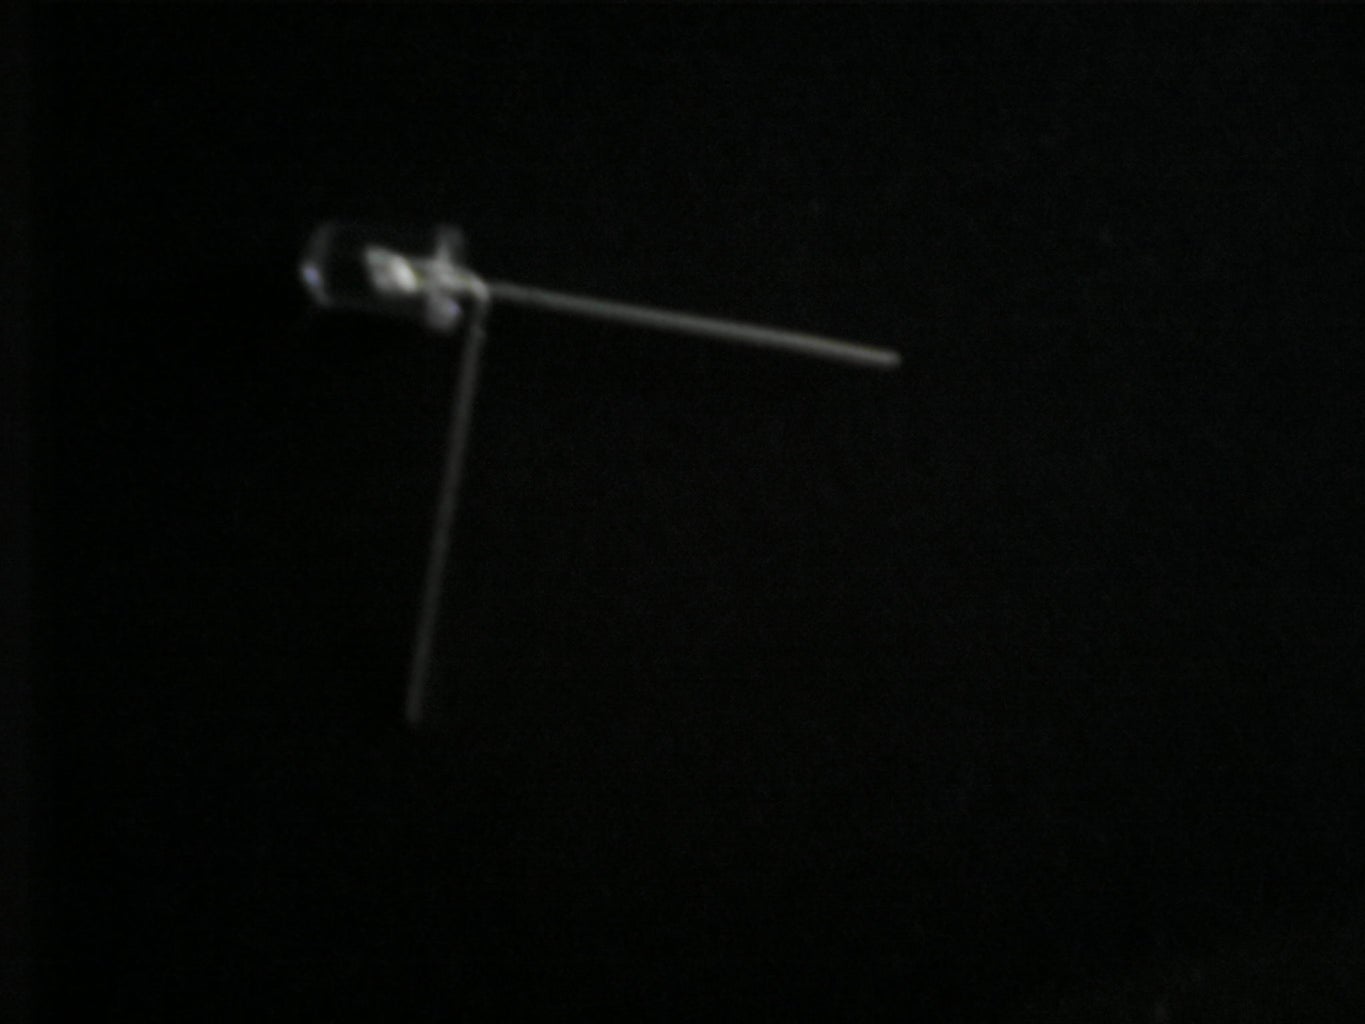
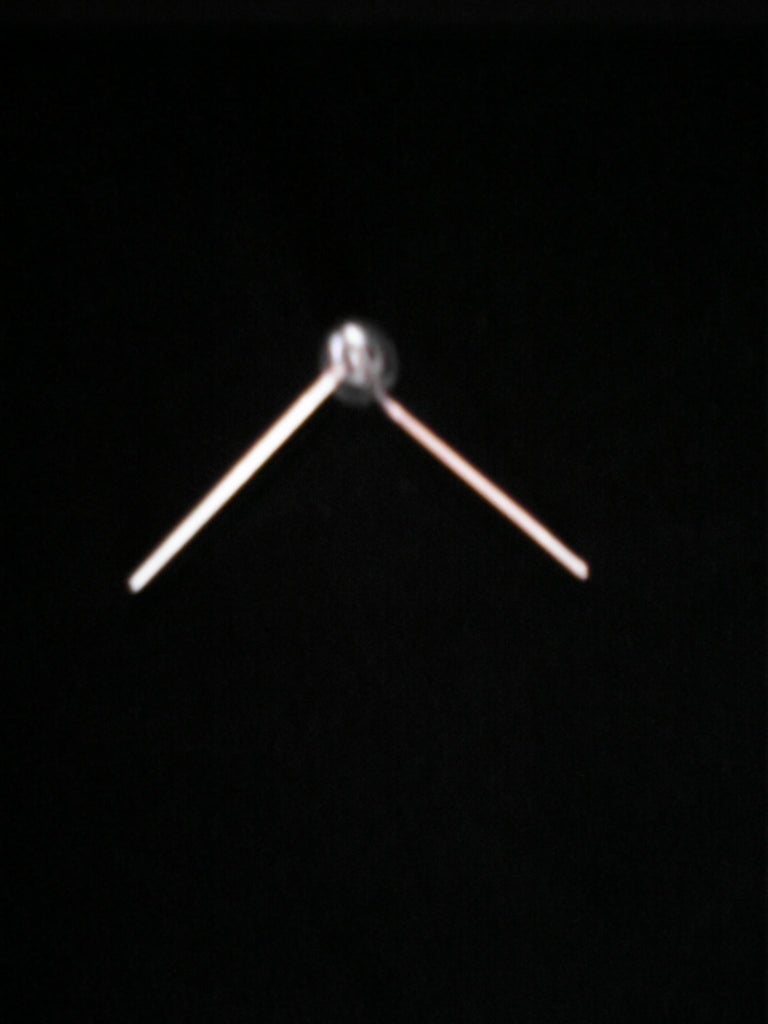
Take one led and using the nose plier bend its longer end lead exactly 90 degrees to it see the images to understand. Then bend the smaller lead exactly 90 degrees to both led bulb and the longer lead .
long lead is +ve and is called anode and smaller is -ve and called cathode.
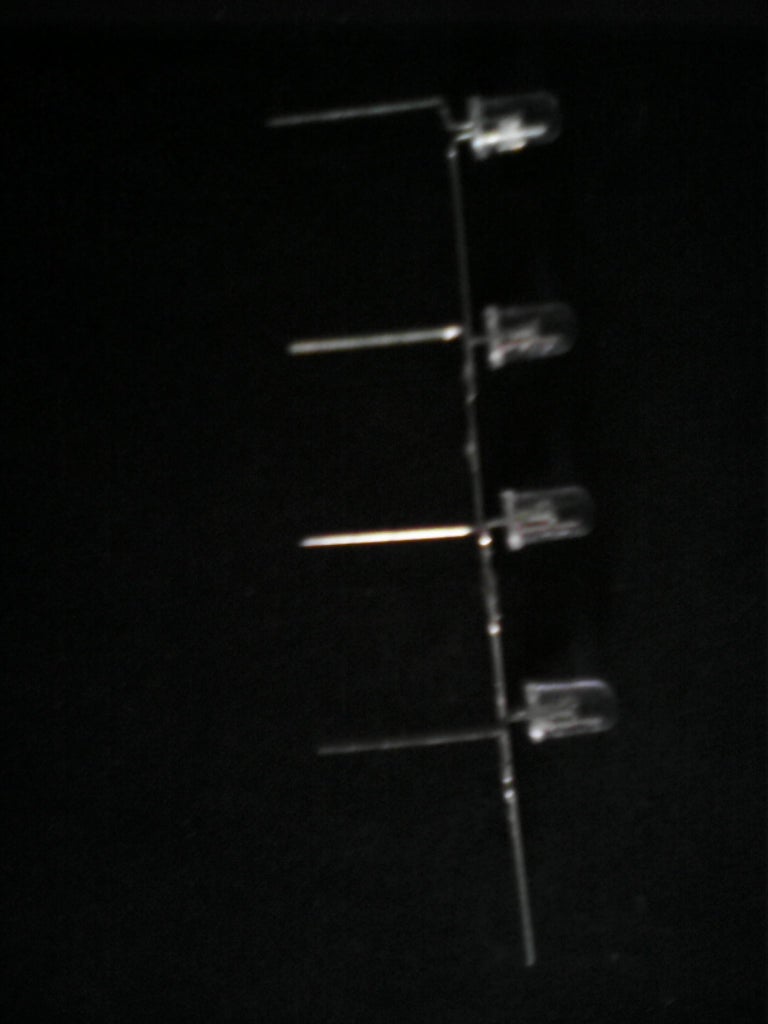
then again bend the cathode lead down below to the bulb part of led, and do this same thing for all 64 led's and then you are done and place all led's in the jig and start soldering out all of them layer by layer
once you finished the 4 layers then stack all of them over one another and solder all cathode points where they touch each other and everything else will be in the manual. Its so simple than other things but you better use flux free solder wire, and you can do all the job done within 3hours.
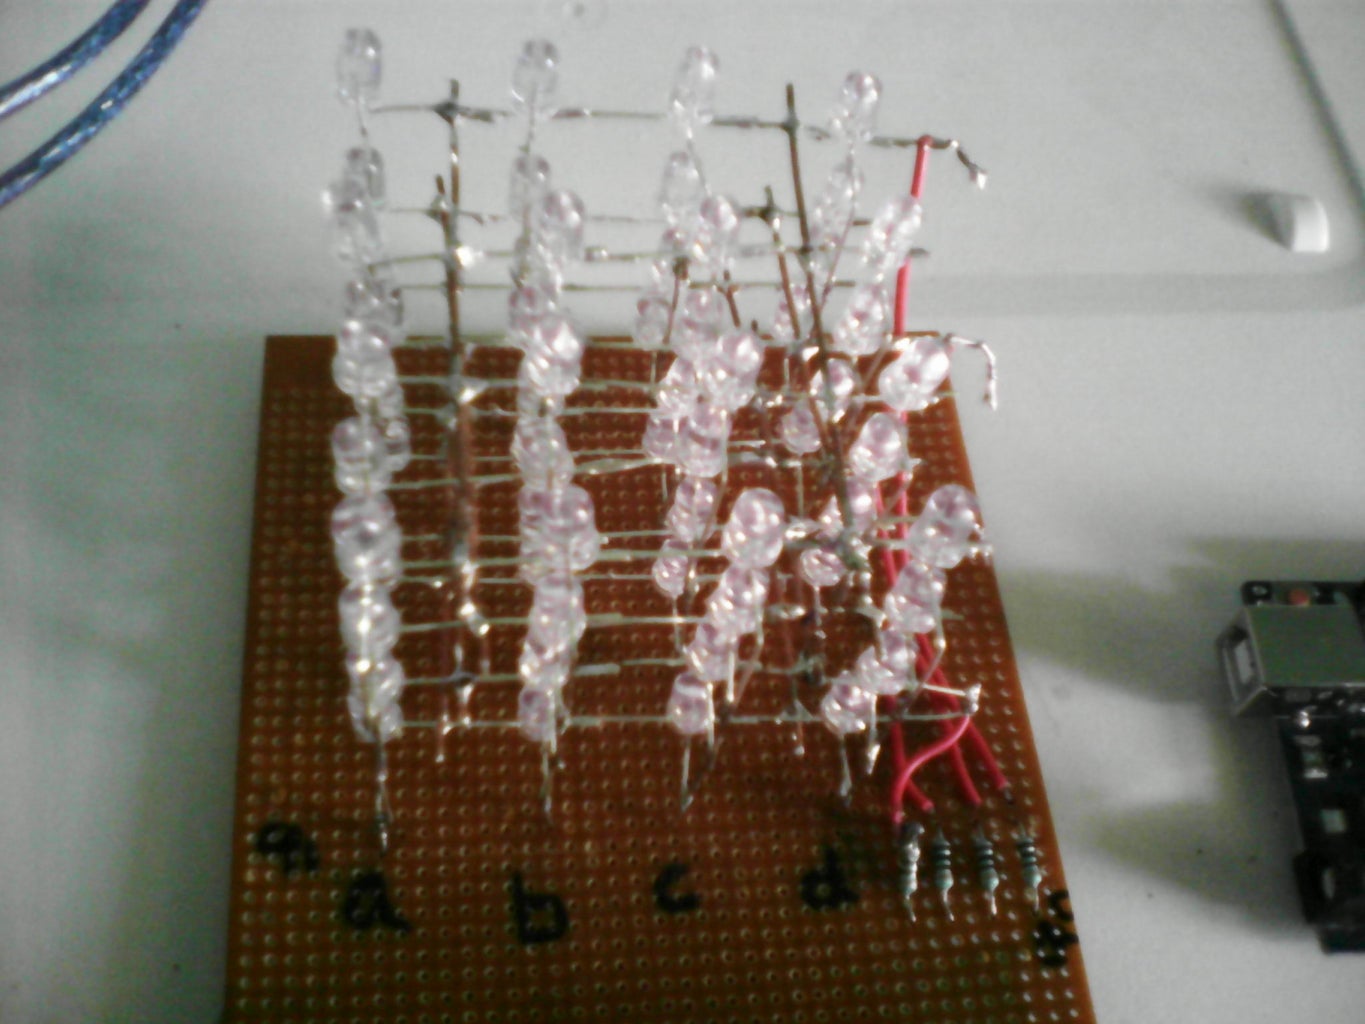
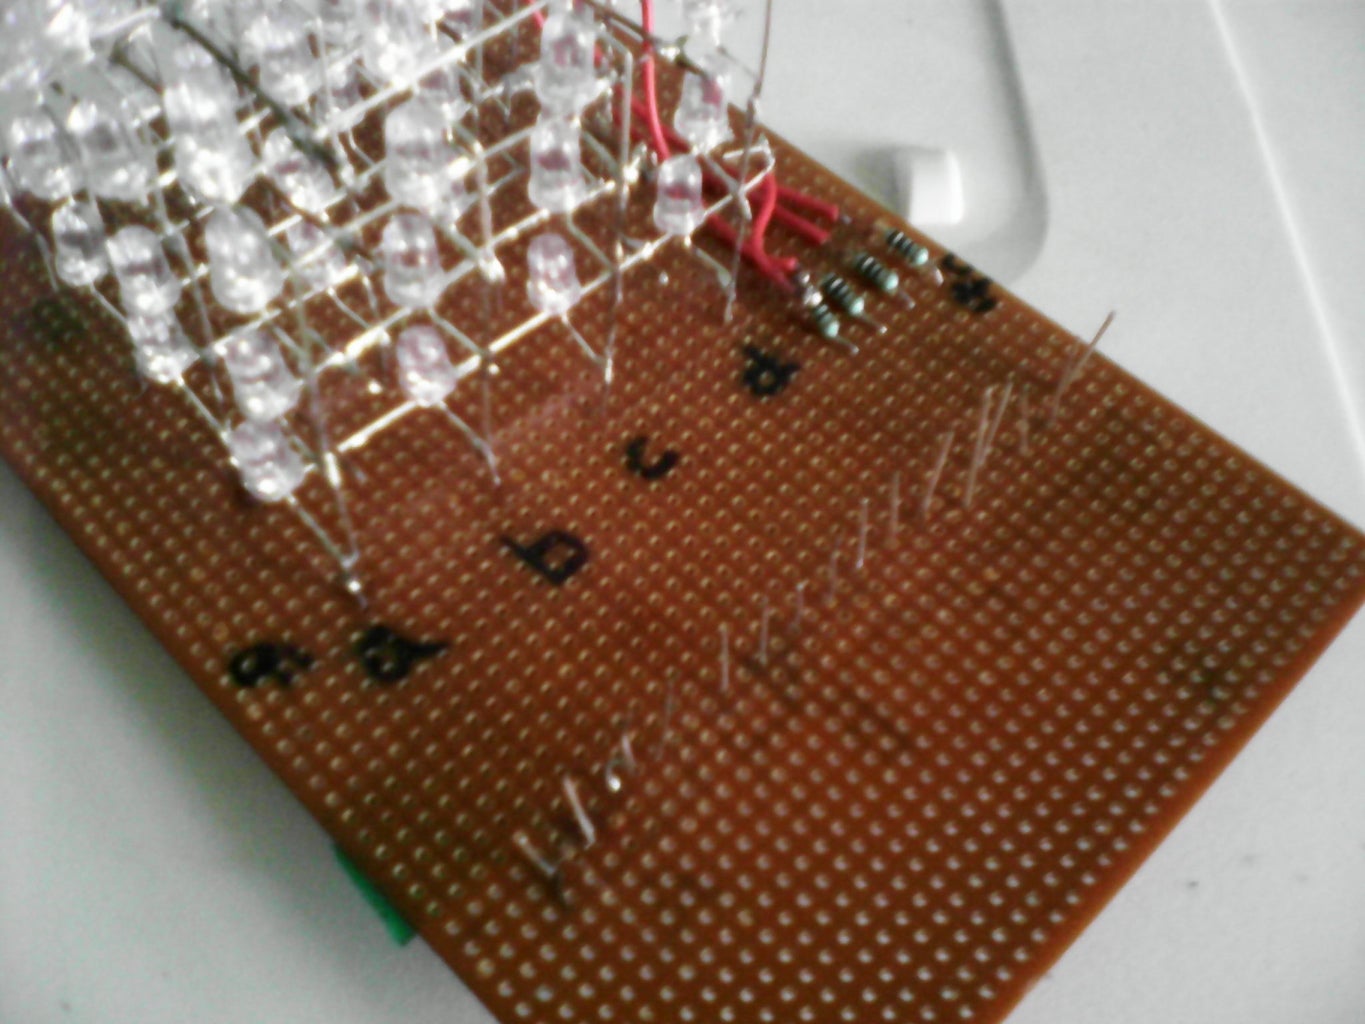
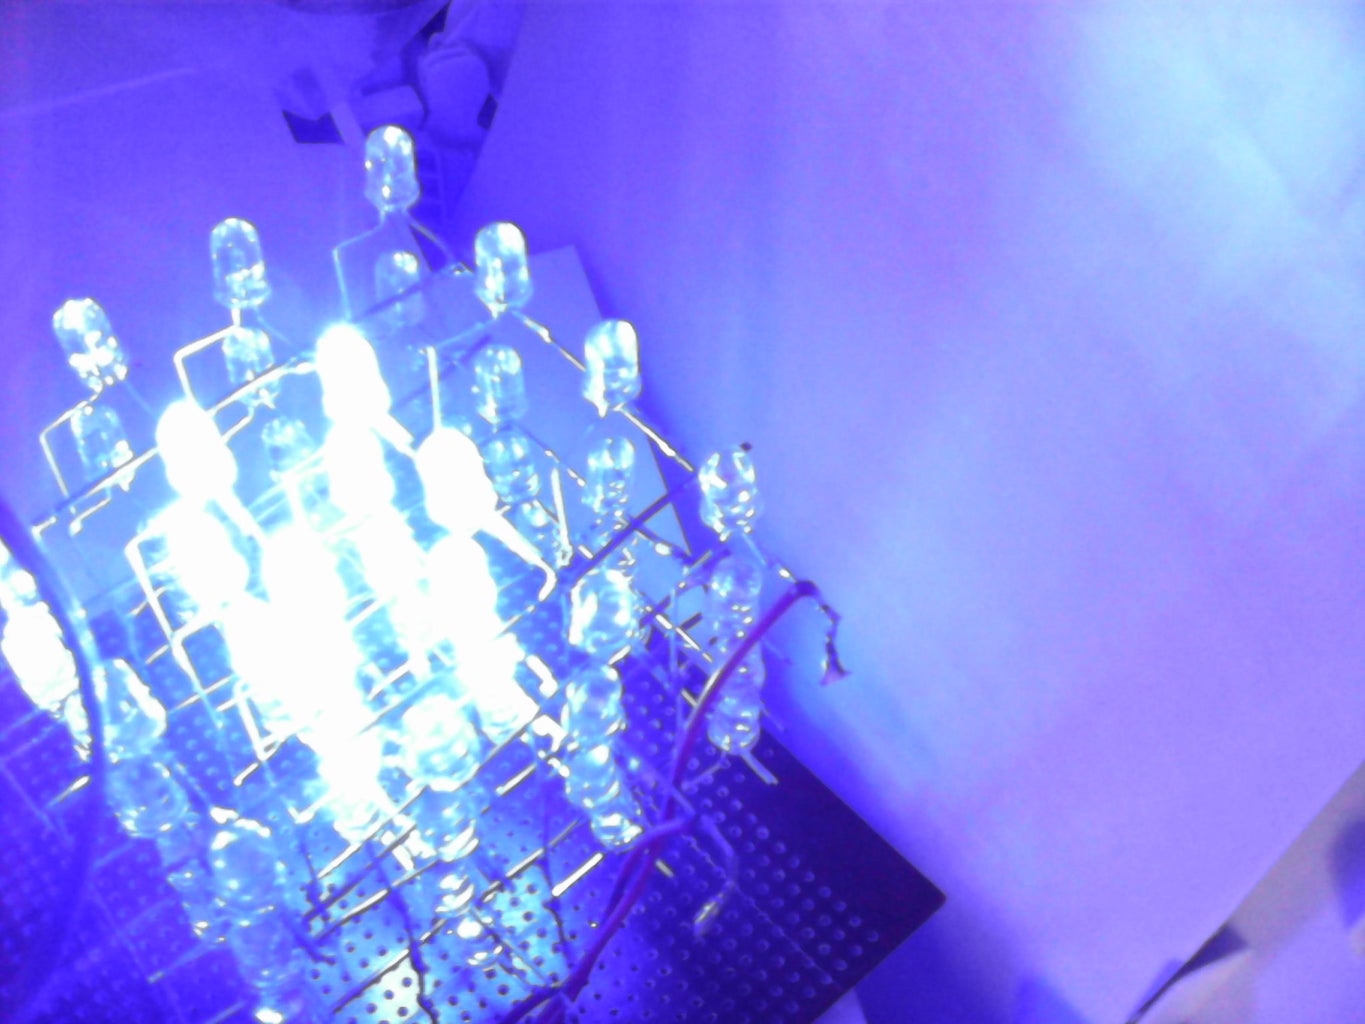
Once you are ready with the cube then mount the cube to a pcb board as in fig.
then bring all cathode points down using some wires and then solder all the cathode points side by side.
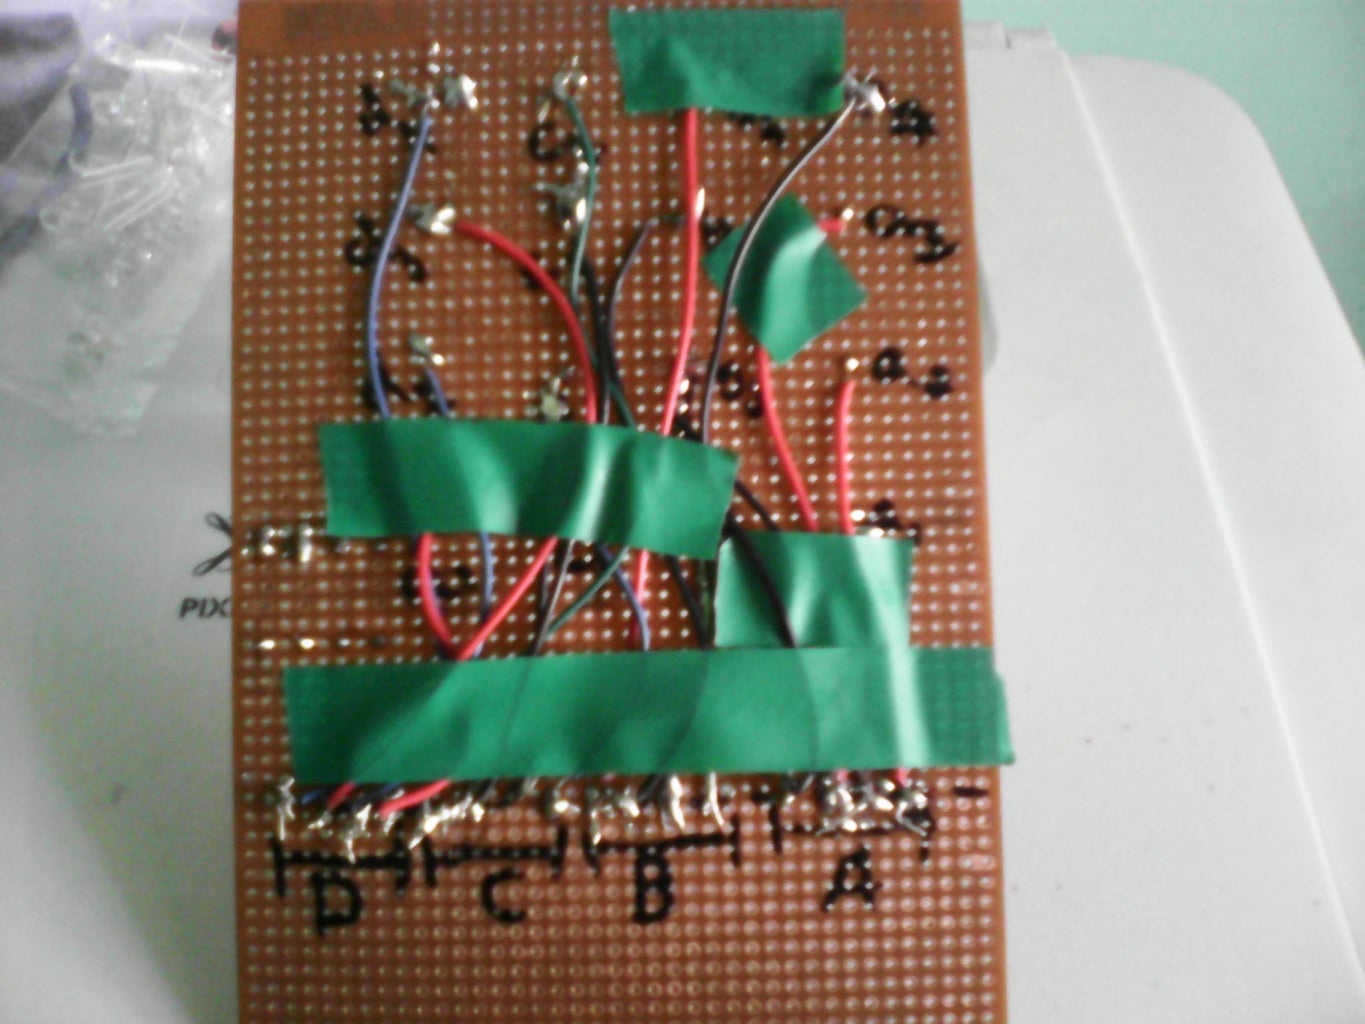
for easy understanding I named the 1st cathode row as A 2nd as B 3rd as C and 4th is D.
and the 1st point cathode is a1 2nd is a2, 3rd is a3, and 4th is a4 same way i have named all the cathode pins as b1,b2,b3,b4,c1,c2,c3,c4,d1,d2,d3,d4 it will be very easy for the next step where we going to connect with arduino uno and program it with our laptop or pc using arduino software available from the arduino website.
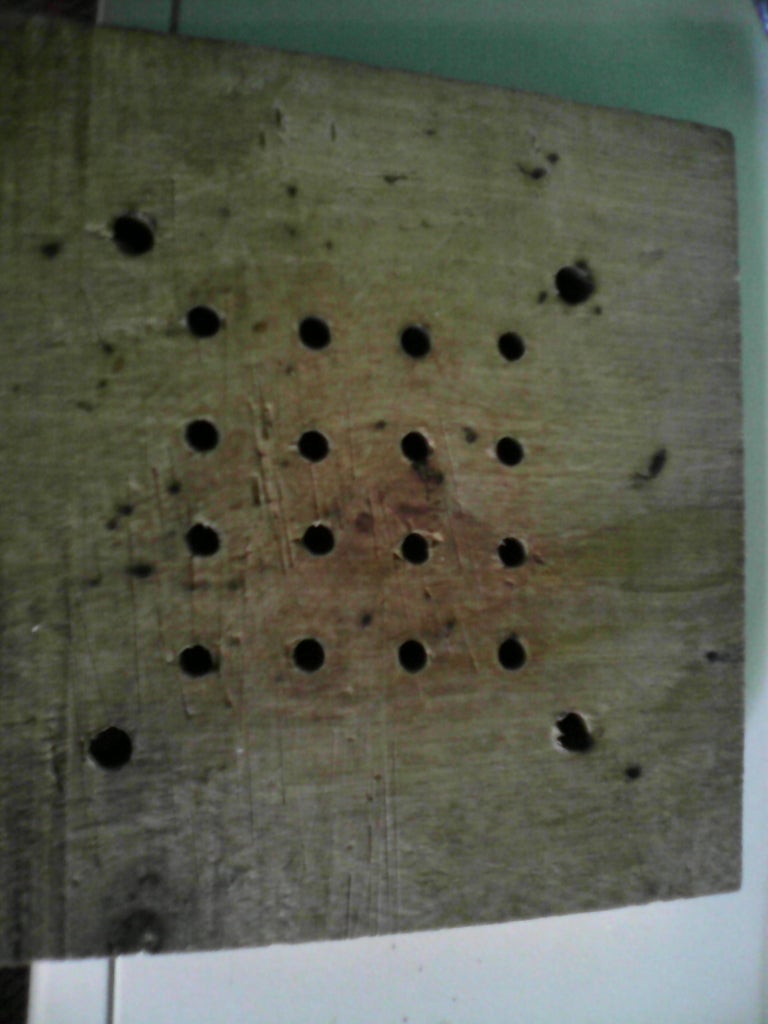
Step 1: Construction of Jig


Take one 6"x6"x1" wooden board and drill the 16 holes of size 7/32" drill bit size
Step 2: Choosing and Soldering the Led's


Take one Led and bend it as in description and place in jig and do the same step for all 64 led's and start soldering all anode points where they meet .
Step 3: Creating Layers and Soldering the Layers


After all the lesd's are soldered place a copper rod of thickness 20gauge and solder the row connecting points as in fig.
Step 4: Soldering All Layers and Mounting on the Pcb Board

Solder out all the layers all points with their respective anodes to anodes and cathodes to cathode and insert all the 16 cathode pins to pcb board and maintain a clean alignment and follow my description for further connection with arduino.
Step 5: Connecting With Arduino and Programming Arduino and Testing Your Project


Don't worry about connecting so much wires everything about connections will be included in the program and i will give the link for the program as it is so big and i can't describe here. you just download the program and open it with arduino software and click on upload, and it will be uploaded to your arduino board, and power it with usb or dc source to see the amazing dancing light.
Link for arduino program
http://adf.ly/wWfr9
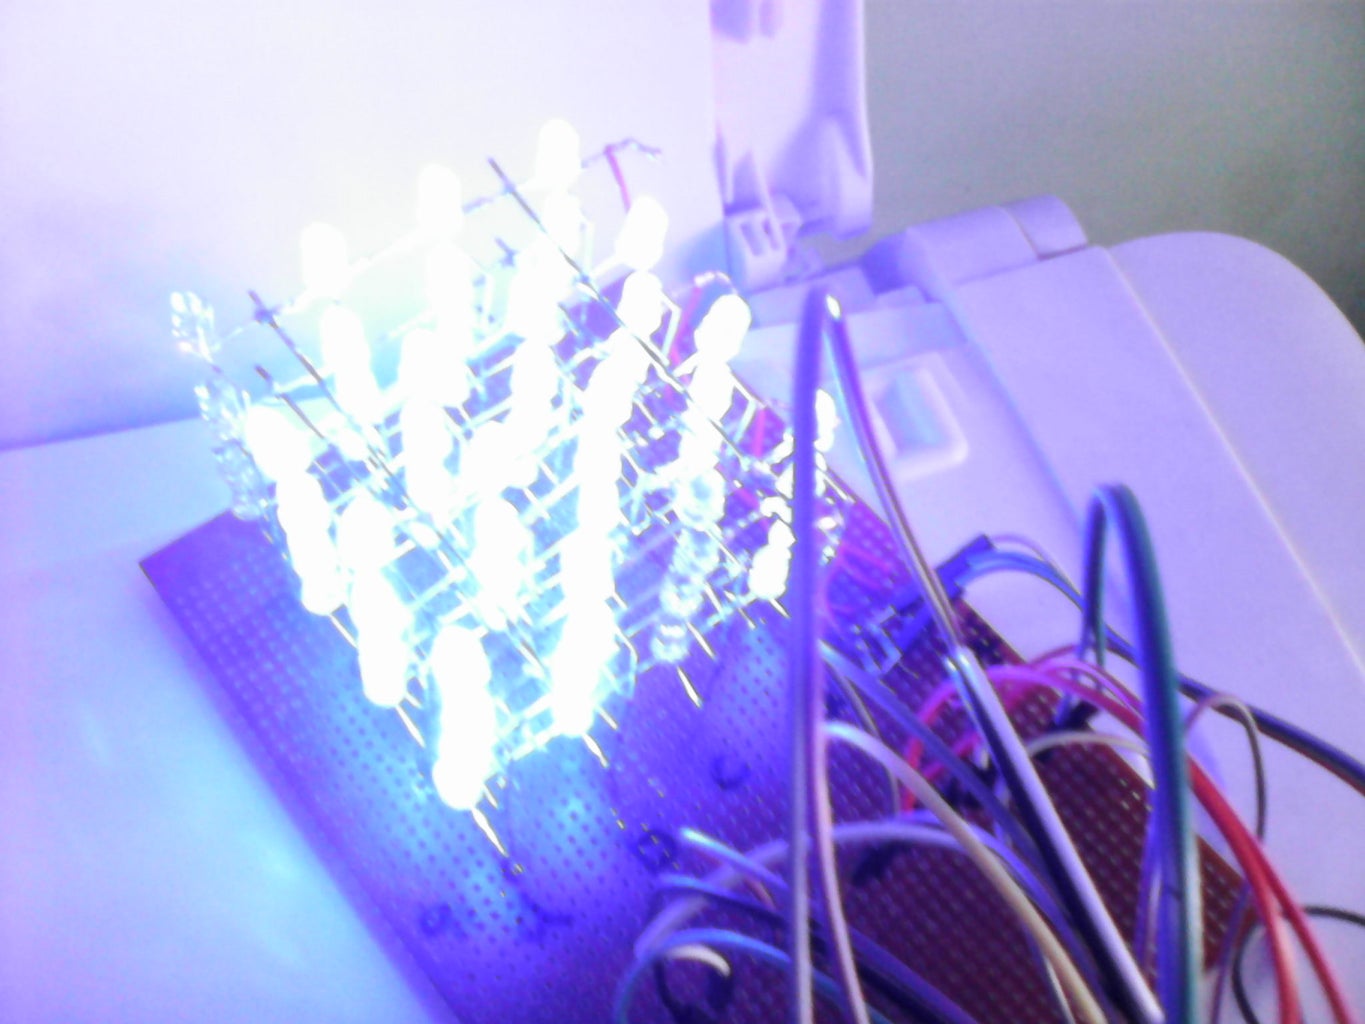
Step 6: Working


I have even made the video and I will upload it and give the link soon
Step 7: Try to Make It Even More Perfect


If you liked this project then try to make it even more perfect with fine soldering and using different colors LEDs


