Introduction: Easy Cardboard Extend-o-grip


This is how to make a easy cardboard Extend-o-grip, so you can reach stuff on a high shelf, pick up stuff off the ground, or help with social distancing. It is easy to make and VERY cheap compared to the store bought plastic ones.
Supplies
You will need: cardboard, string, a straw, a knife, scissors, hot glue, a pencil, and a ruler
Step 1: Base

Cut out two 3“ x 12“ Rectangles of cardboard.
Step 2: Glue

Glue both rectangles together.
Step 3: Wristband

Cut out a 2” x 10” rectangle.
Step 4: Curling

Bend/curl the rectangle like the picture.
Step 5: Gluing


Glue the curved cardboard to the end of the base.
Step 6: Cutting

Cut out ~2” from the center.
Step 7: Holes

Poke/cut 2 holes in each side of the curled cardboard.
Step 8: Lacing
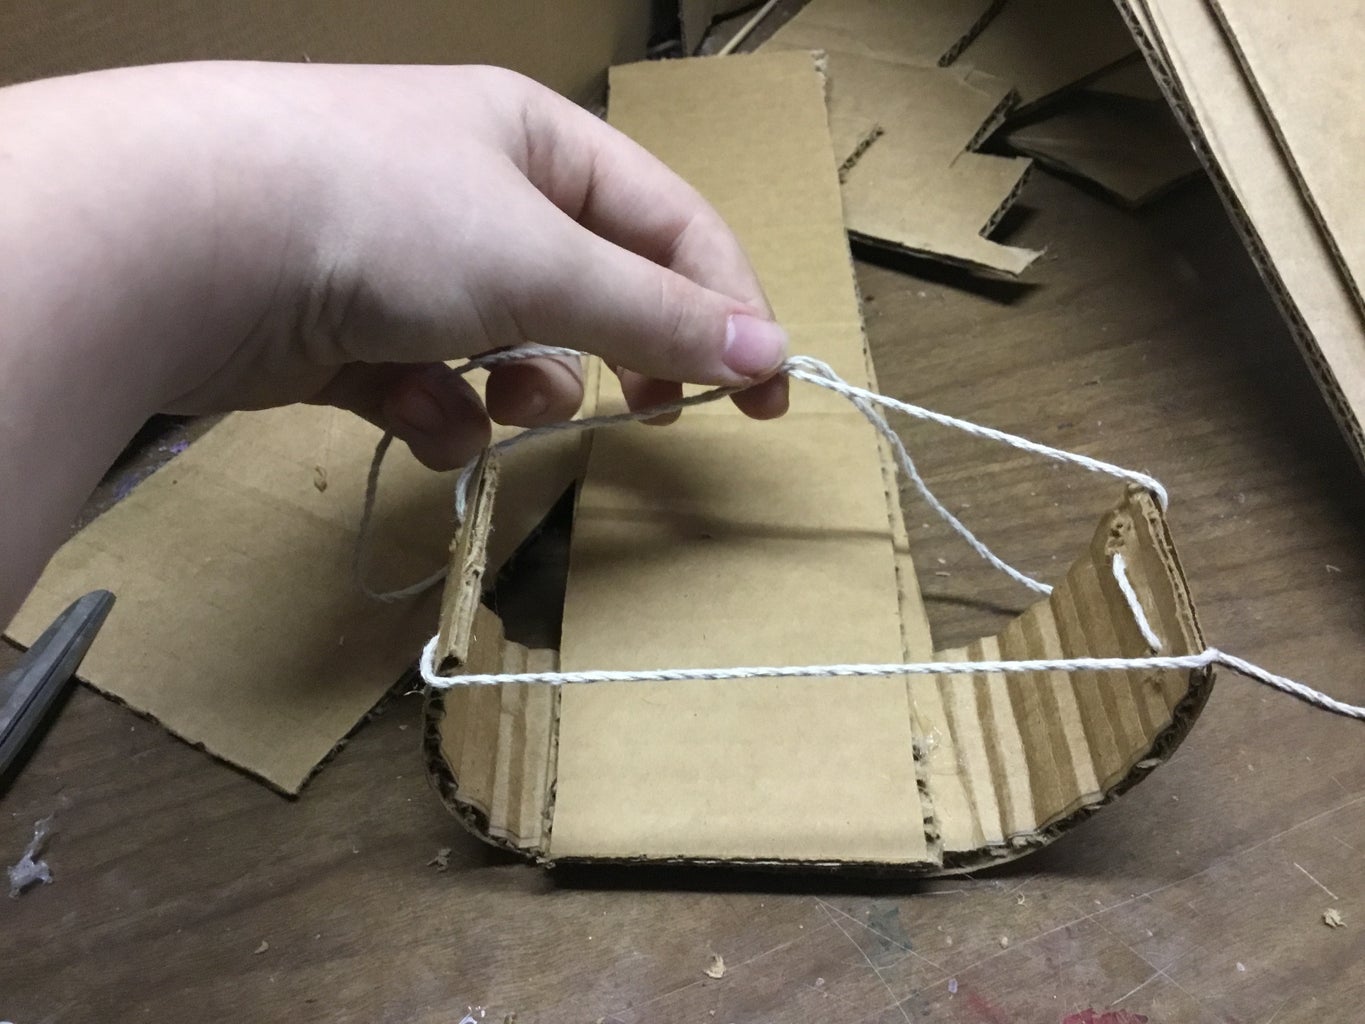
Push the string through the holes like the picture shows.
Step 9: Claw Base

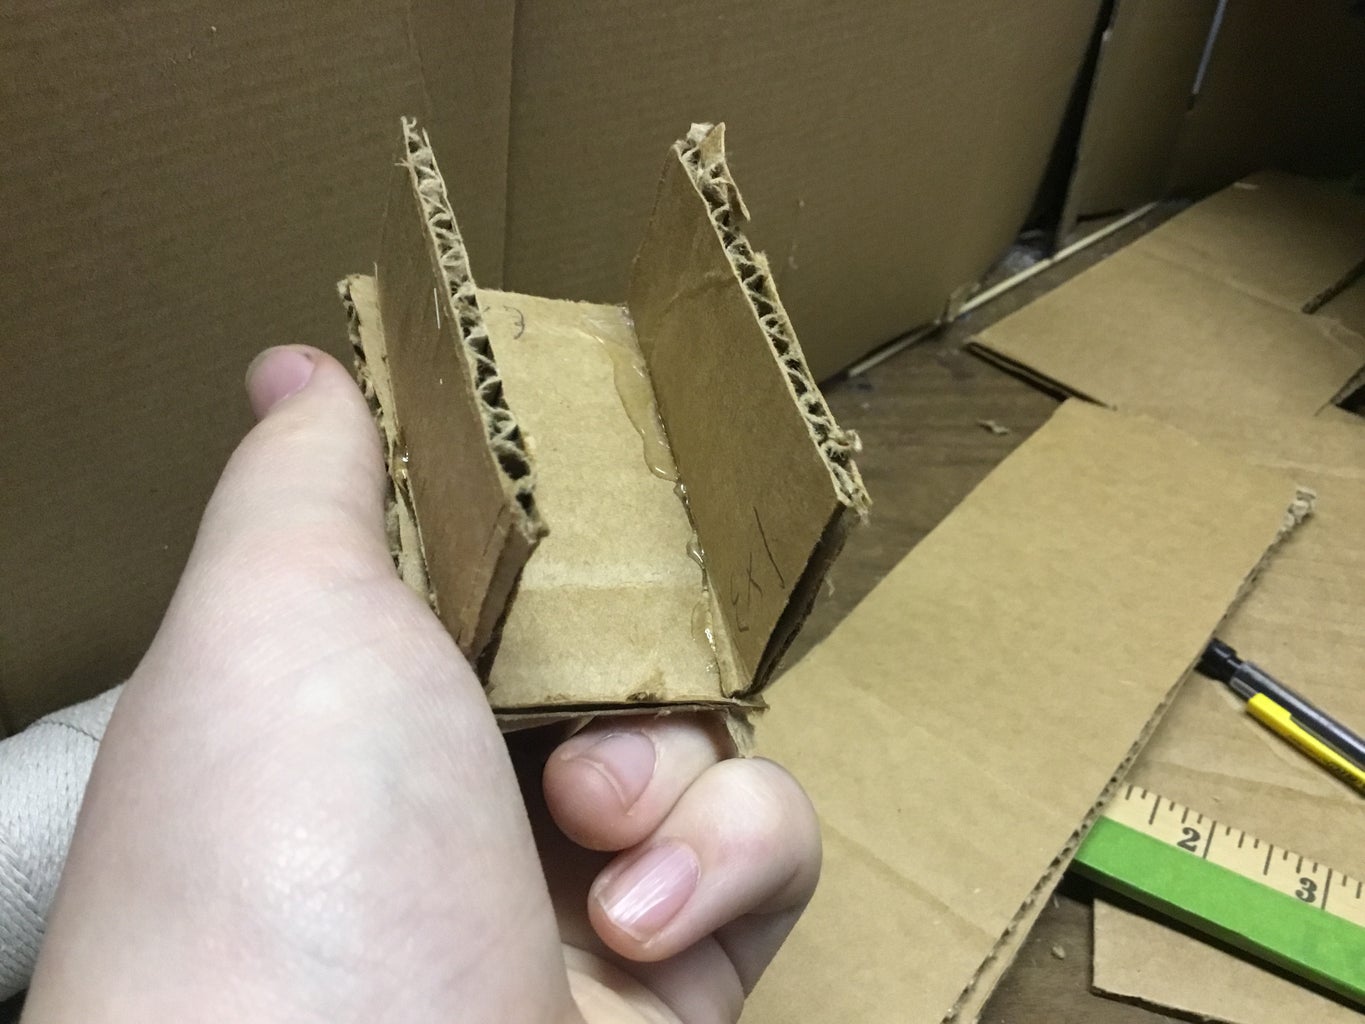
Cut out two 1” x 3” and one 2” x 3” pieces of cardboard. Then glue them into a rectangle.
Step 10: String Guide

Glue a small piece of straw to the end opposite the wrist mount.
Step 11: Claw Base


Glue the rectangle that you made in the previous step and glue it over top of the straw.
Step 12: Claw


Cut out two 1“ x 4” rectangles, bend them into the claw shape. Glue them into the sides of the rectangle.
Step 13: Stringing


Glue strings to the end of each claw, feed the strings through the straw, tie them together.
Step 14: Congratulations You’re Done
Good job now put your wrist through the rest mount and tie The strings together as if they were shoelaces use the two strings that are connected to the claw to open and close the claw by pulling them.
Step 15: Thank You Please Enjoy
If you enjoy this please share it with your friends and vote for me in the cardboard contest.

Participated in the
Cardboard Speed Challenge


