Introduction: Leather Knife Sheath


Hi!
Two months ago I started making yet another knife. Unfortunately I was so exited, that I forgot to take any pictures of the process, however I was able to take pictures, while making a sheath for that knife!
I was amazed, when realized, how cheap it cost to me, only about 3 euros (3.1 dollars) and that I only had to buy a few things, so if you have a spare knife, you can easily make leather sheath for it without spending a lot of money.
Materials:
- Leather
- Epoxy glue
- Rivets
- Thread
- Both side duct tape
Tools:
- Knife
- Razor
- Needle
- Hole puncher
- Fan
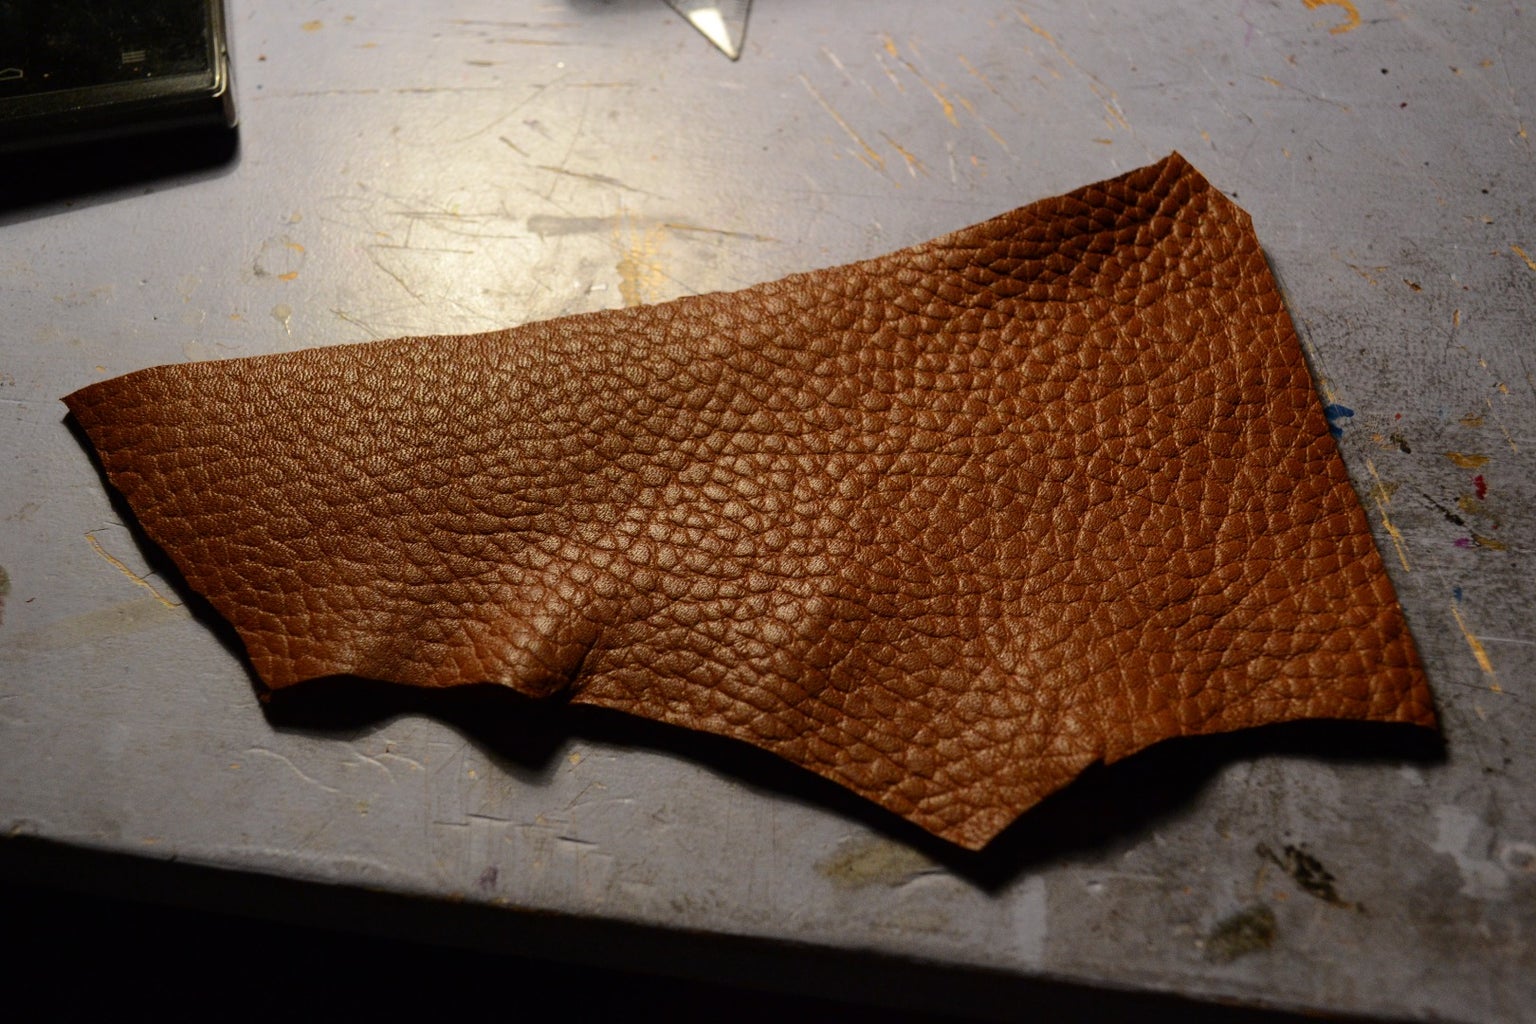
Step 1: Cutting the Leather


Every work starts with a plan, so I drew a sample on paper and cut it out.
Then I put it on the most suitable spot and cut it out. Be careful to place it right so you don't waste any of the leather, and make sure that lenght of straps is long enough.
I also cut out another piece that is the same size as the part of the sheath for the blade.
I cut it so, that it would make an outline on the blade part of the sheath.
Step 2: Forming the Leather


I wanted the knife to hold nice and tight in the sheath, so I decided to form the shape of the leather.
If you want to shape the leather, first thing to do is to wet the leather.
After that I put the leather on the knife, bind thread around it, stretched it and started heating it with a fan. If you heat wet leather, it becomes hard, and keeps the form in which it was heated.
Step 3: Cutting, Glueing and Sewing


I started with punching holes in the leather, then, using duct tape, I glued all of the parts together and started sewing them together.
When I finished sewing I cut off the spare leather.
Step 4: Even More Cutting and Sewing


I wanted the sheath to look nice, from every side, so I cut out another piece of leather.
I glued the piece to the sheath, punched out holes, and started sewing it all together. I didn't sew the middle part so it would be possible to attach the sheath to belt.
Step 5: Epoxy


When I choose the leather, I wasn't careful enough. Only when I got to this part, I understood, that I should have taken thicker and harder leather, because all three parts weren't holding together as I tought they would. Because of that I used some epoxy to glue the sides of the sheath together and to make them harder (when they're harder, it's easier to work with them).
Step 6: Straps


The last thing I had to do, was to make the straps.
First I punched out holes on another piece of leather (and I'm glad I did so), put in the rivets and clamped them. Three times I failed, and ruined the rivets, only with the fourth try I was successful.
Again I punched holes in the straps and sewed them (this time only for appearance).
Step 7: Finished


It was a small project, that took more time, than I expected, but it turned out awesome.
Together with the knife it looks even better!
If you want this knife and sheath, you can buy it Here on Etsy.

Participated in the
Apocalypse Preparedness Contest

Participated in the
Guerilla Design Contest

Participated in the
Tools Contest


